
Hello fellow Upcyclers, DIY-Doers, and Dreamers!
Today I bring you a piece that I’m extremely proud of! I turned a thrift store lamp into an awesome side/plant table! And it was pretty simple to accomplish. All I really had to do was make a beautiful top for it and remove some pieces from the original lamp. And as an added bonus…………

You can hide stuff in the top! But….that’s mainly because I couldn’t come up with a way to secure the wood to the metal that didn’t involve huge exposed screws. Although, the bottom pieces of wood keep the top from moving around.
Let’s get this DIY started!
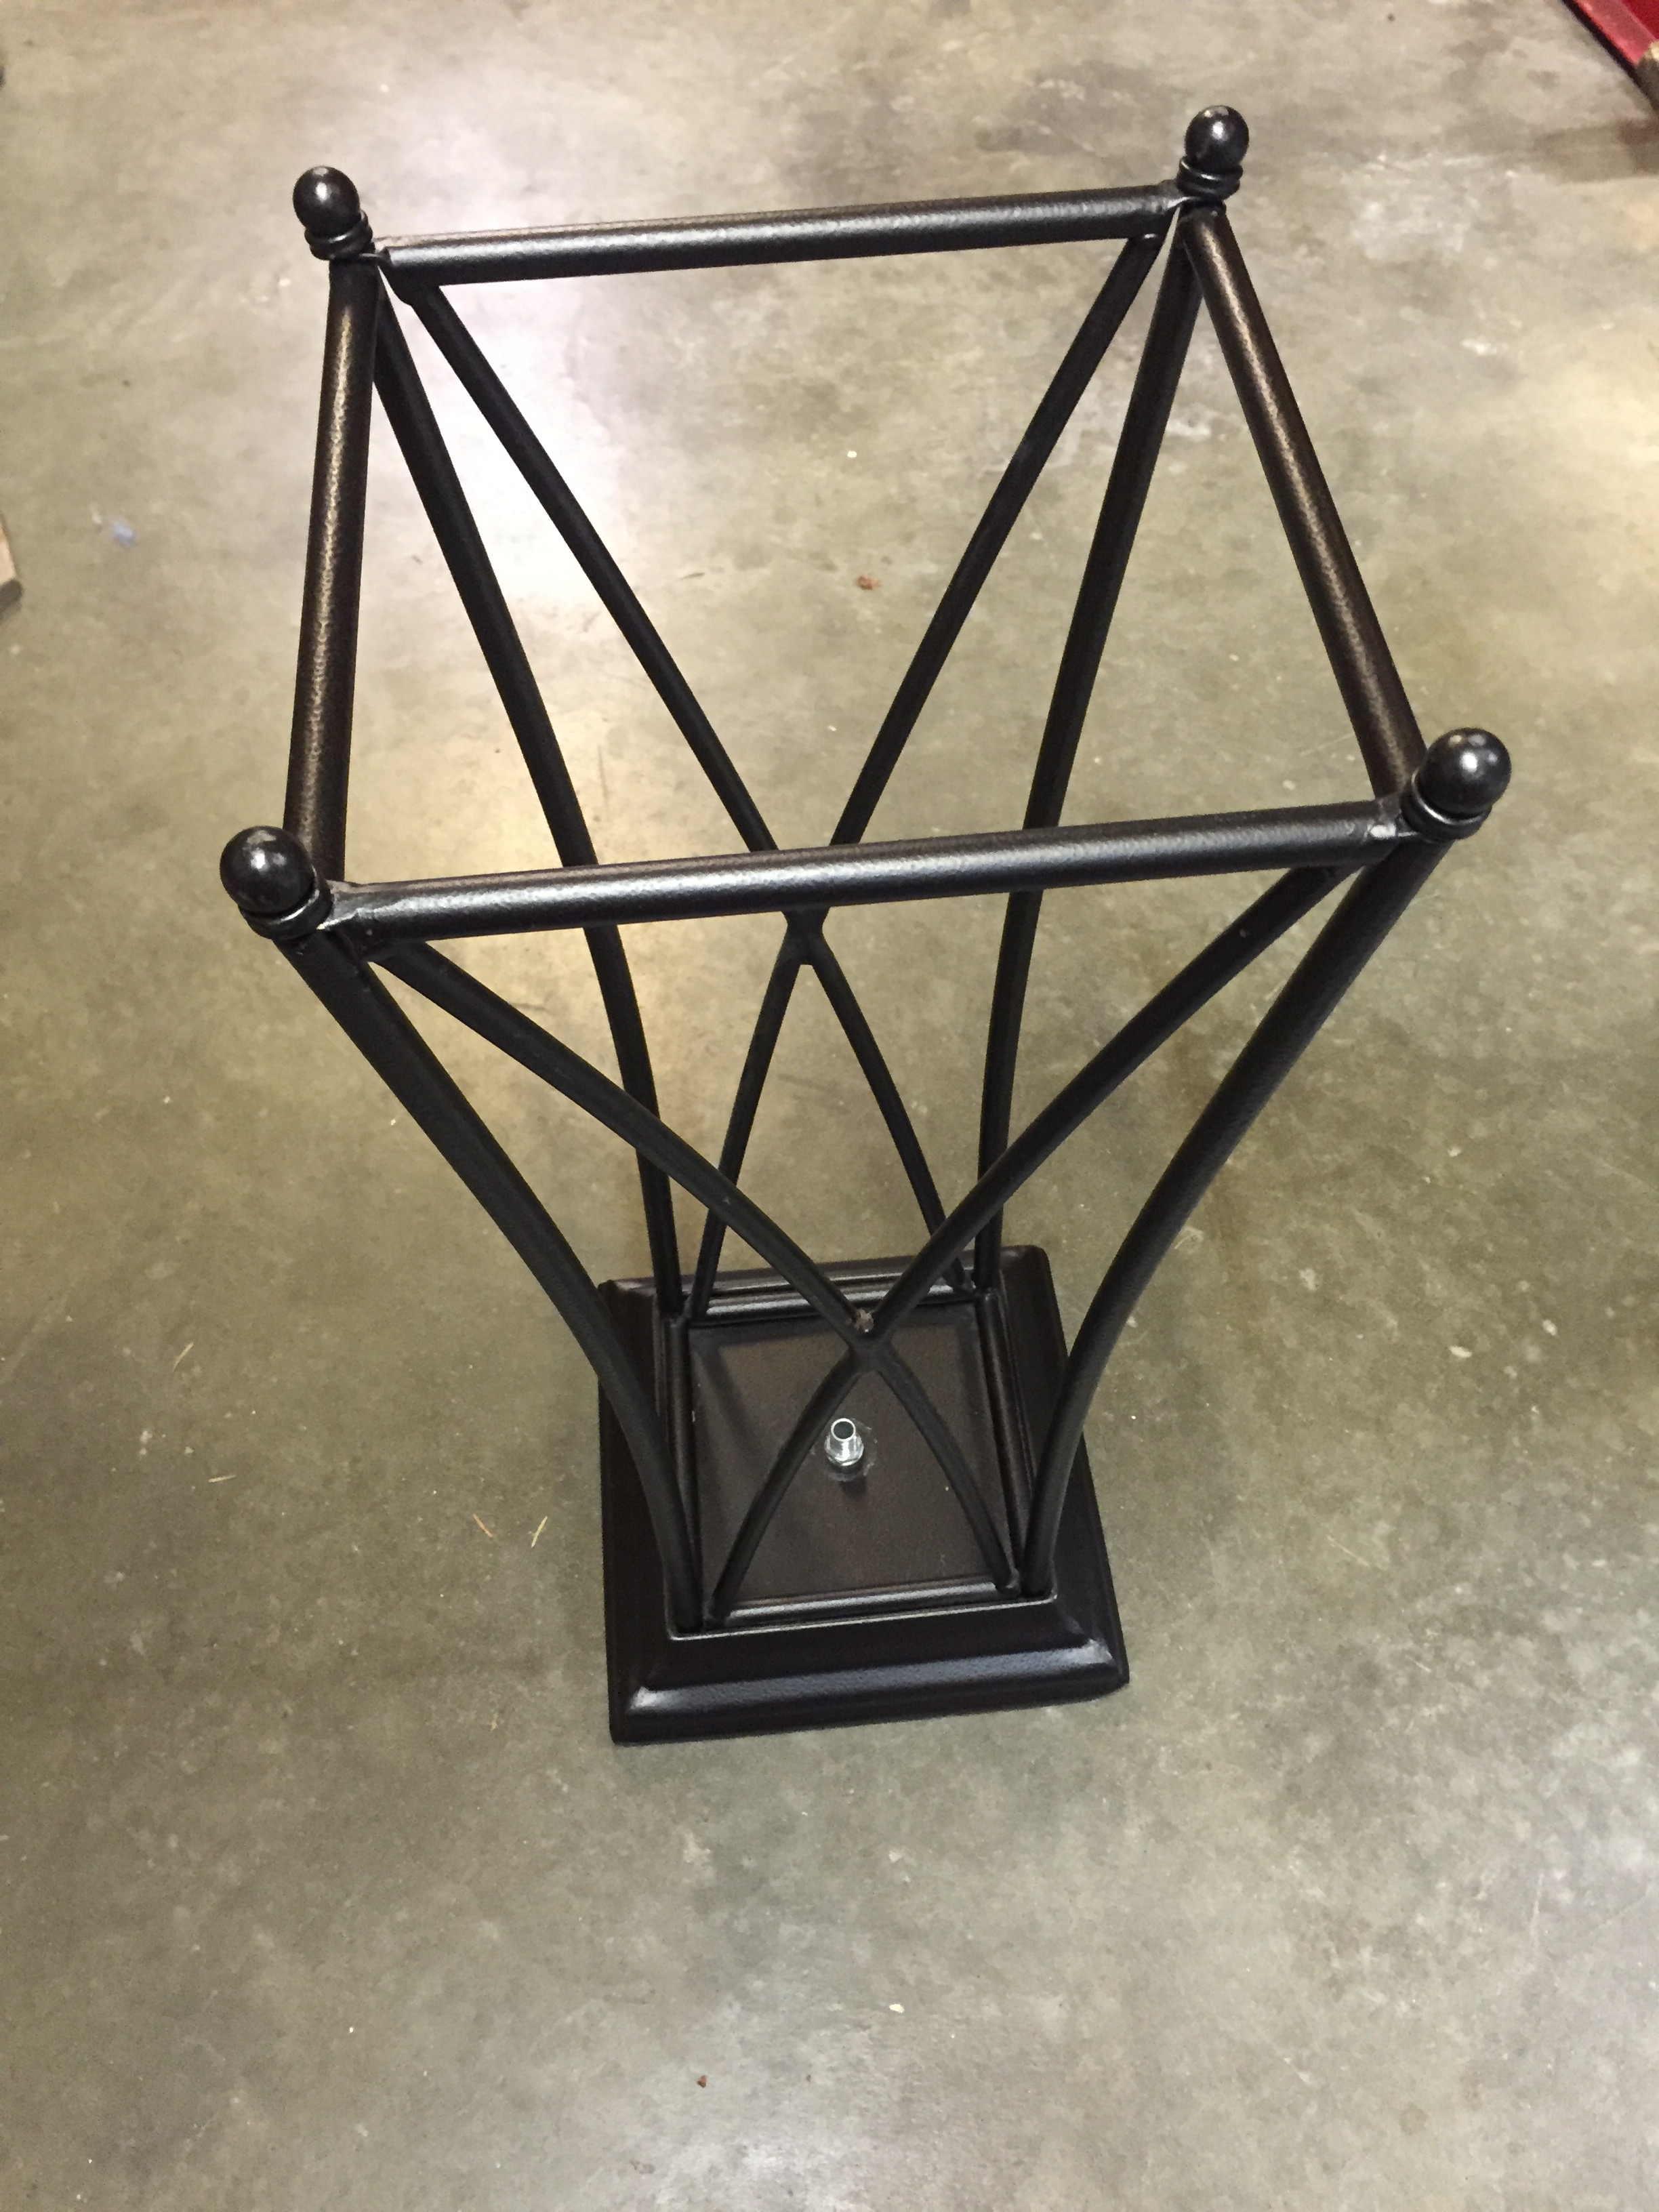

I found this (what used to be) a lamp at Goodwill for $4.99! The friend that was with me at the time pointed it out to me, and I’m so glad she did! It became such a beautiful and sturdy table!
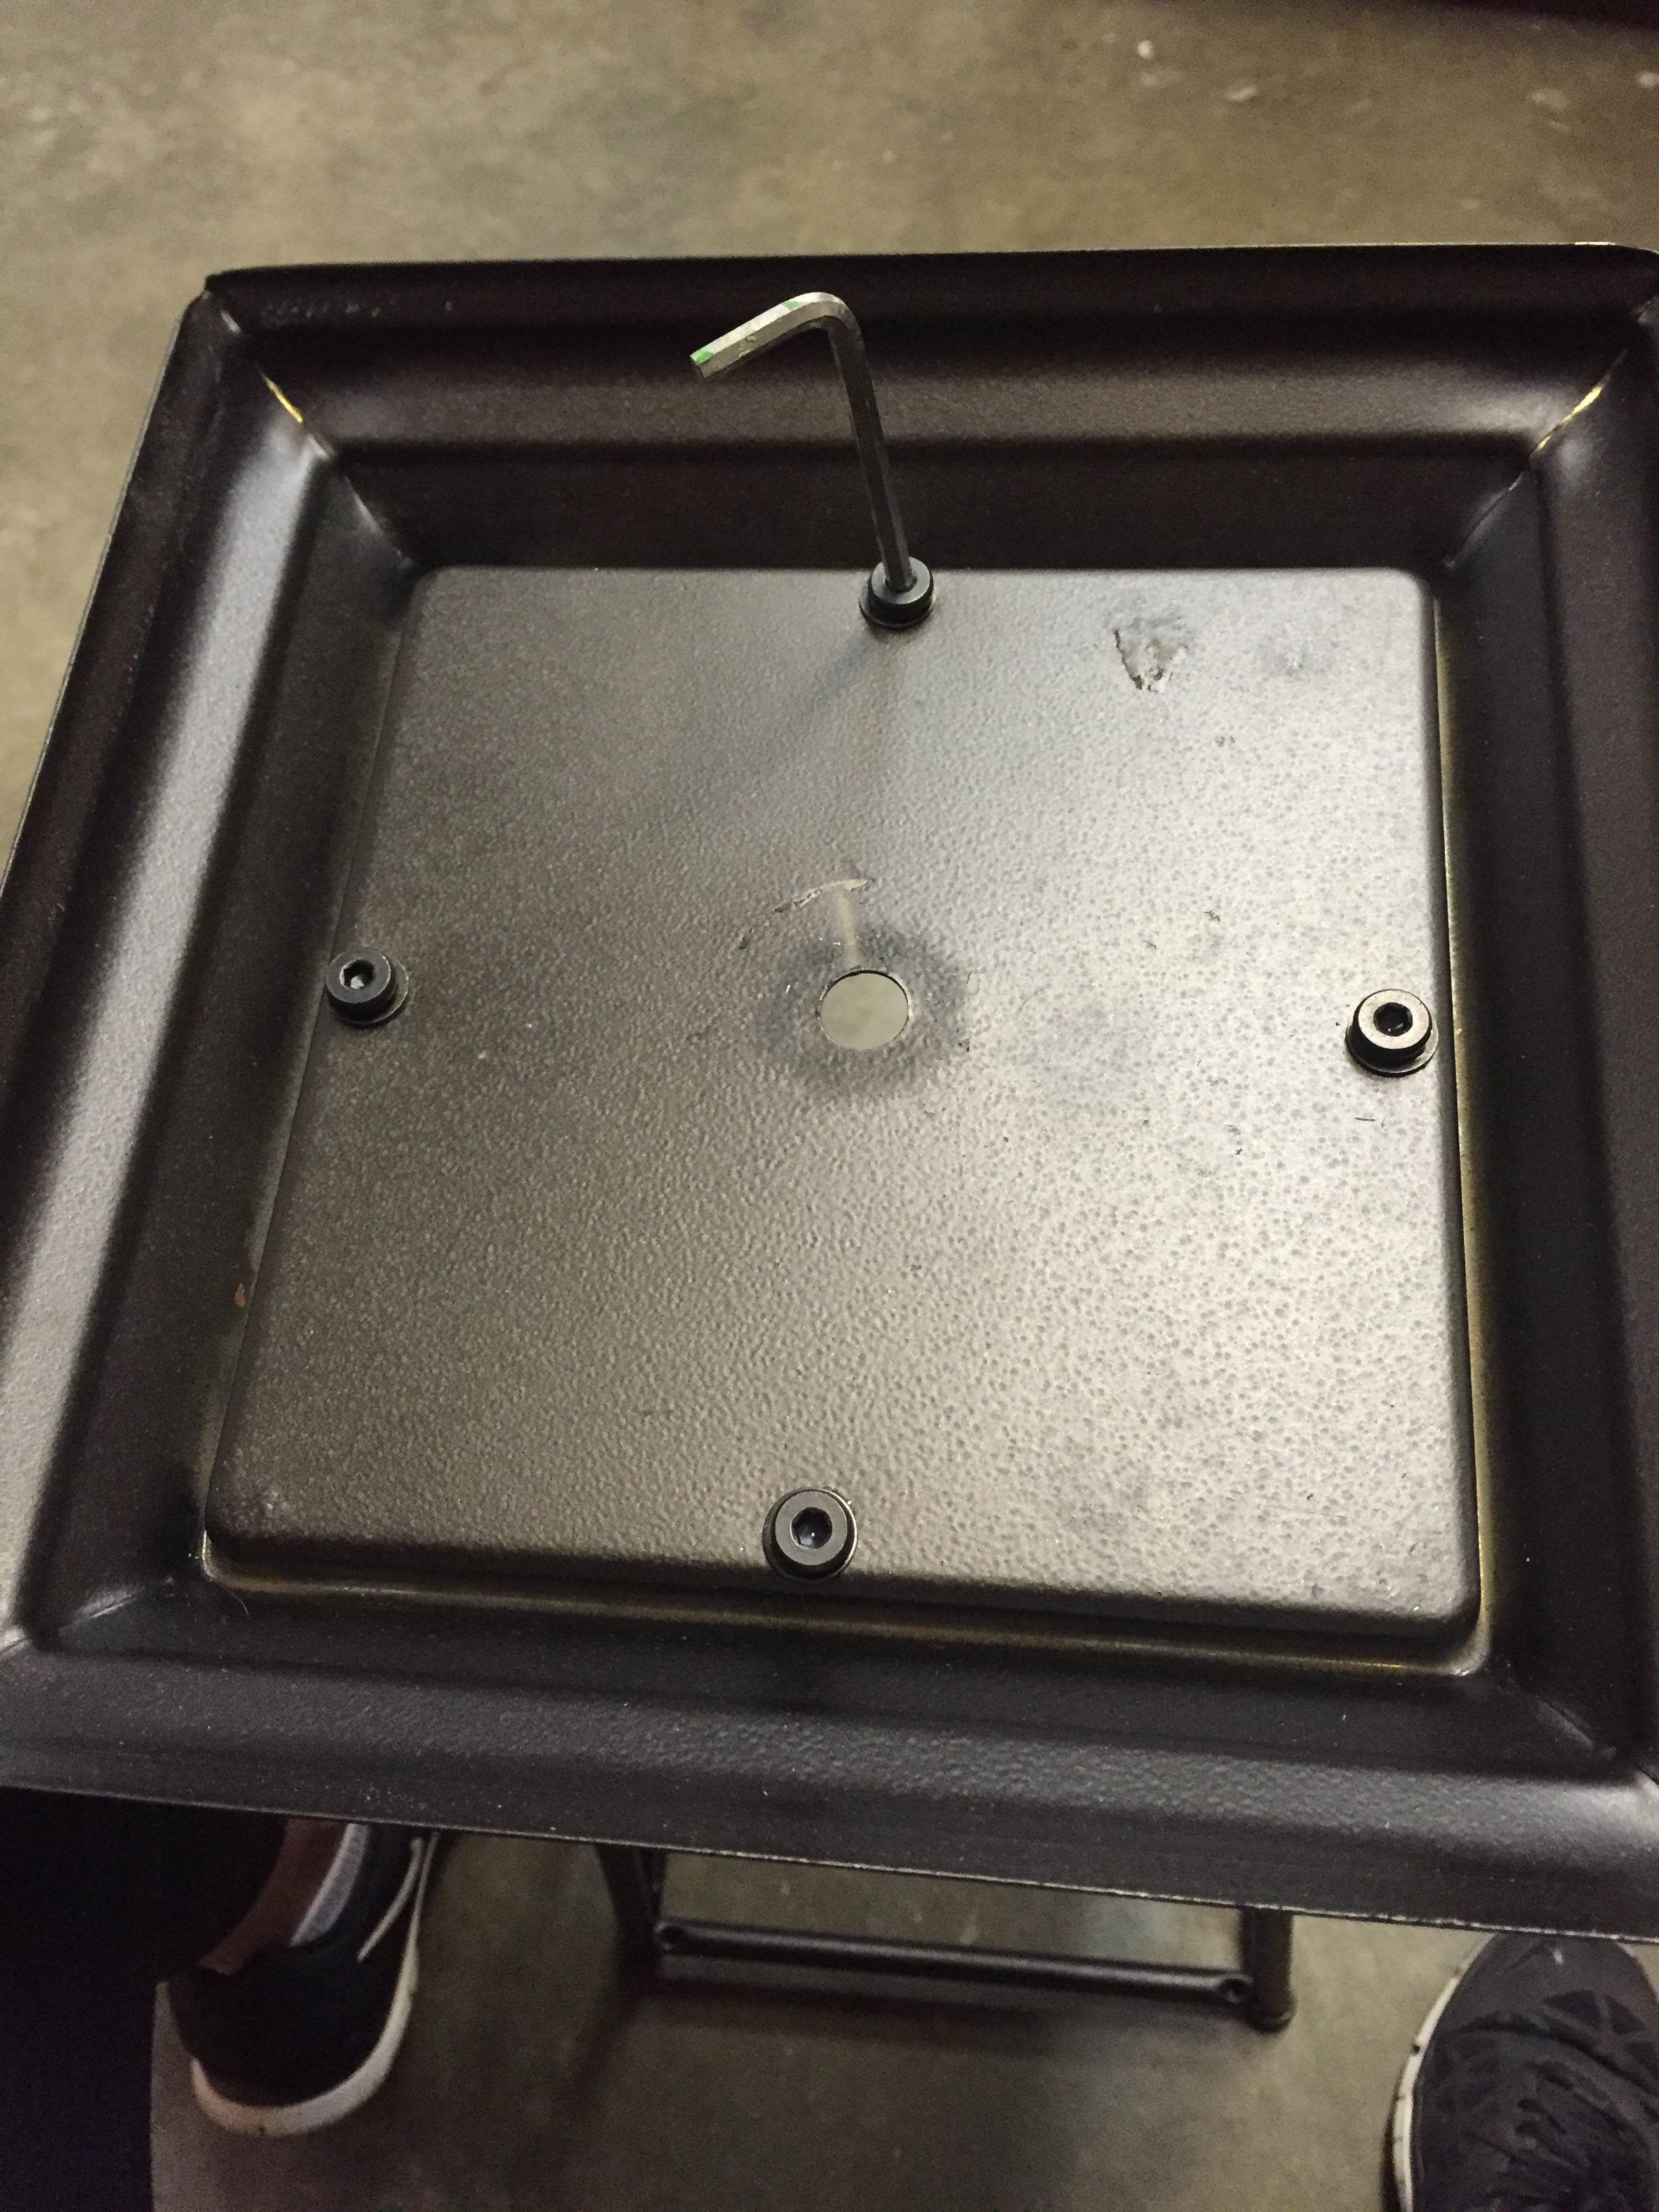
First, I needed to get rid of the heavy base that held electrical wires. And all that involved was removing some screws and the nut around the middle bolt. After removing the heavy base, I put the screws back in to cover most of the holes. But unfortunately, the middle bolt was just way too big to put back.
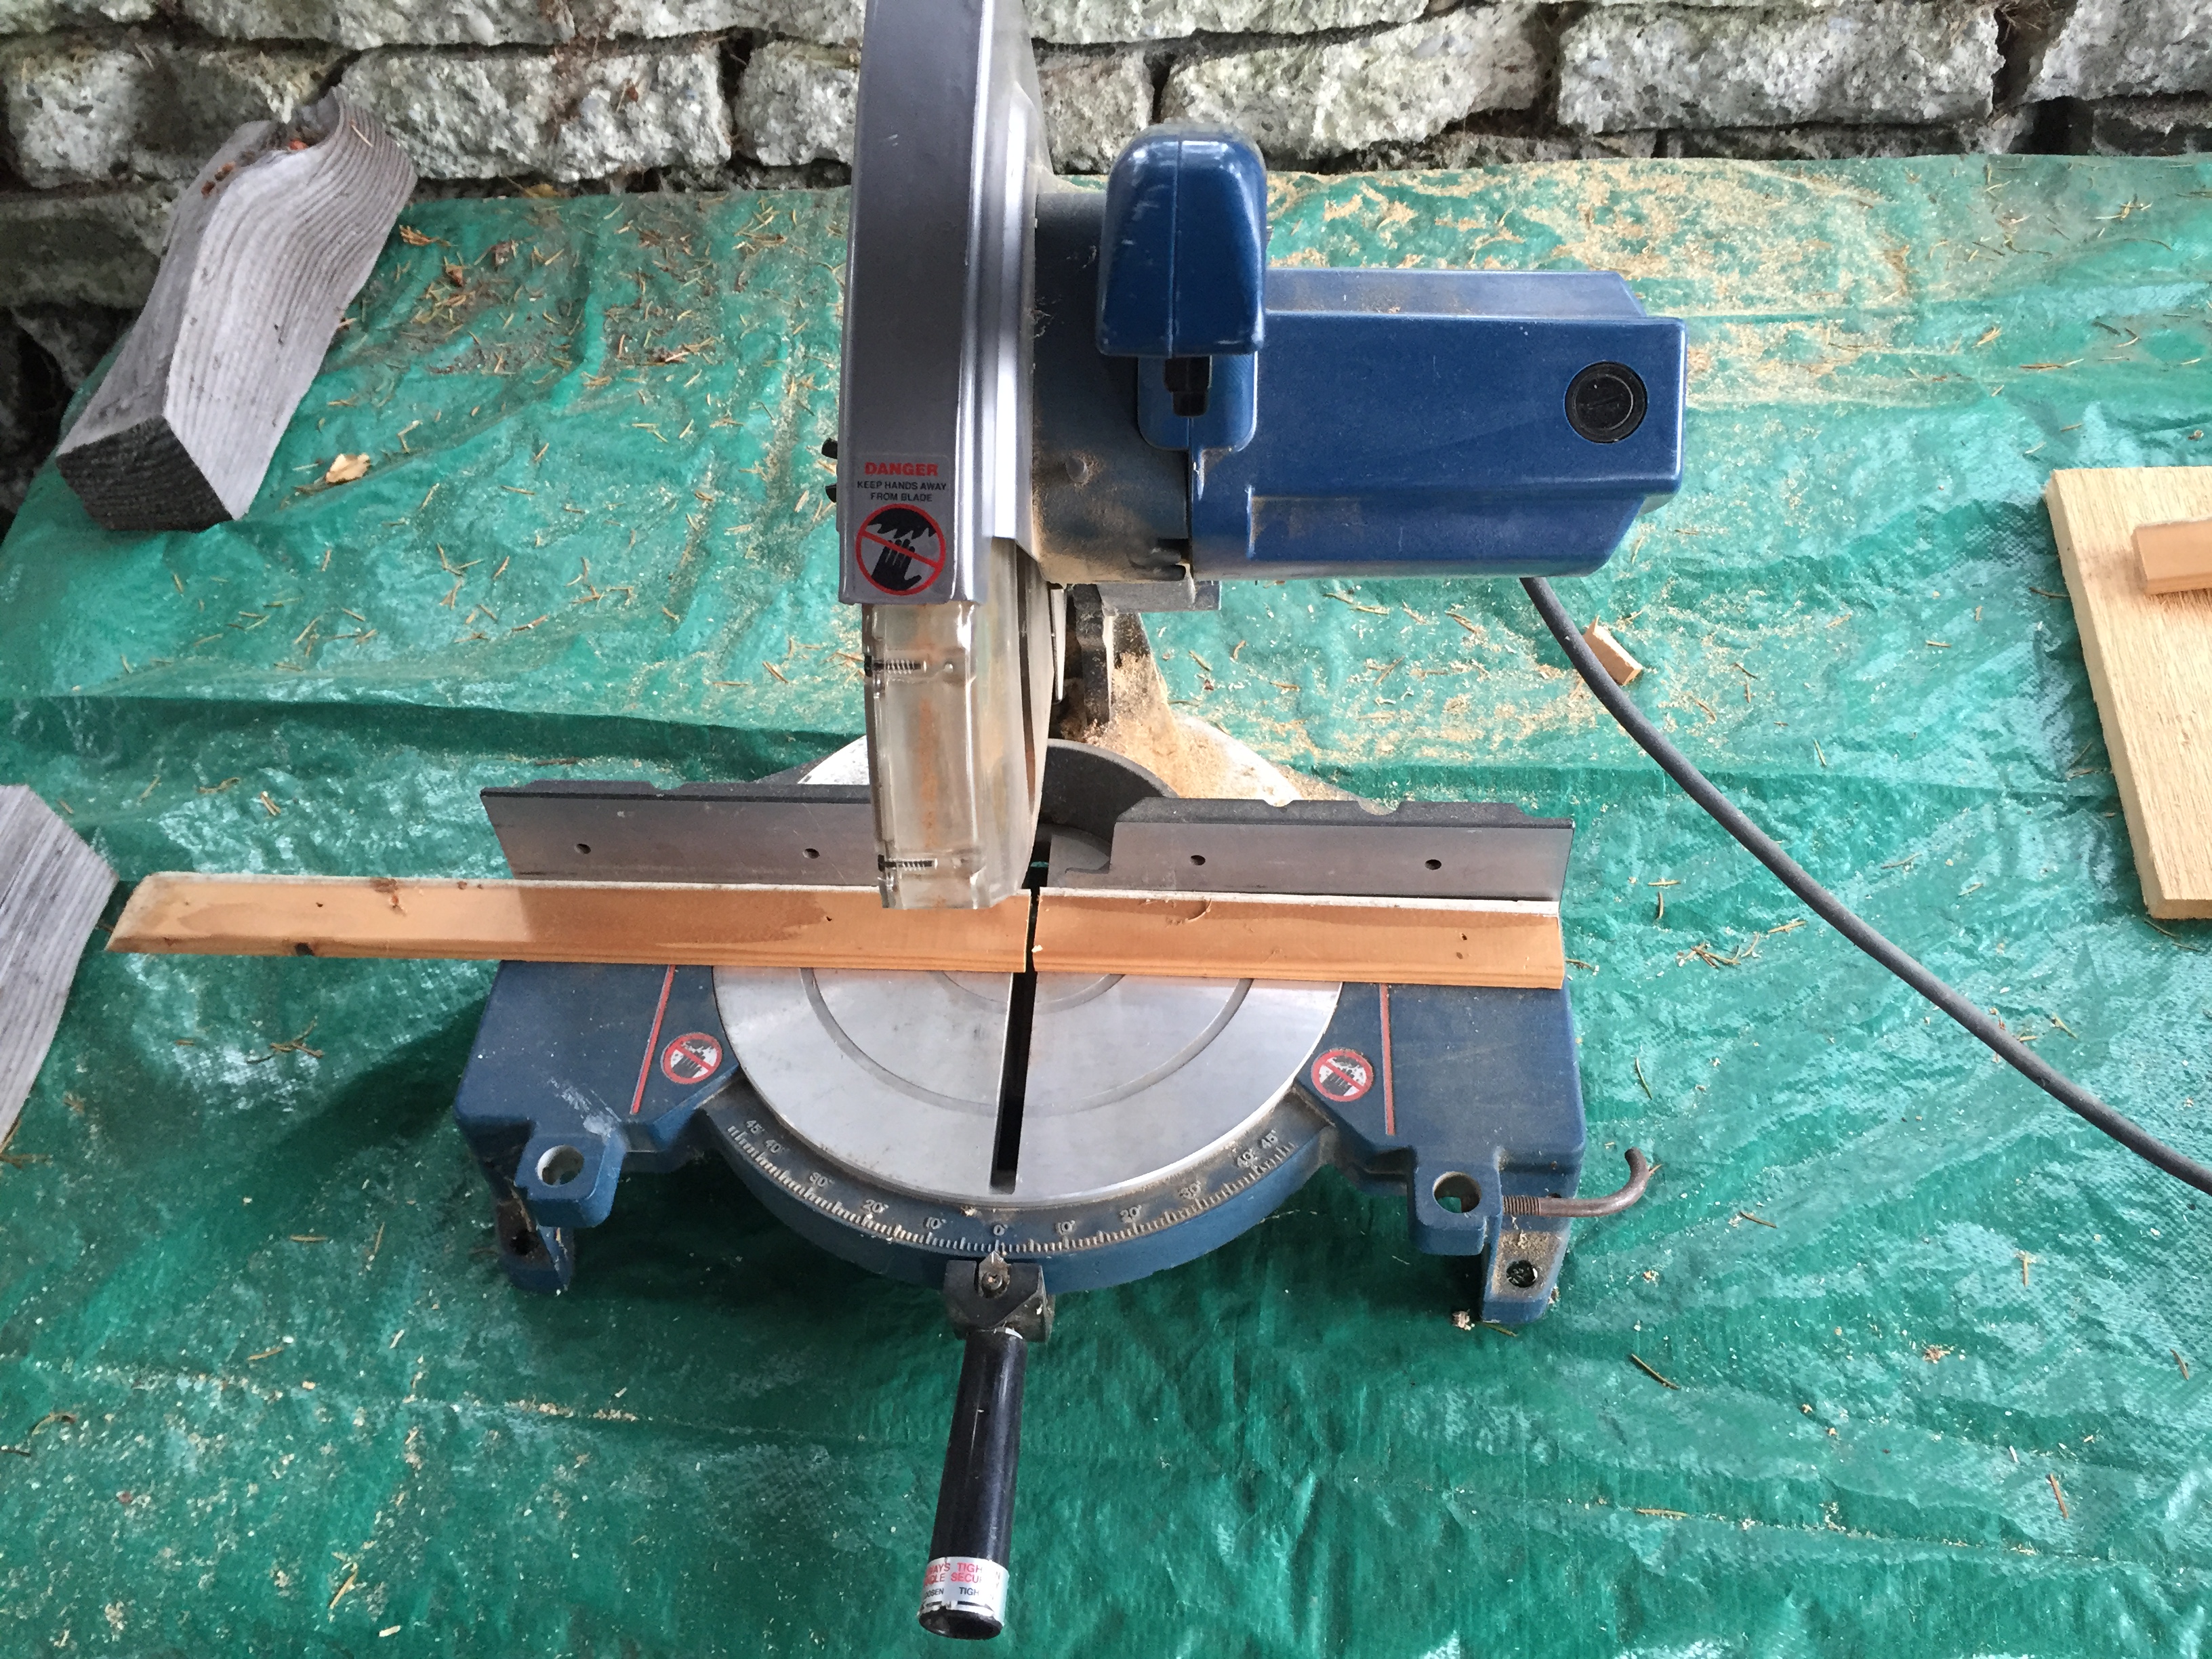
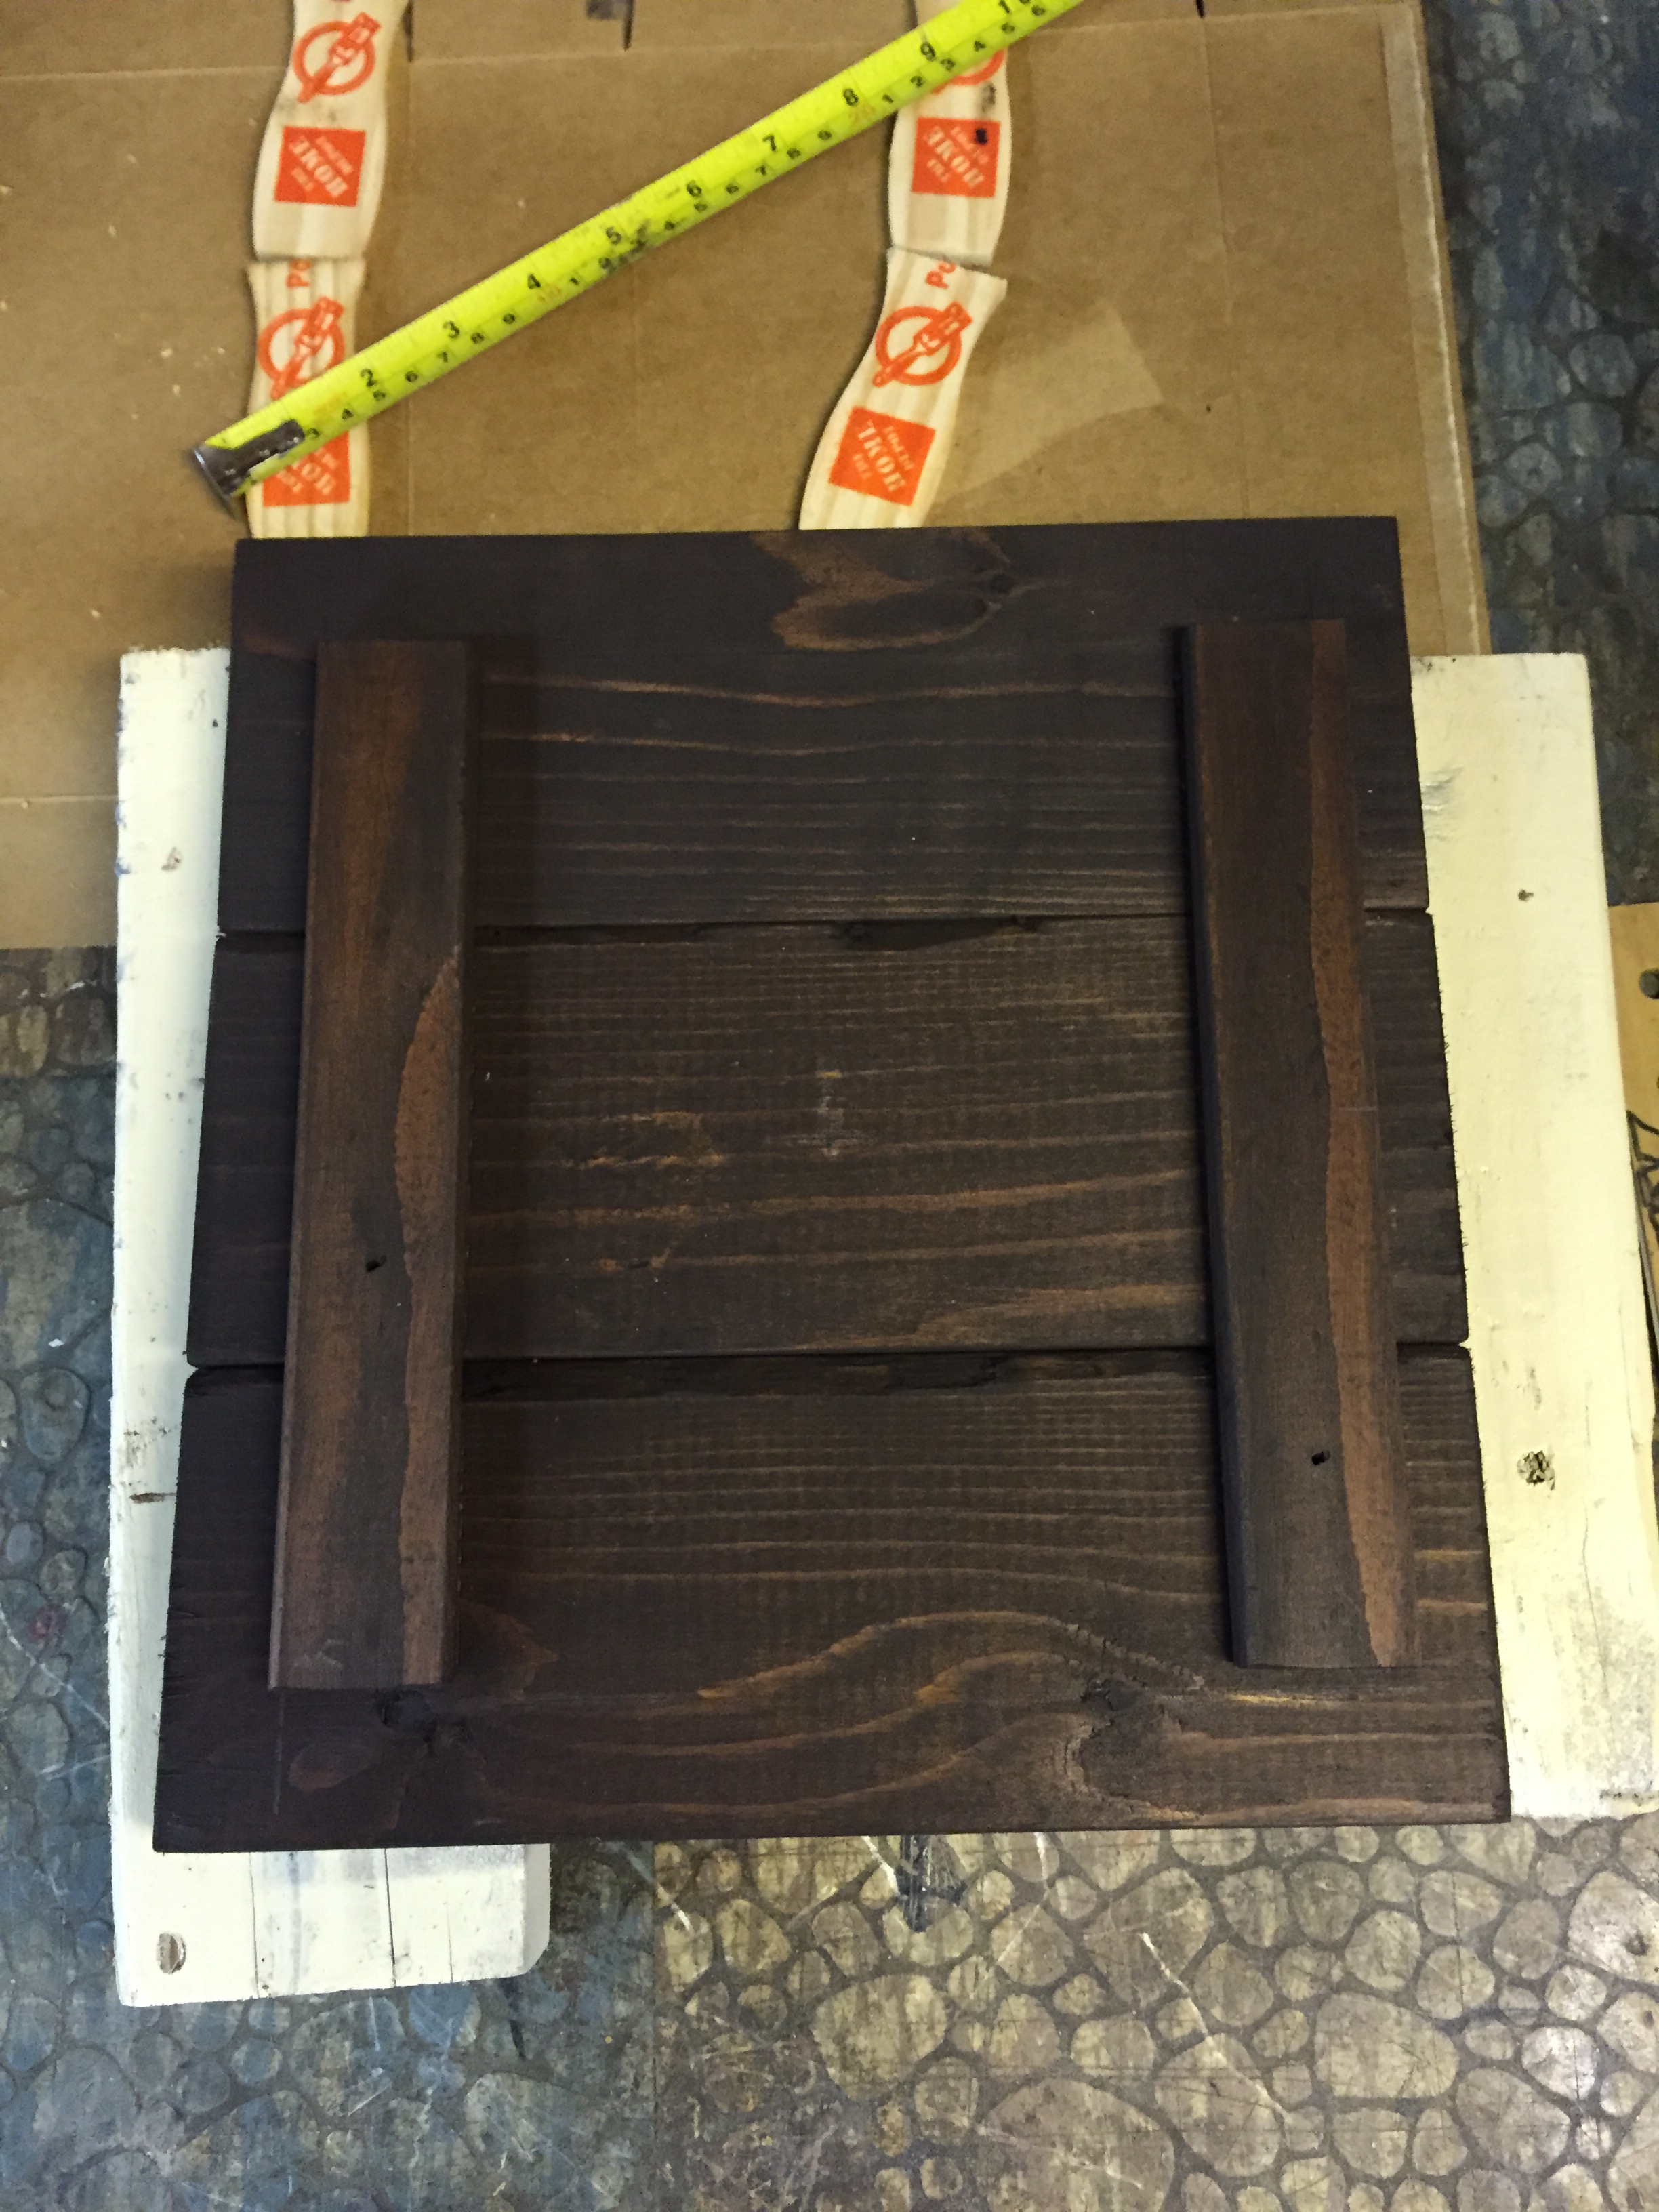
Next, it’s time to measure and cut your wood. I used a random piece of wood from the infamous wood pile that my dad has. I’m not quite sure what kind it is…but it smelled rich and fabulous!
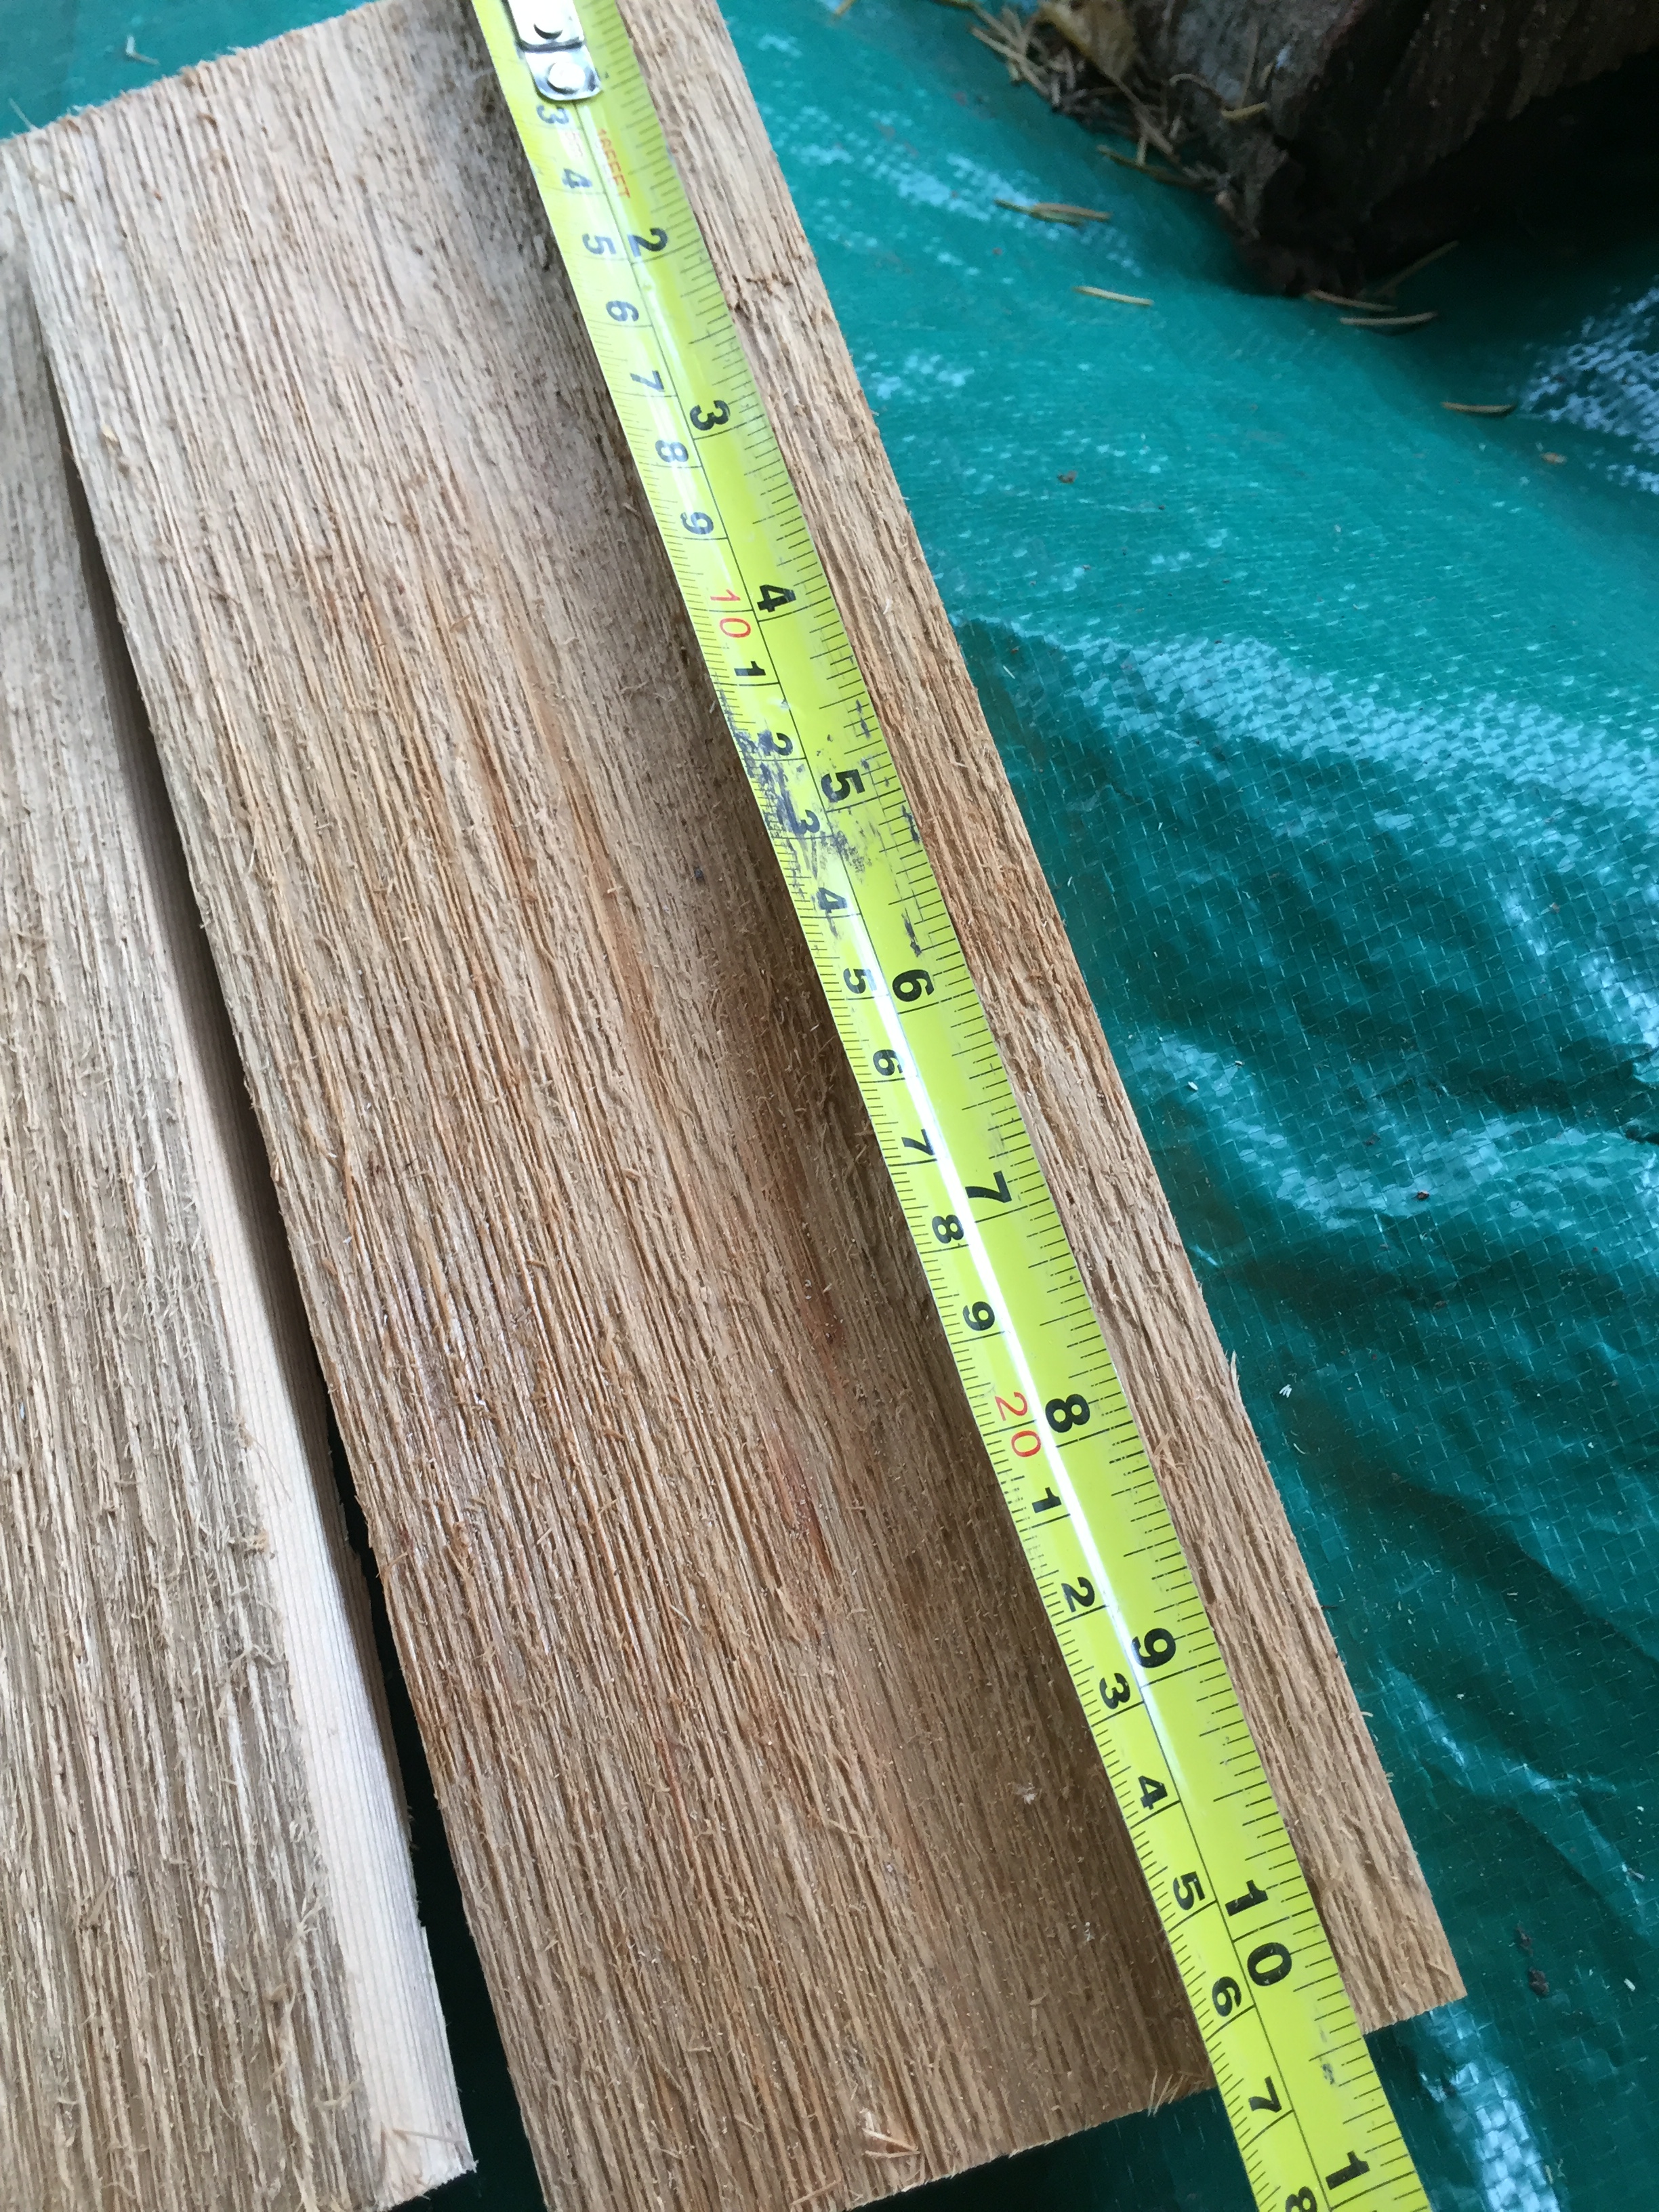
See measurements below.
NOTE: If you don’t know how to use an electric saw, please seek help from someone who does.

The little pieces of wood were cut to perfectly fit inside the top of the lamp. (which used to be the bottom) These pieces will not only hold the others together, but they will also keep the whole top in place. And as a side note, these are actually pieces of old trim from my parents home. Remodel scraps can also have a second life!
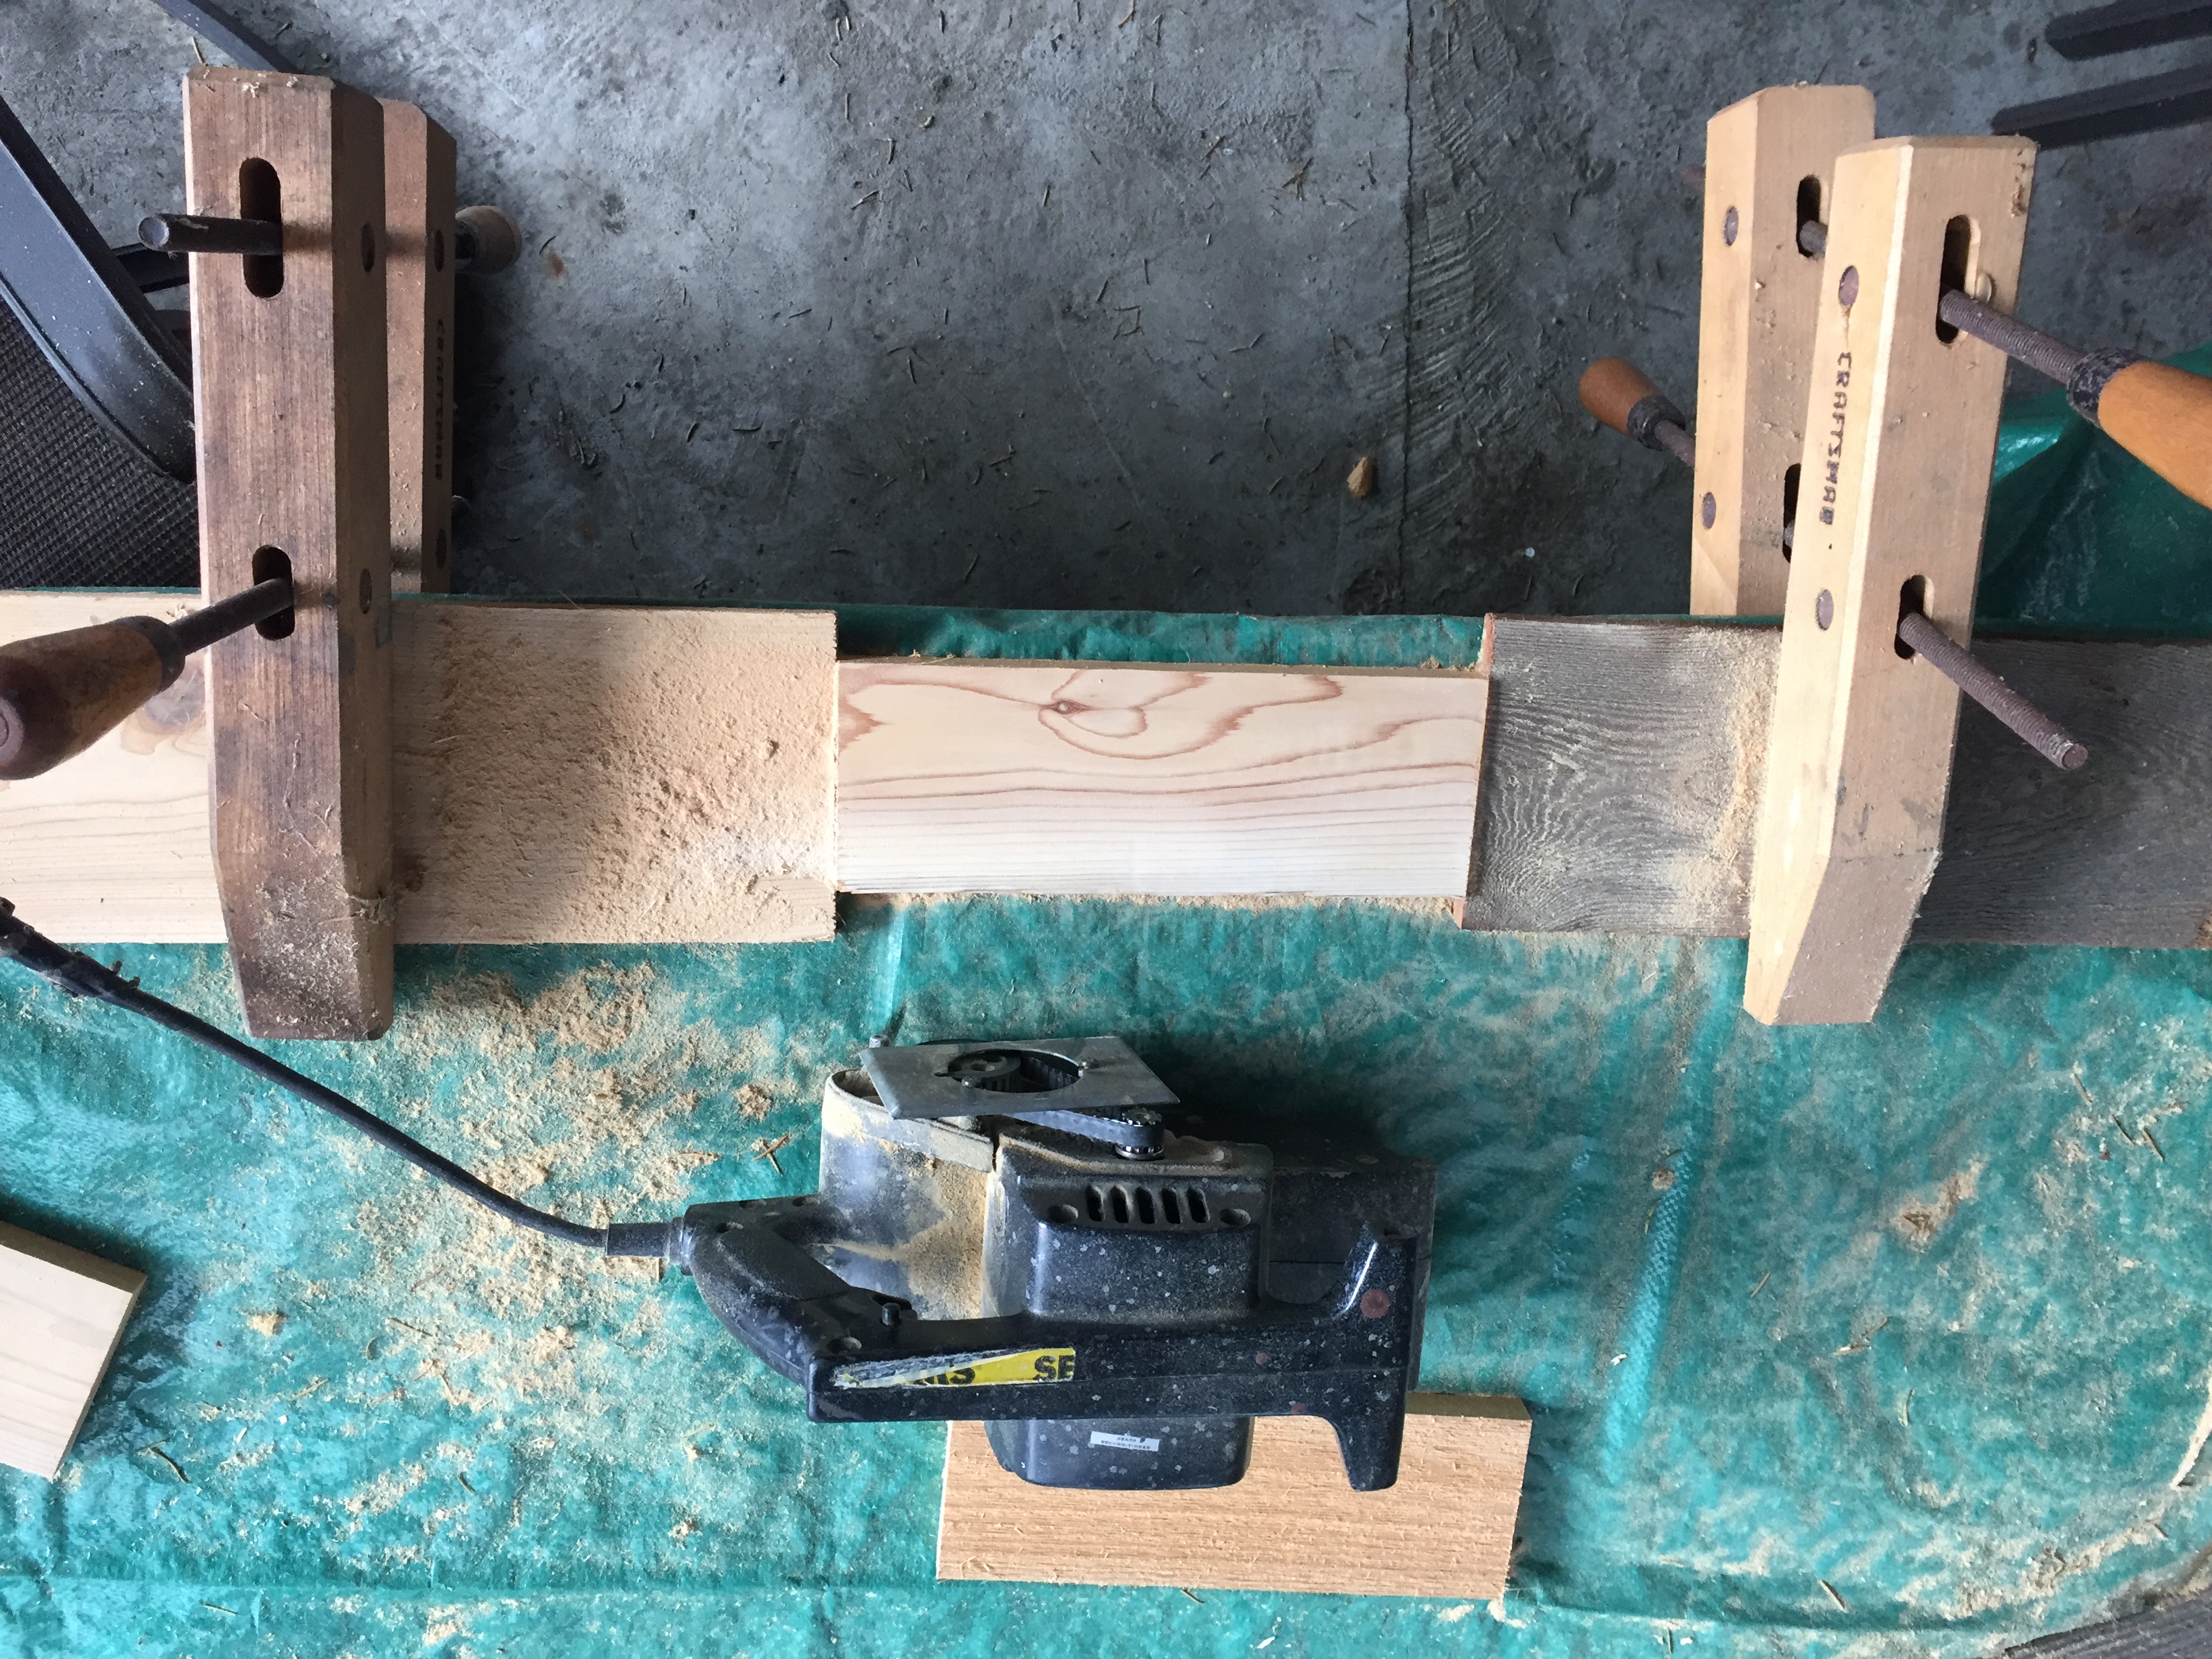
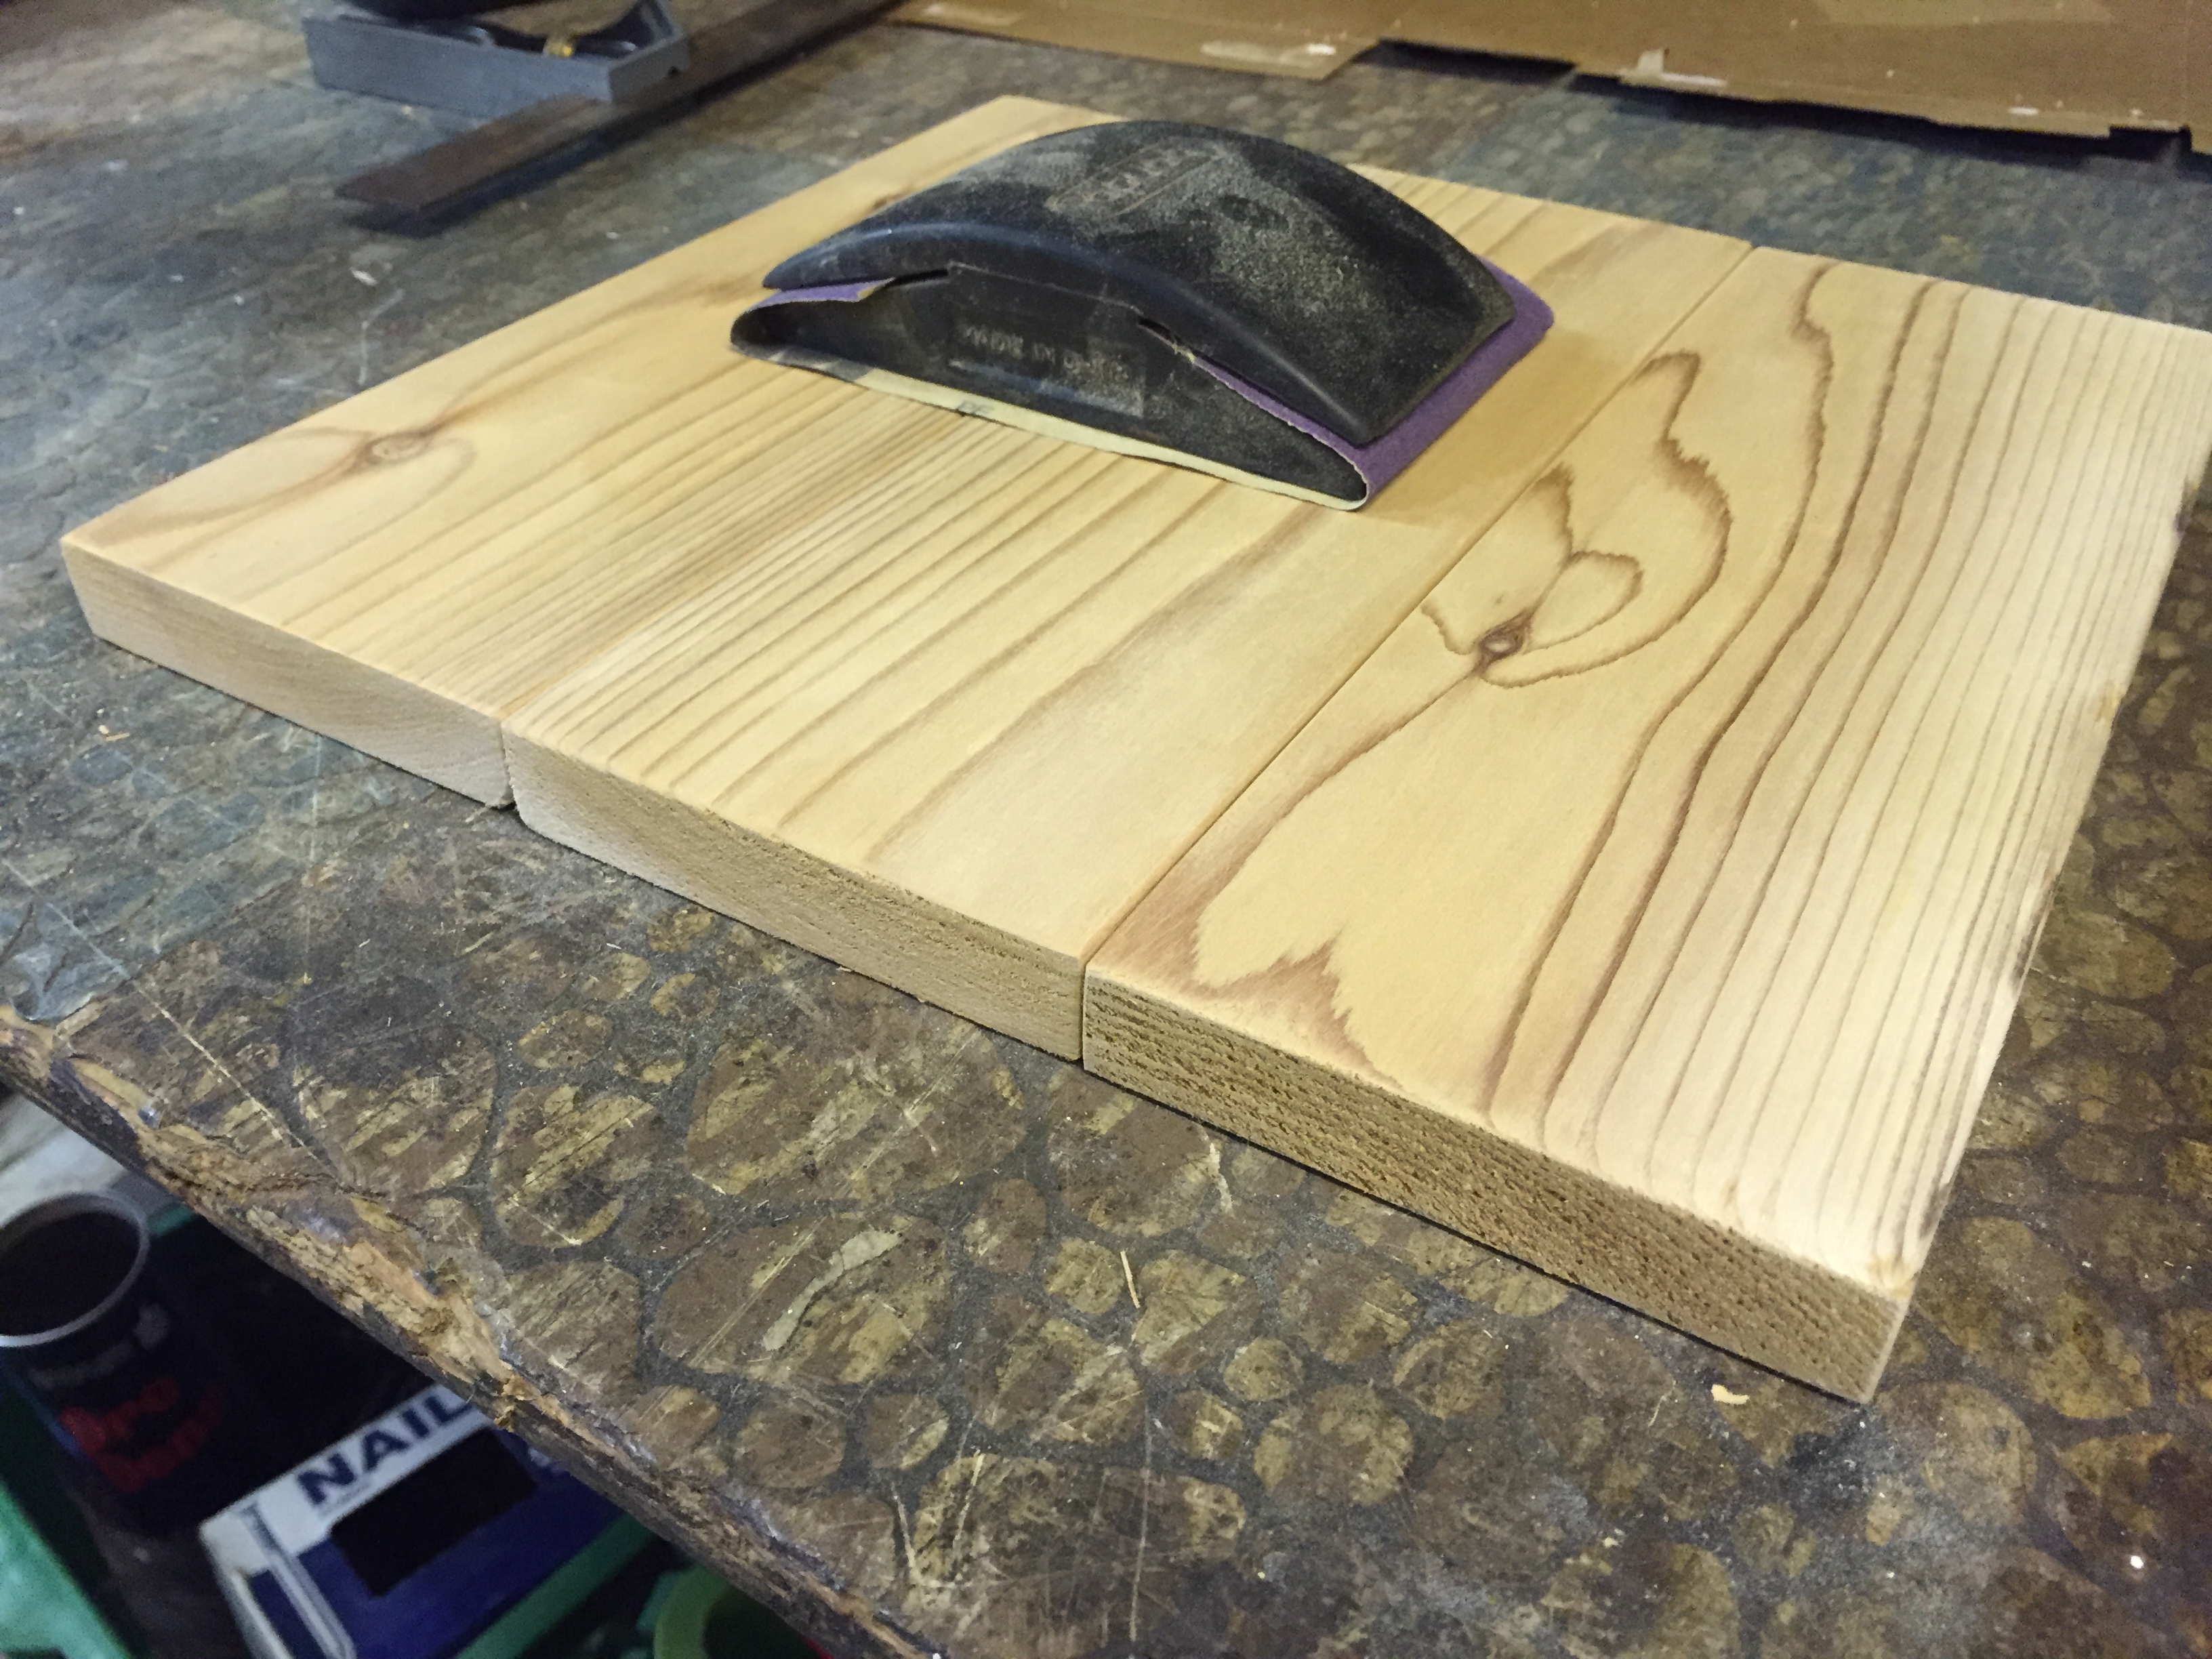
Now that you have your pieces, its time to make them perfectly smooth. I used an electric belt sander first. I also, held each piece in between some other wood with some wood clamps, that way I could insure an even sand. This was my backup plan…when I realized that I forgot to sand the wood before cutting the pieces I needed. Sanding one long piece of wood is definitely easier and less time consuming than sanding a bunch of little ones.
Then you’ll want to sand the corners and edges by hand. Doing this by hand will remove less of the wood and won’t change the length too much.
NOTE: If you don’t know how to use an electric belt sander, please seek help from someone who does.
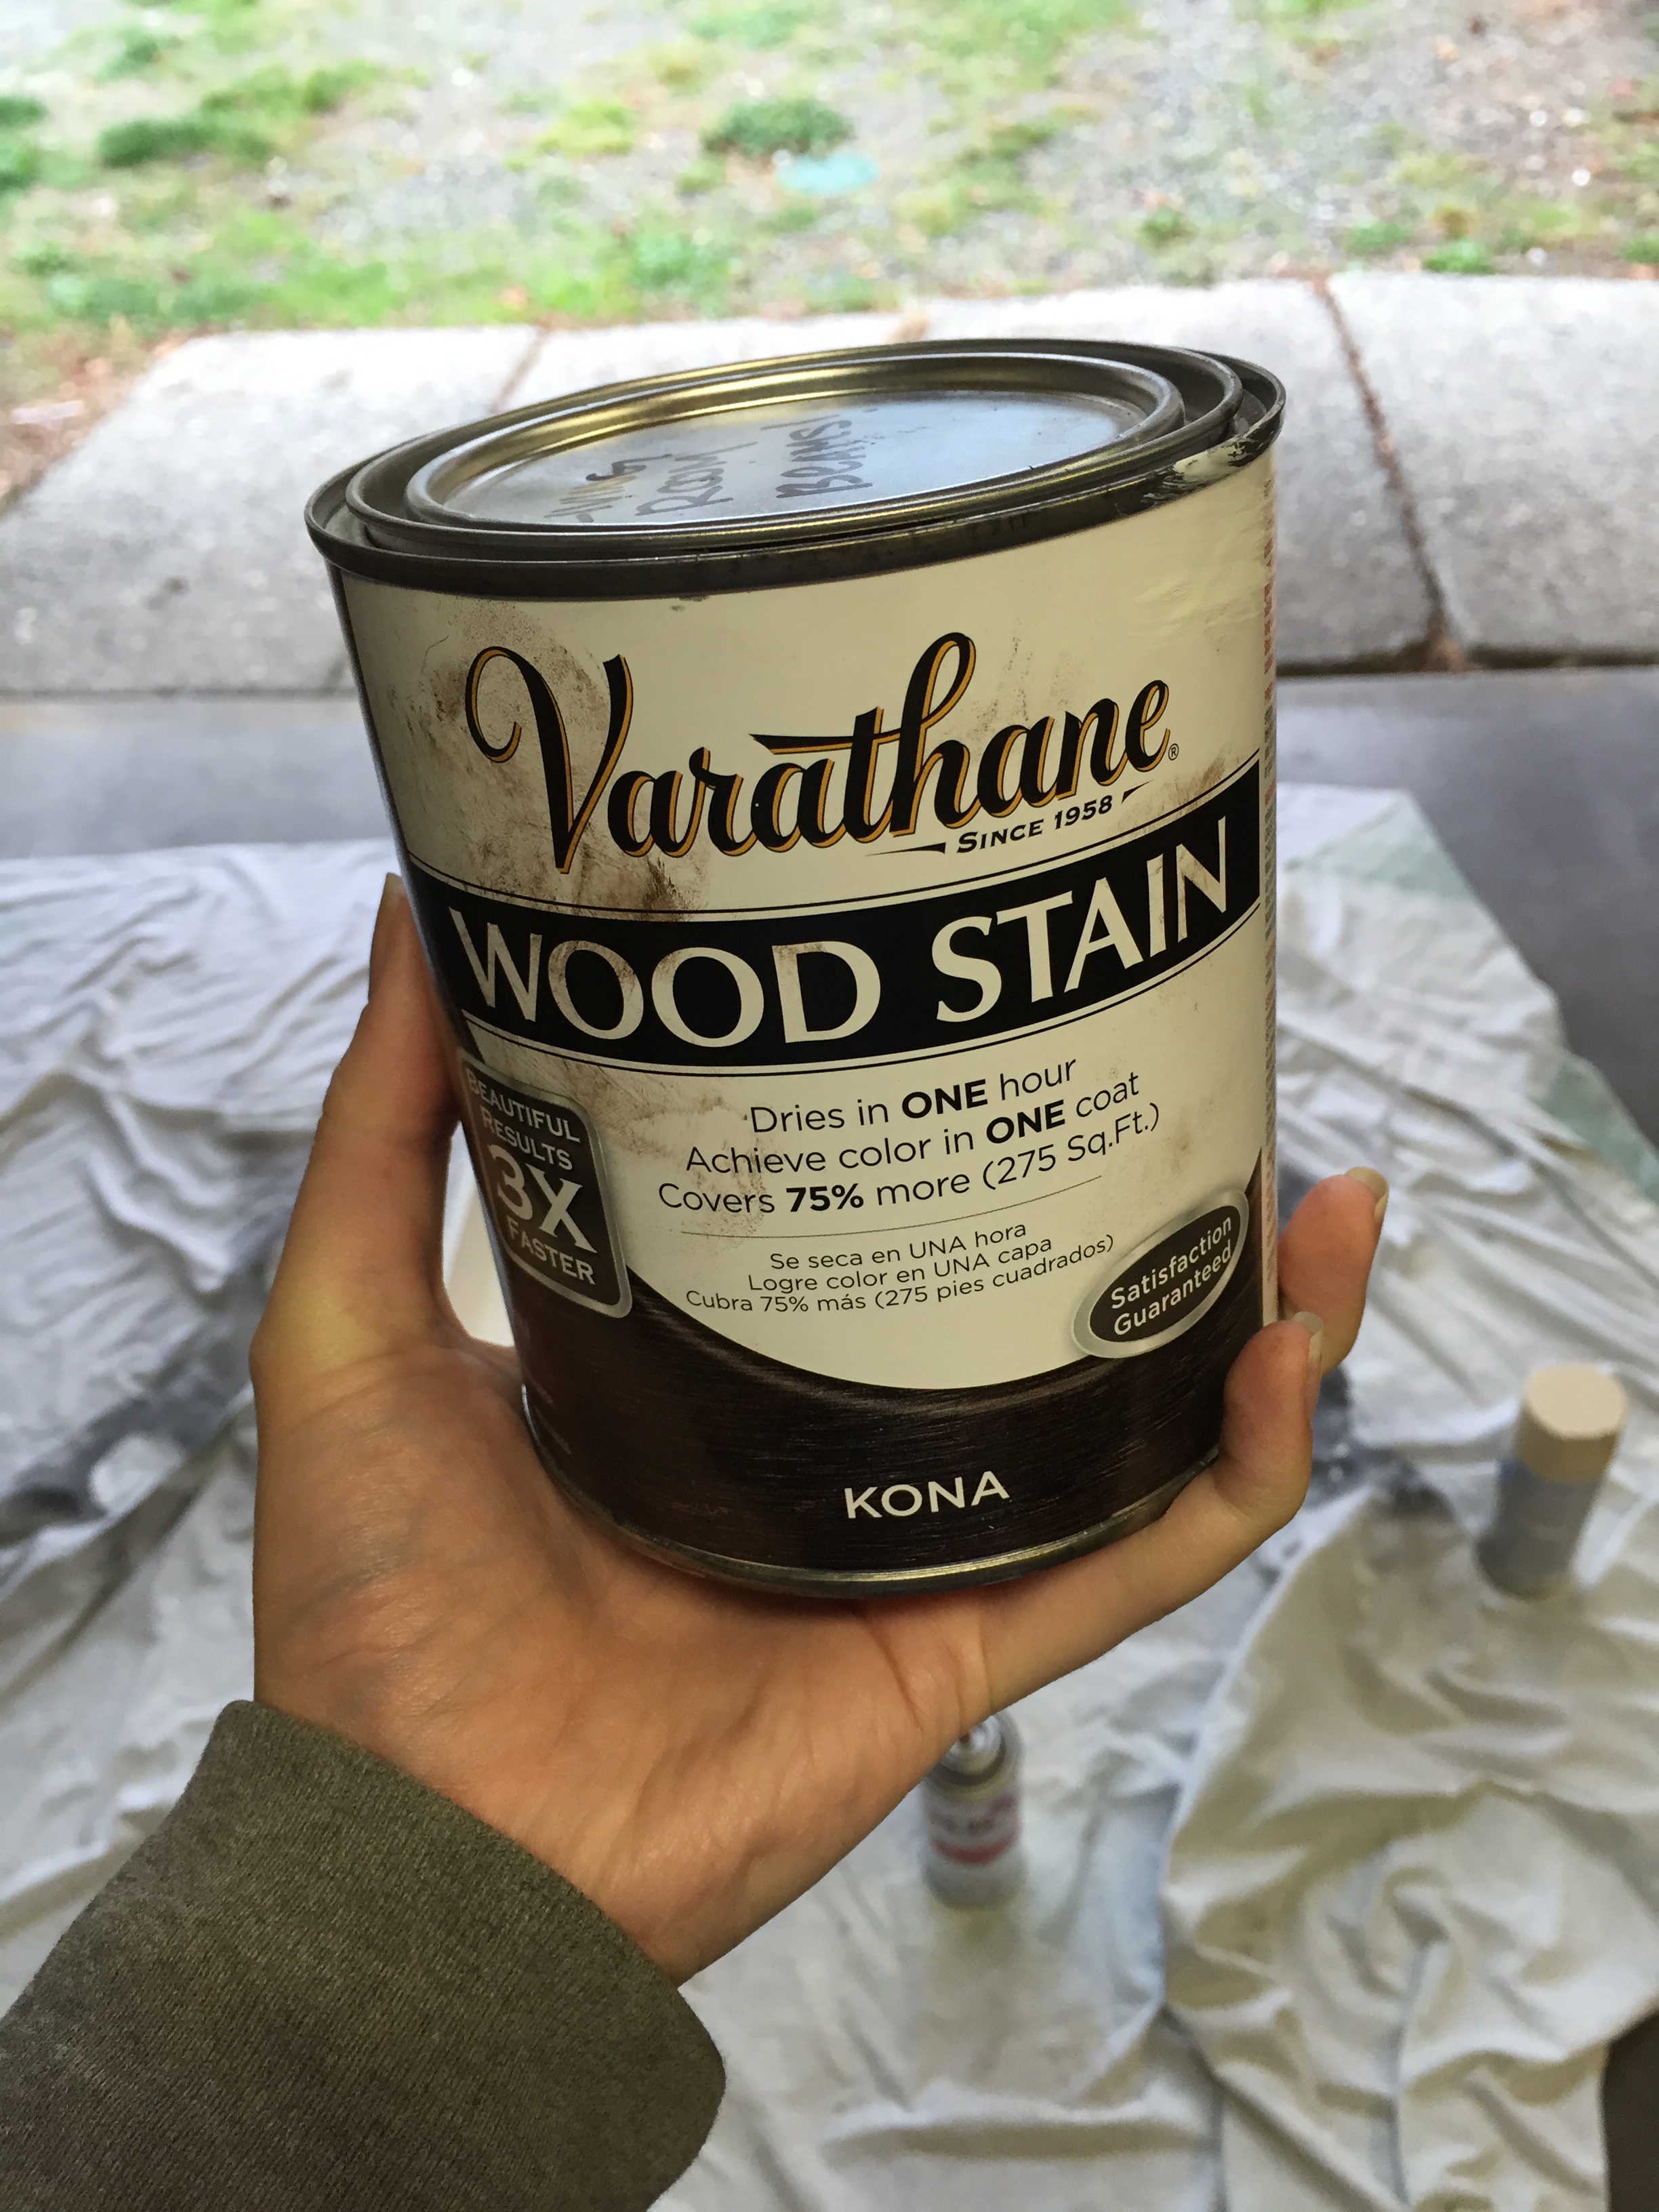
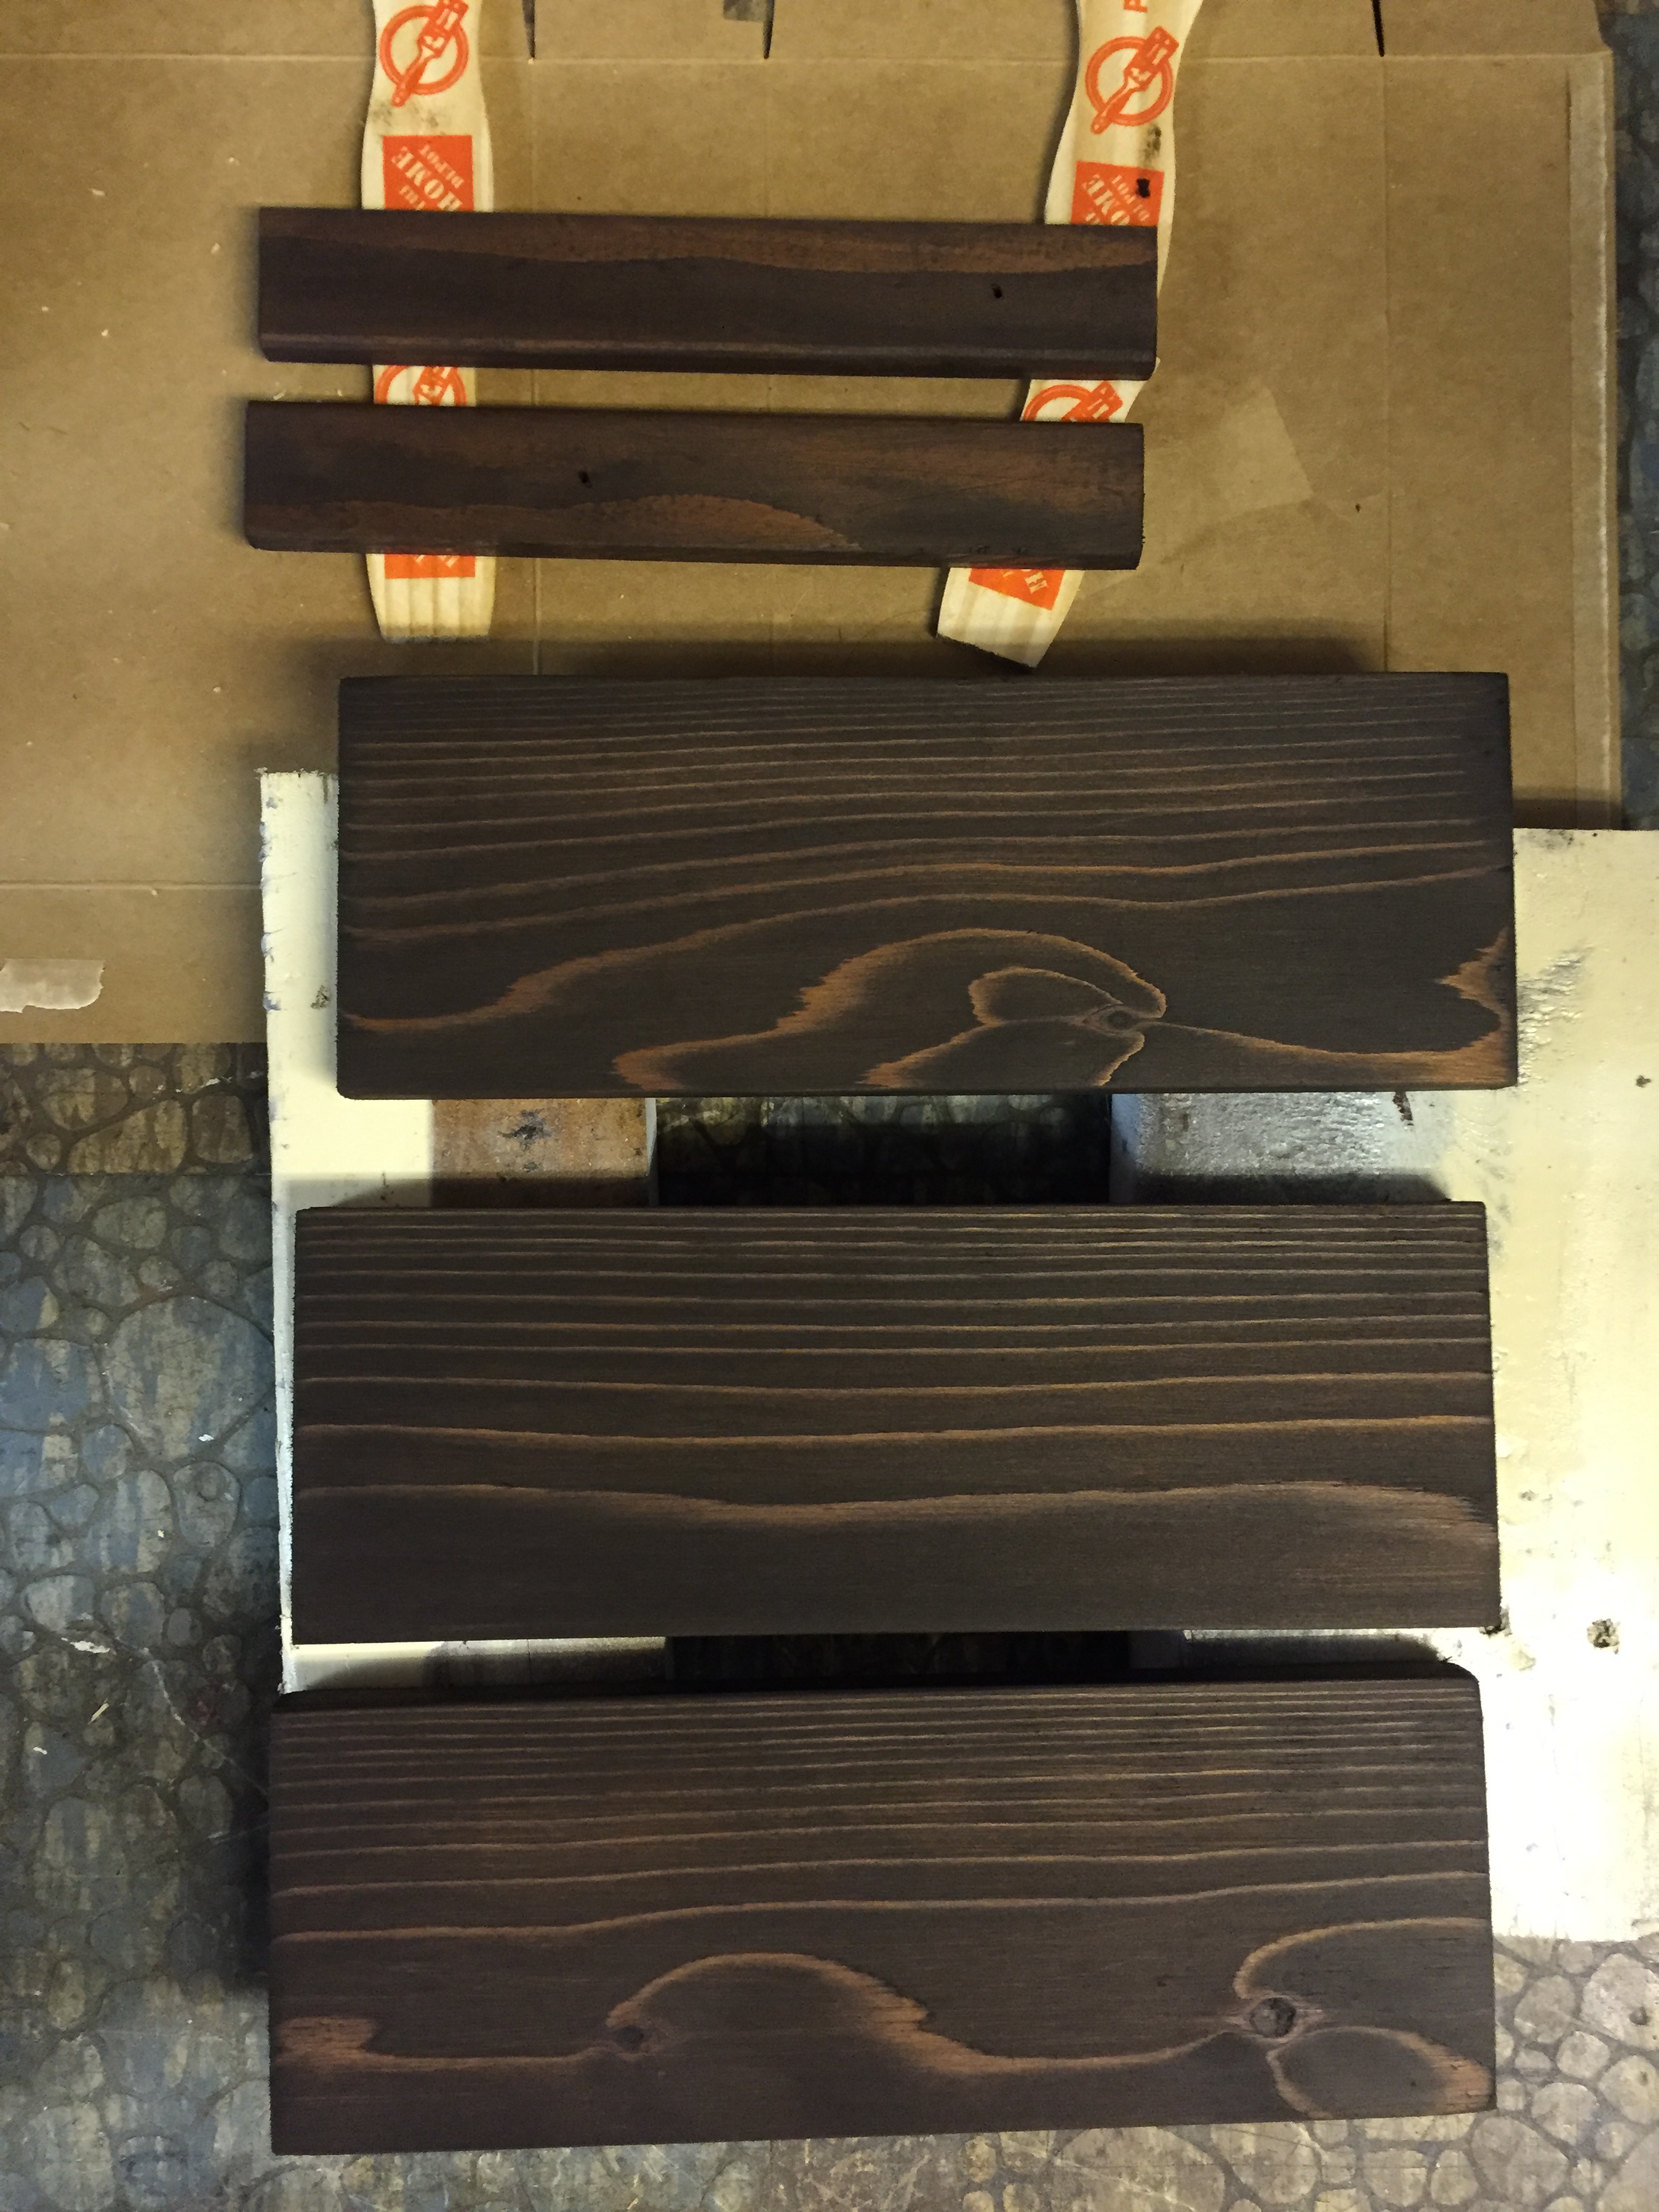
After you’ve sanded each piece, wipe the entire surface with a damp cloth to remove all the saw dust. Then you can apply your desired stain. And of course, I went back to my now favorite stain! It just gives the wood such a dark beauty that I love!
Apply the stain with an old rag, along the grain of the wood. And wipe away the excess with another cloth.
NOTE: Less is more with dark stains. Be careful!
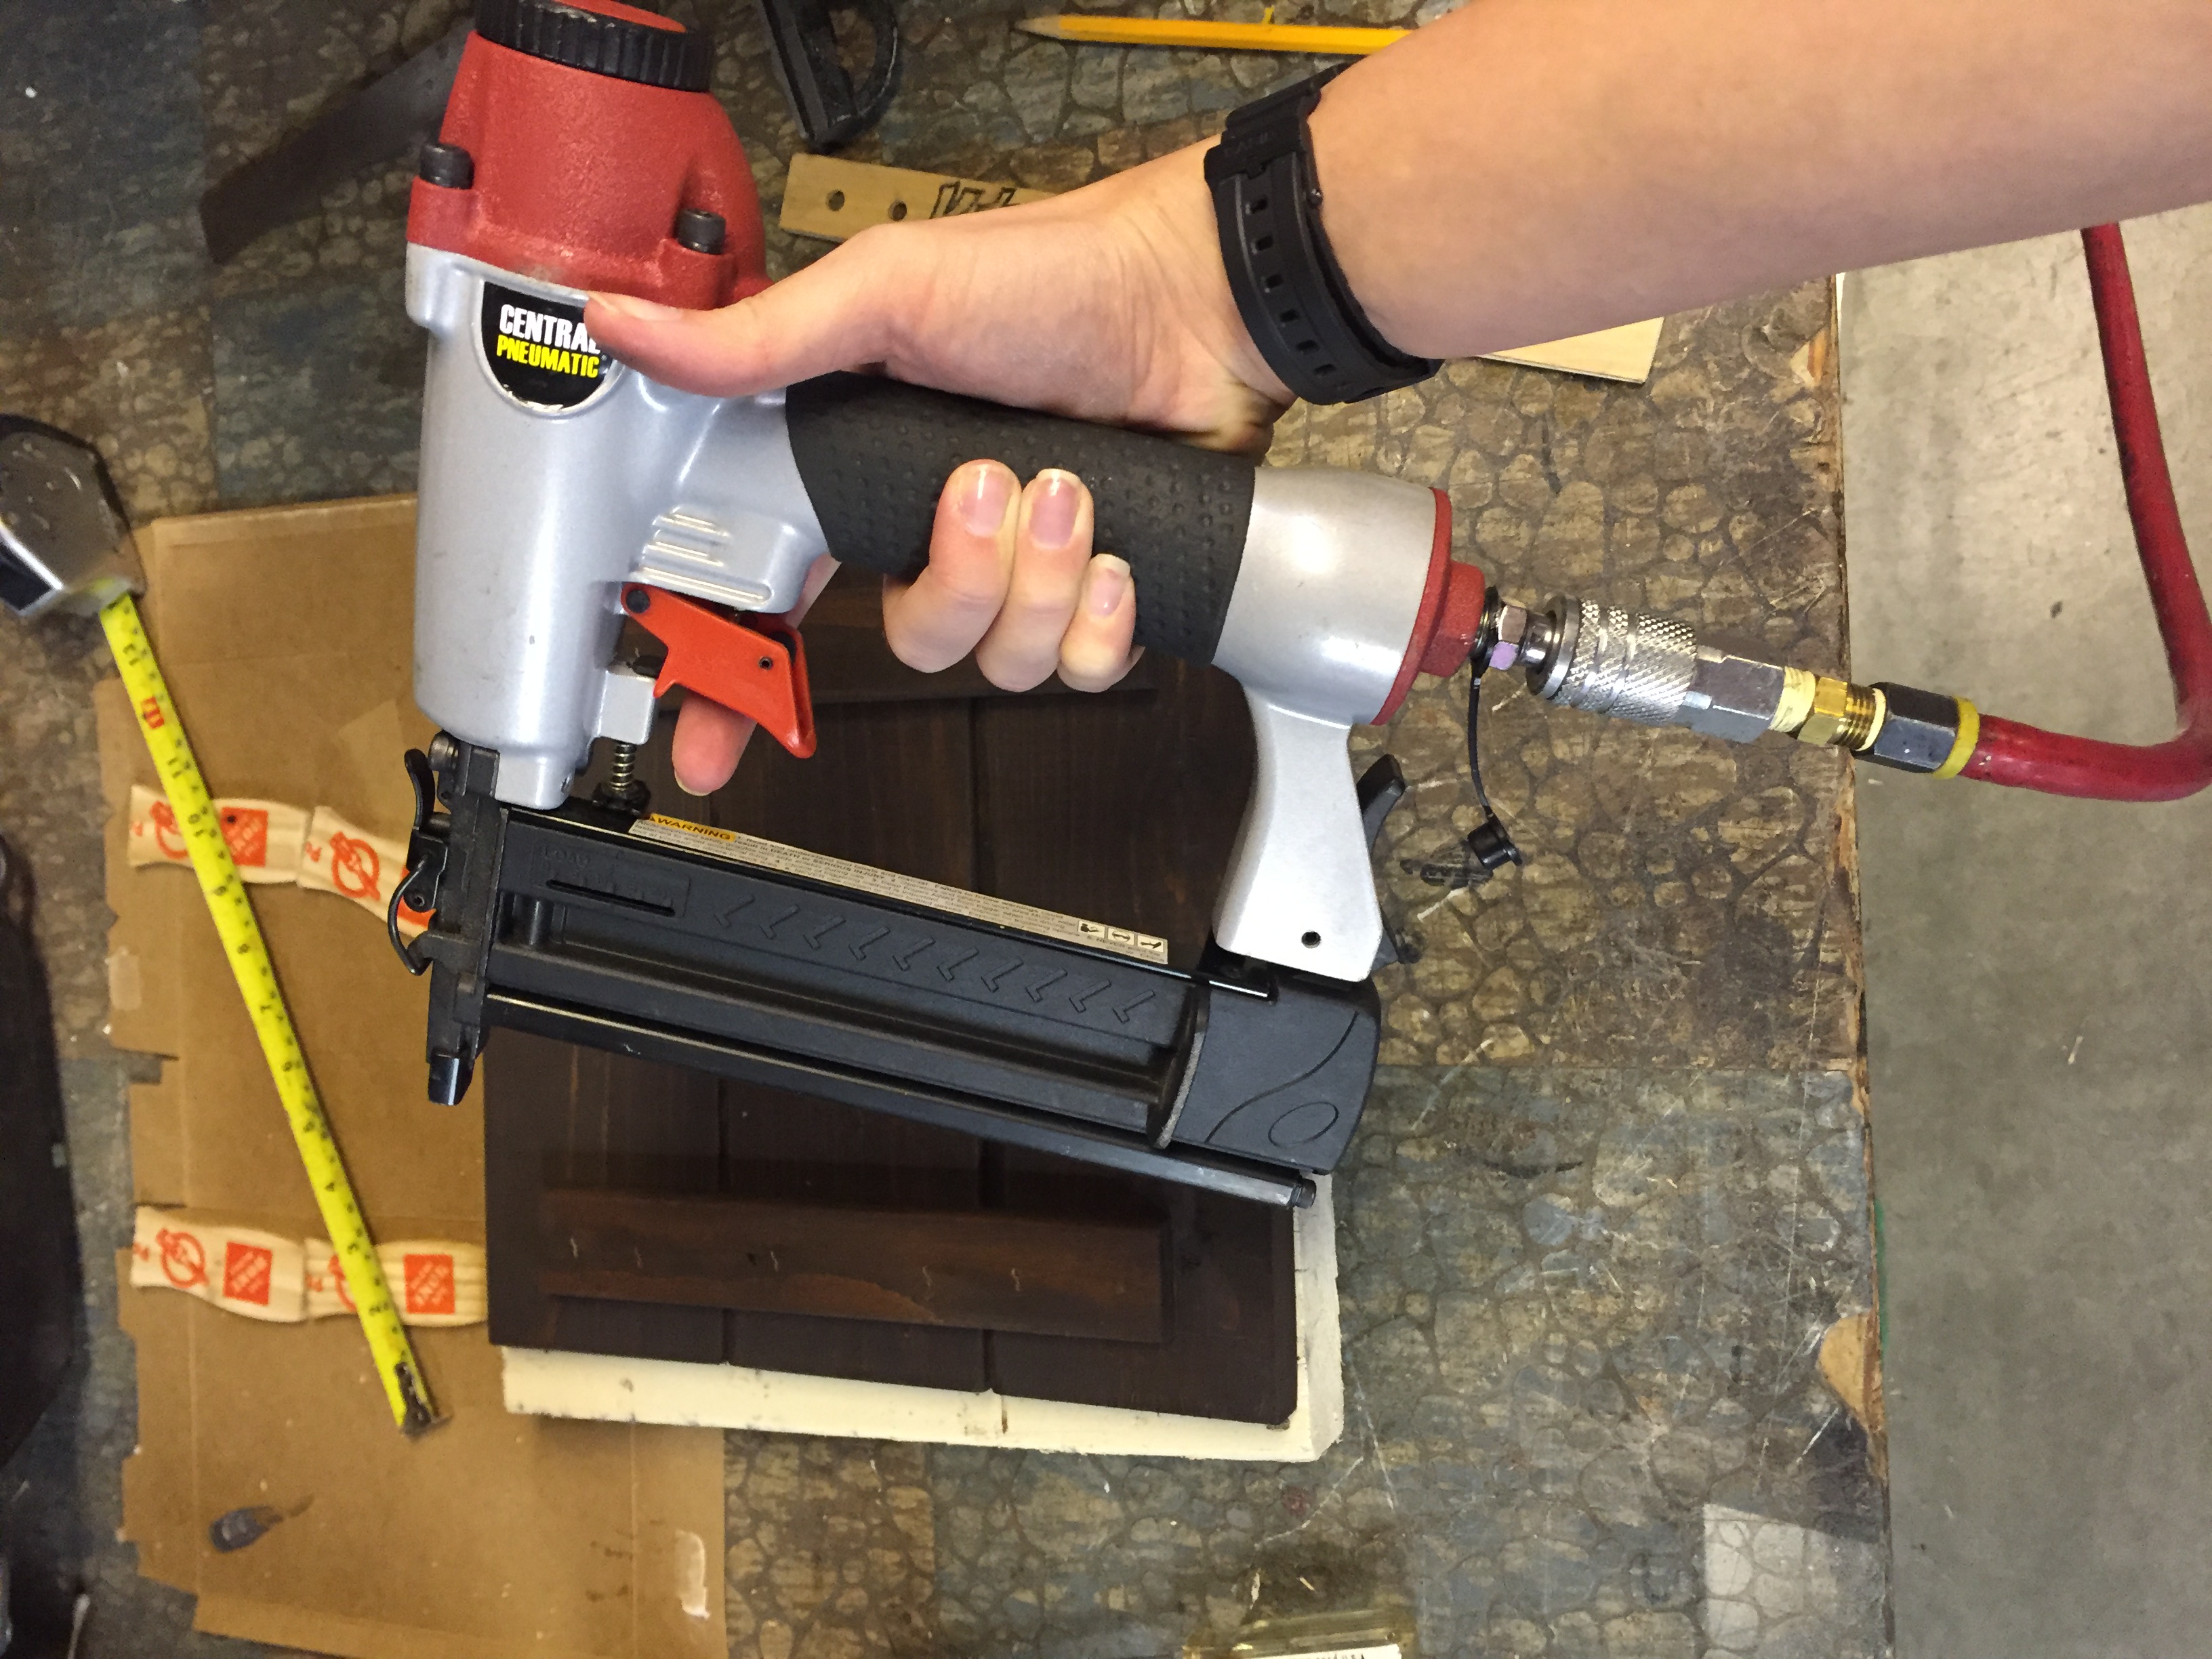

Since my dad taught me how to safely use the nail gun during one of my latest projects (SEE THAT HERE) I was confident and able to do it on my own this time! (And yes…I did a little happy dance after) I used 1 inch nails and the air pressure was set to 40…I’m not quite sure what the unit of measurement is for an air compressor….pounds maybe? I’ll have to get back to you on that one.
I measured the exact distance needed to secure the entire top to the metal stand, and placed the smaller pieces of wood according to those measurements. Then I nailed them into place. I decided to do two nails into each cross board. That might be overkill. But, I wanted to make sure it would never come apart.
NOTE: If you don’t know how to use a nail gun, please seek help from someone who does.

Finally, I gave the wood top a little protective coat of clear enamel spray paint. It wont completely seal the wood, but it will make it a little resistant to the water. It will give you enough time to wipe up any spill that occurs.

And there you have it. Anything can be turned into something new, you’ve just got to believe and put in a bit of effort. I promise you won’t regret it!
As always, hit subscribe and like us on Facebook (CLICK HERE)
TOTAL COST: $4.99
Total Items SALVAGED from the Inevitable Seattle Trash Day:
- An old Lamp
- Wood
- Paint and Stain
