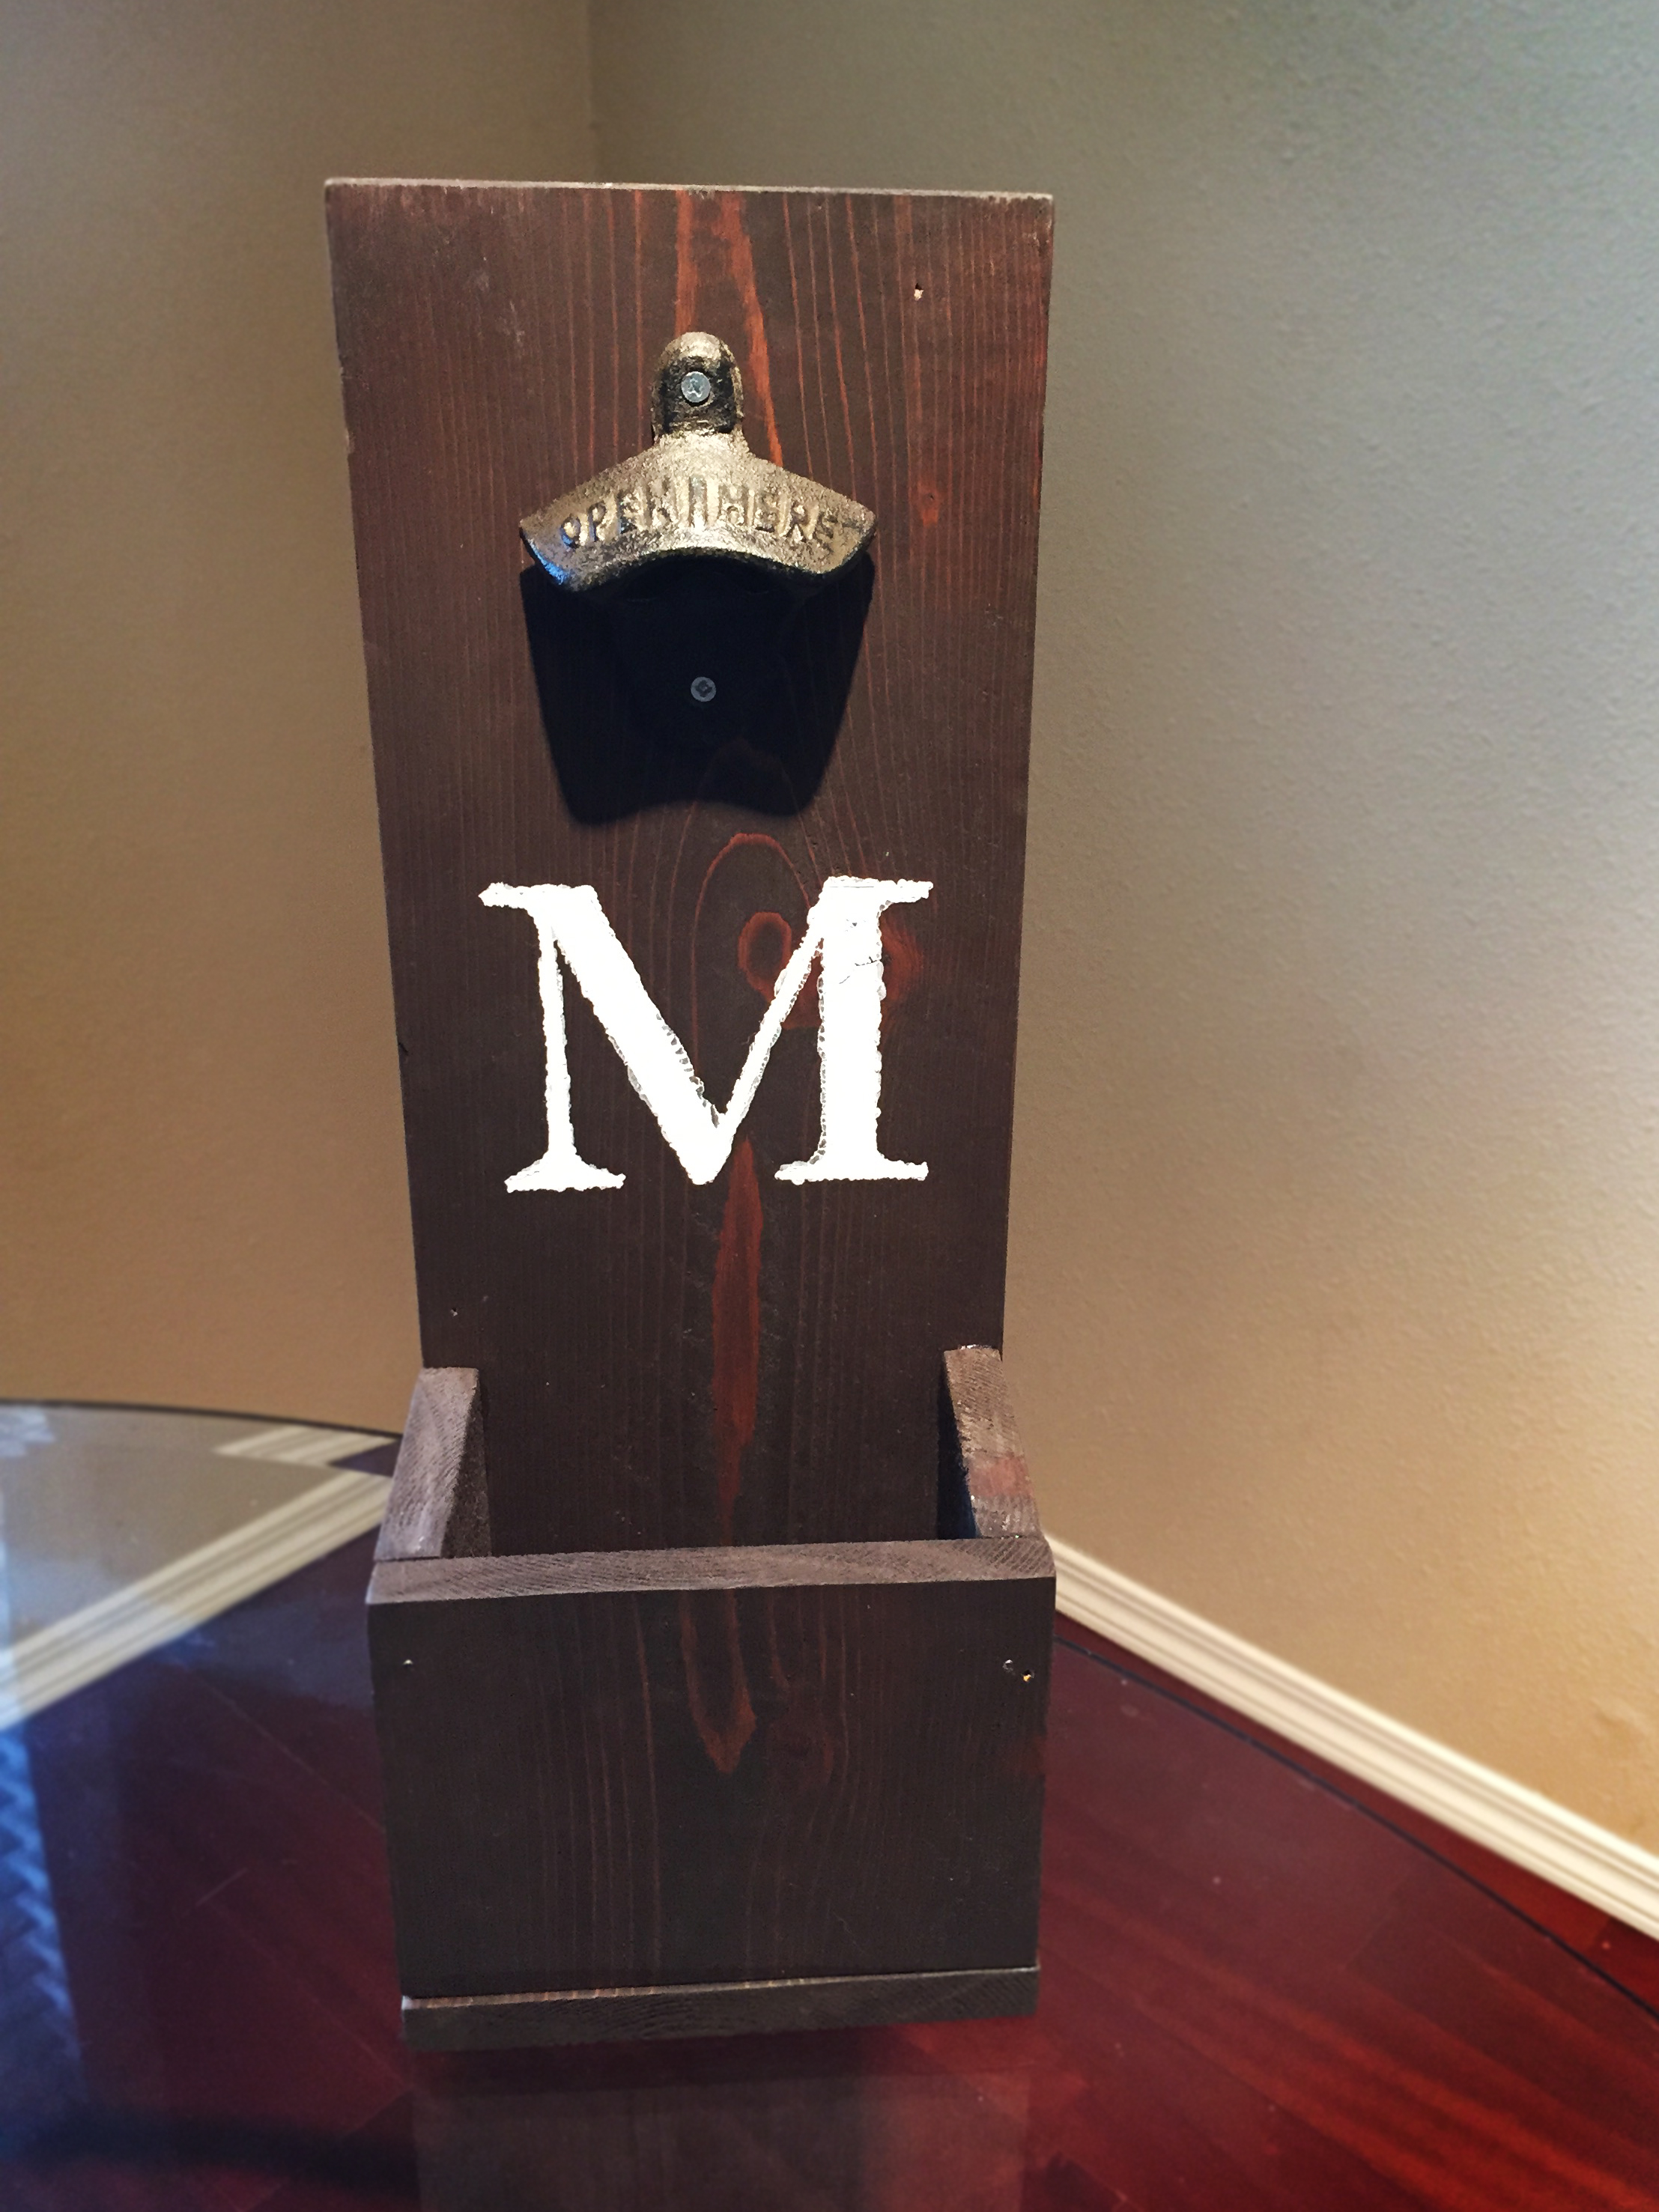
This beautiful project was hand crafted as a birthday gift for a special someone. And I’m very pleased with the final product! With this handy bottle opener and cap collector, you can entertain many people, and not worry about finding bottle caps all over the place for the next two weeks!
Below, you’ll read step-by-step instructions on how to make this beauty yourself!
Let’s get this DIY project started!
For this project I used some fence wood from my dad’s wood pile. It’s also the same wood used for the Mason Jar Candle Holders and the Upcycled Side Table projects. Click on those project names for easy tutorials on how to complete them.
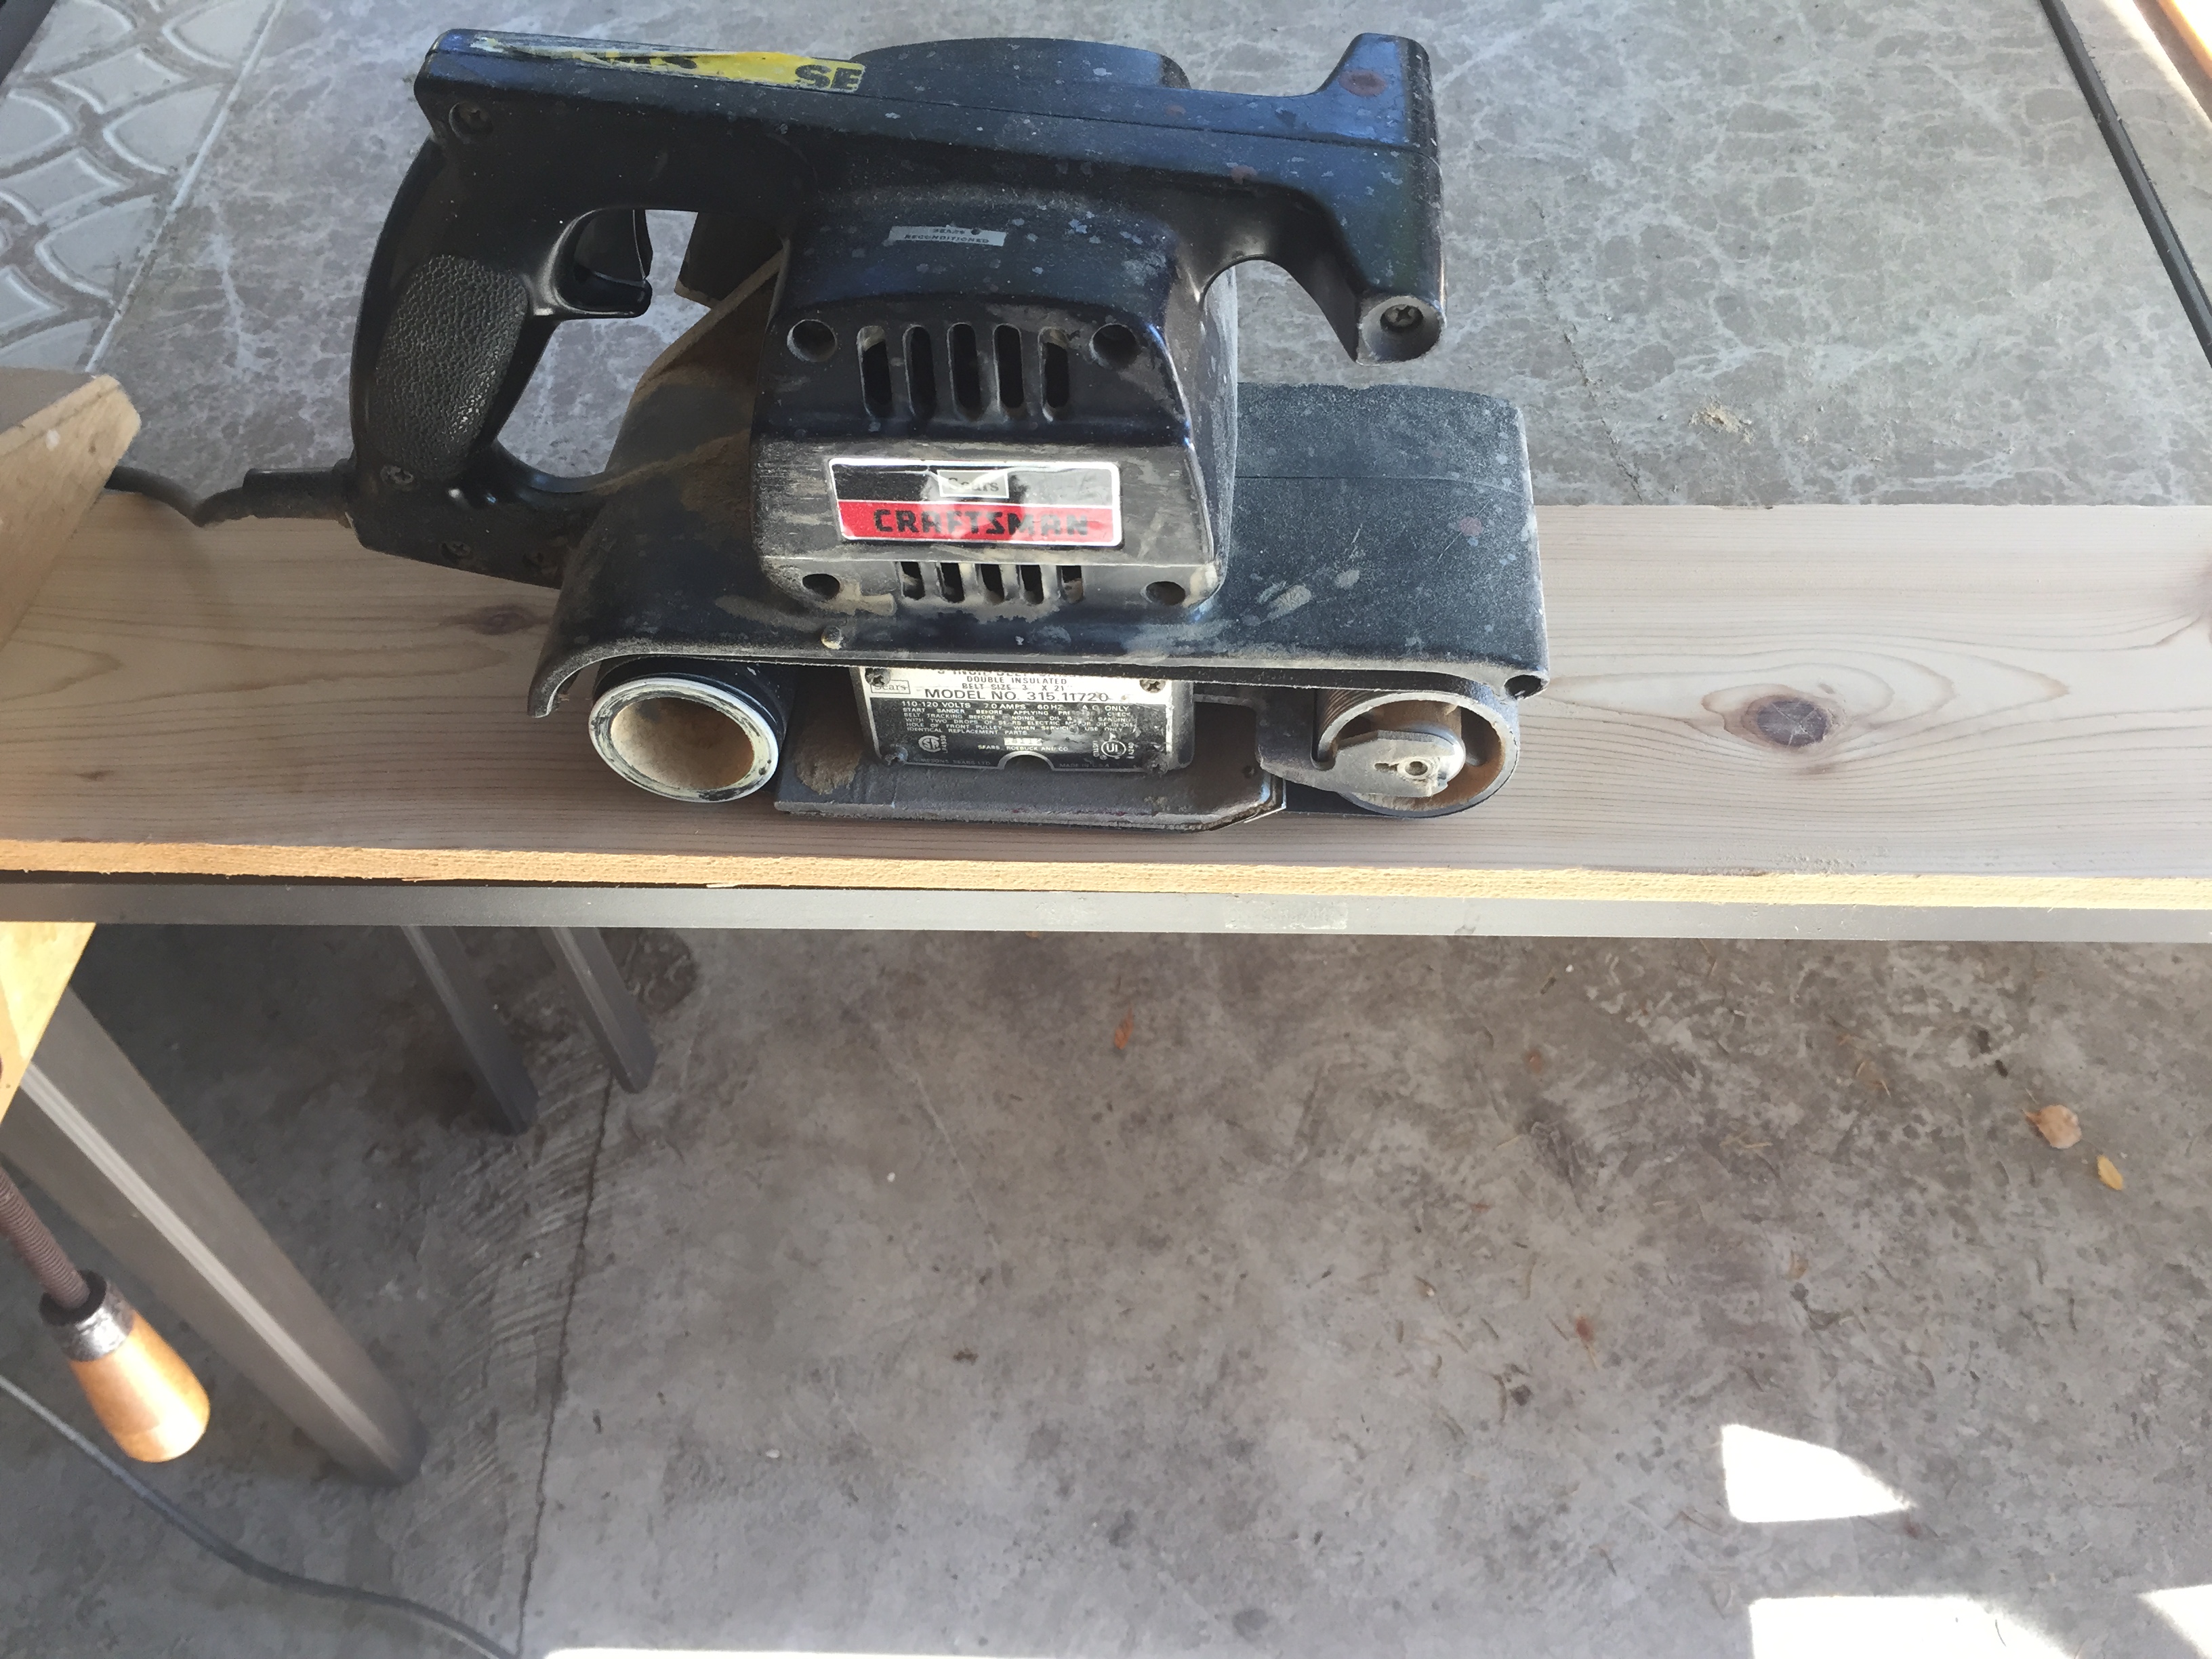
For this project, the first step is to sand your selected piece of wood. I used a belt sander. If you don’t know how to use one safely, PLEASE seek help from someone who does. And make sure to continuously move the sander with the grain of the wood. Never stop moving the sander while the belt is running!
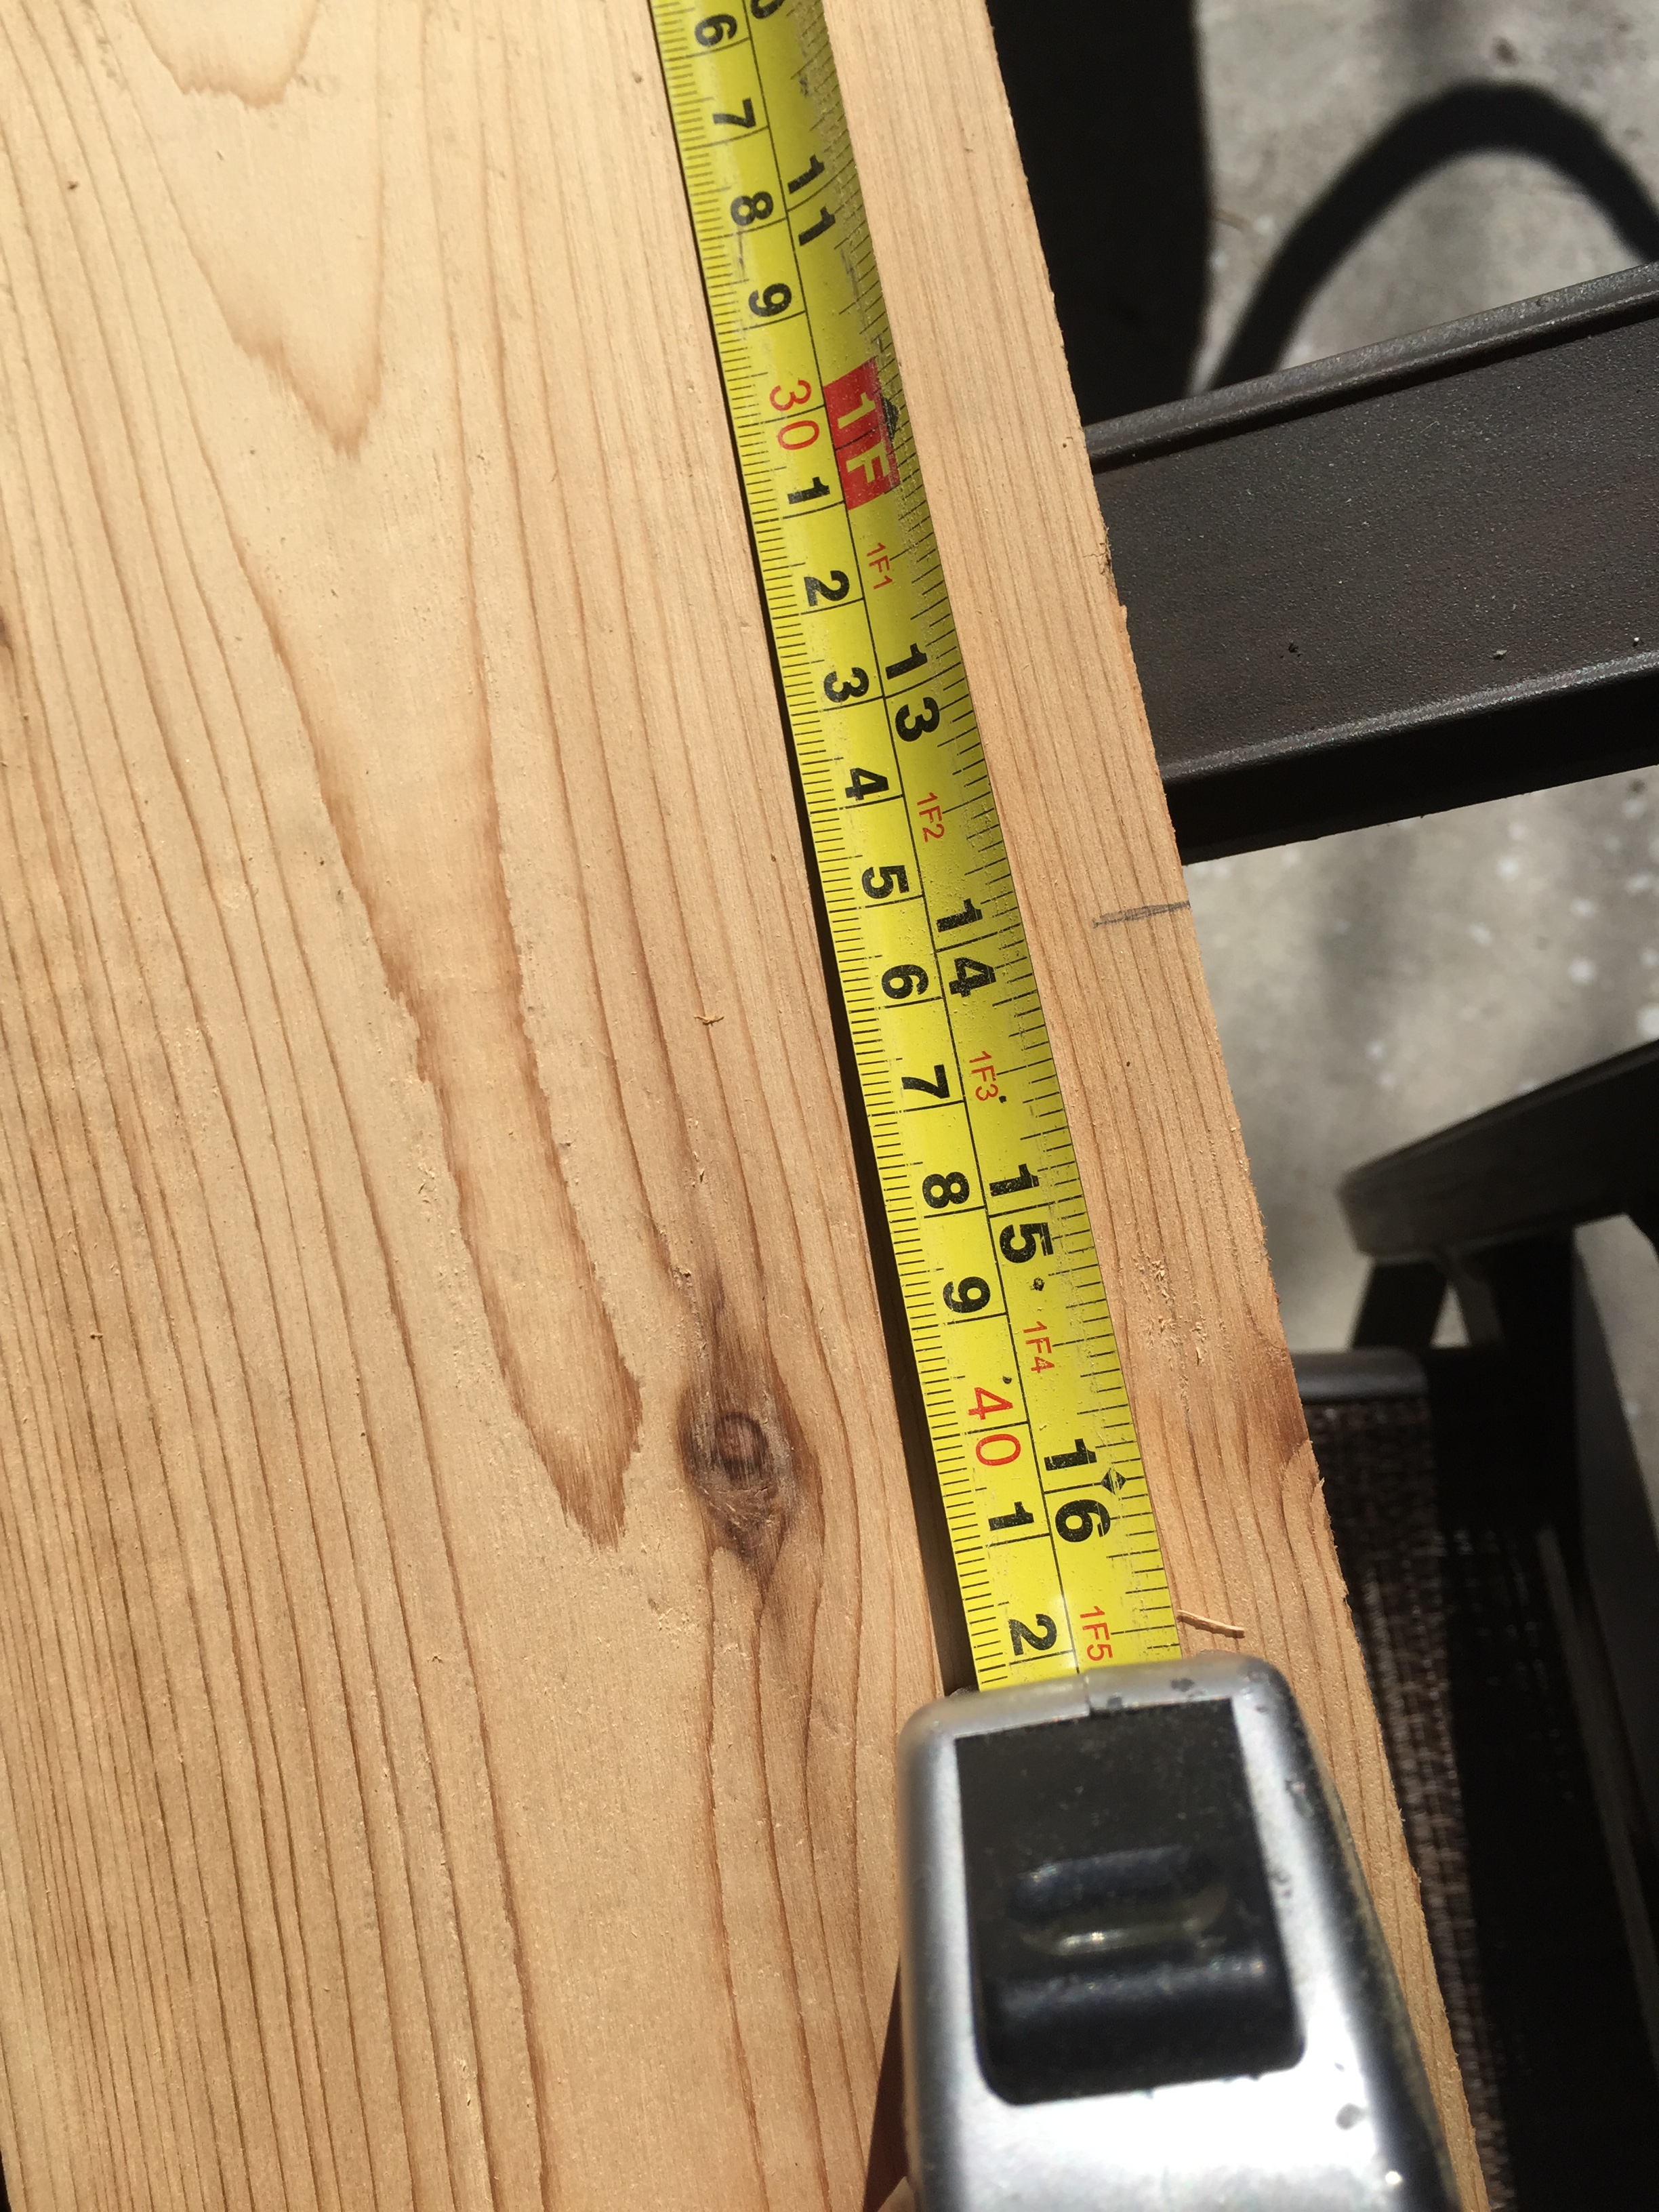
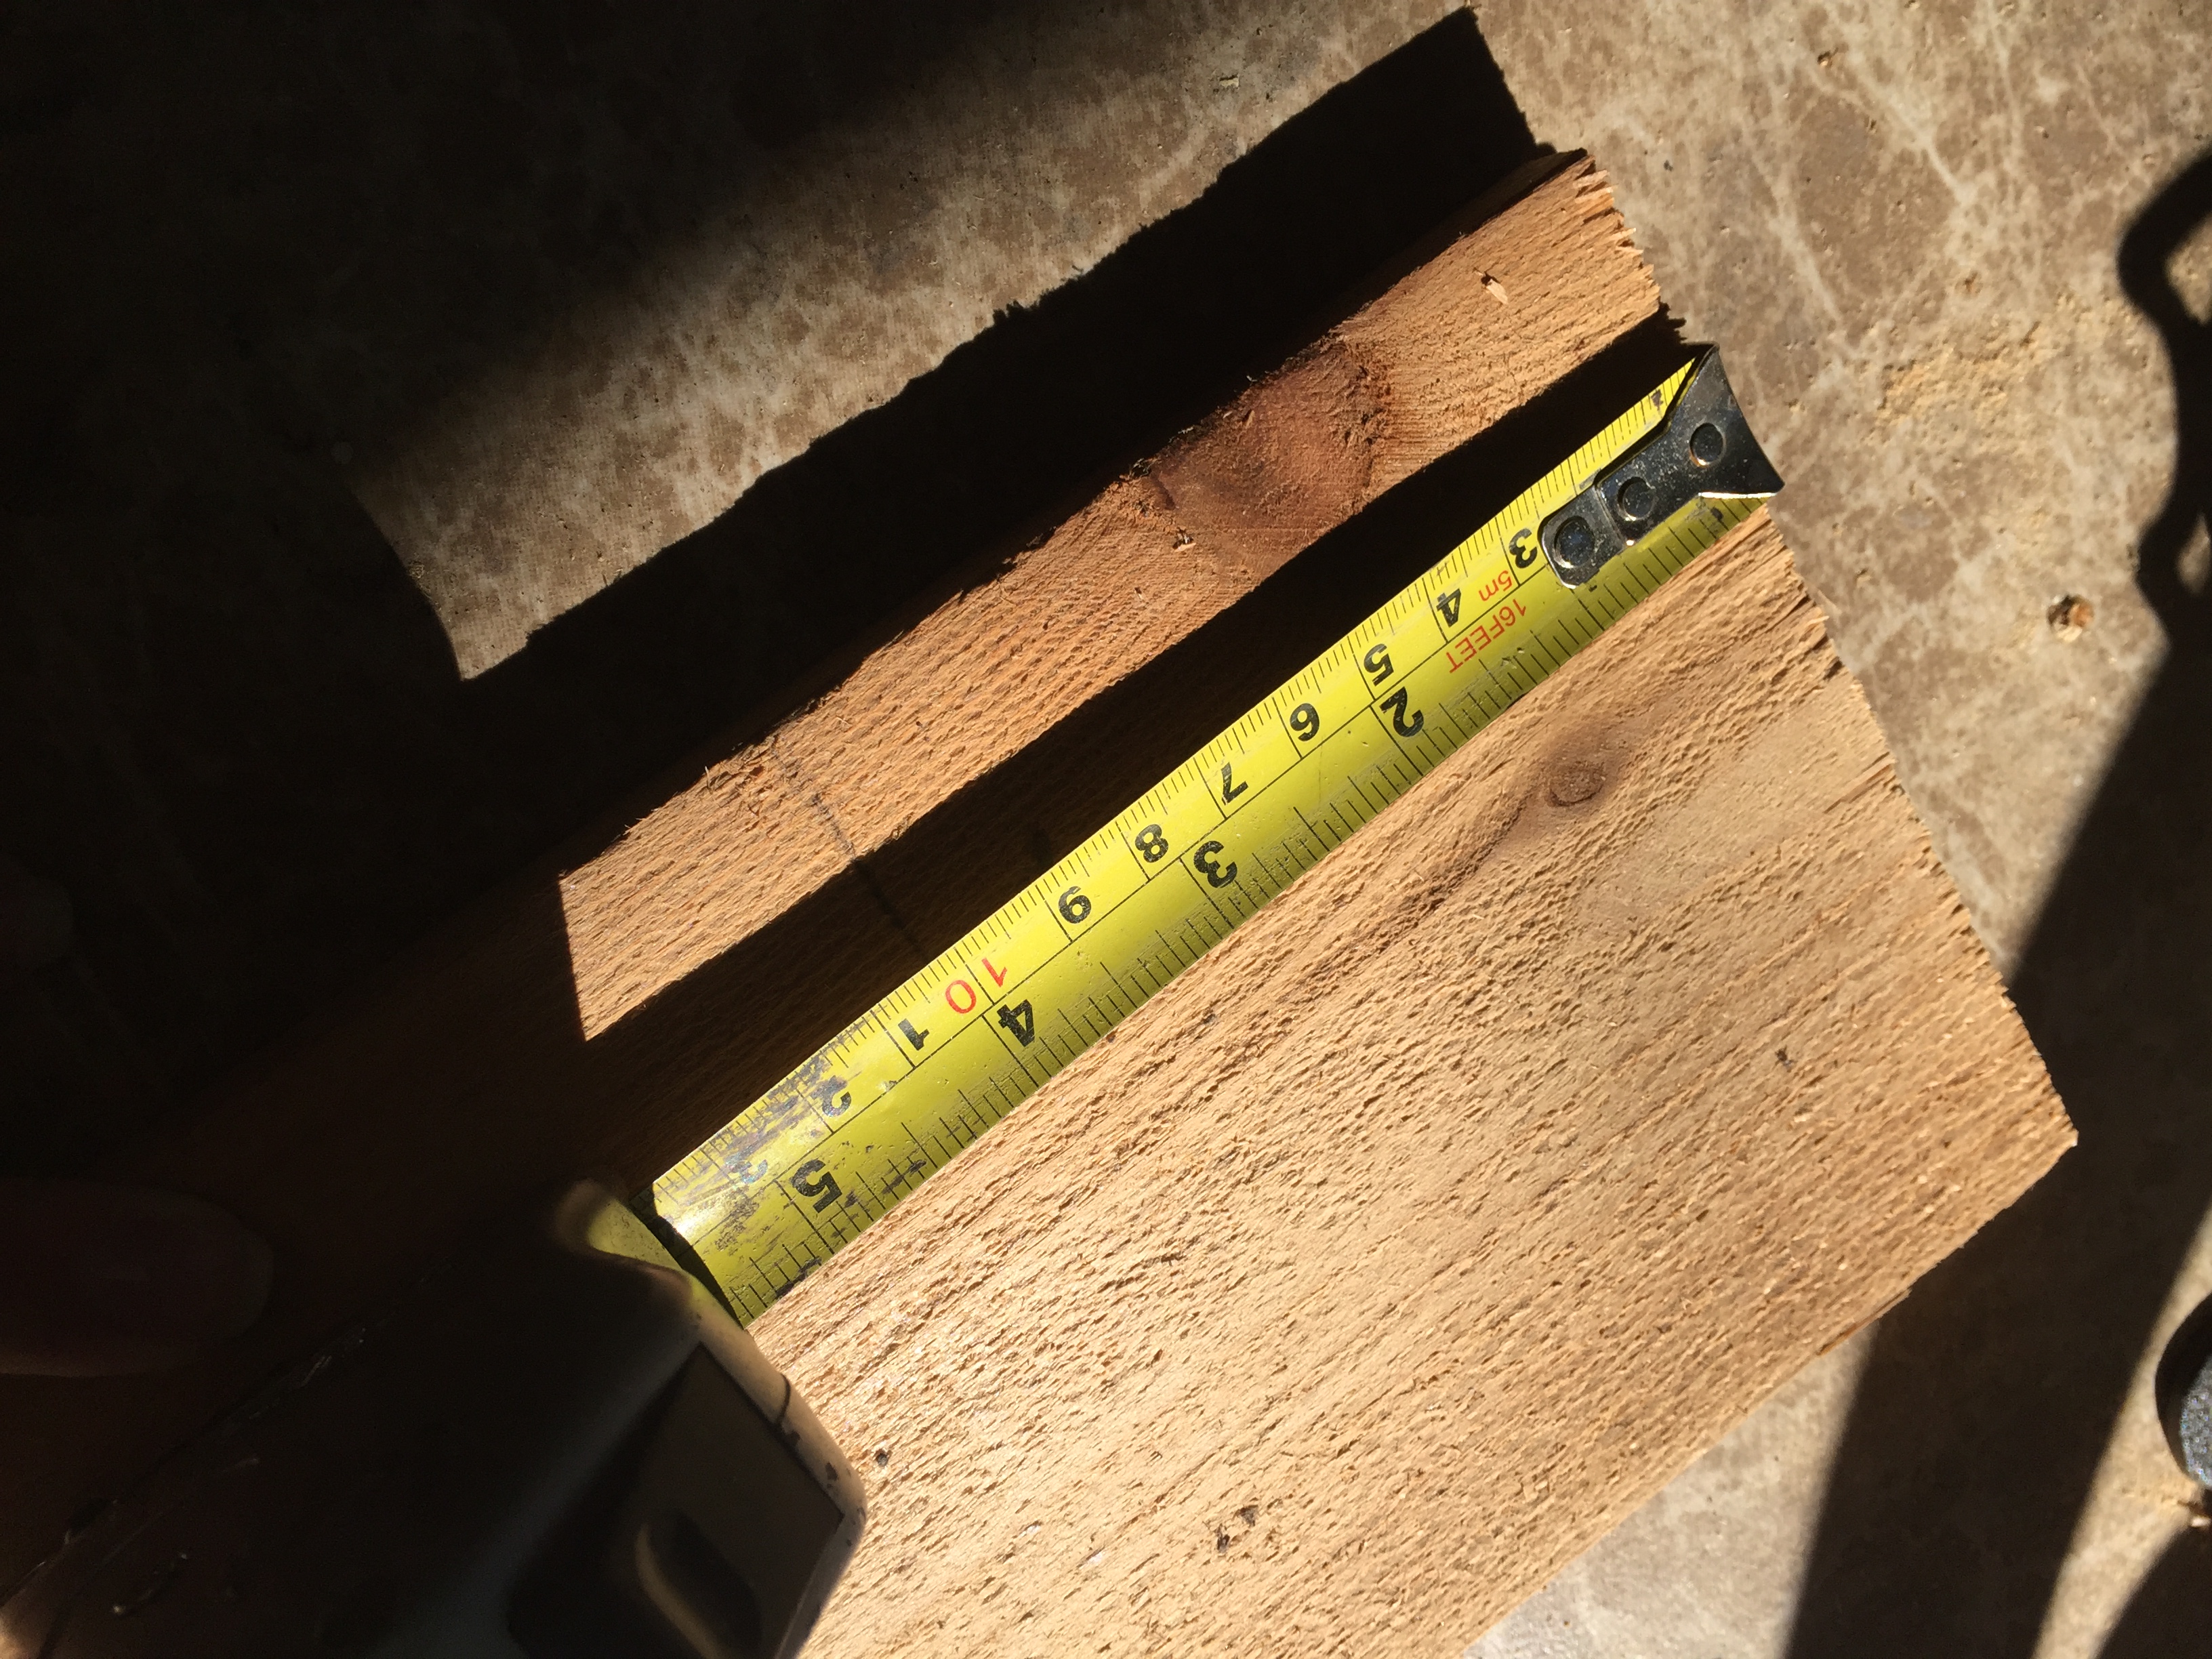
Once you’ve smoothed the wood with a good sanding, the next step is to measure and cut the pieces of wood that will make up the backdrop and box to collect bottle caps. The measurements are as follows:
Backdrop – 5.25 x 14 inches
Bottom & Front – 5.25 x 4 inches
Two Sides – 2.75 x 4 inches
NOTE: Measurement for the side pieces will vary based on how thick the wood is that you are using. You’ll need to measure how much space there is between your back drop, and the front piece of wood.
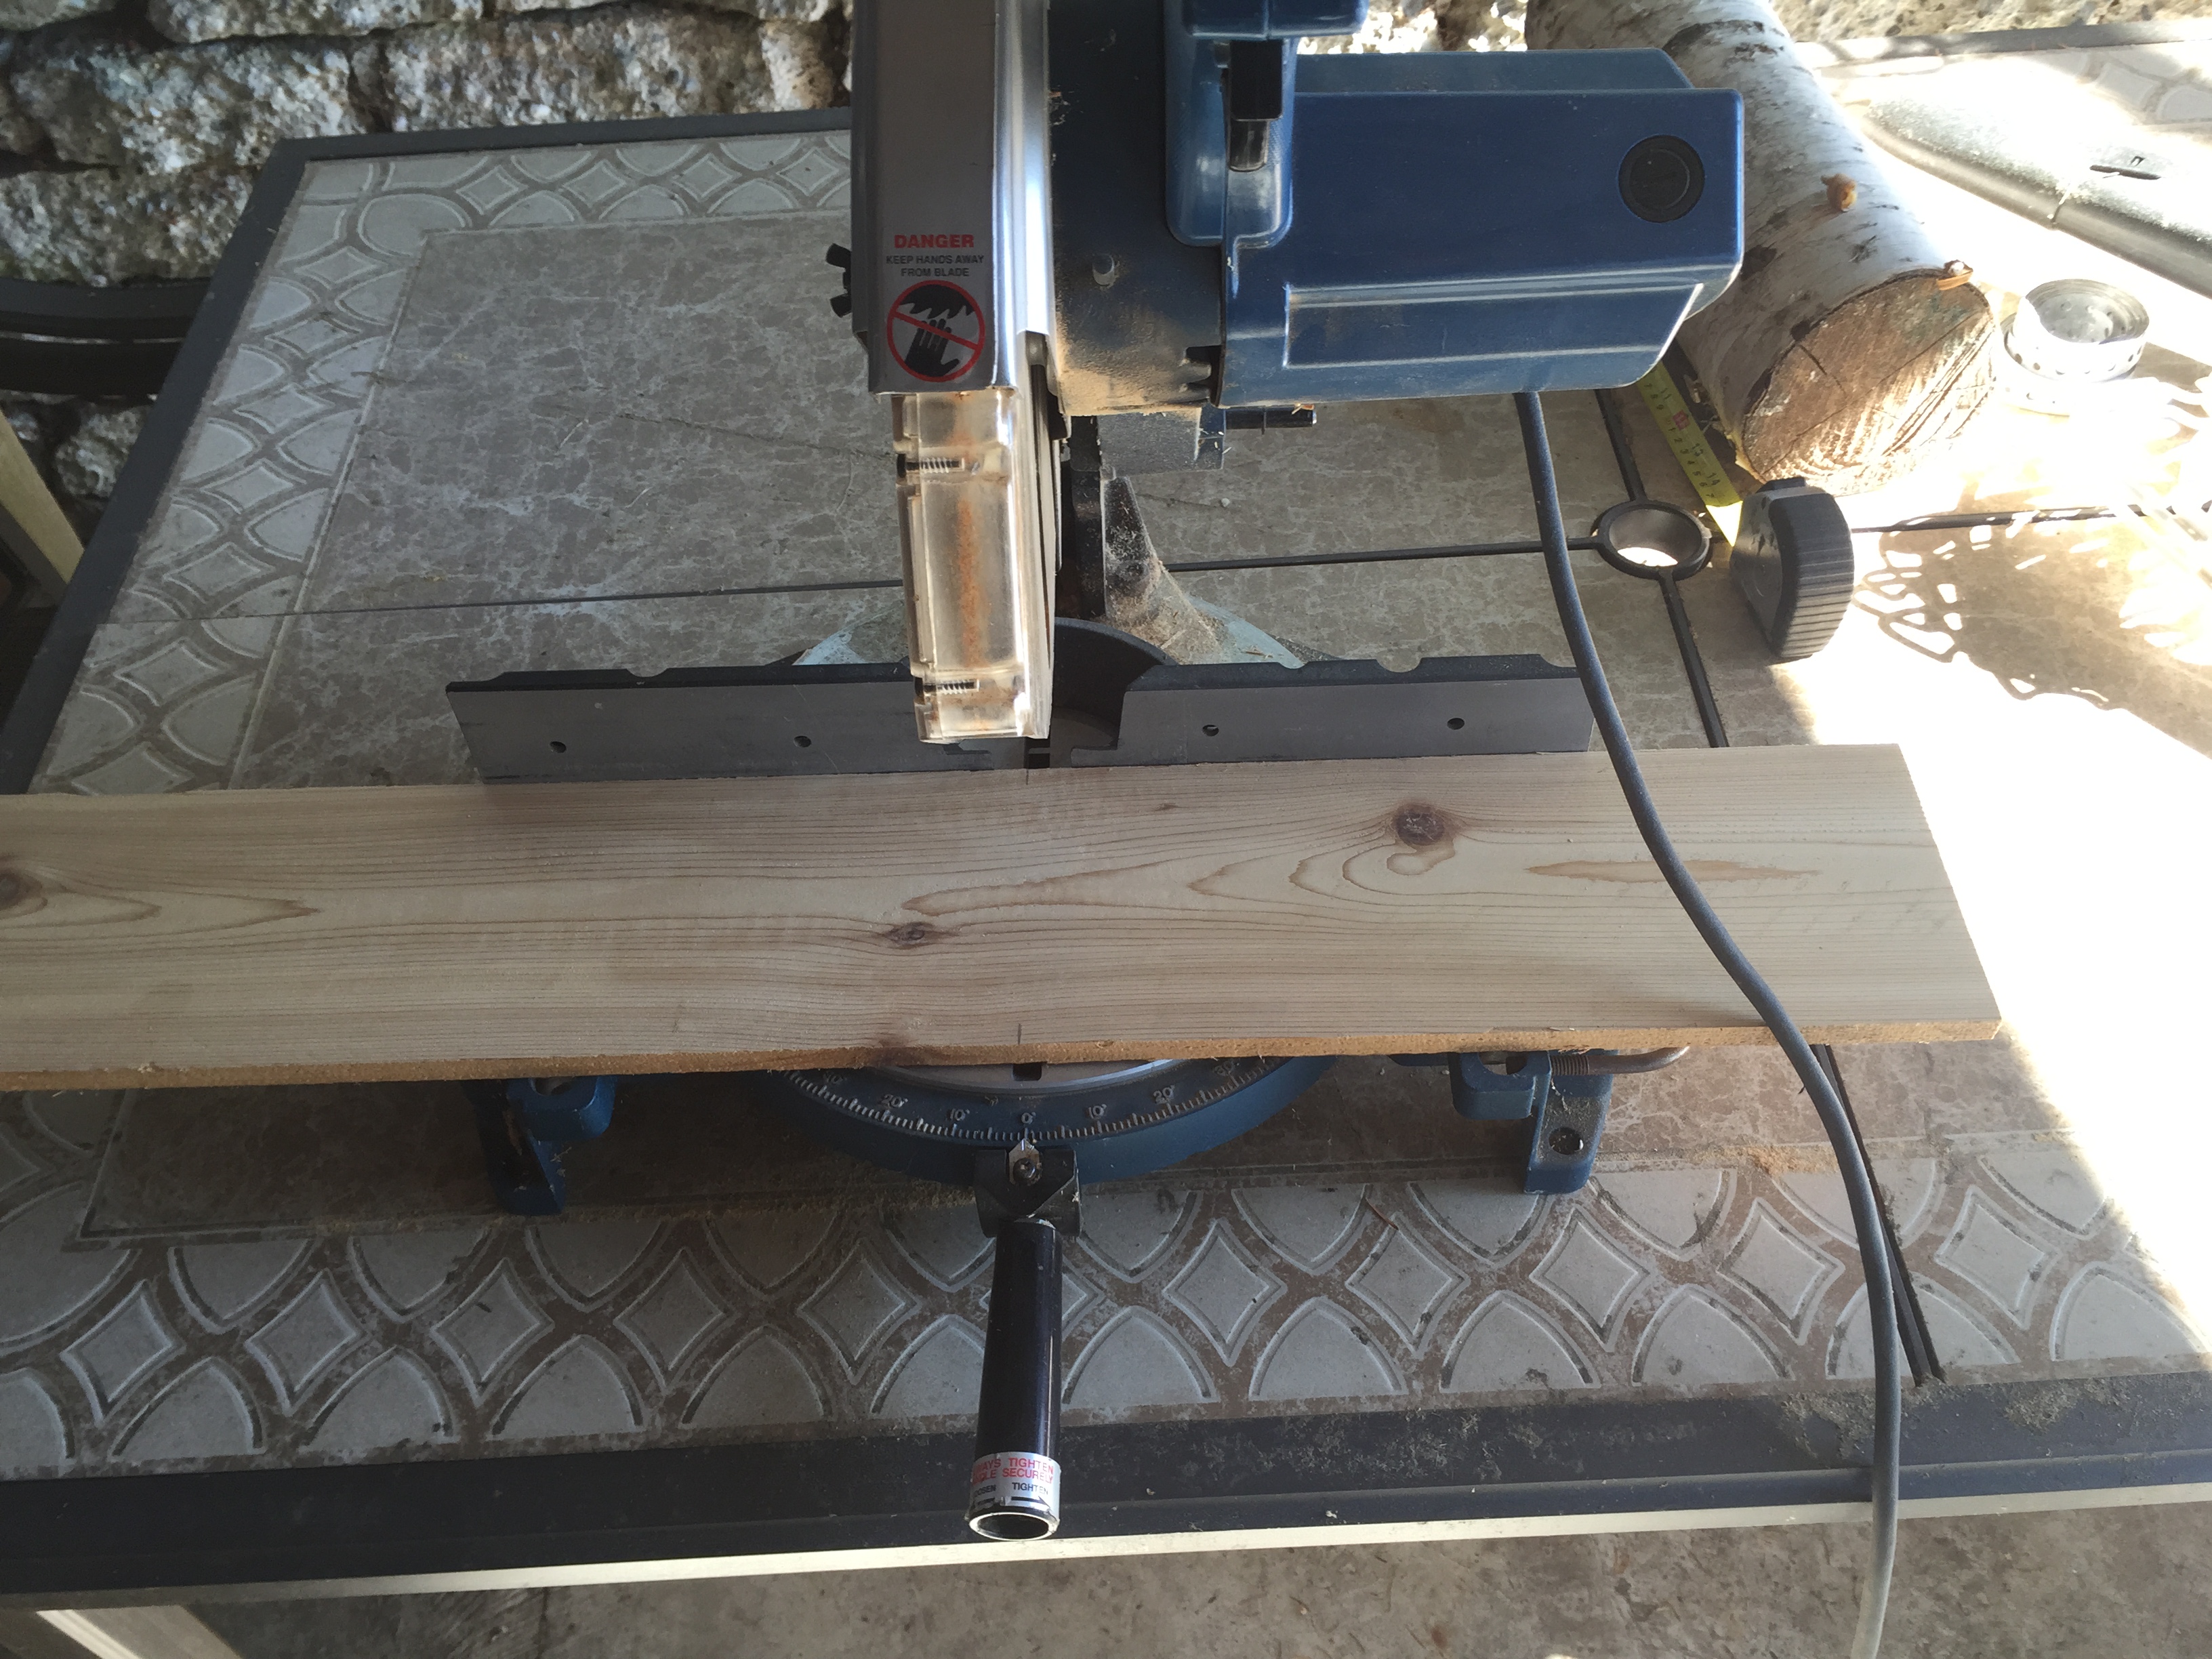
If you are making all your pieces from one board, make sure to measure and cut one piece at a time. The blade of your saw will remove a slice of wood the thickness of the blade. This will skew your measurements, and you need them to be exact if you’re building a box.
And of course, if you do not know how to use a saw, PLEASE seek the help of someone who does!
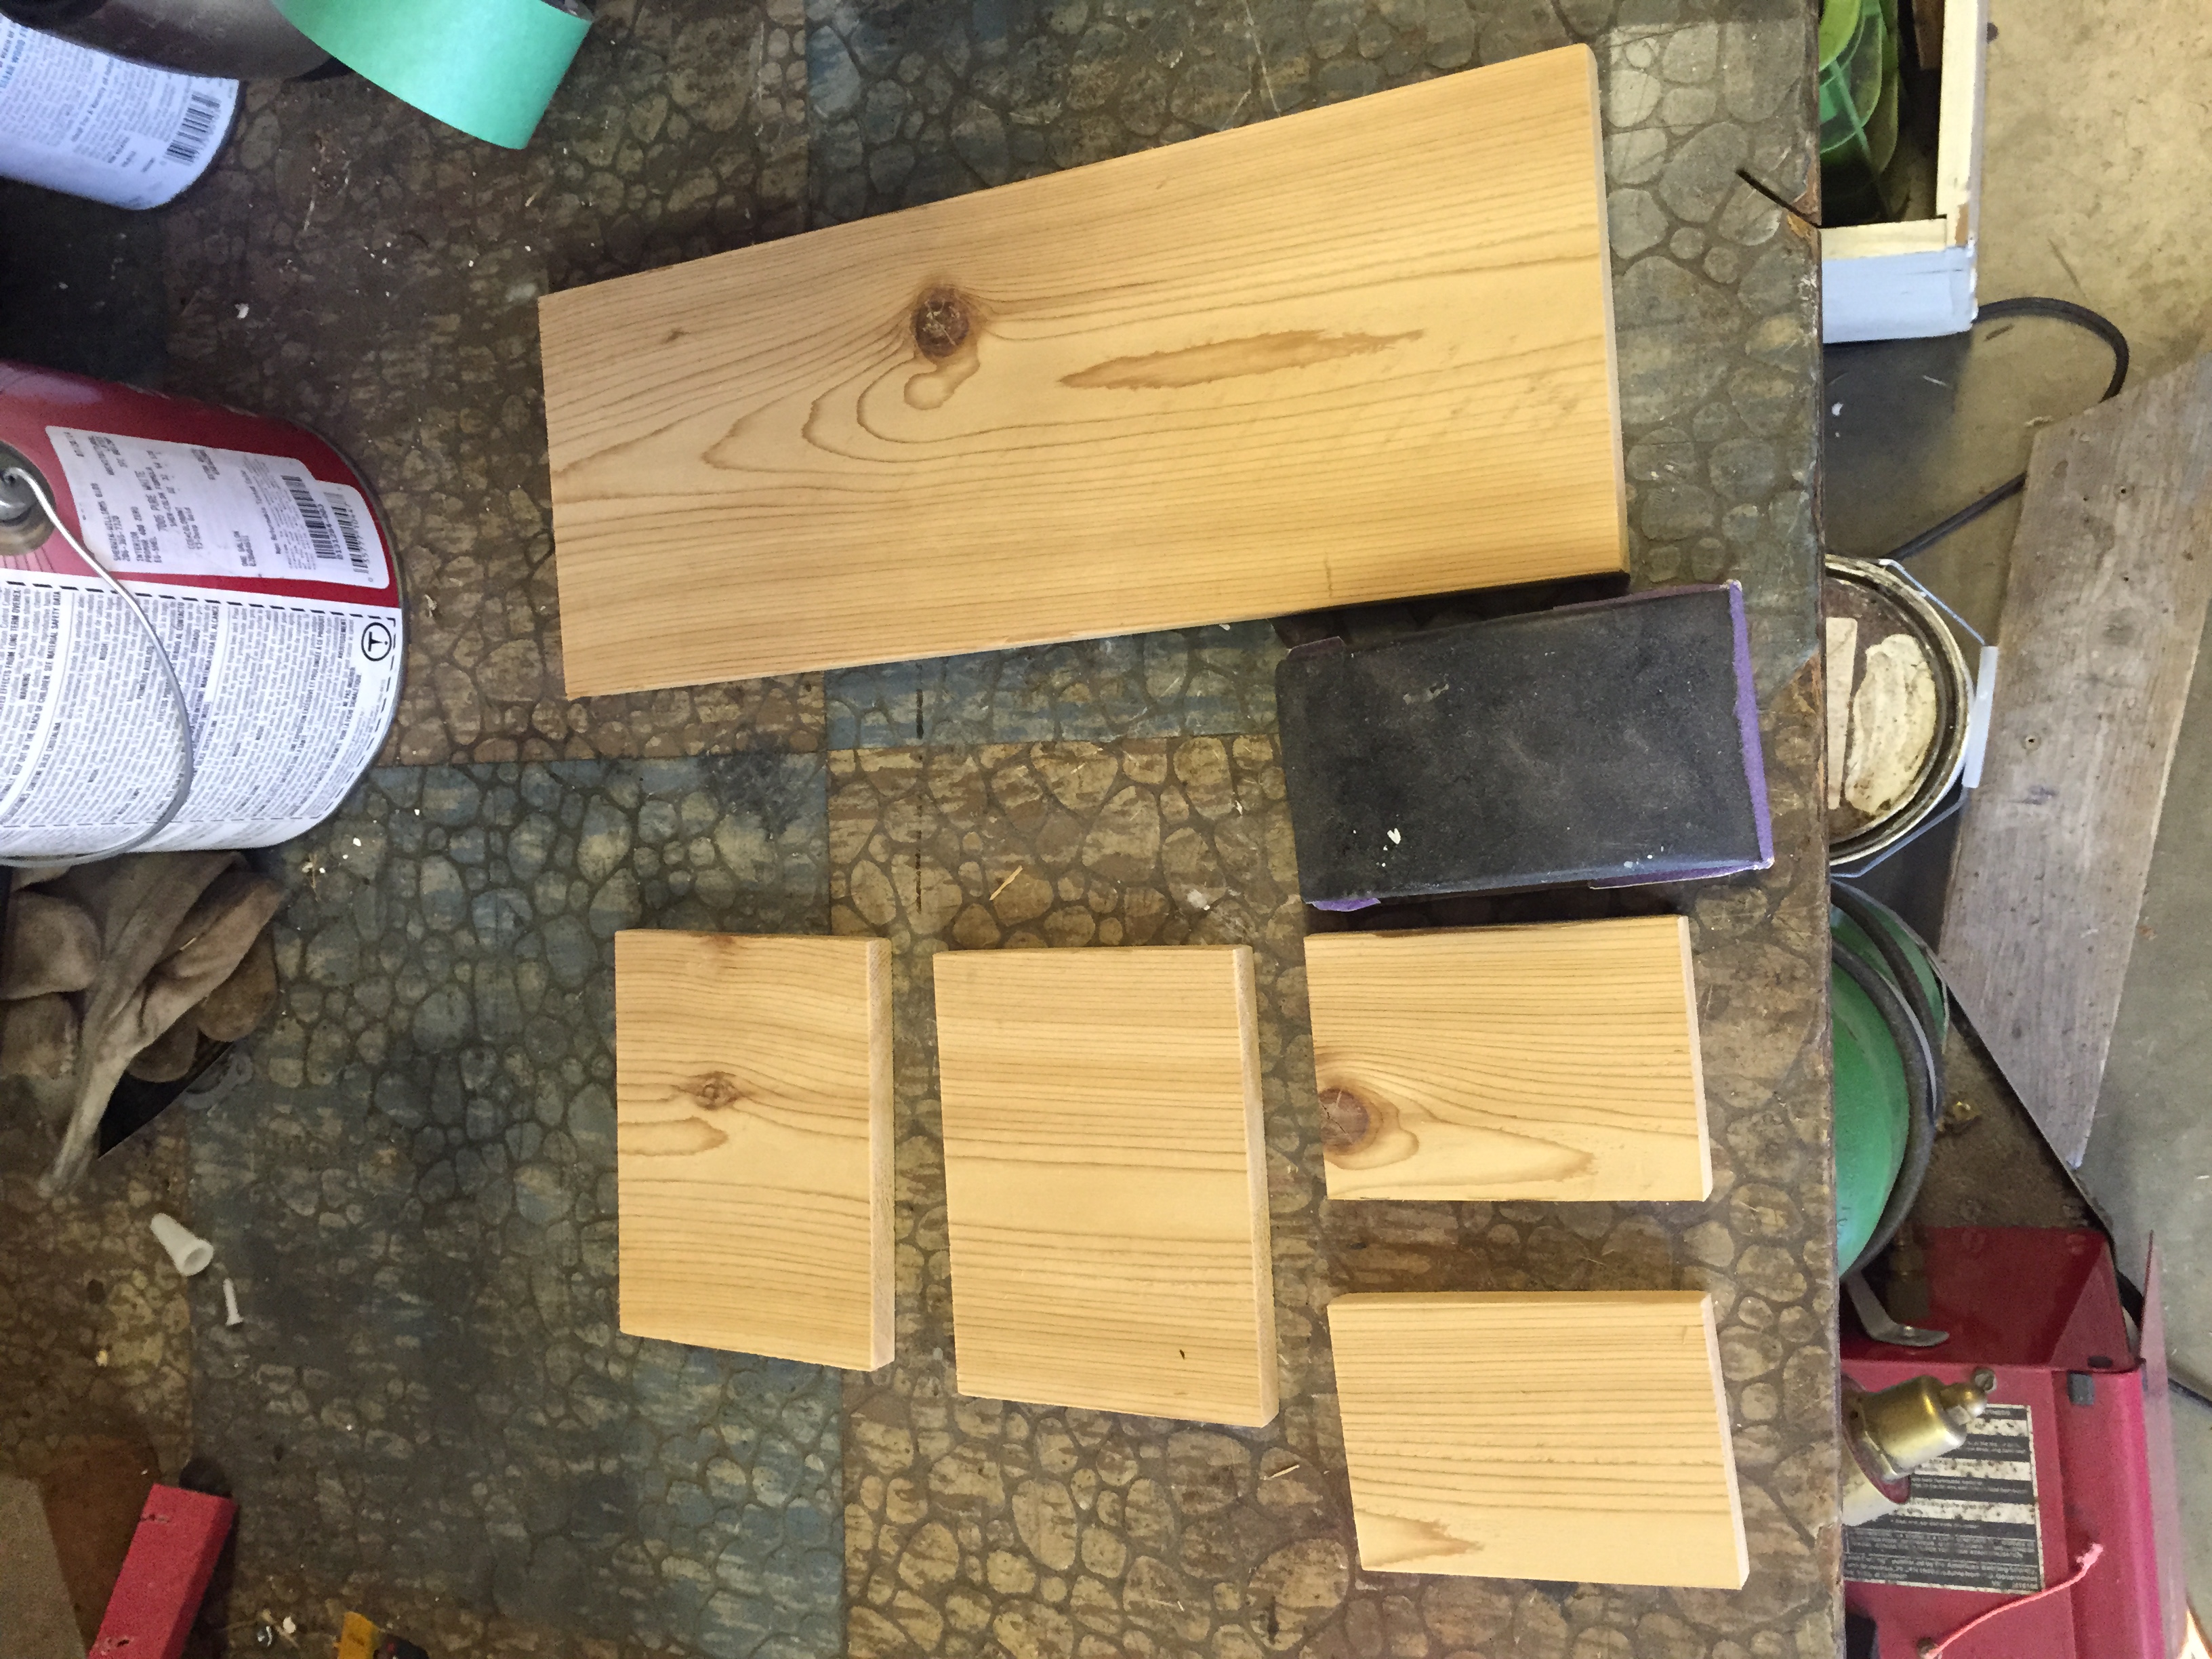
Now that you have all your pieces cut, you’ll need to sand the edges by hand with a sanding block. Since the pieces are meant to fit together perfectly, we don’t want to remove too much of the sides. Or they wont fit!
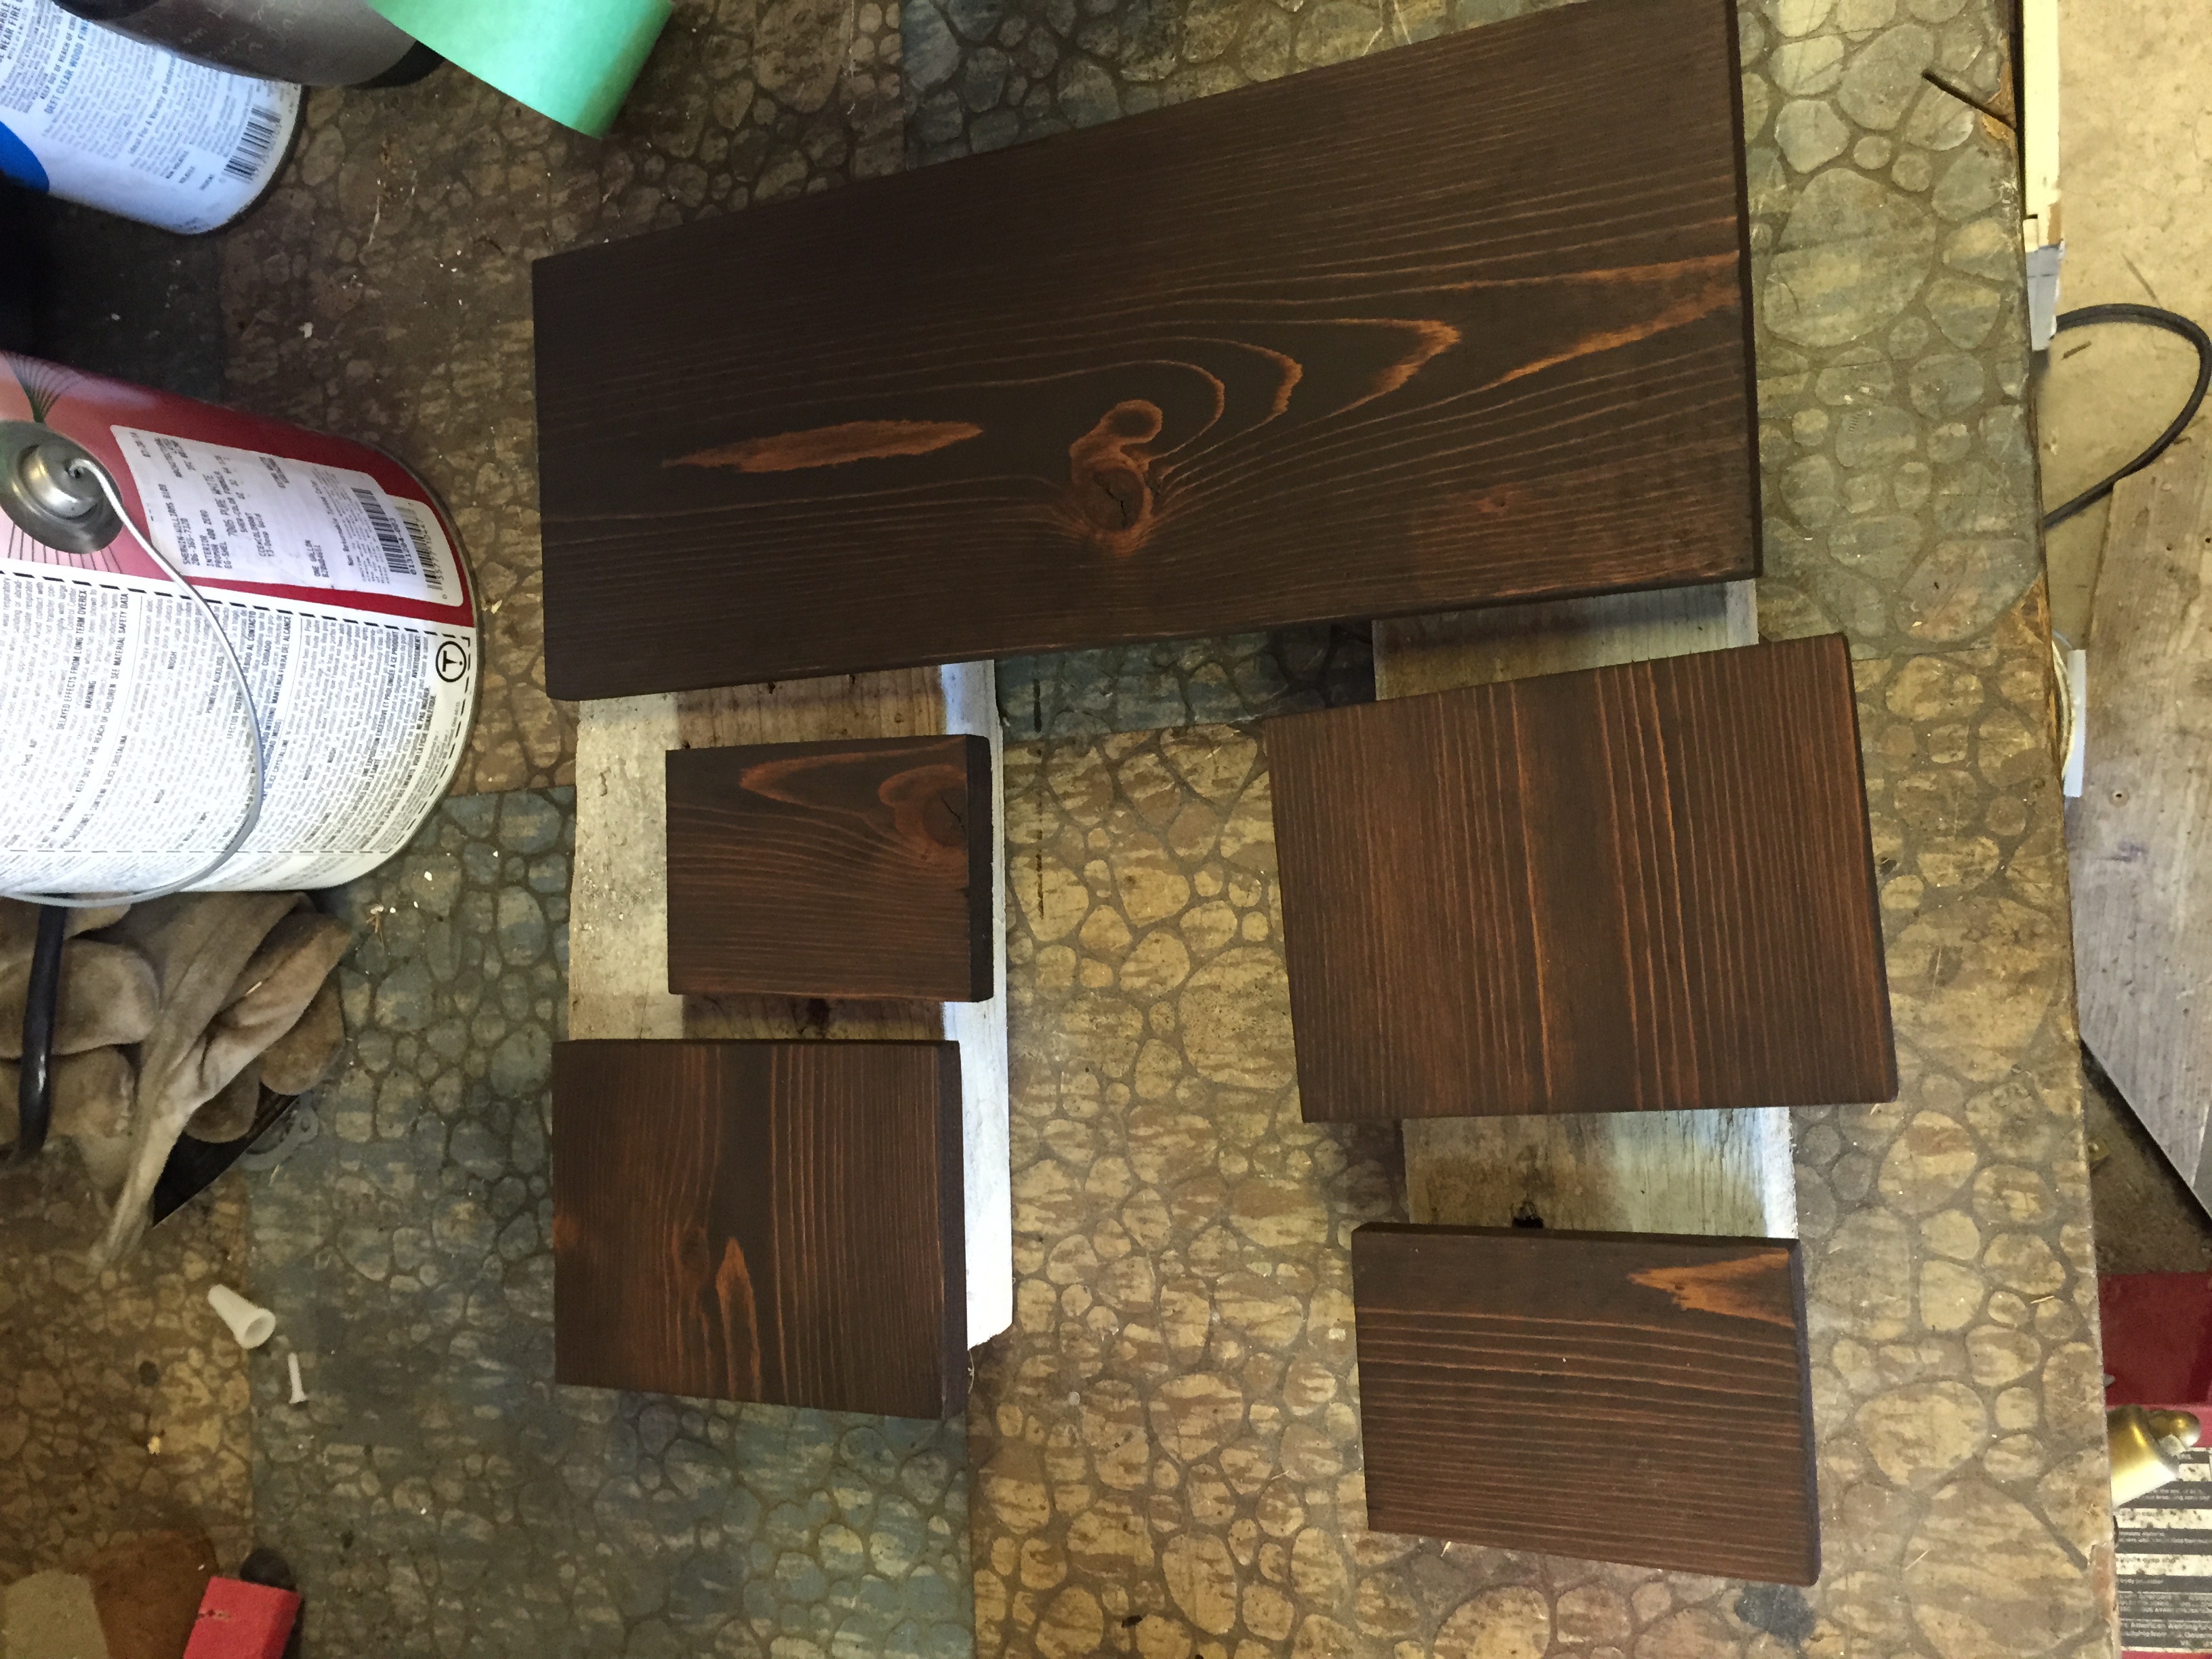
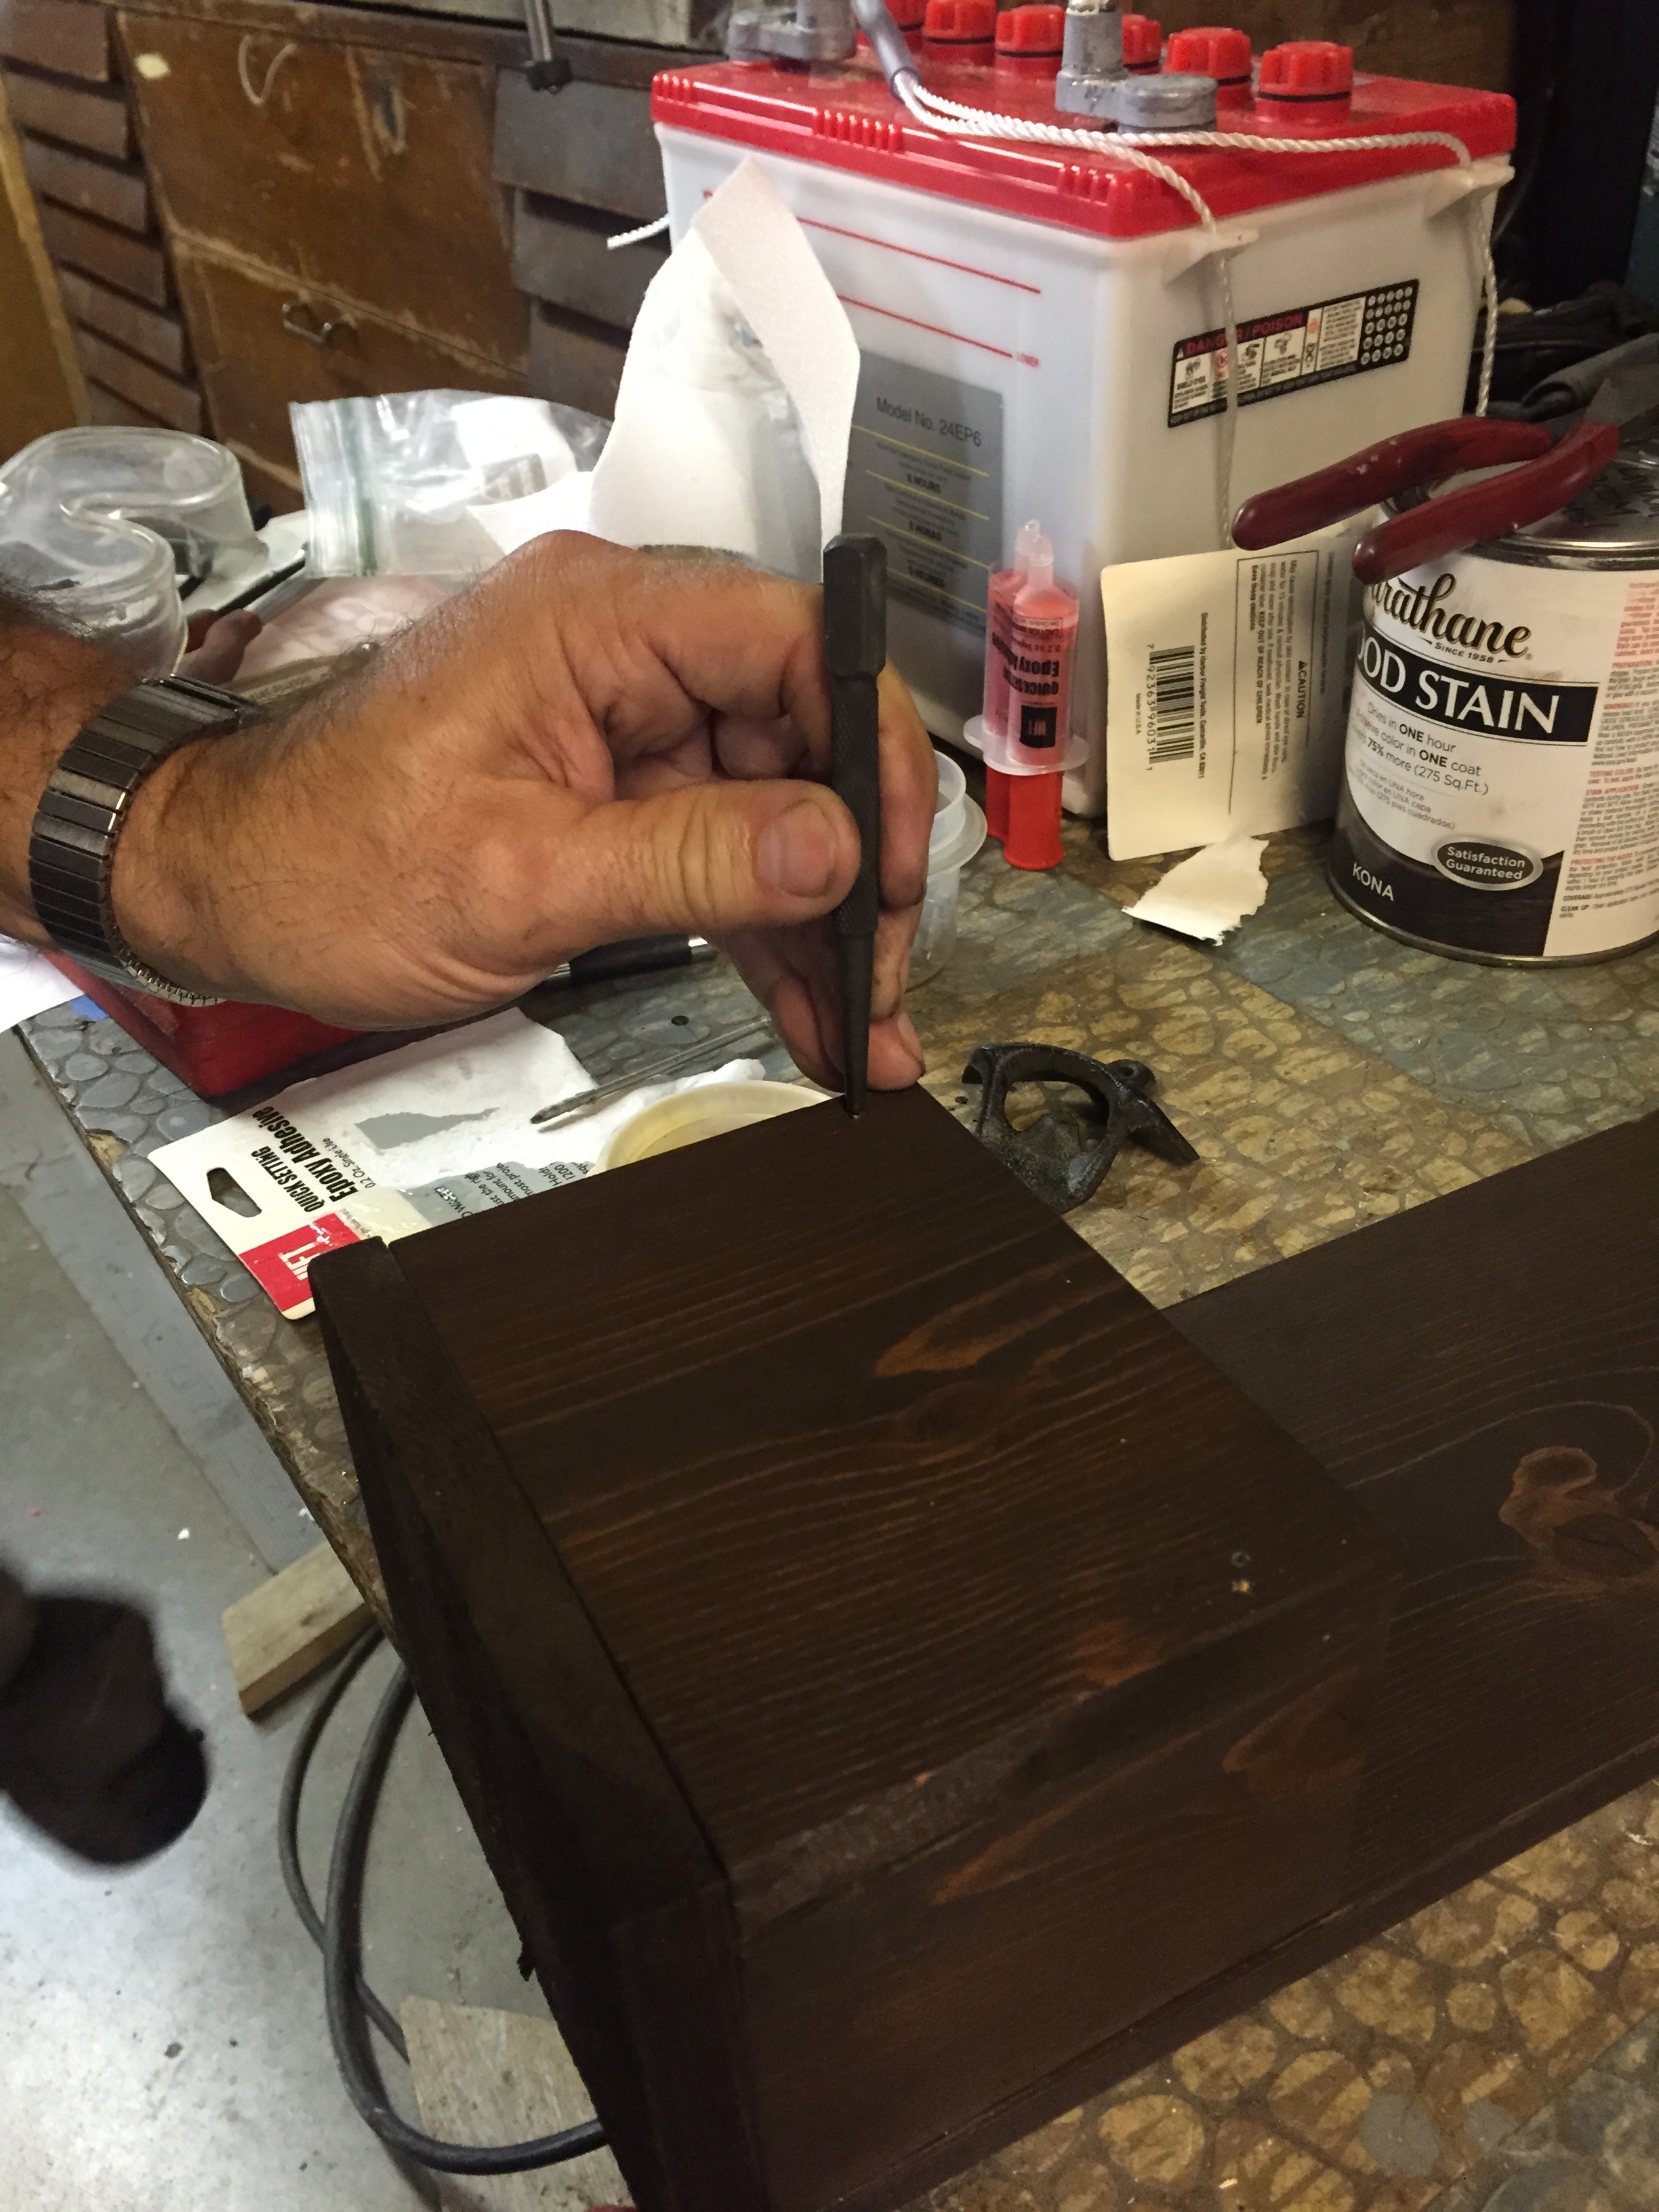
Then it’s time to stain all the pieces. I used my favorite dark stain that was used for the Upcycled Side Table and the Abandoned Nightstand projects. Click those titles to see those fun tutorials!
When staining your pieces of wood, make sure to stain every side evenly. Applying the stain with an old cloth, and wiping away the extra with another.
NOTE: The longer your leave the stain on the wood before wiping away the excess, the darker the stain will be.
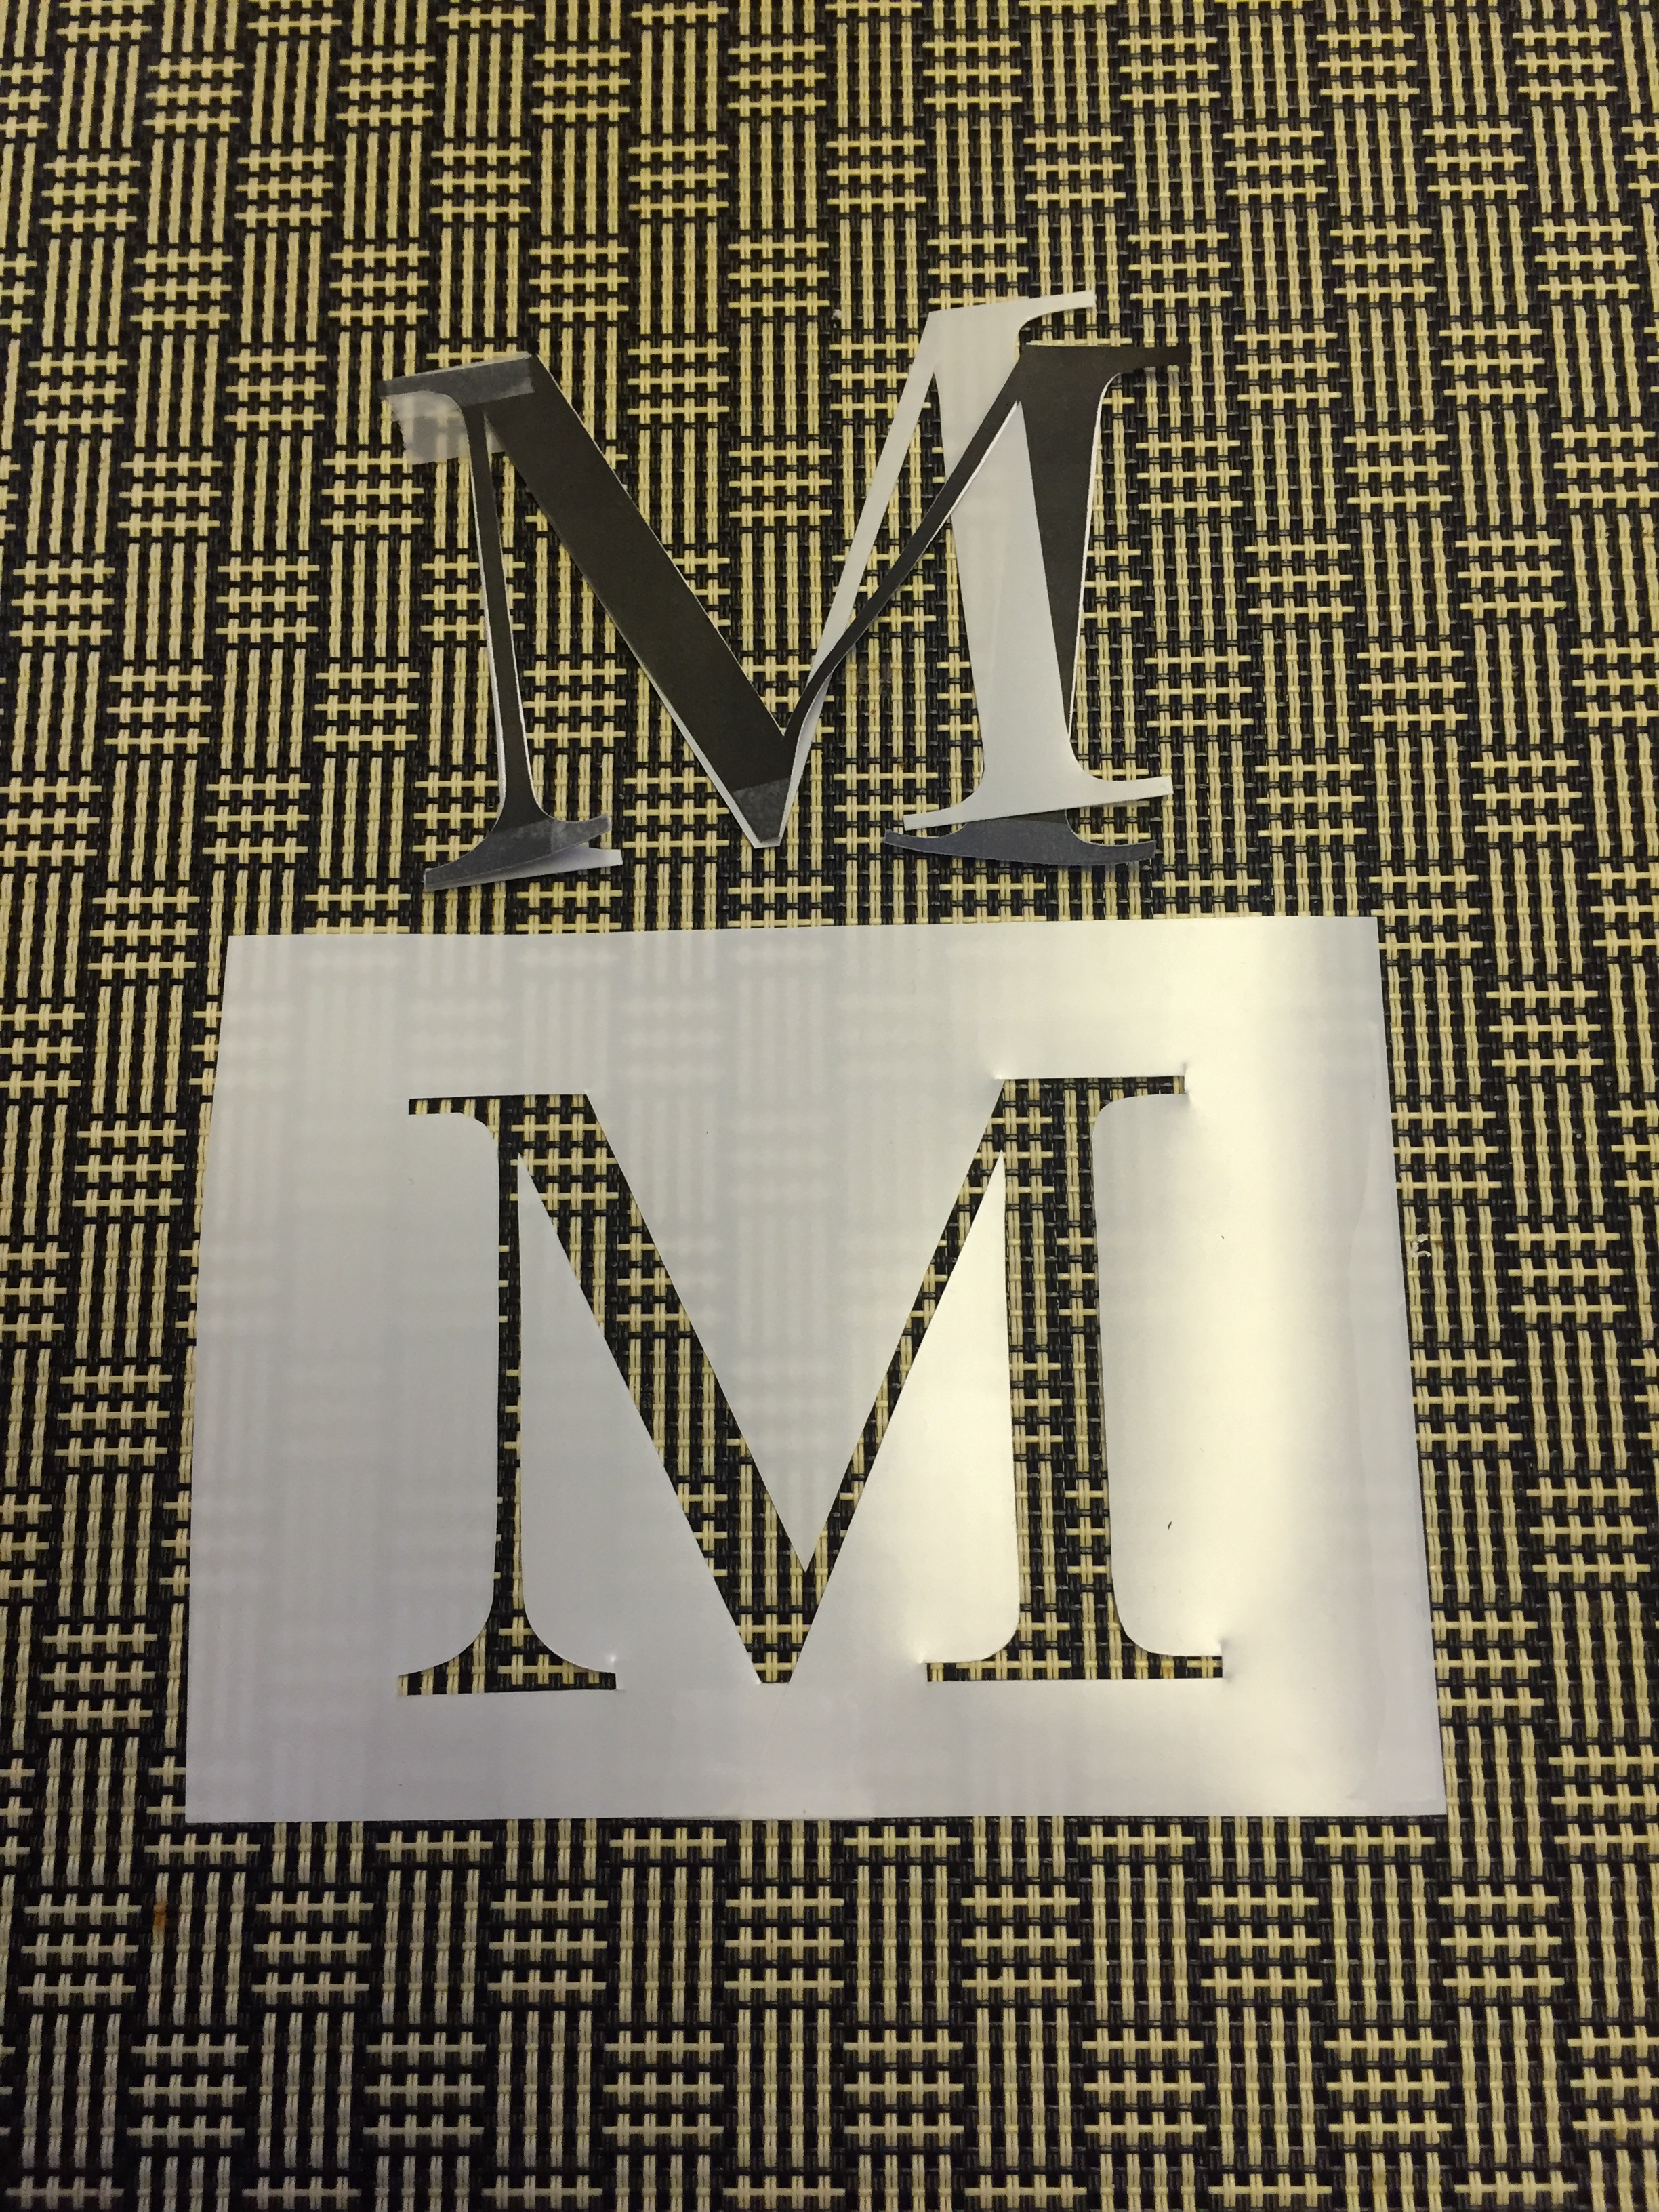
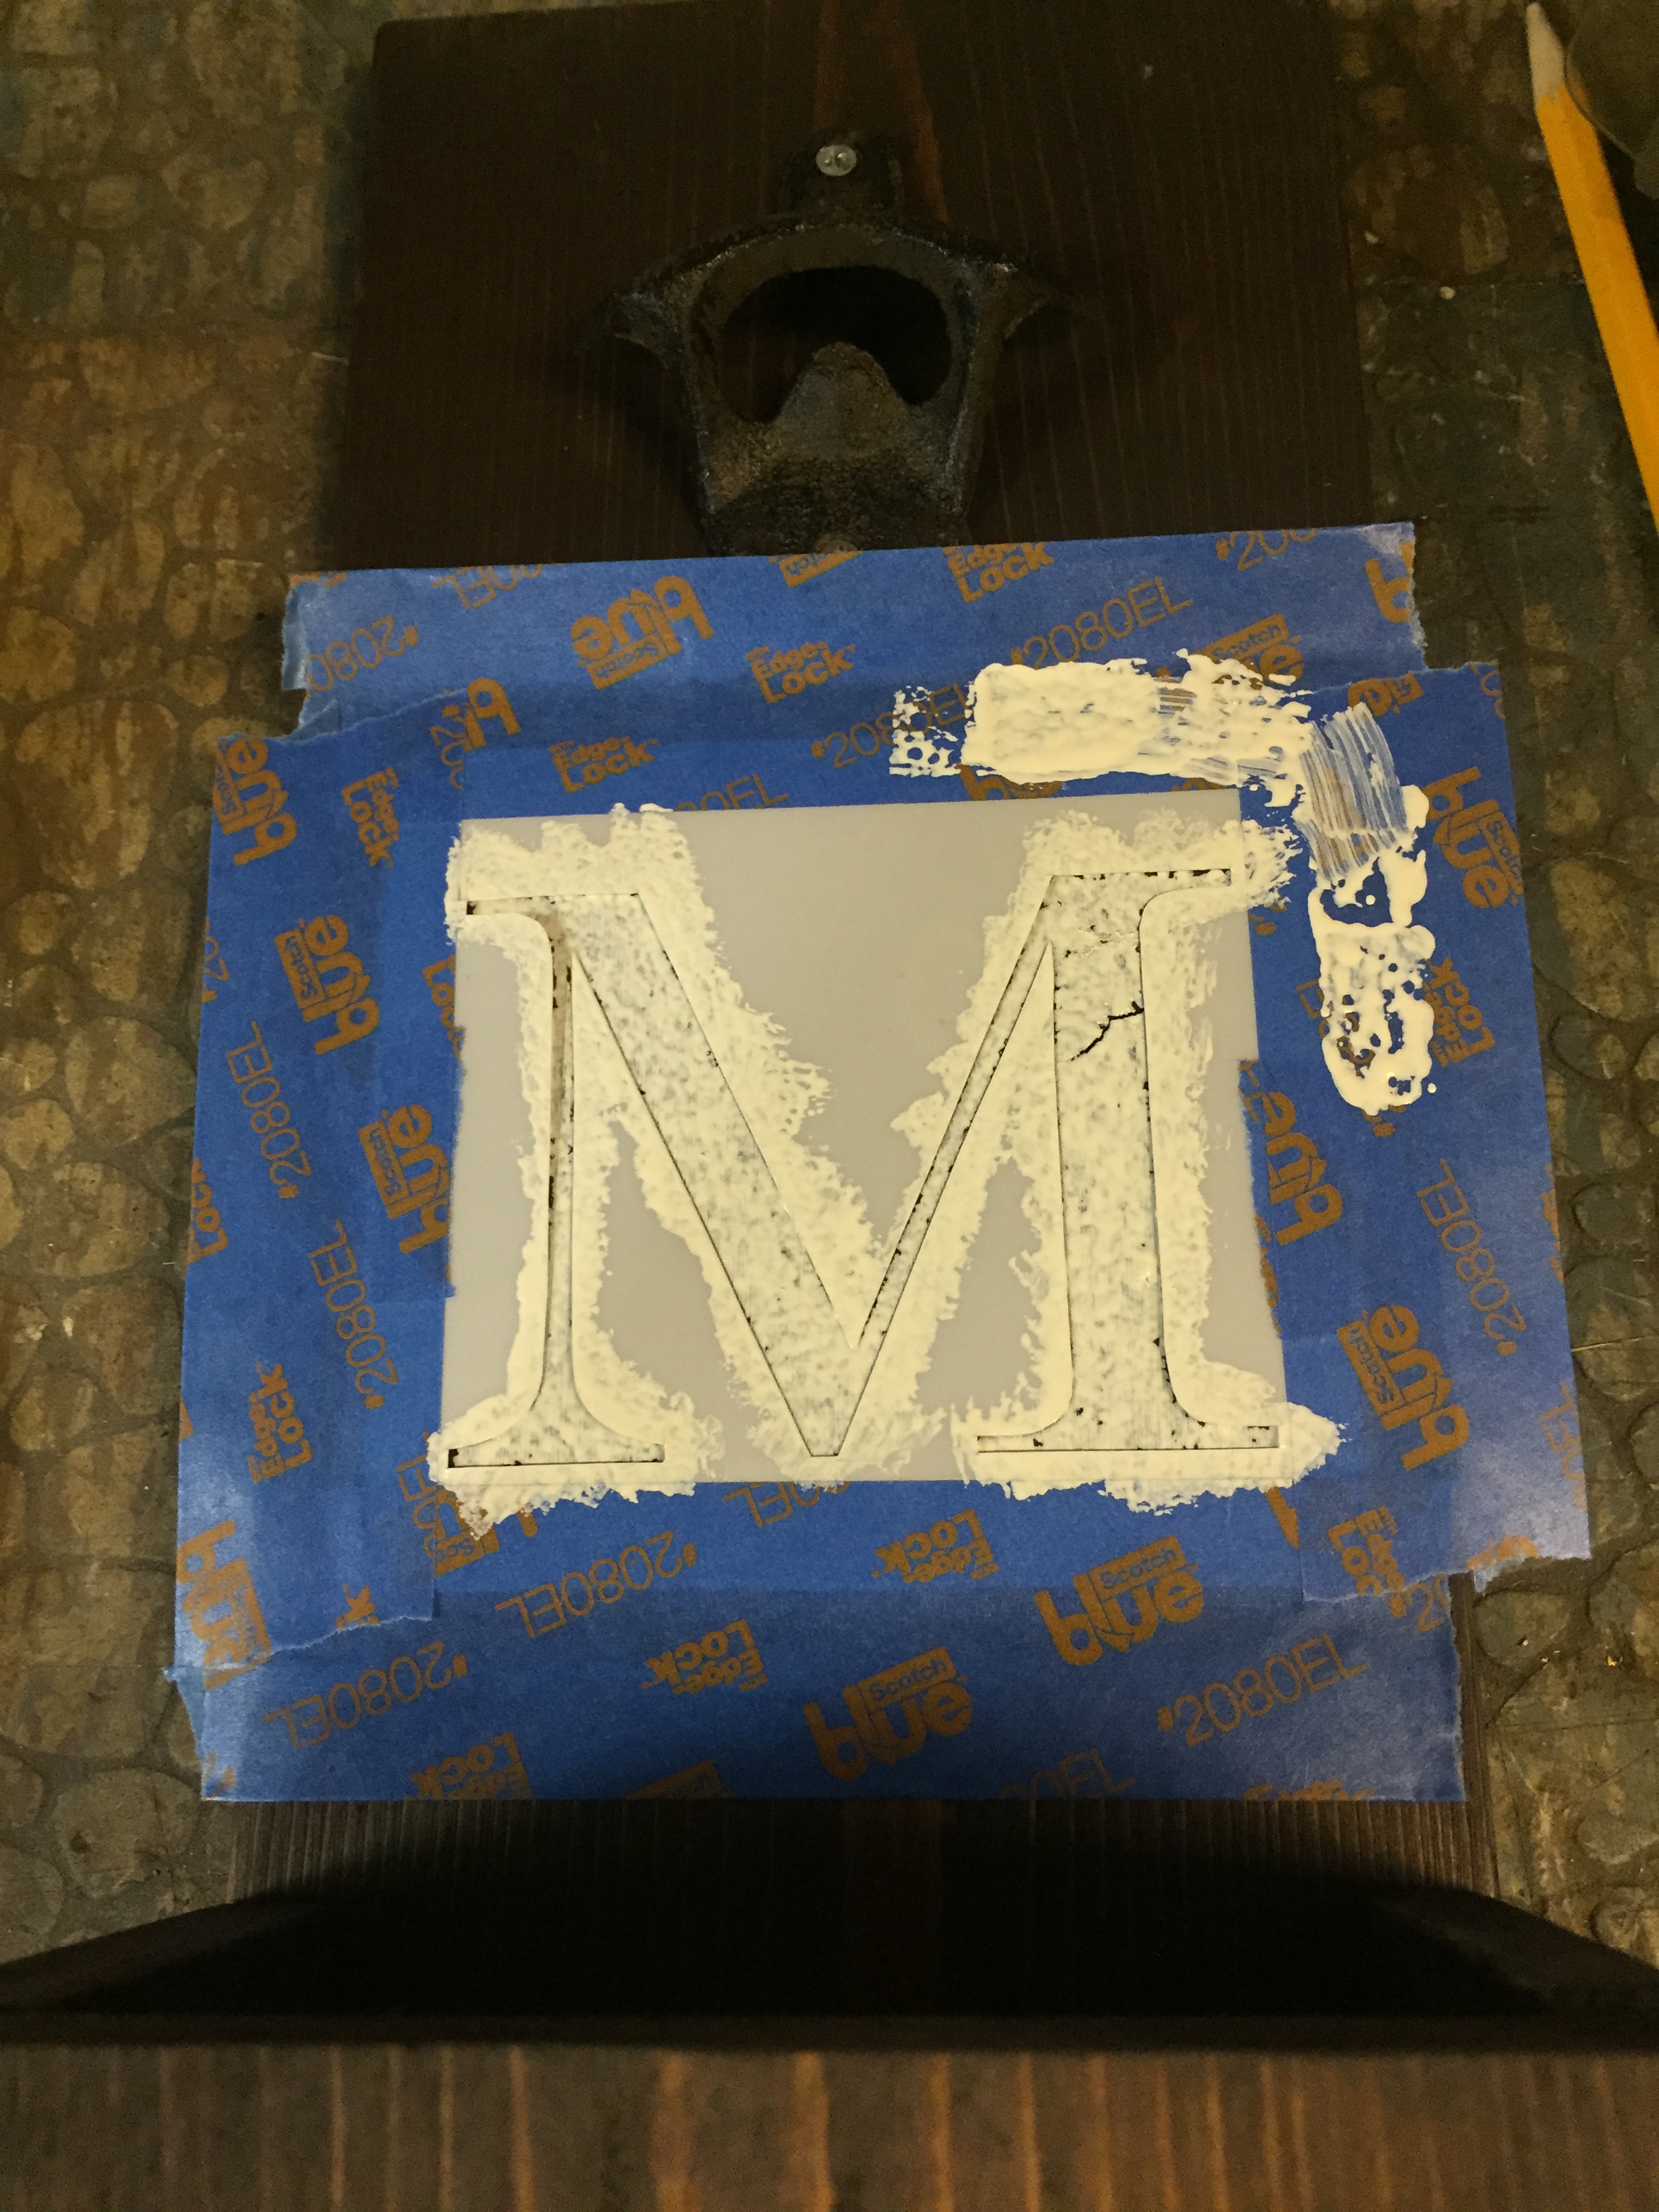
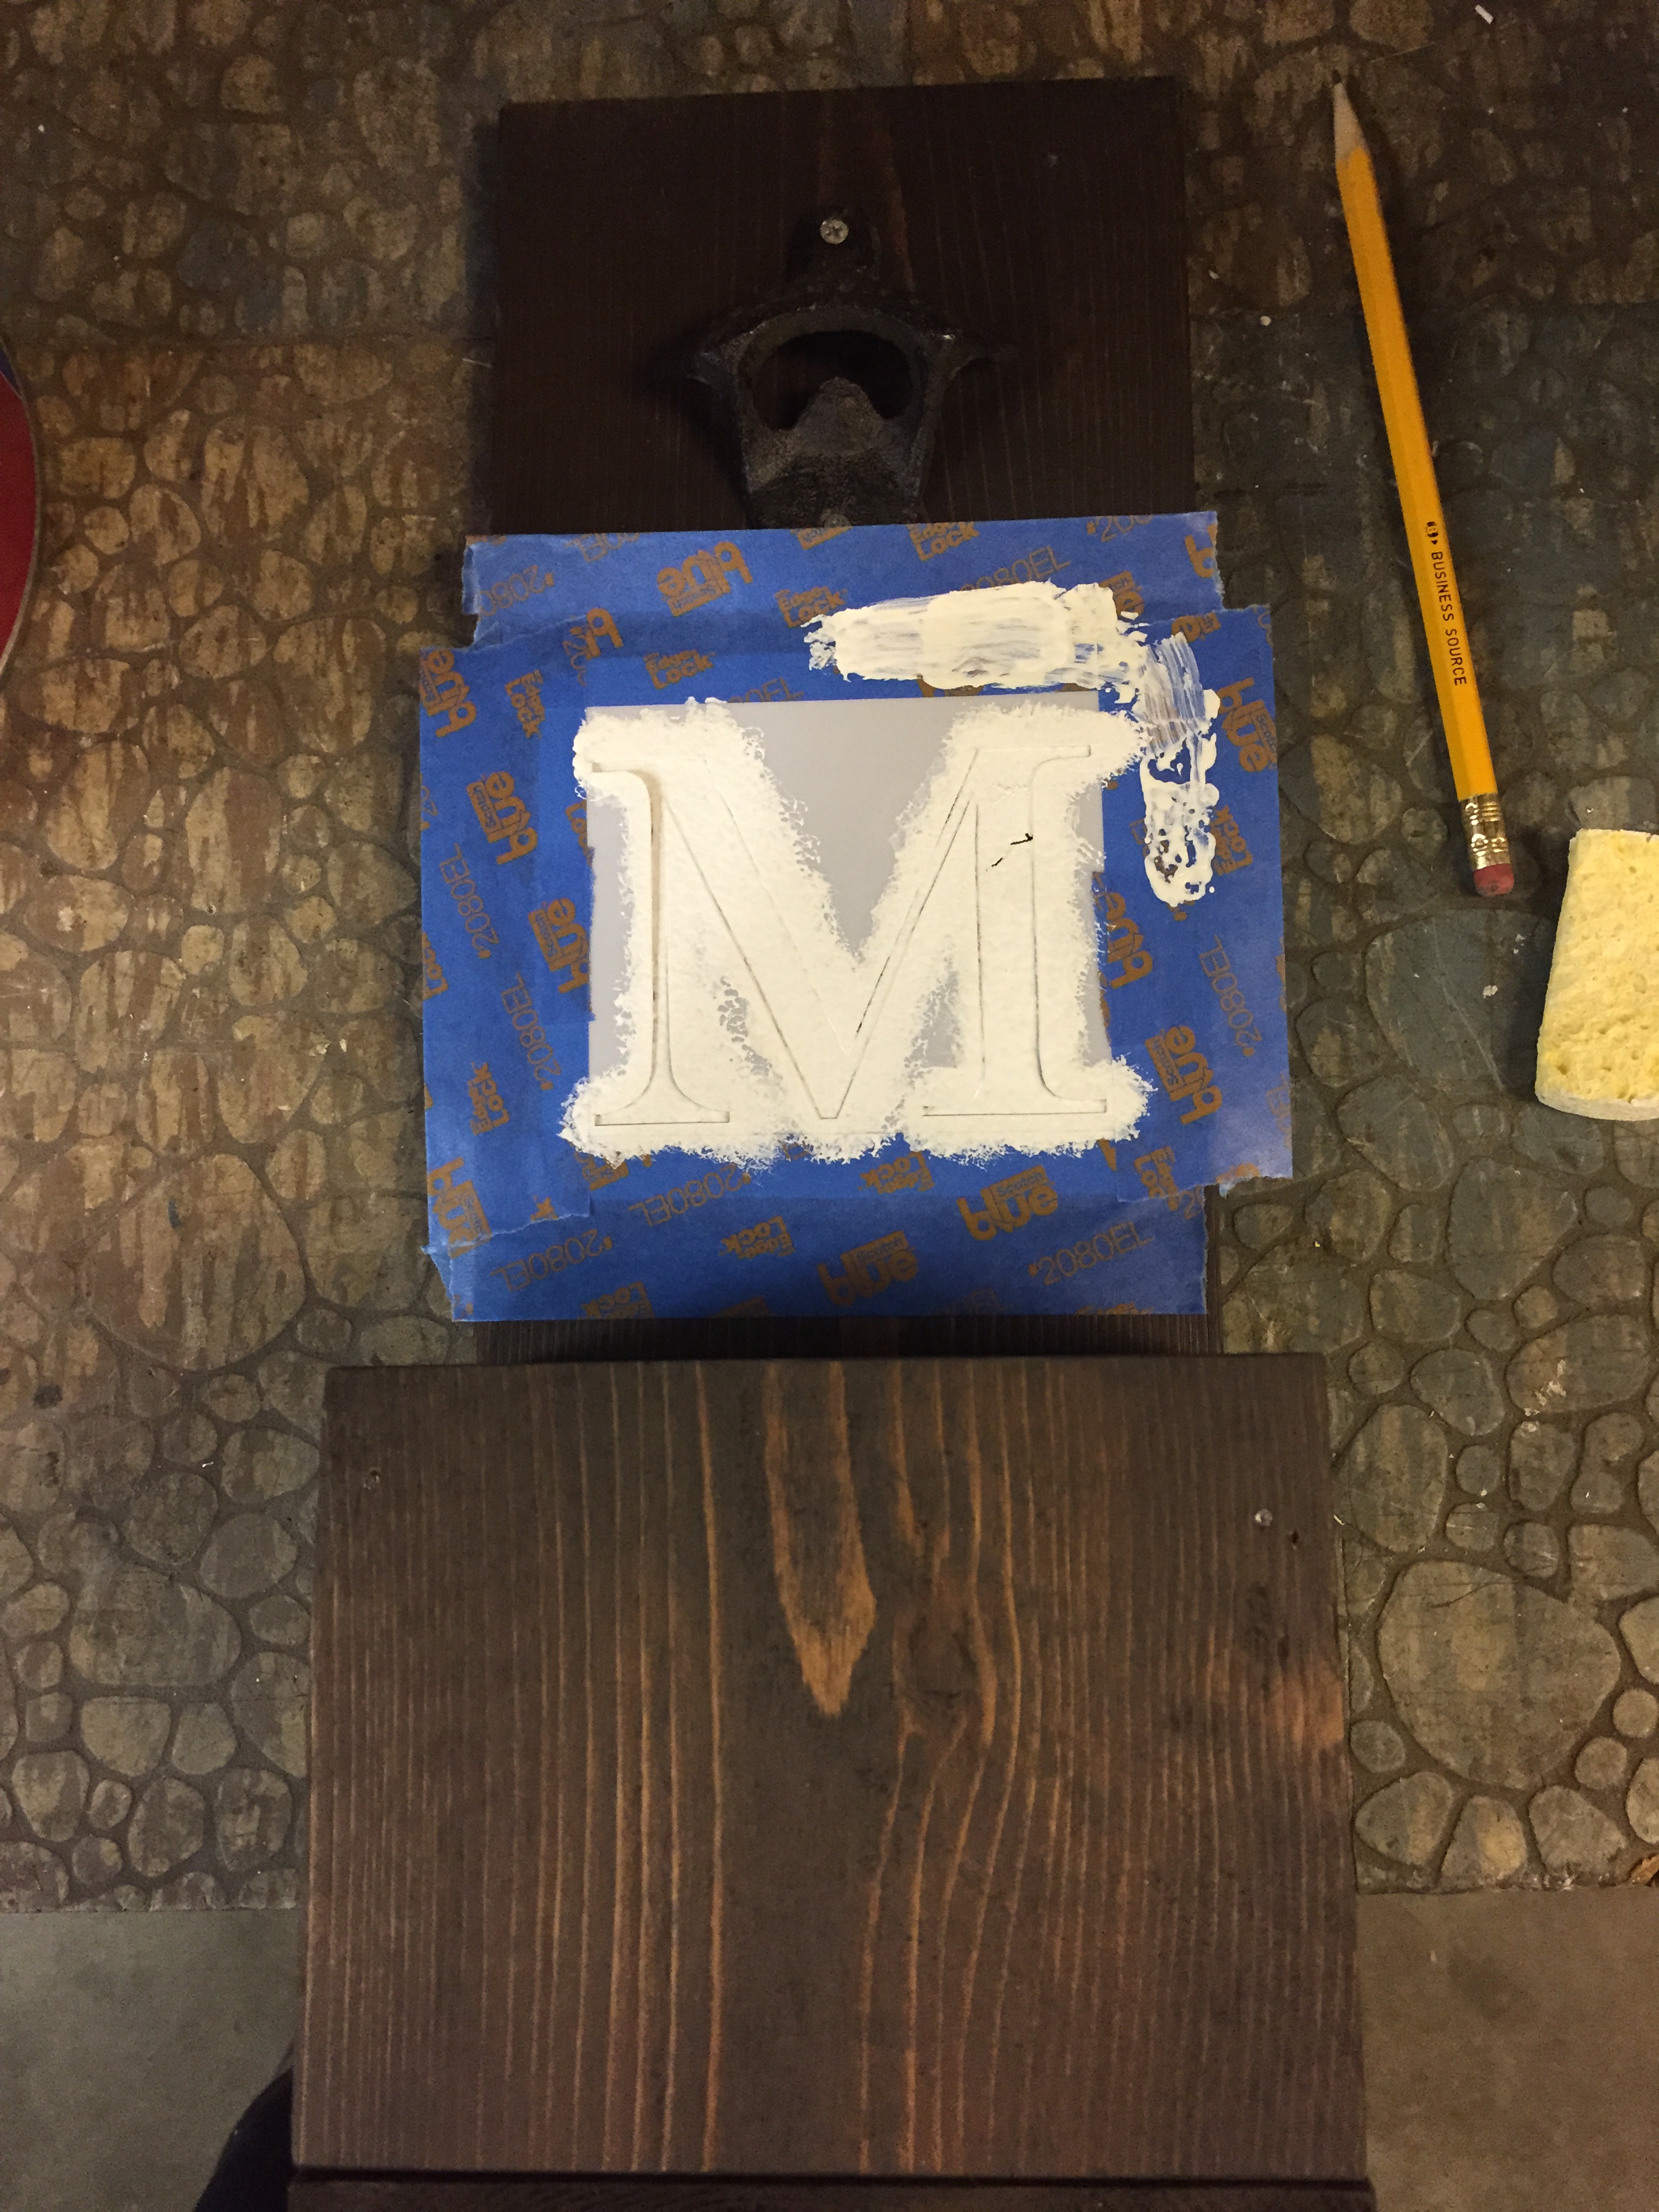
While your stain is drying, you can create a stencil for the custom monogram that will be painted onto the backdrop. Of course, if you don’t want to add this detail, it isn’t necessary. I used some of the left over stencil sheet from the Wood Pallet Family Sign project. You can find this at Hobby Lobby for about $4.
To make your stencil, print out your design and tape it onto the plastic sheet. Then carefully cut it out. This brand also has a clear layer that you need to remove before you use the stencil. Unfortunately, I forgot to do that this time, and you can see how the paint leaked through…..And let me tell you, I was super upset about it.
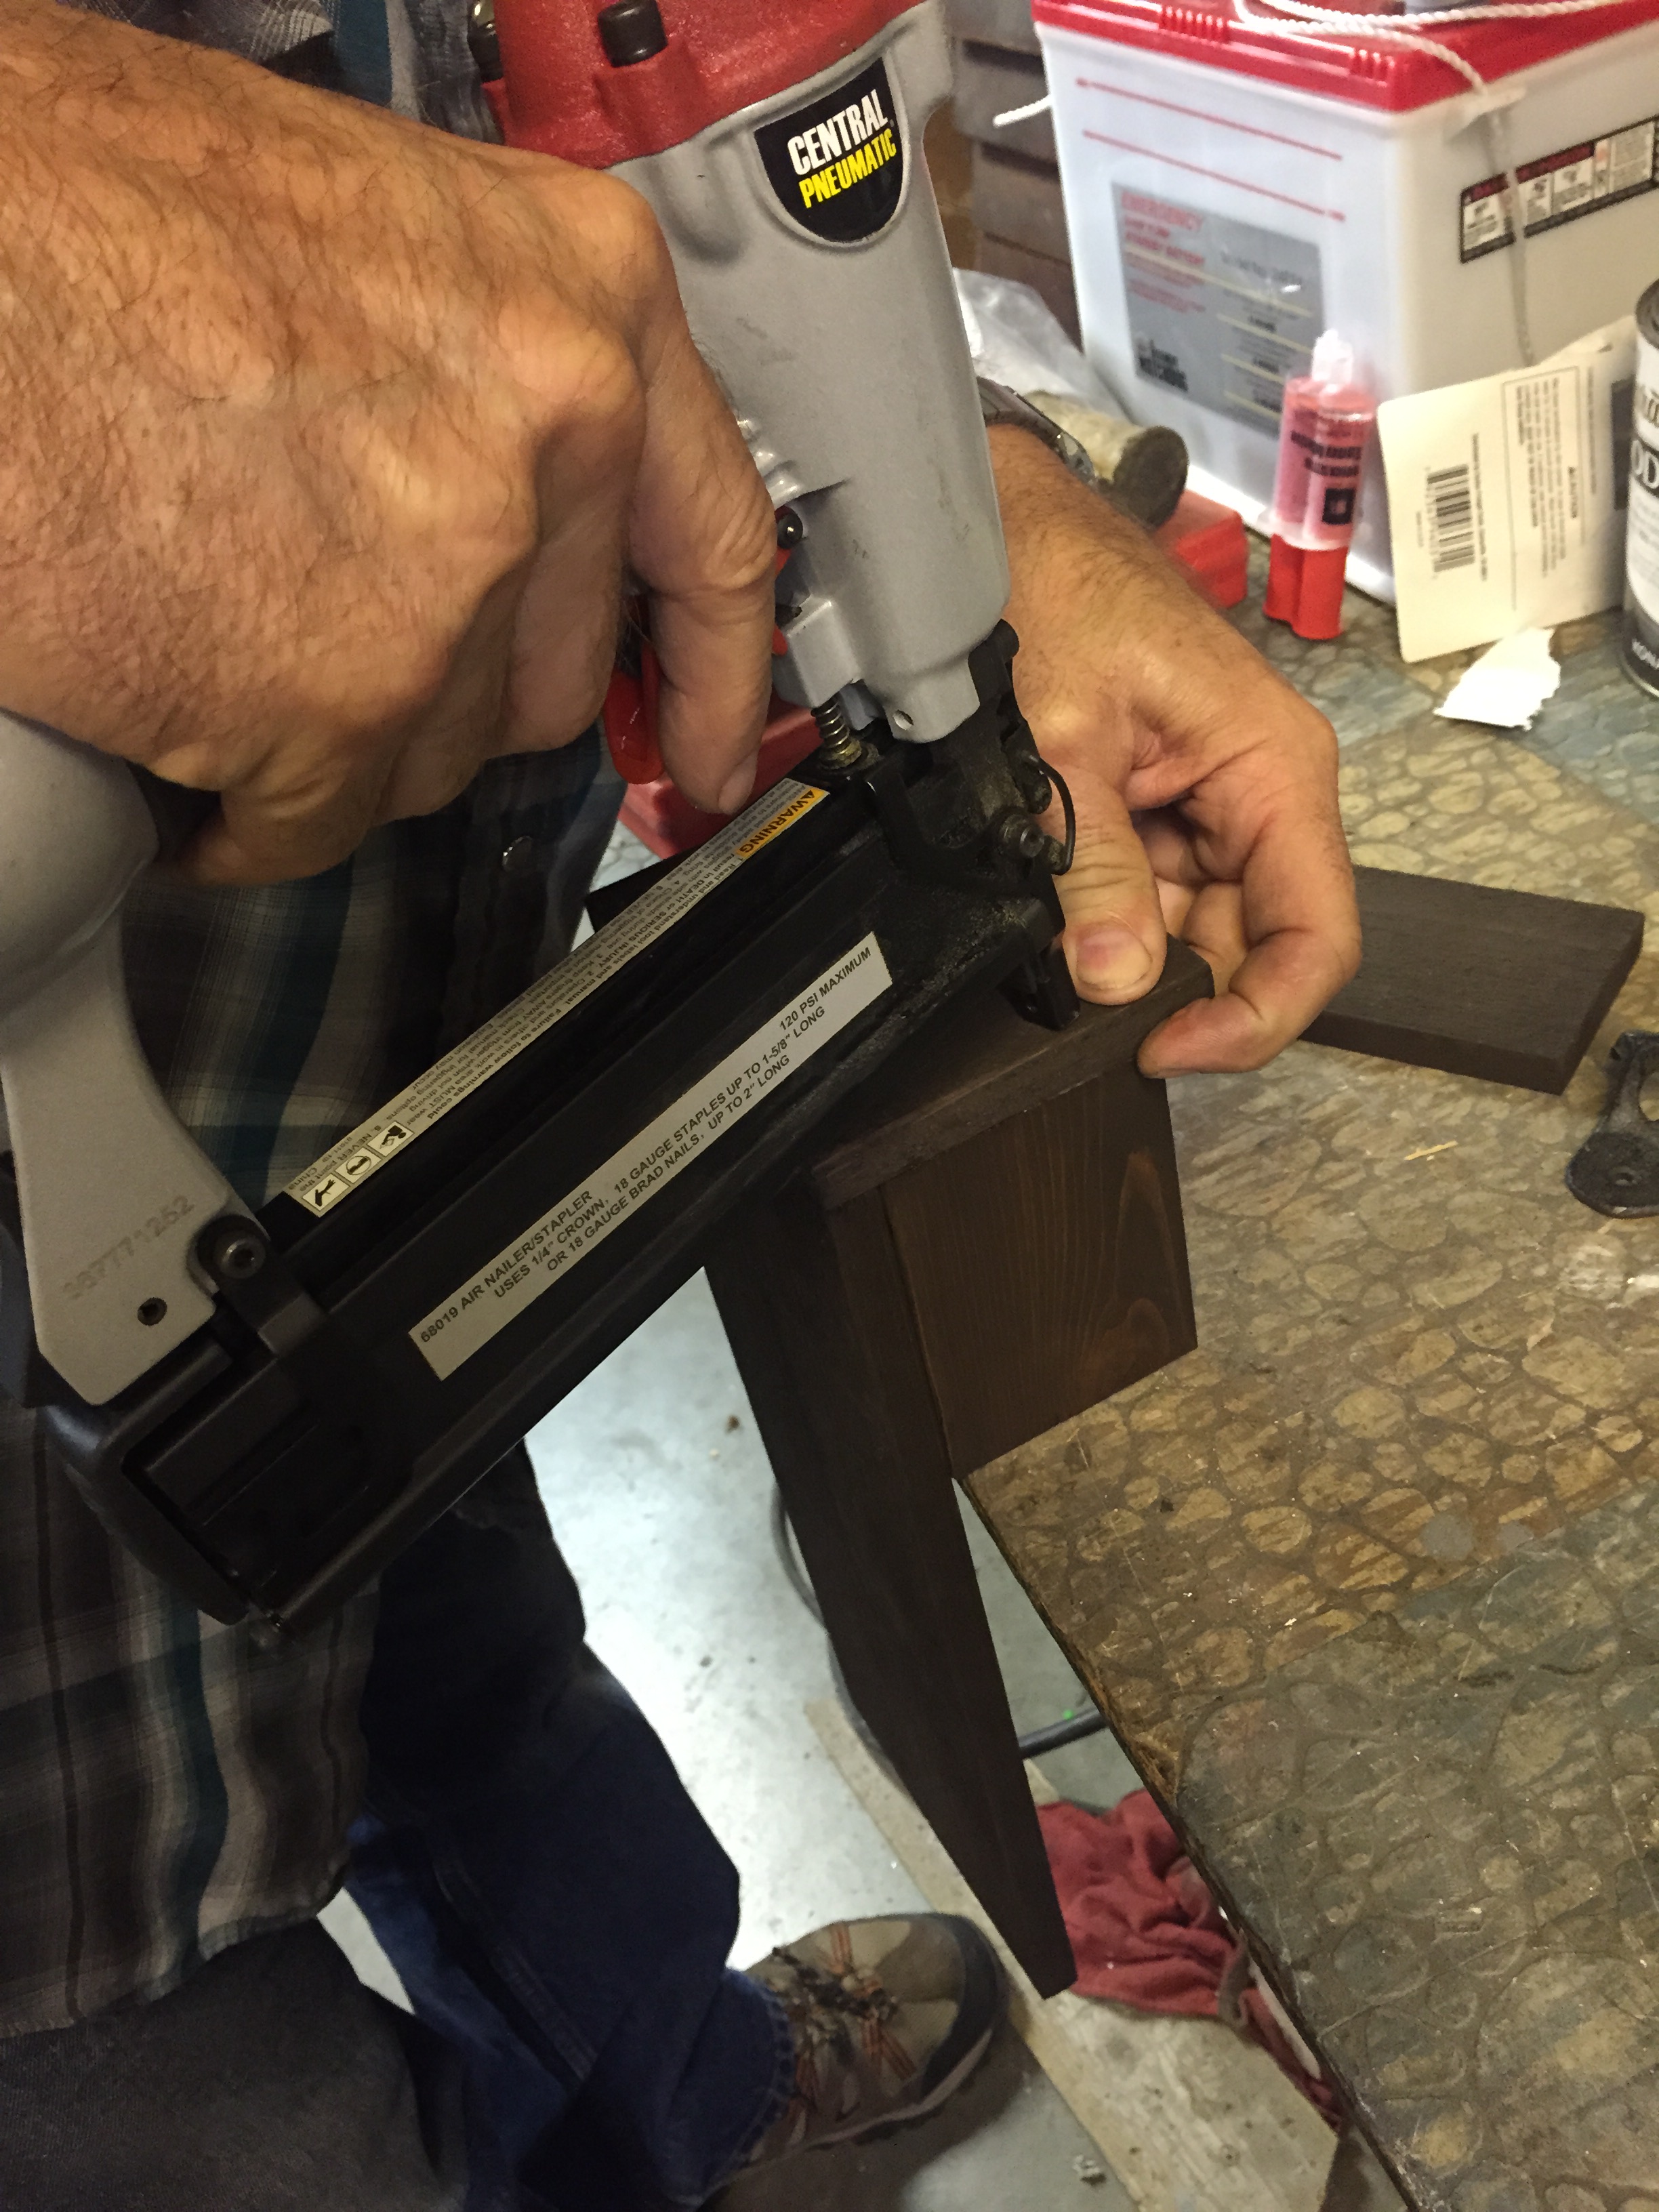

To attach your pieces, You’ll need a wood glue or super clue, and a nail gun. If you’ll notice in the picture on left, those are obviously not my hands. Since I didn’t have any experience using a nail gun, I had my dad help me. It is always a good idea to be taught how to safely use dangerous equipment before you attempt it ourself!
First, apply a thin layer of glue where the pieces will be joining together. Then use a nail gun to secure them together. I used 1 inch nails with the air compressor gun. And make sure to turn the air pressure down as low as possible, or you’ll end up with holes in your wood.
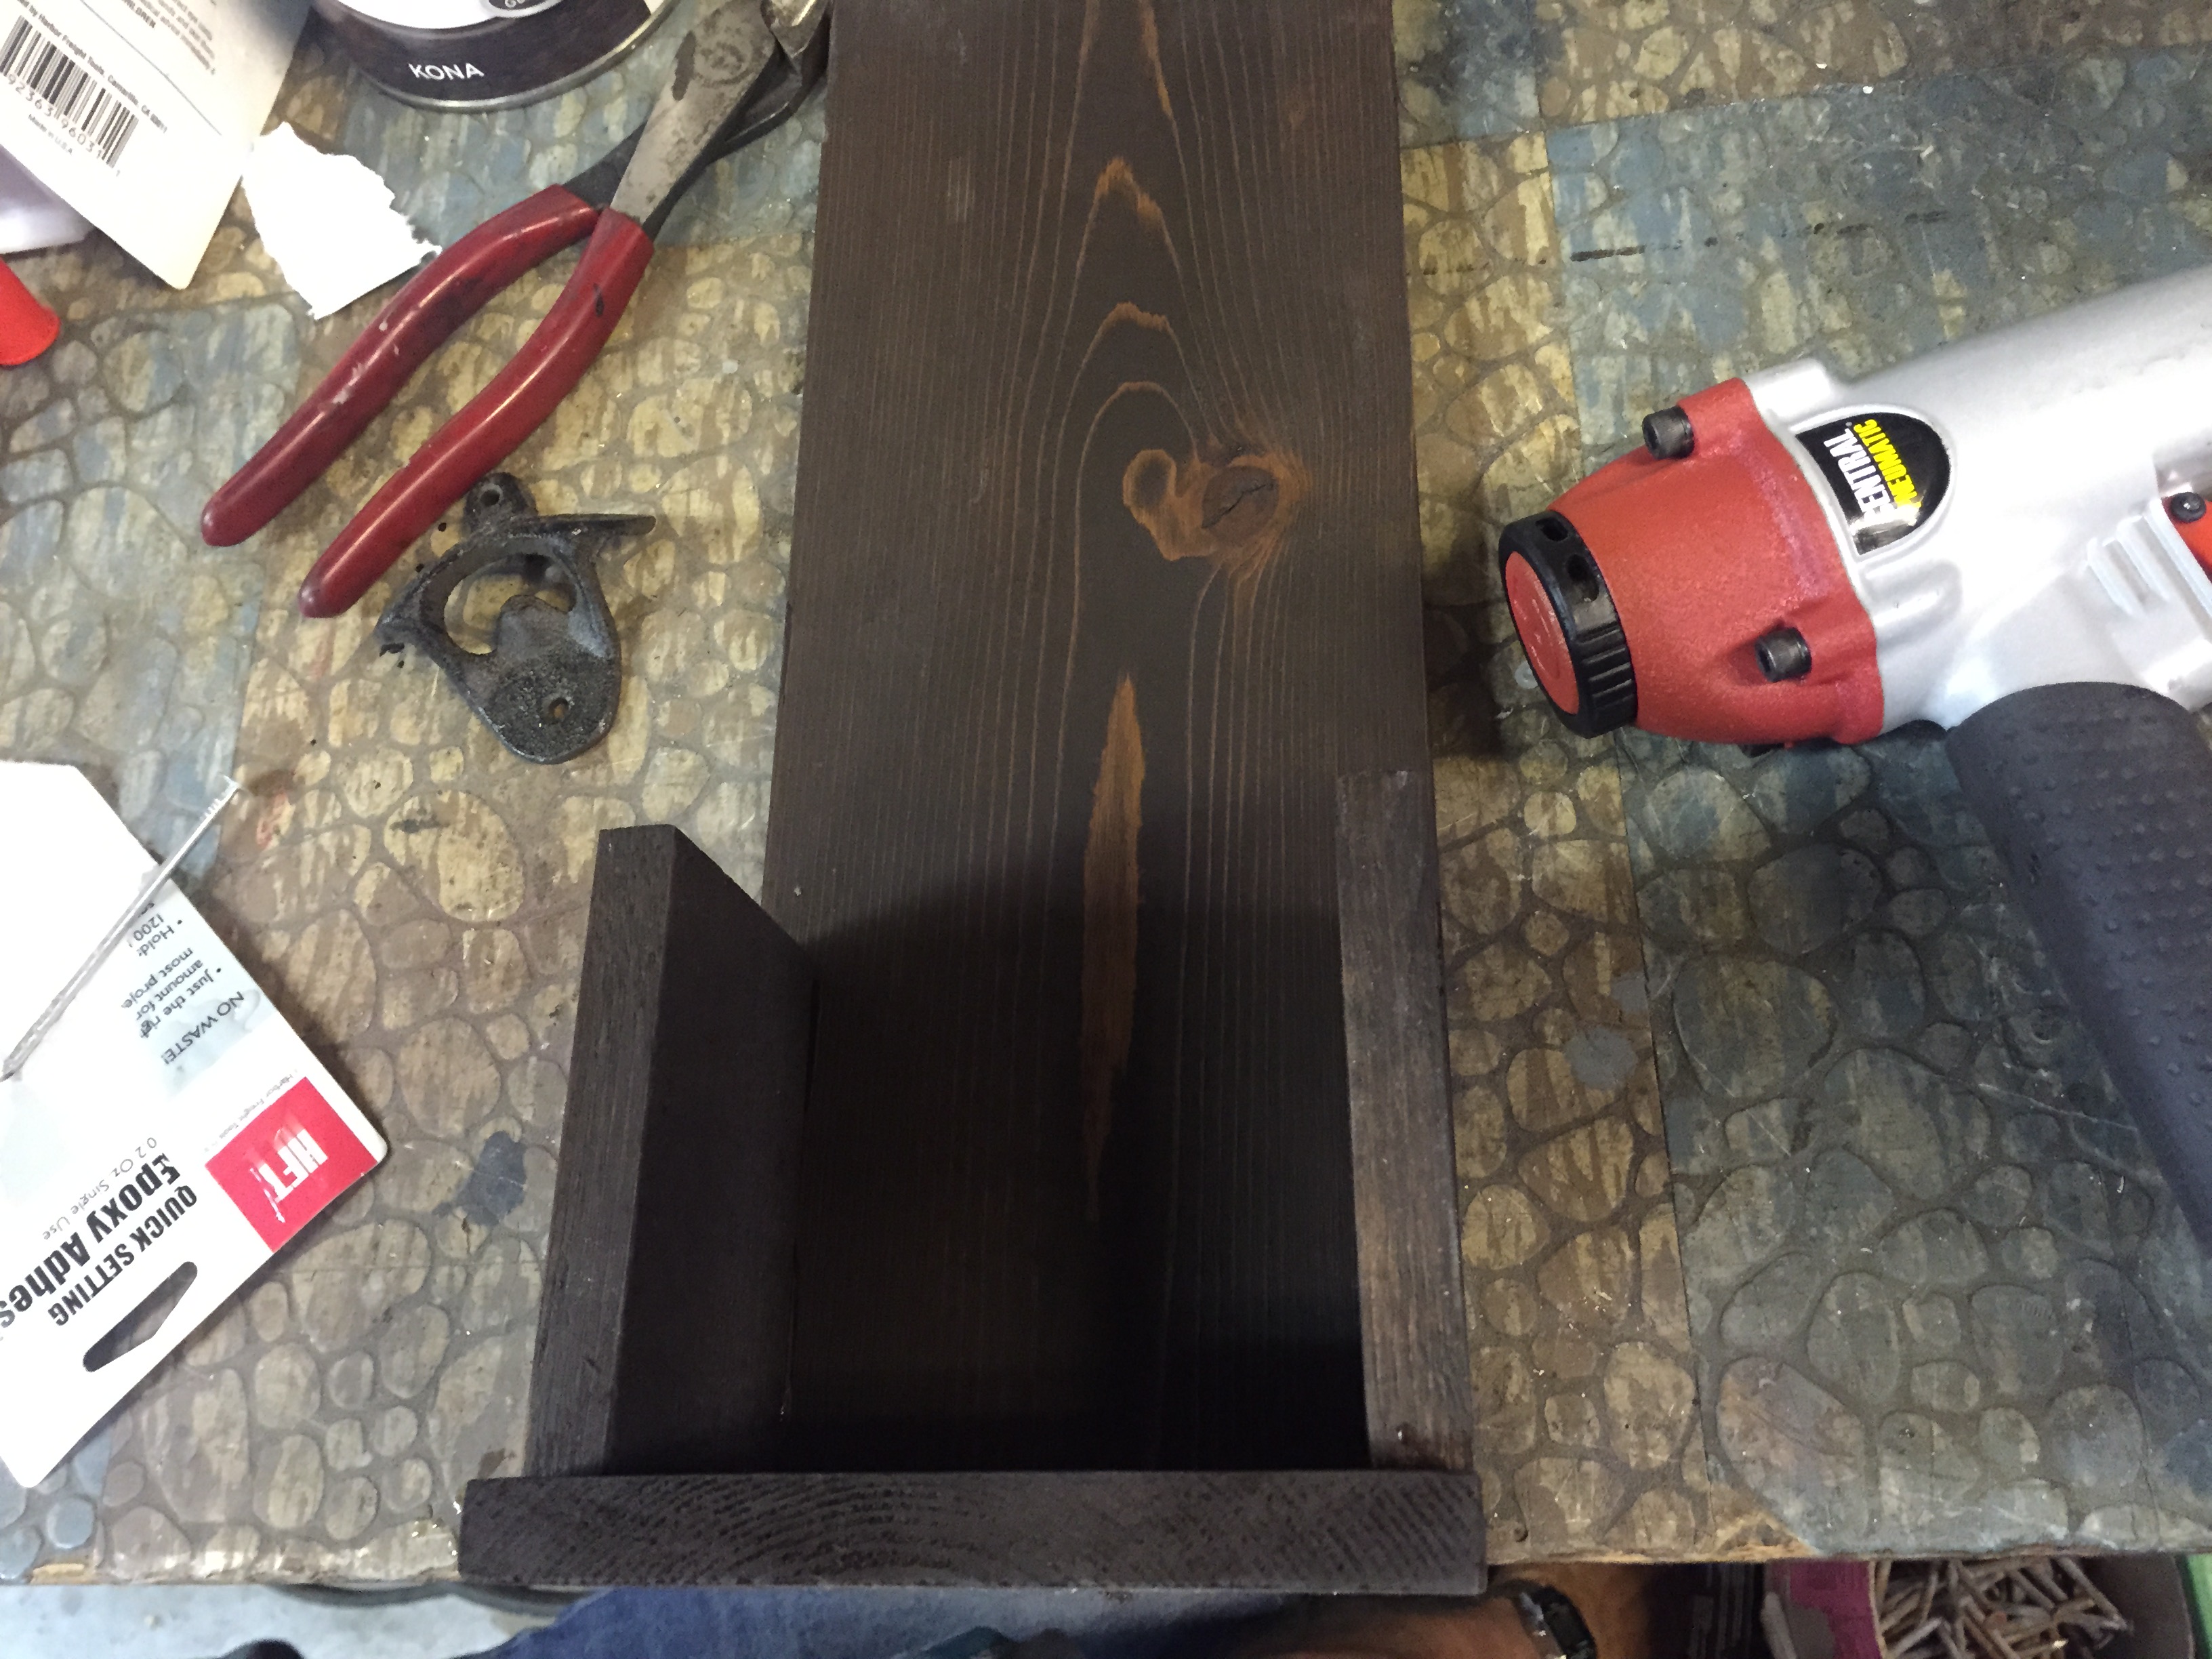
Use this method for each side except for the front.
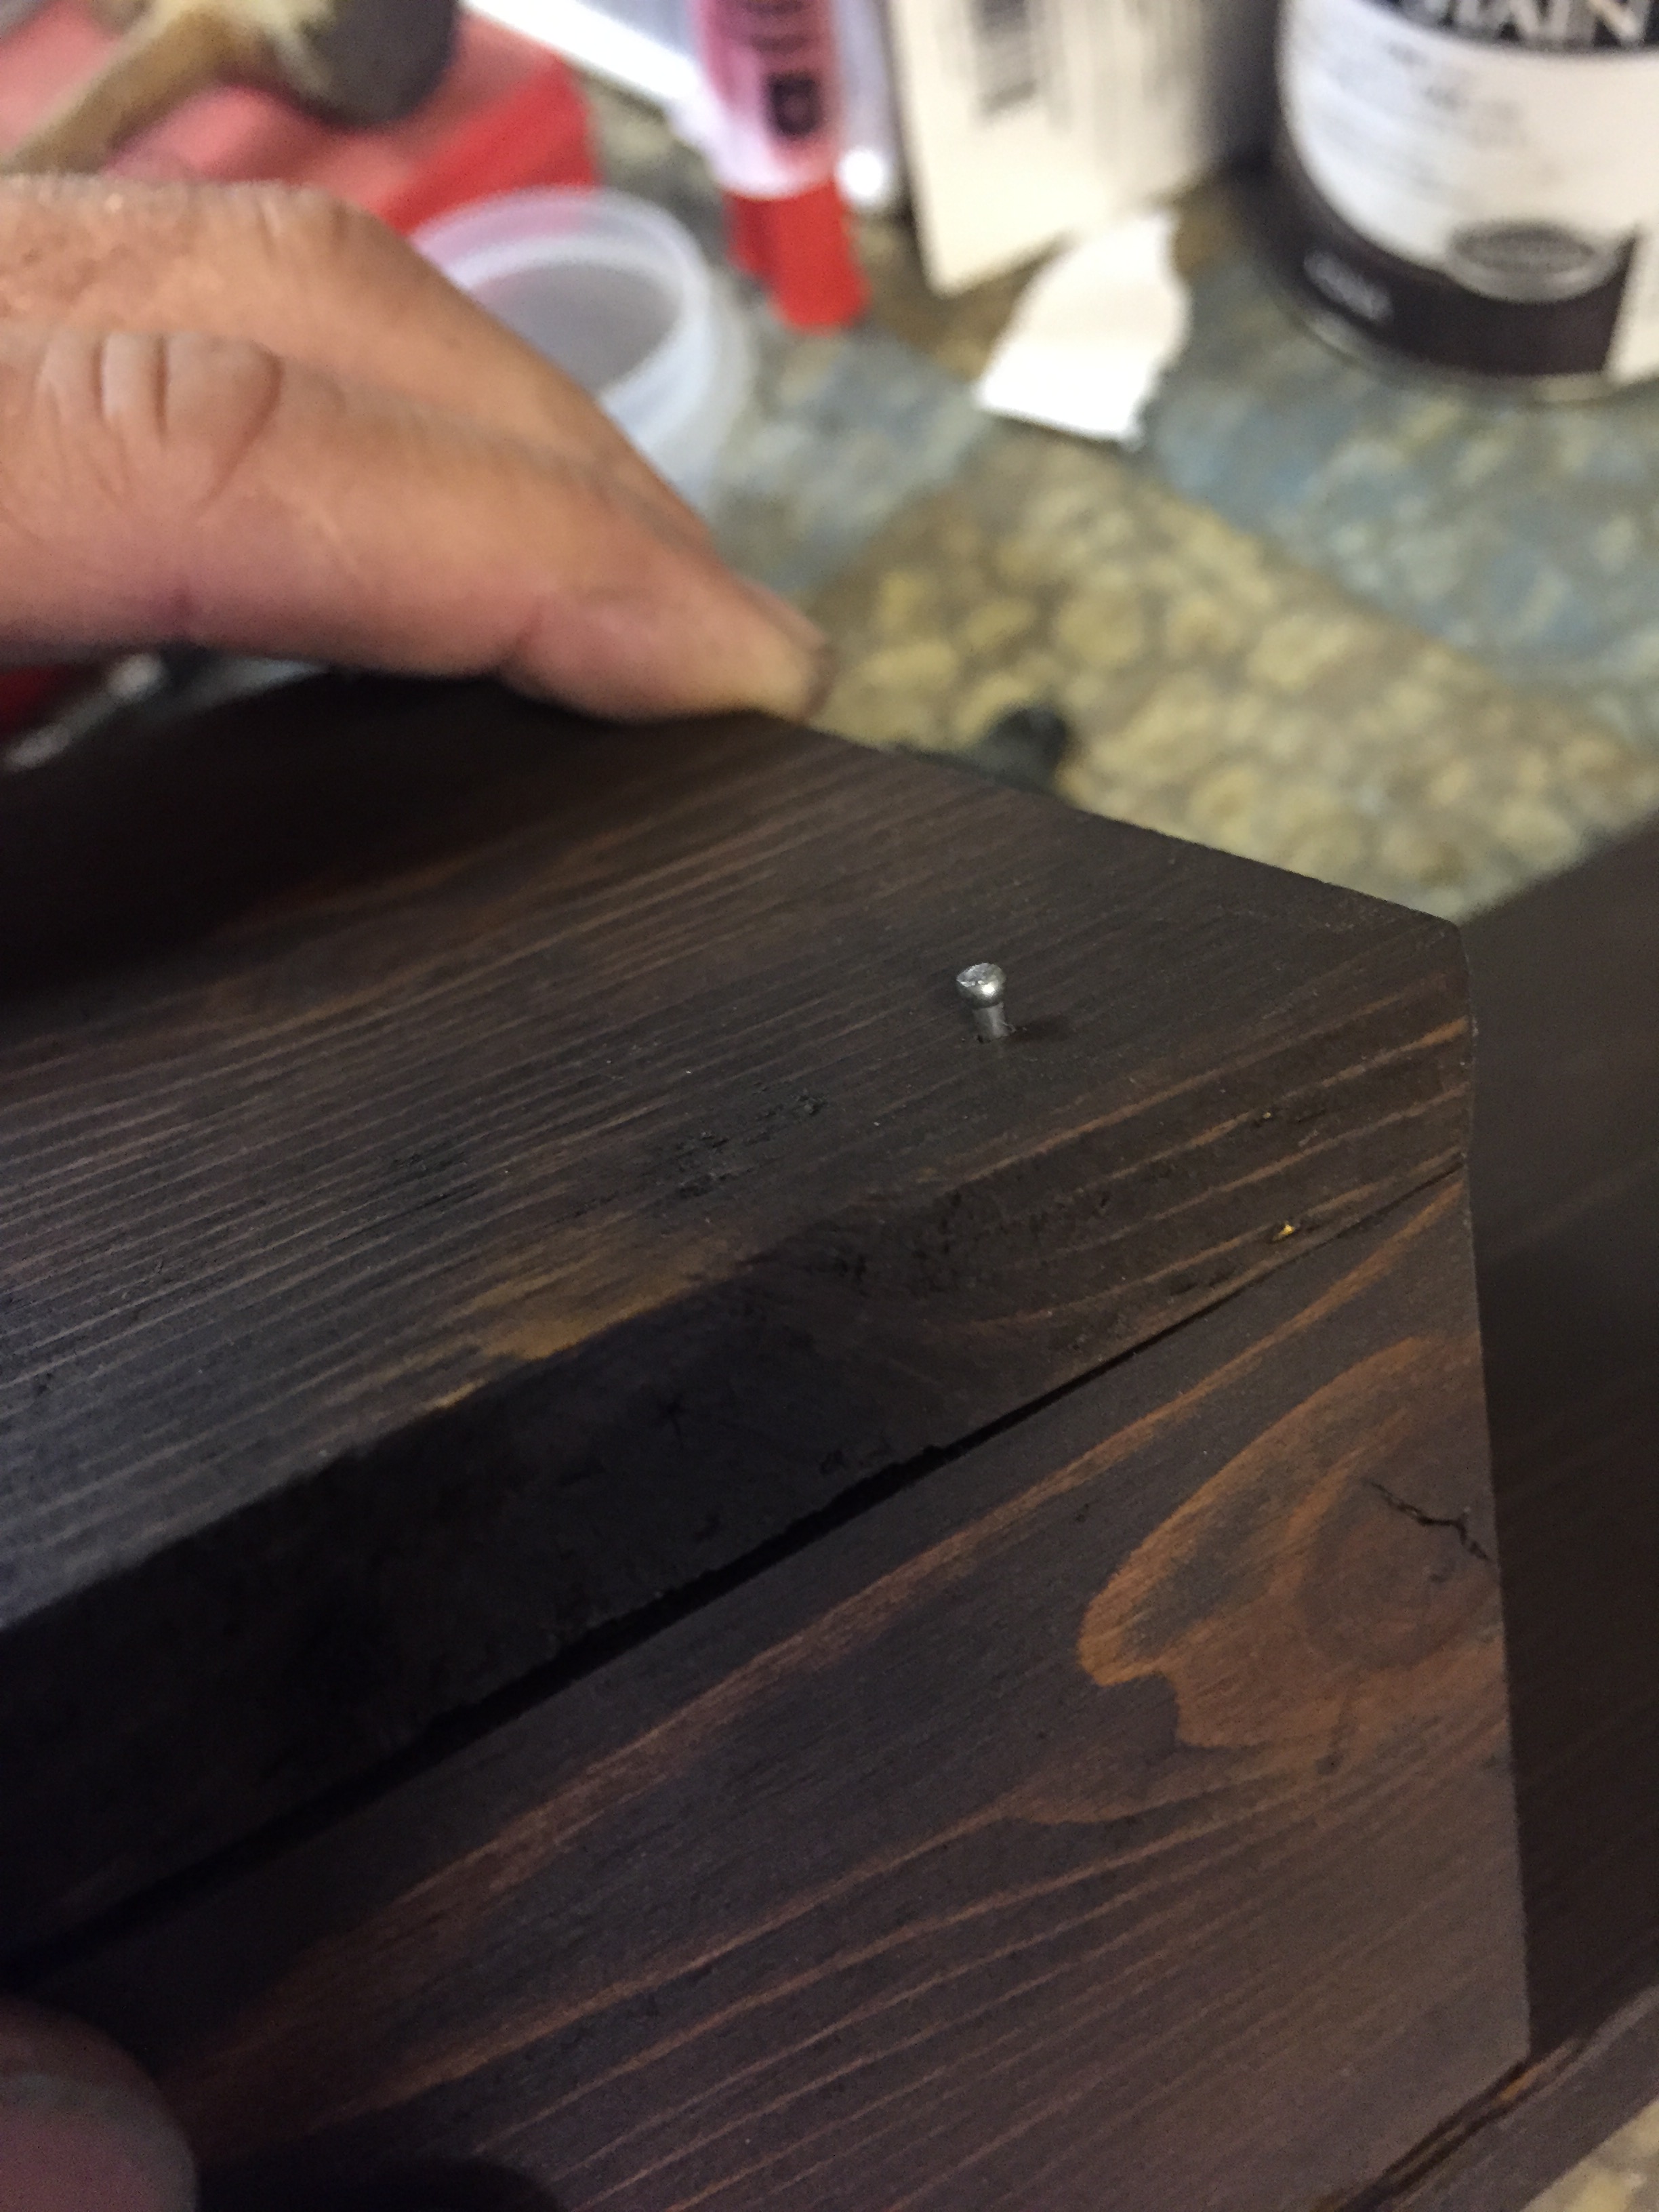
After gluing the front into place, hammer one nail on each side BY HAND! But do not hammer it in all the way, because the hammer can end up damaging the wood. We then used this piece of mettle as a buffer between the nail and hammer.
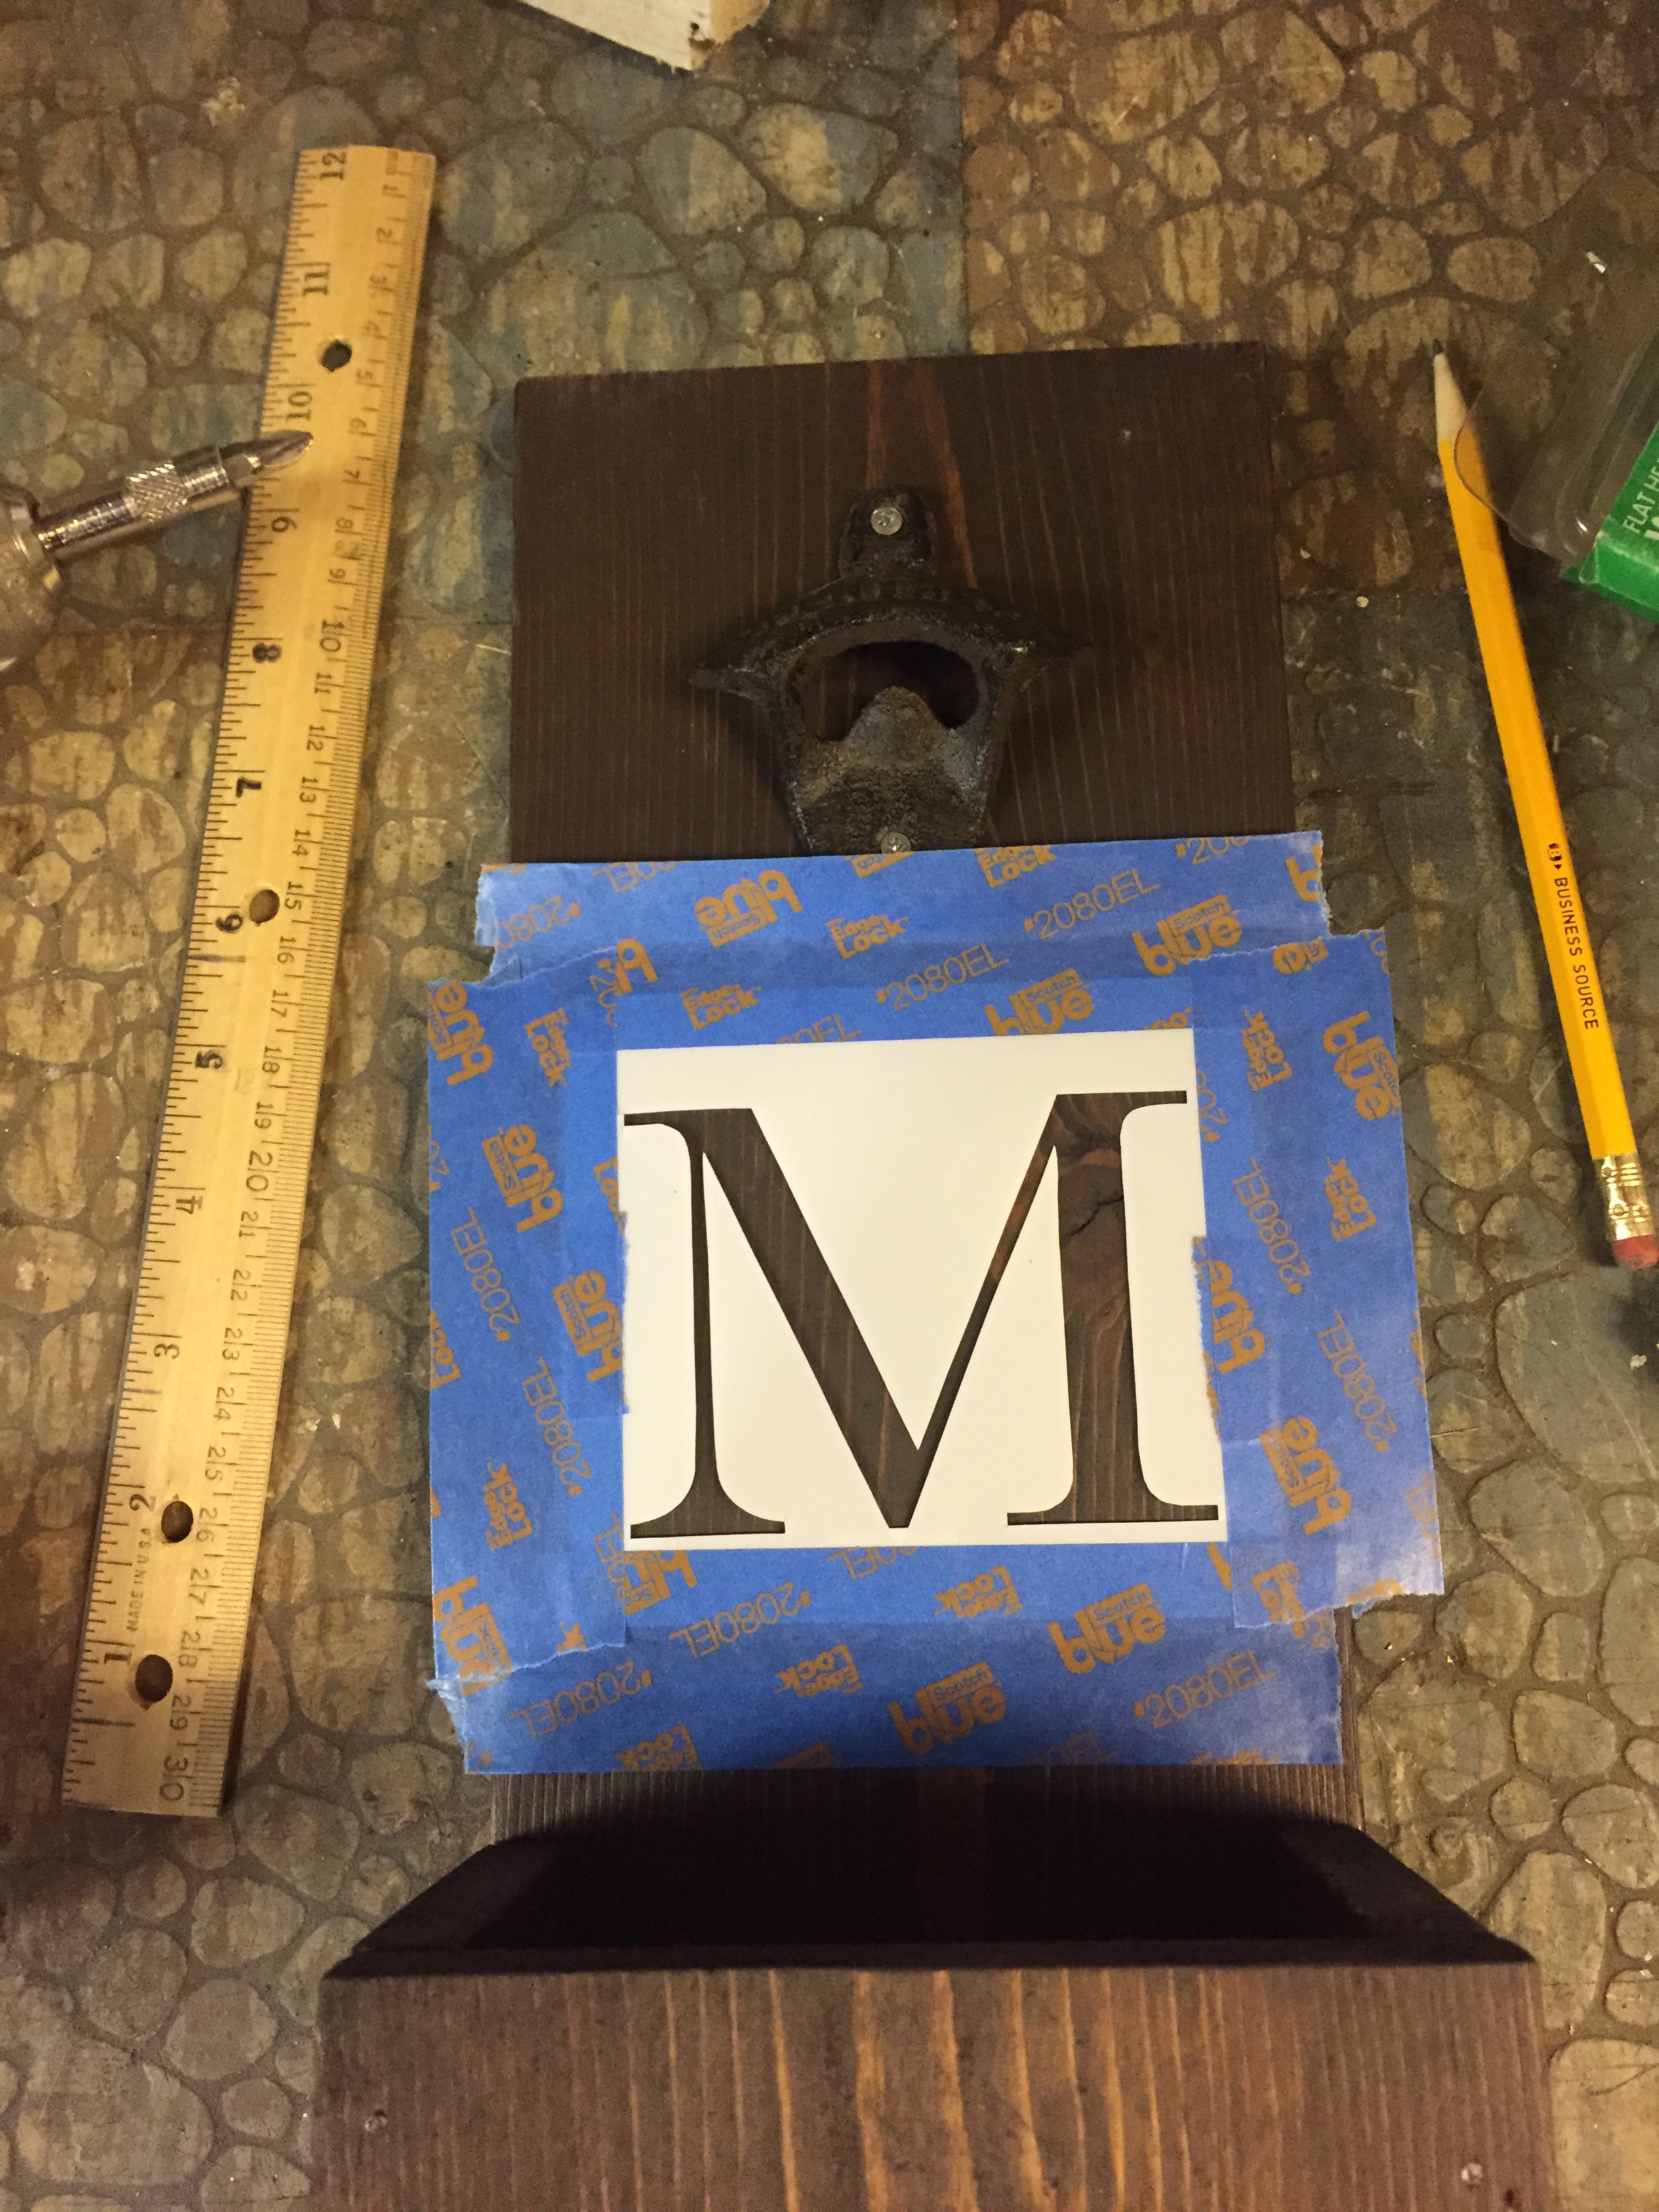
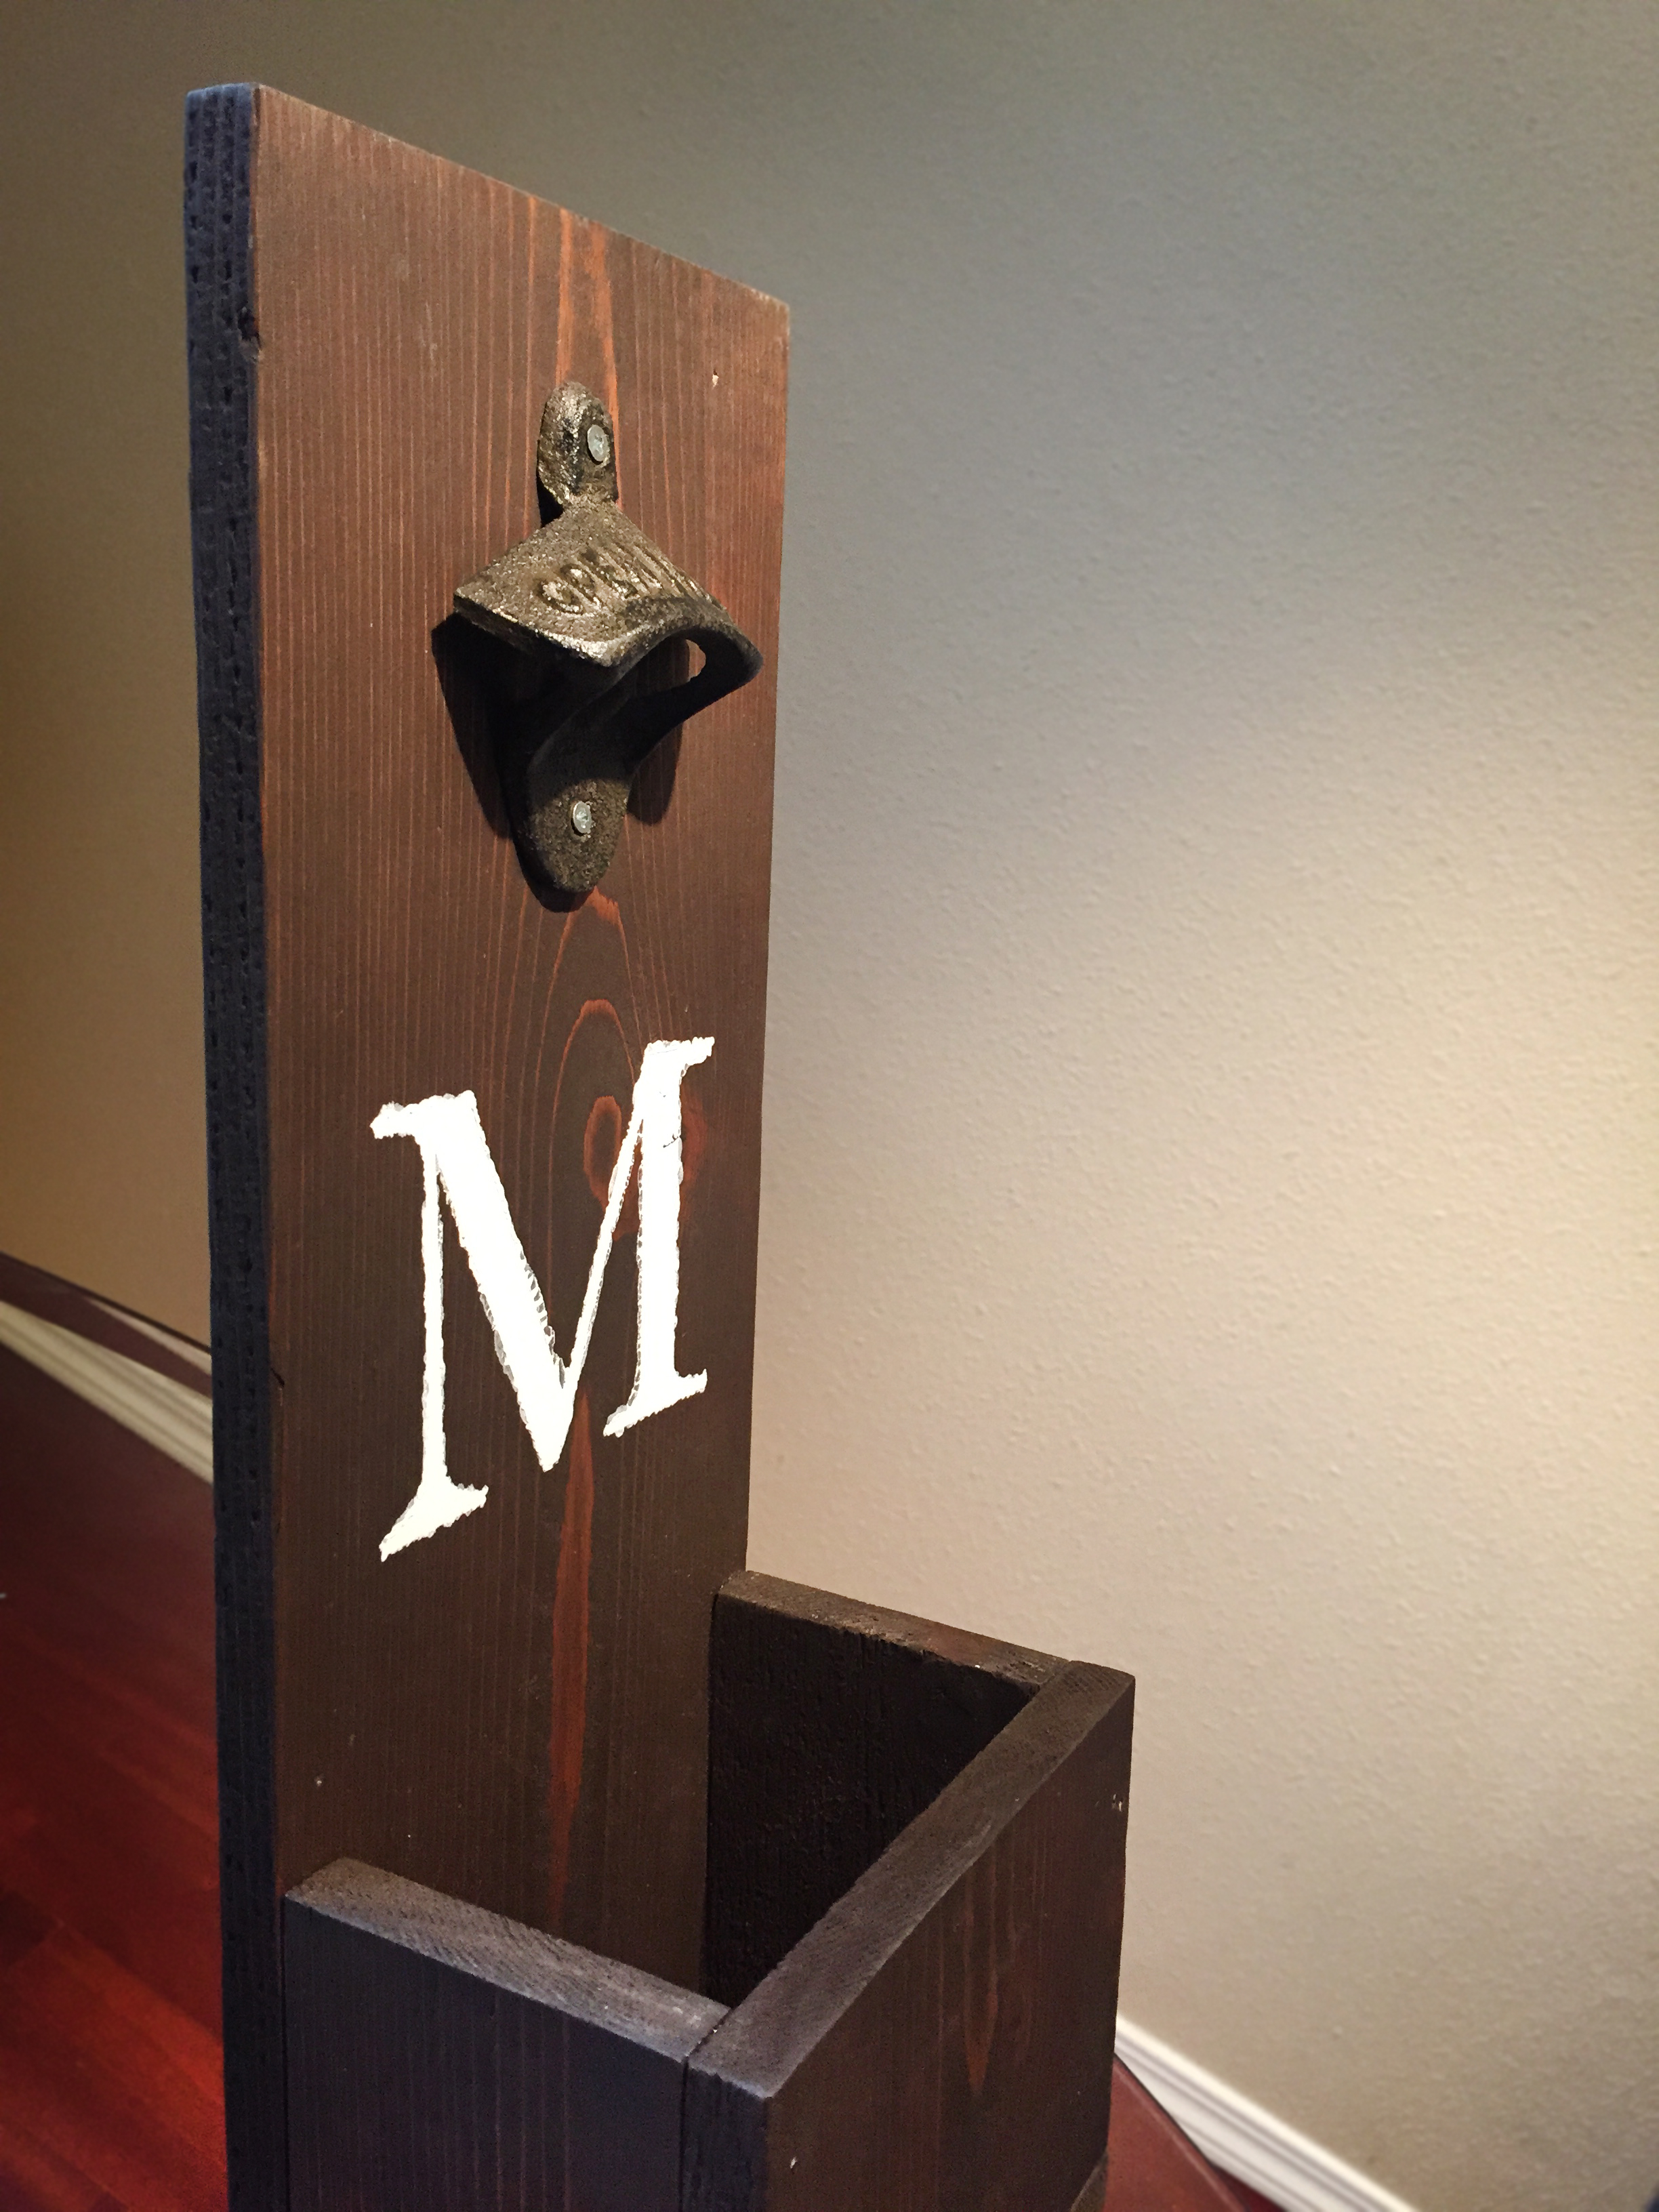
After your whole skeleton is put together, you can secure your mettle bottle opener. I found this rustic looking one at Hobby Lobby for only $2 after a coupon. I forgot to take a picture of this part, but I used small wood screws. And measured to find the center of the board. (An electric screwdriver must be used for this)
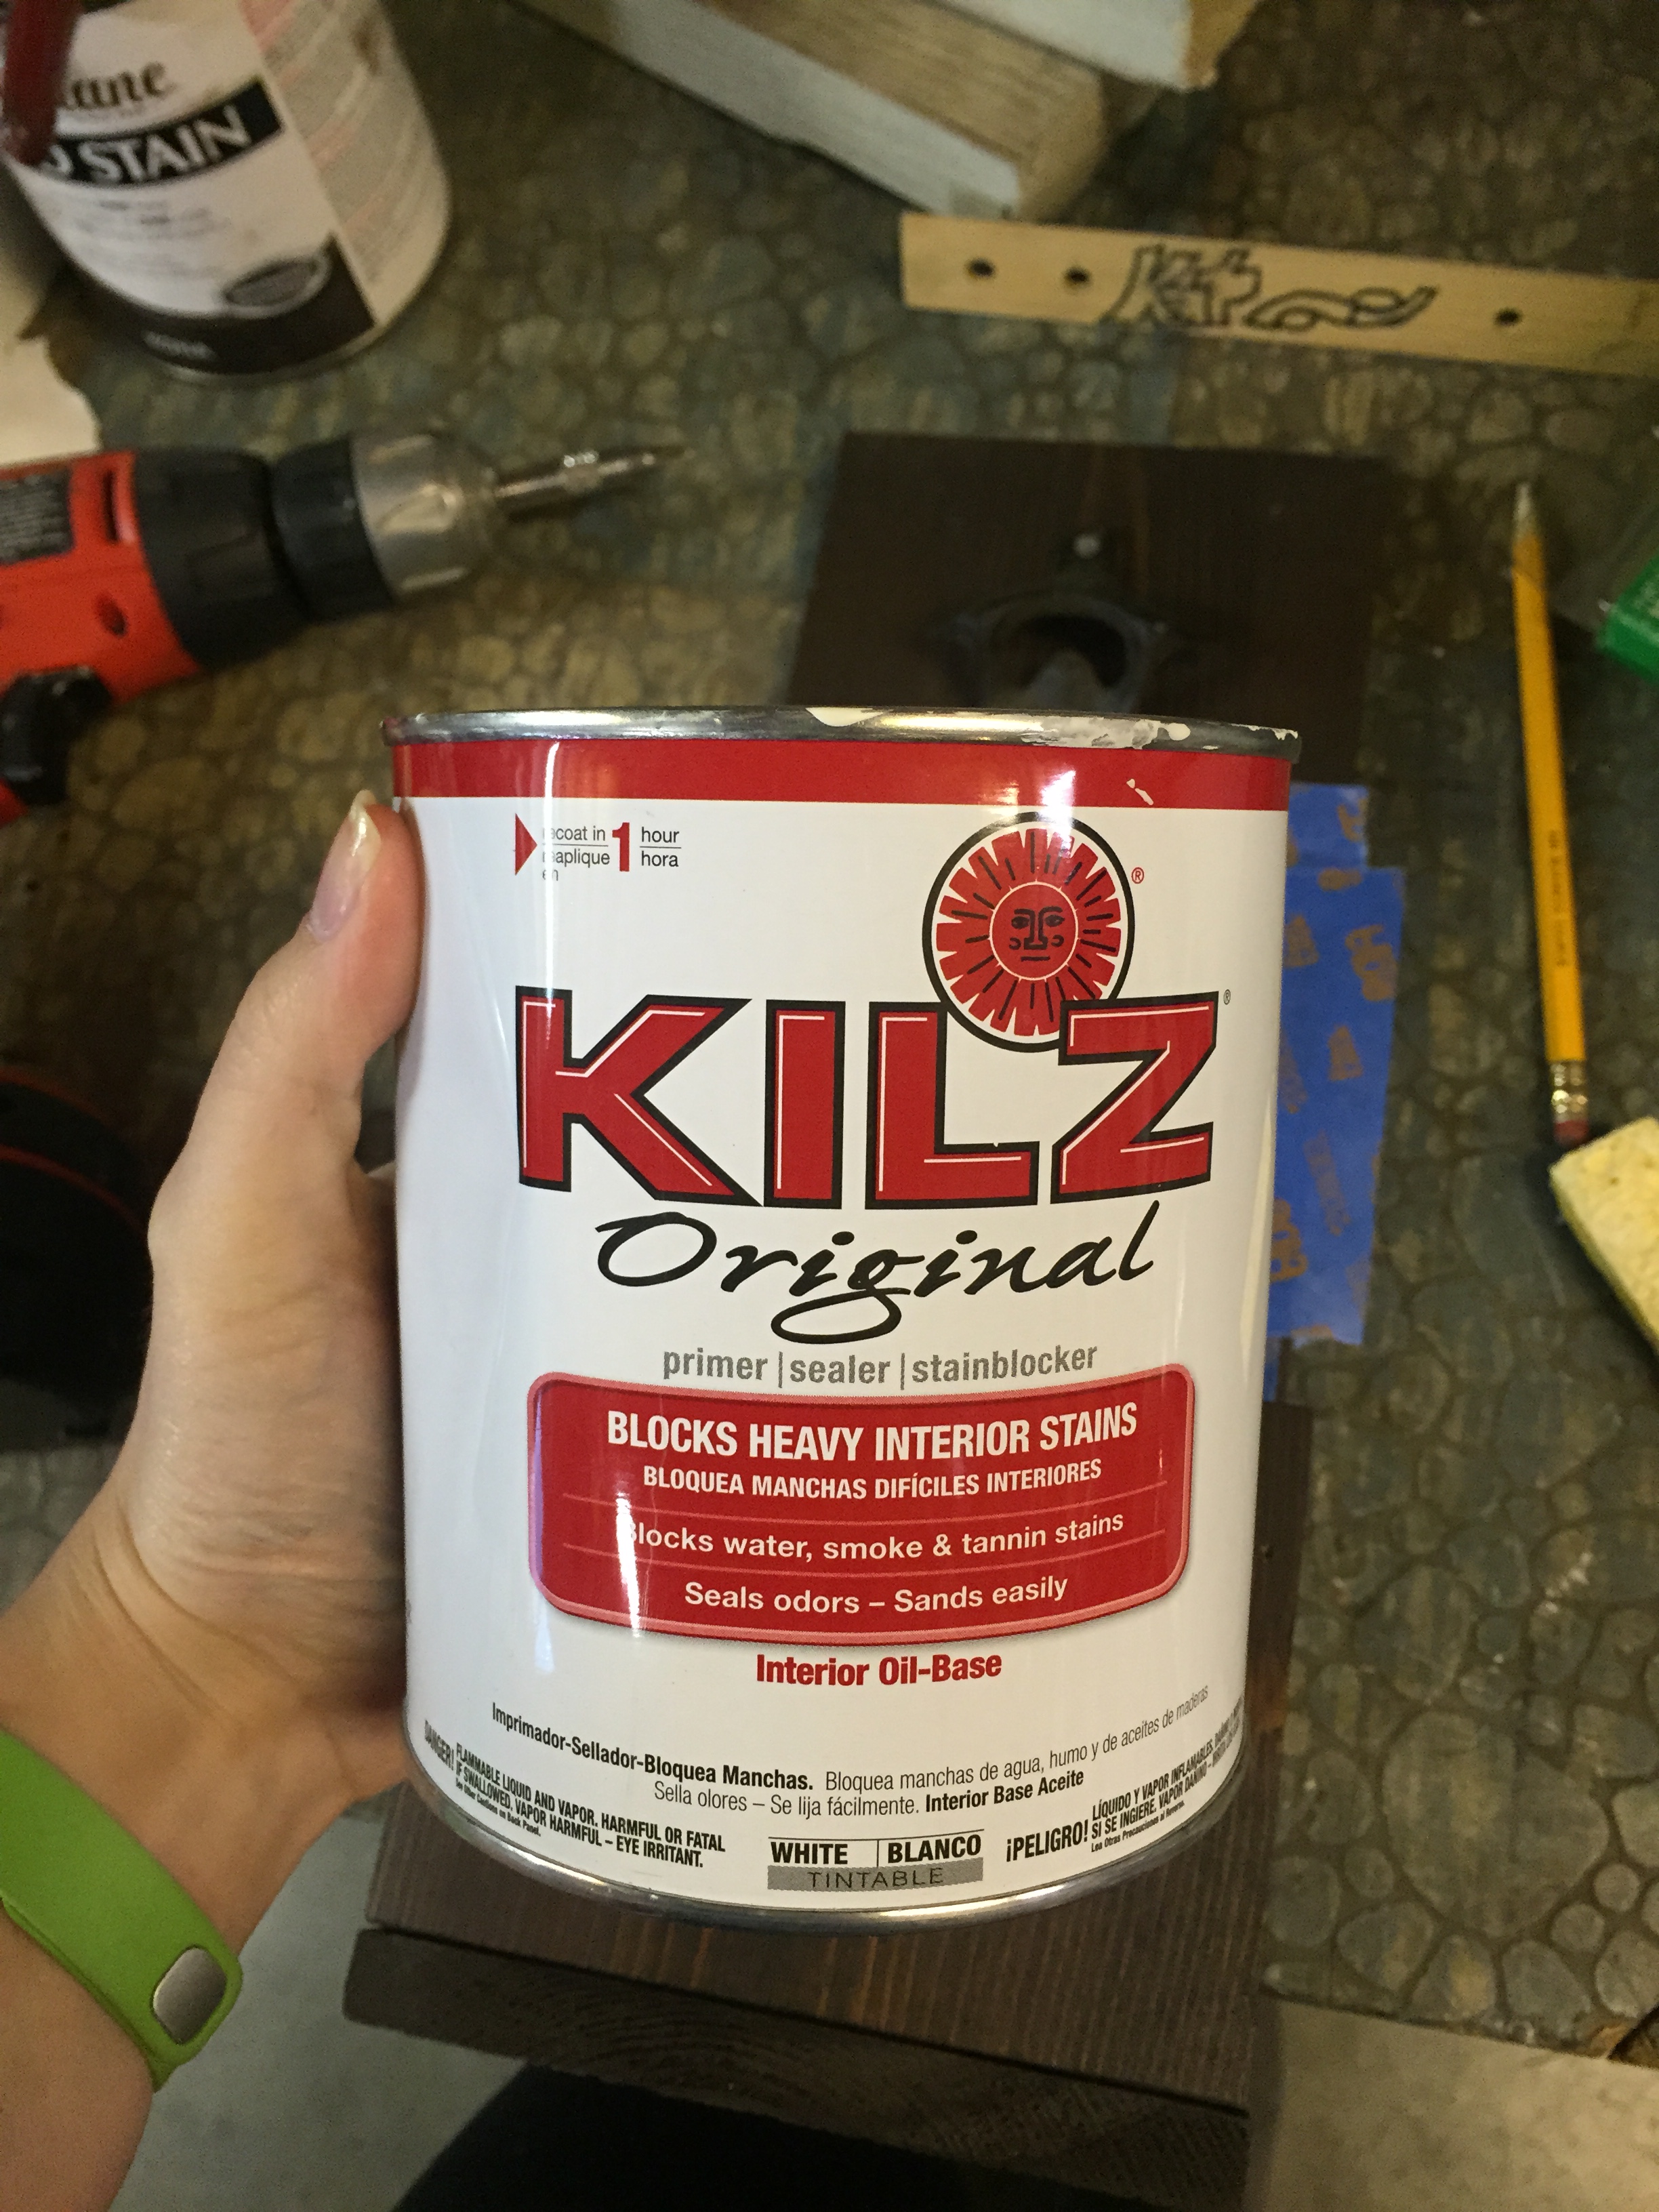
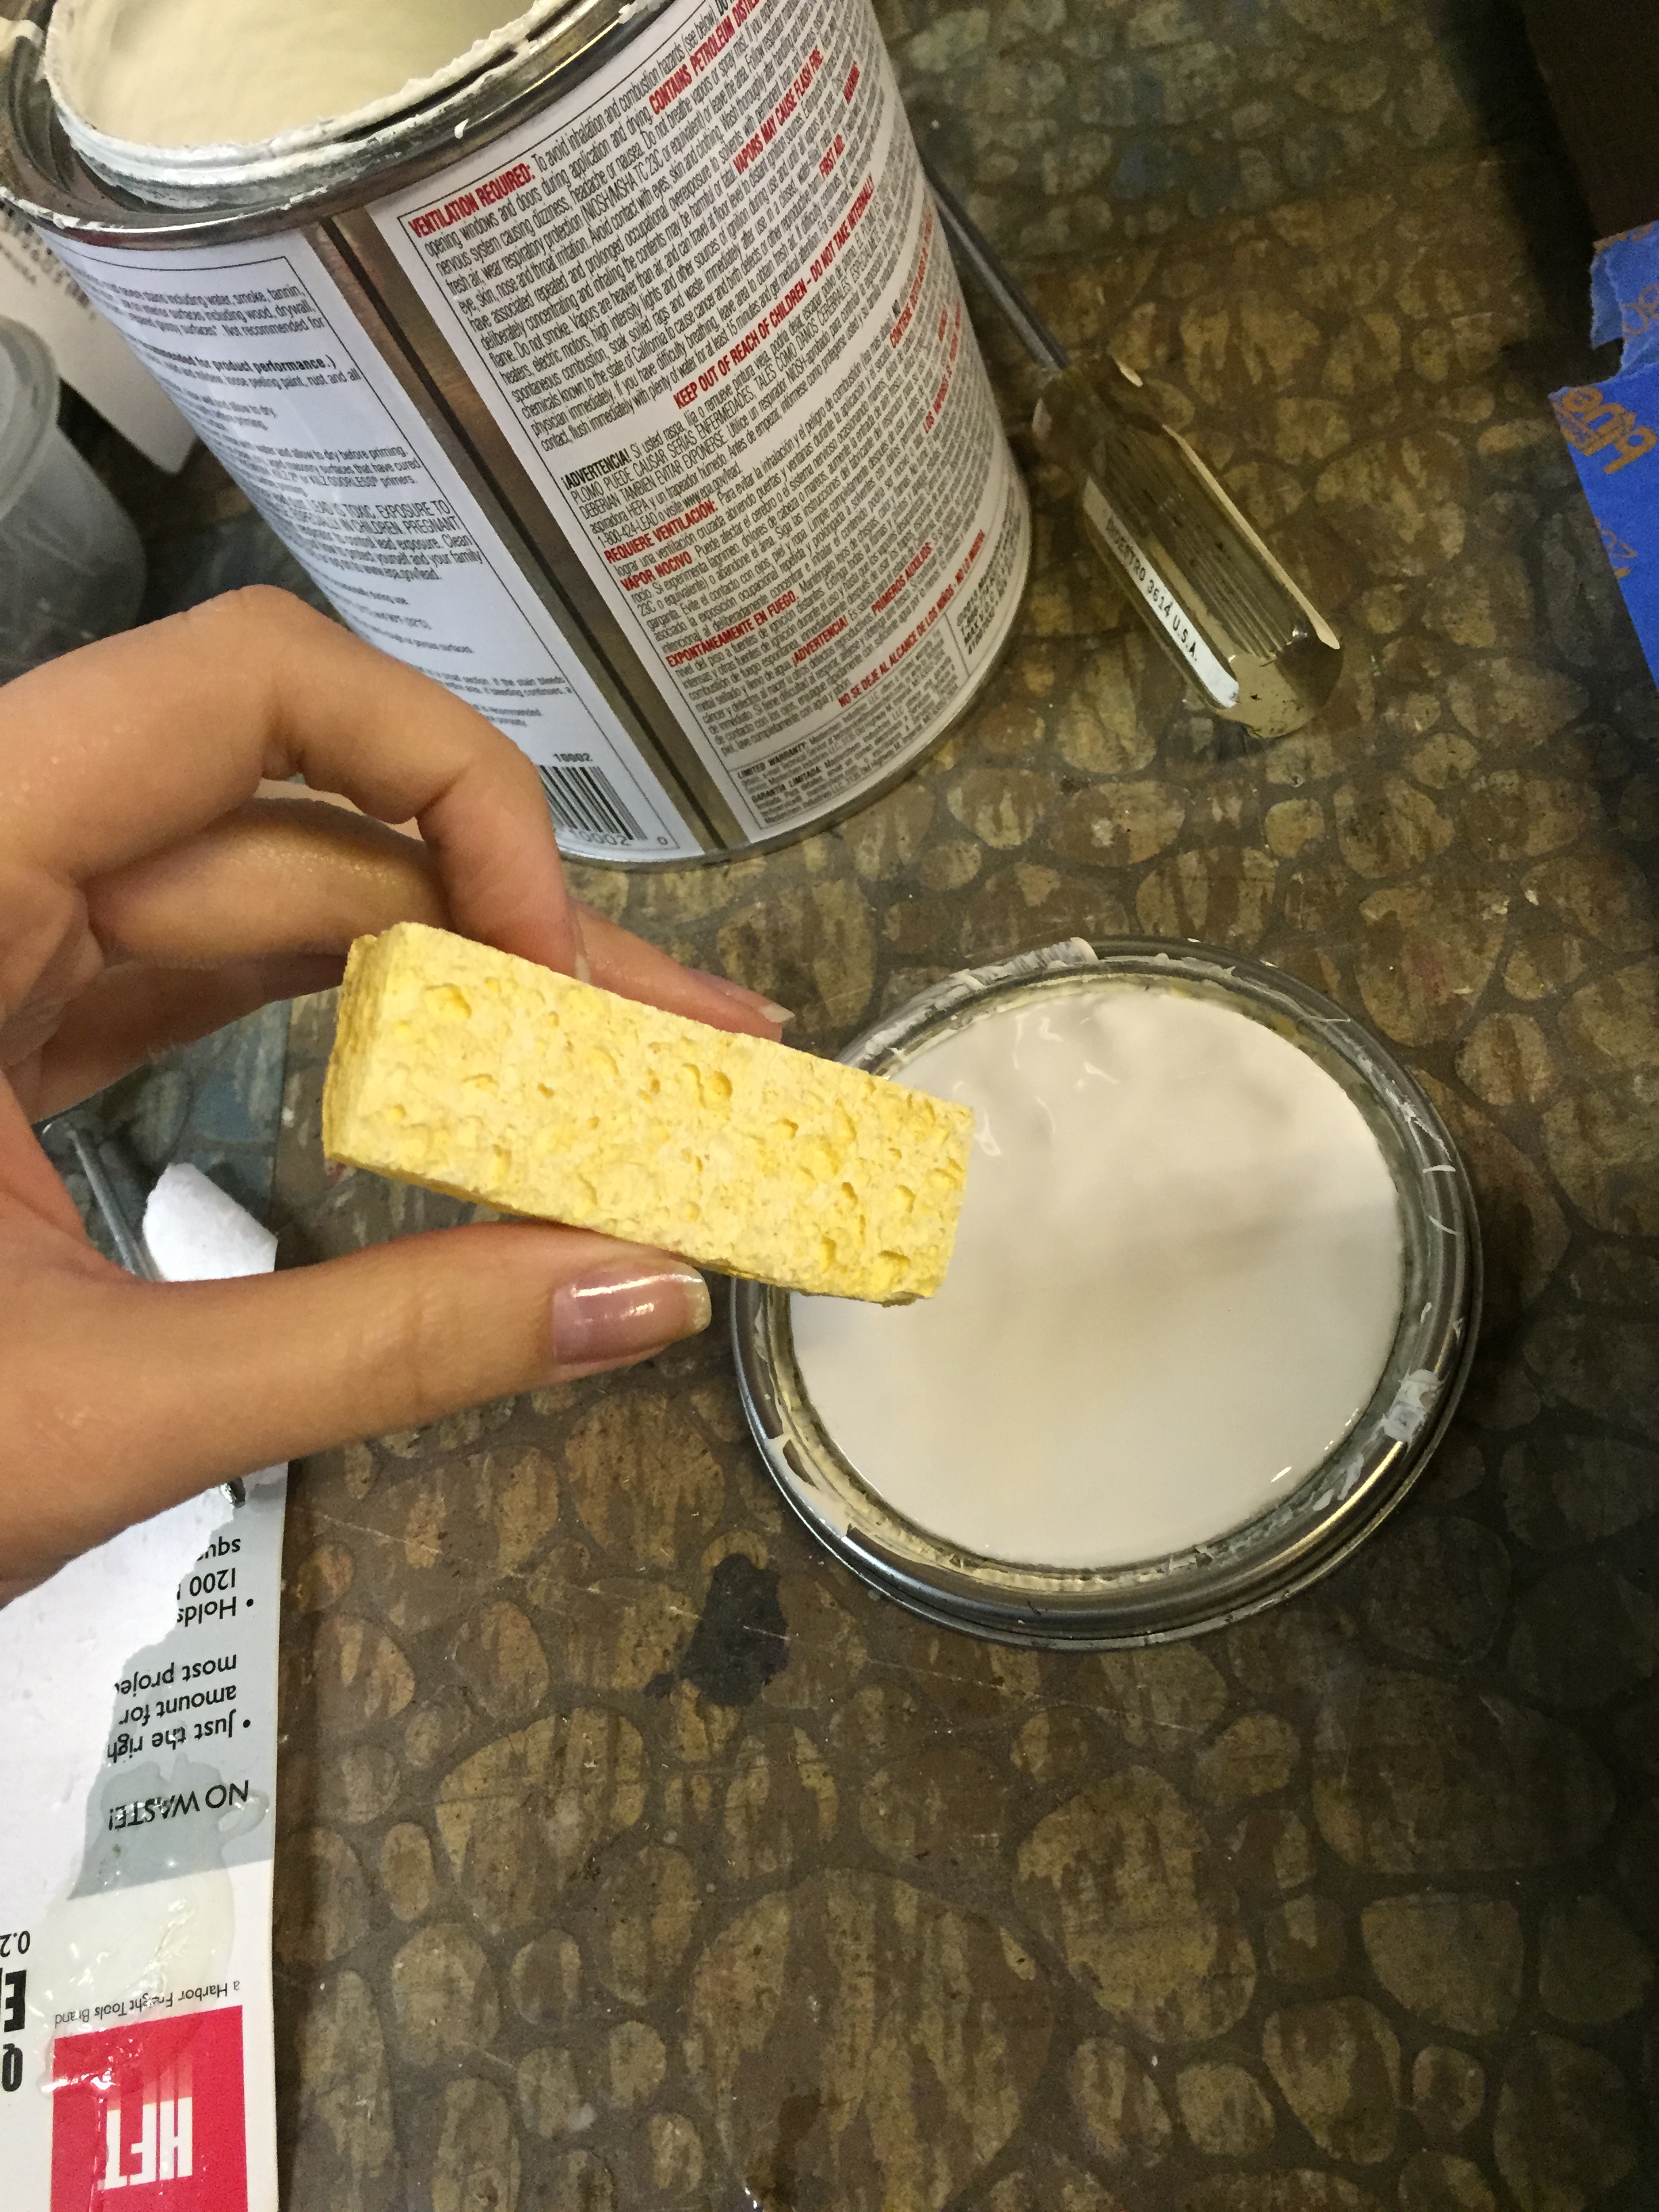
Then find the placement you desire for the monogram, and tape your stencil into place. The first layer of paint you’ll want to use is KILZ. This will stop the stain from leaking through the paint. Then you can sponge on a layer of the color you want, once the KILZ is dry. I used some pure white paint that we’ve been using for the remodel of my parents home.
NOTE: I used a sponge to apply the paint in hopes that it would leak under the stencil less.
Once all the paint is dry, you can remove the tape and admire your beautiful work!
Even though the “M” didn’t turn out as perfect as I’d hoped, I’m still extremely happy with the overall outcome of the project! And I learned a lot of new techniques from my dad that can be used on future projects!
TOTAL COST: $2
Total Items SALVAGED from the Inevitable Seattle Trash Day:
- Fence wood
- Paint andStain
- Screws and Nails
- Glue
As always, I’d love to hear what you think about this project! Leave a comment below and hit subscribe!

One thought on “Bottle Opener – Hand Crafted with Reclaimed Wood”