

This old night stand turned into an absolute beauty after a few days work!
BEFORE:
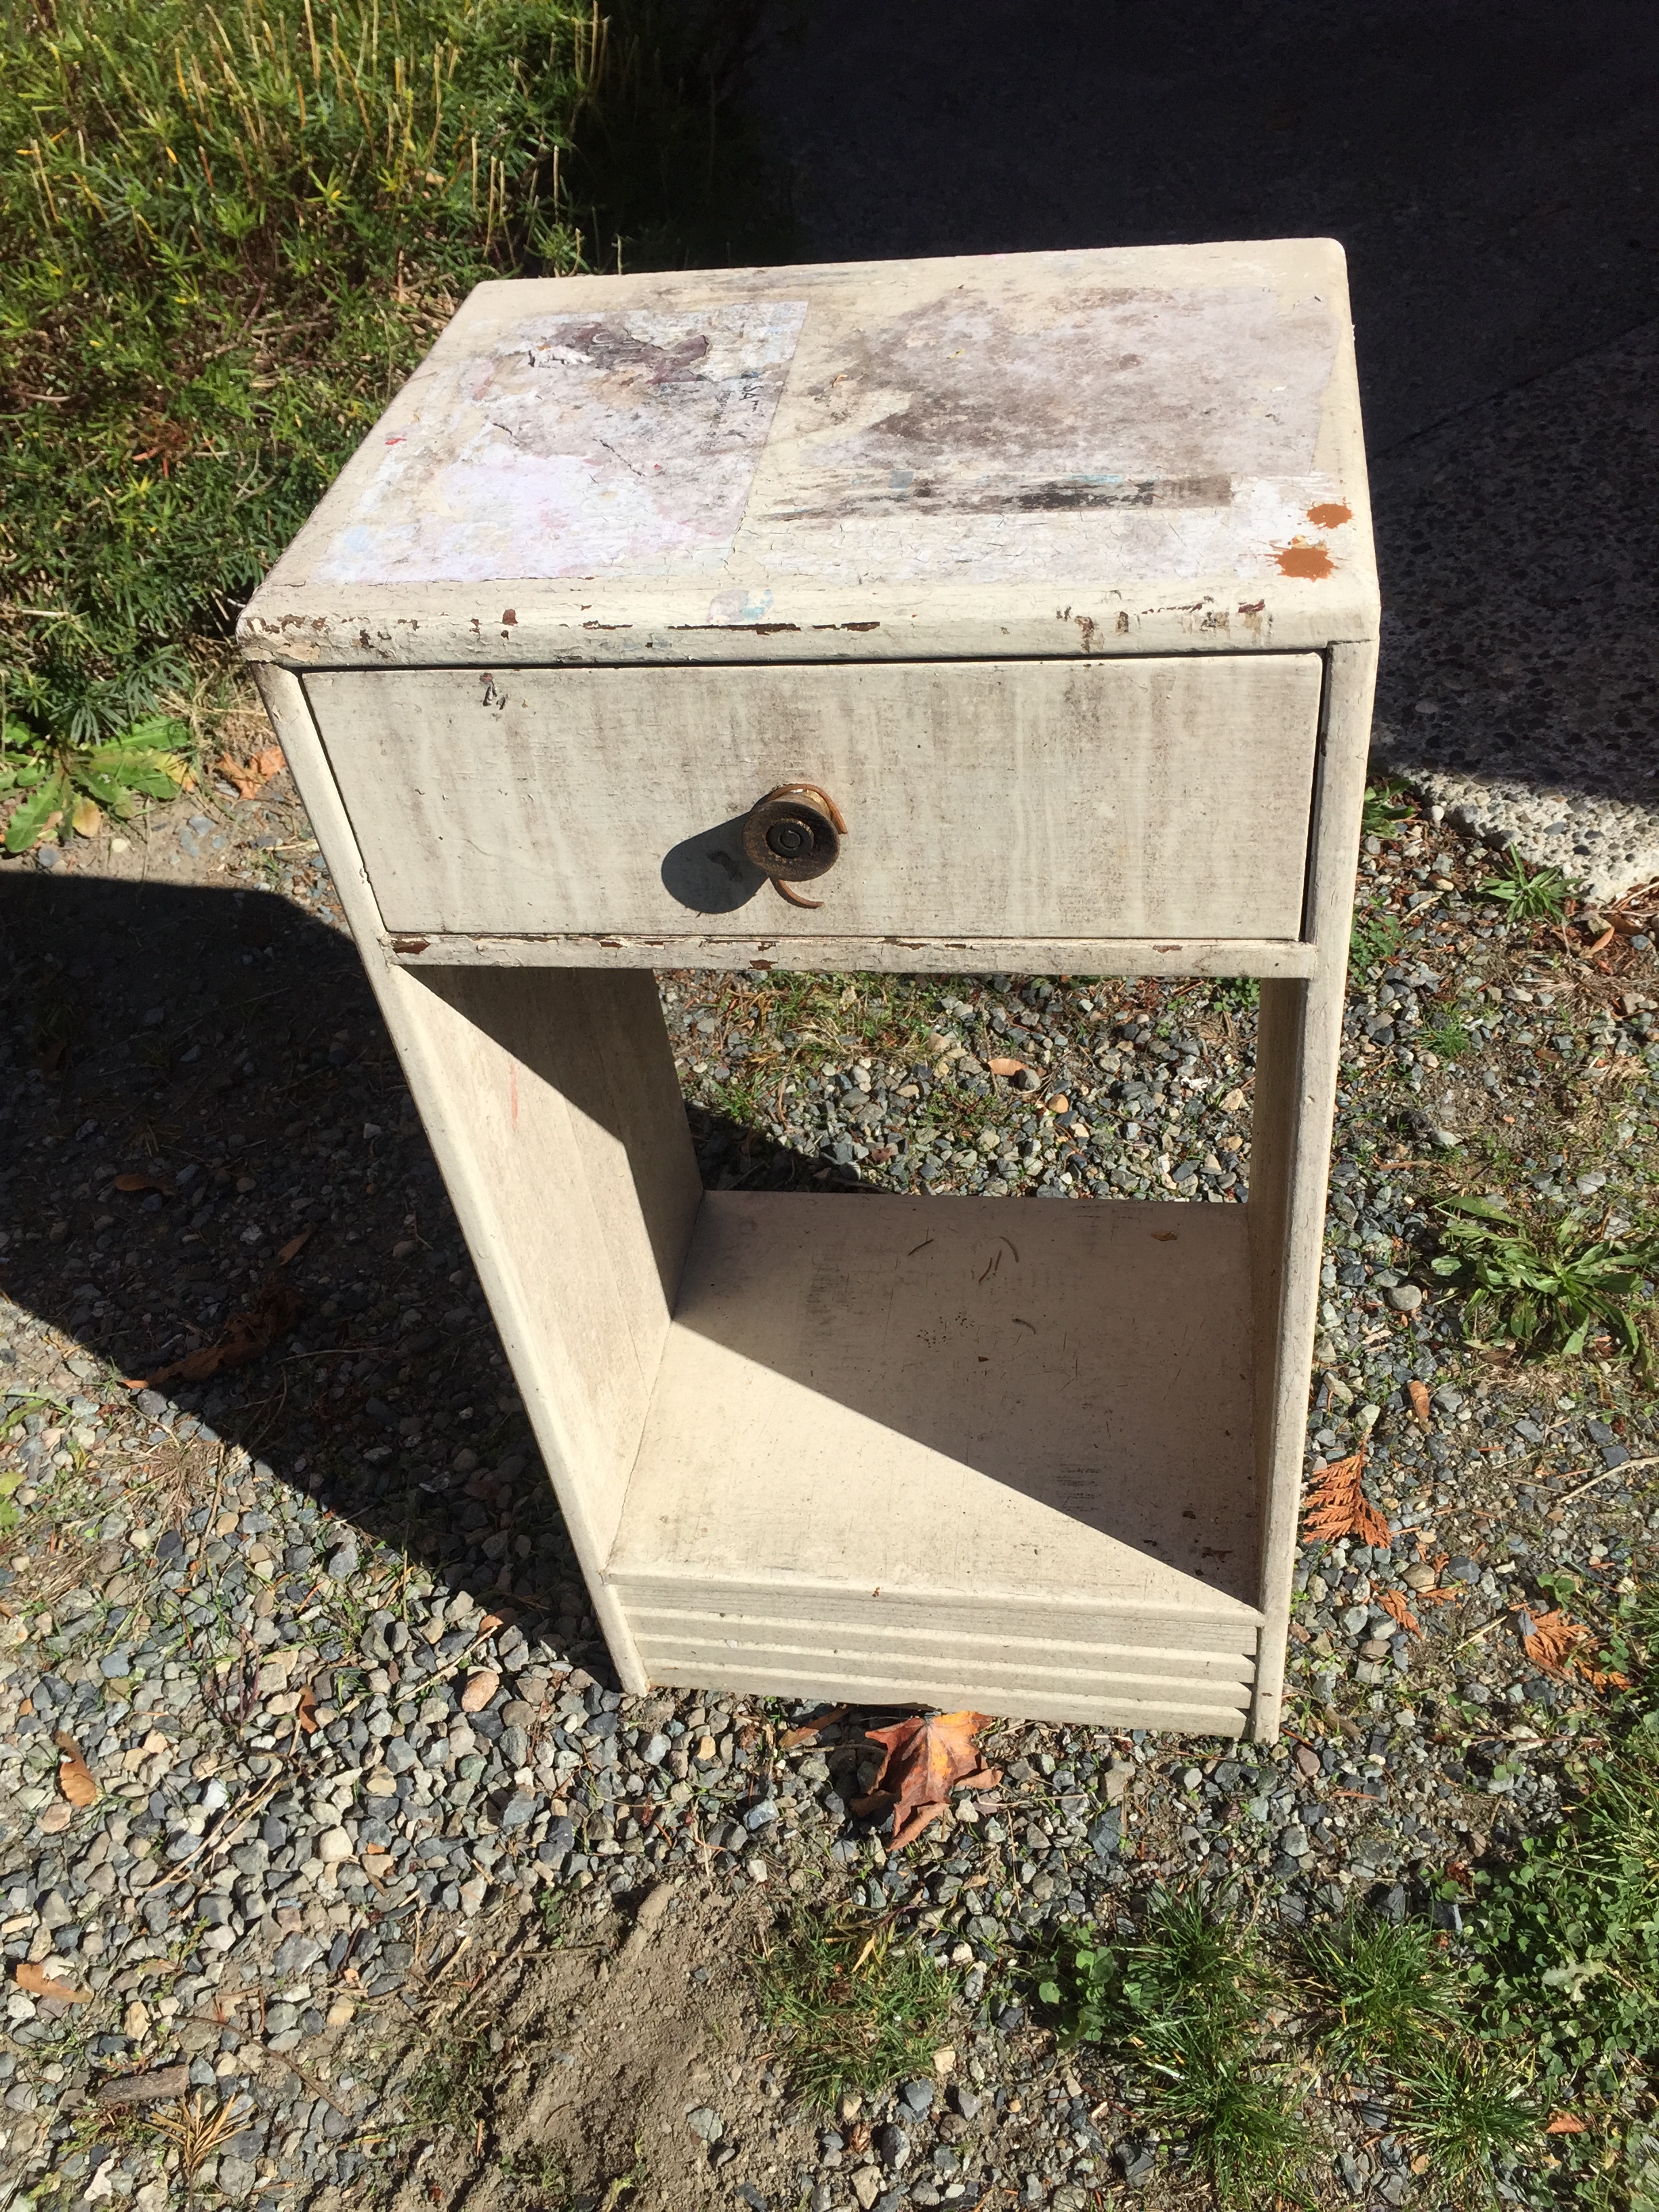


I found this night stand abandoned on the side of the road in Seattle. And I must say, it was in pretty bad shape. It looked as though it had been outside for a long while. Complete with mildew and water damage. But none the less, I couldn’t pass up this solid wood stunner. I knew that with a little effort, I could restore it to it’s former glory! Although, it did turn into a bit more work than I anticipated.

The first step in this restoration project is to scrape off anything that you can get off. In this case, there were a couple old stickers stuck to the top that needed to come off. Followed by any chipped or cracking paint. Which was pretty much the entire piece.
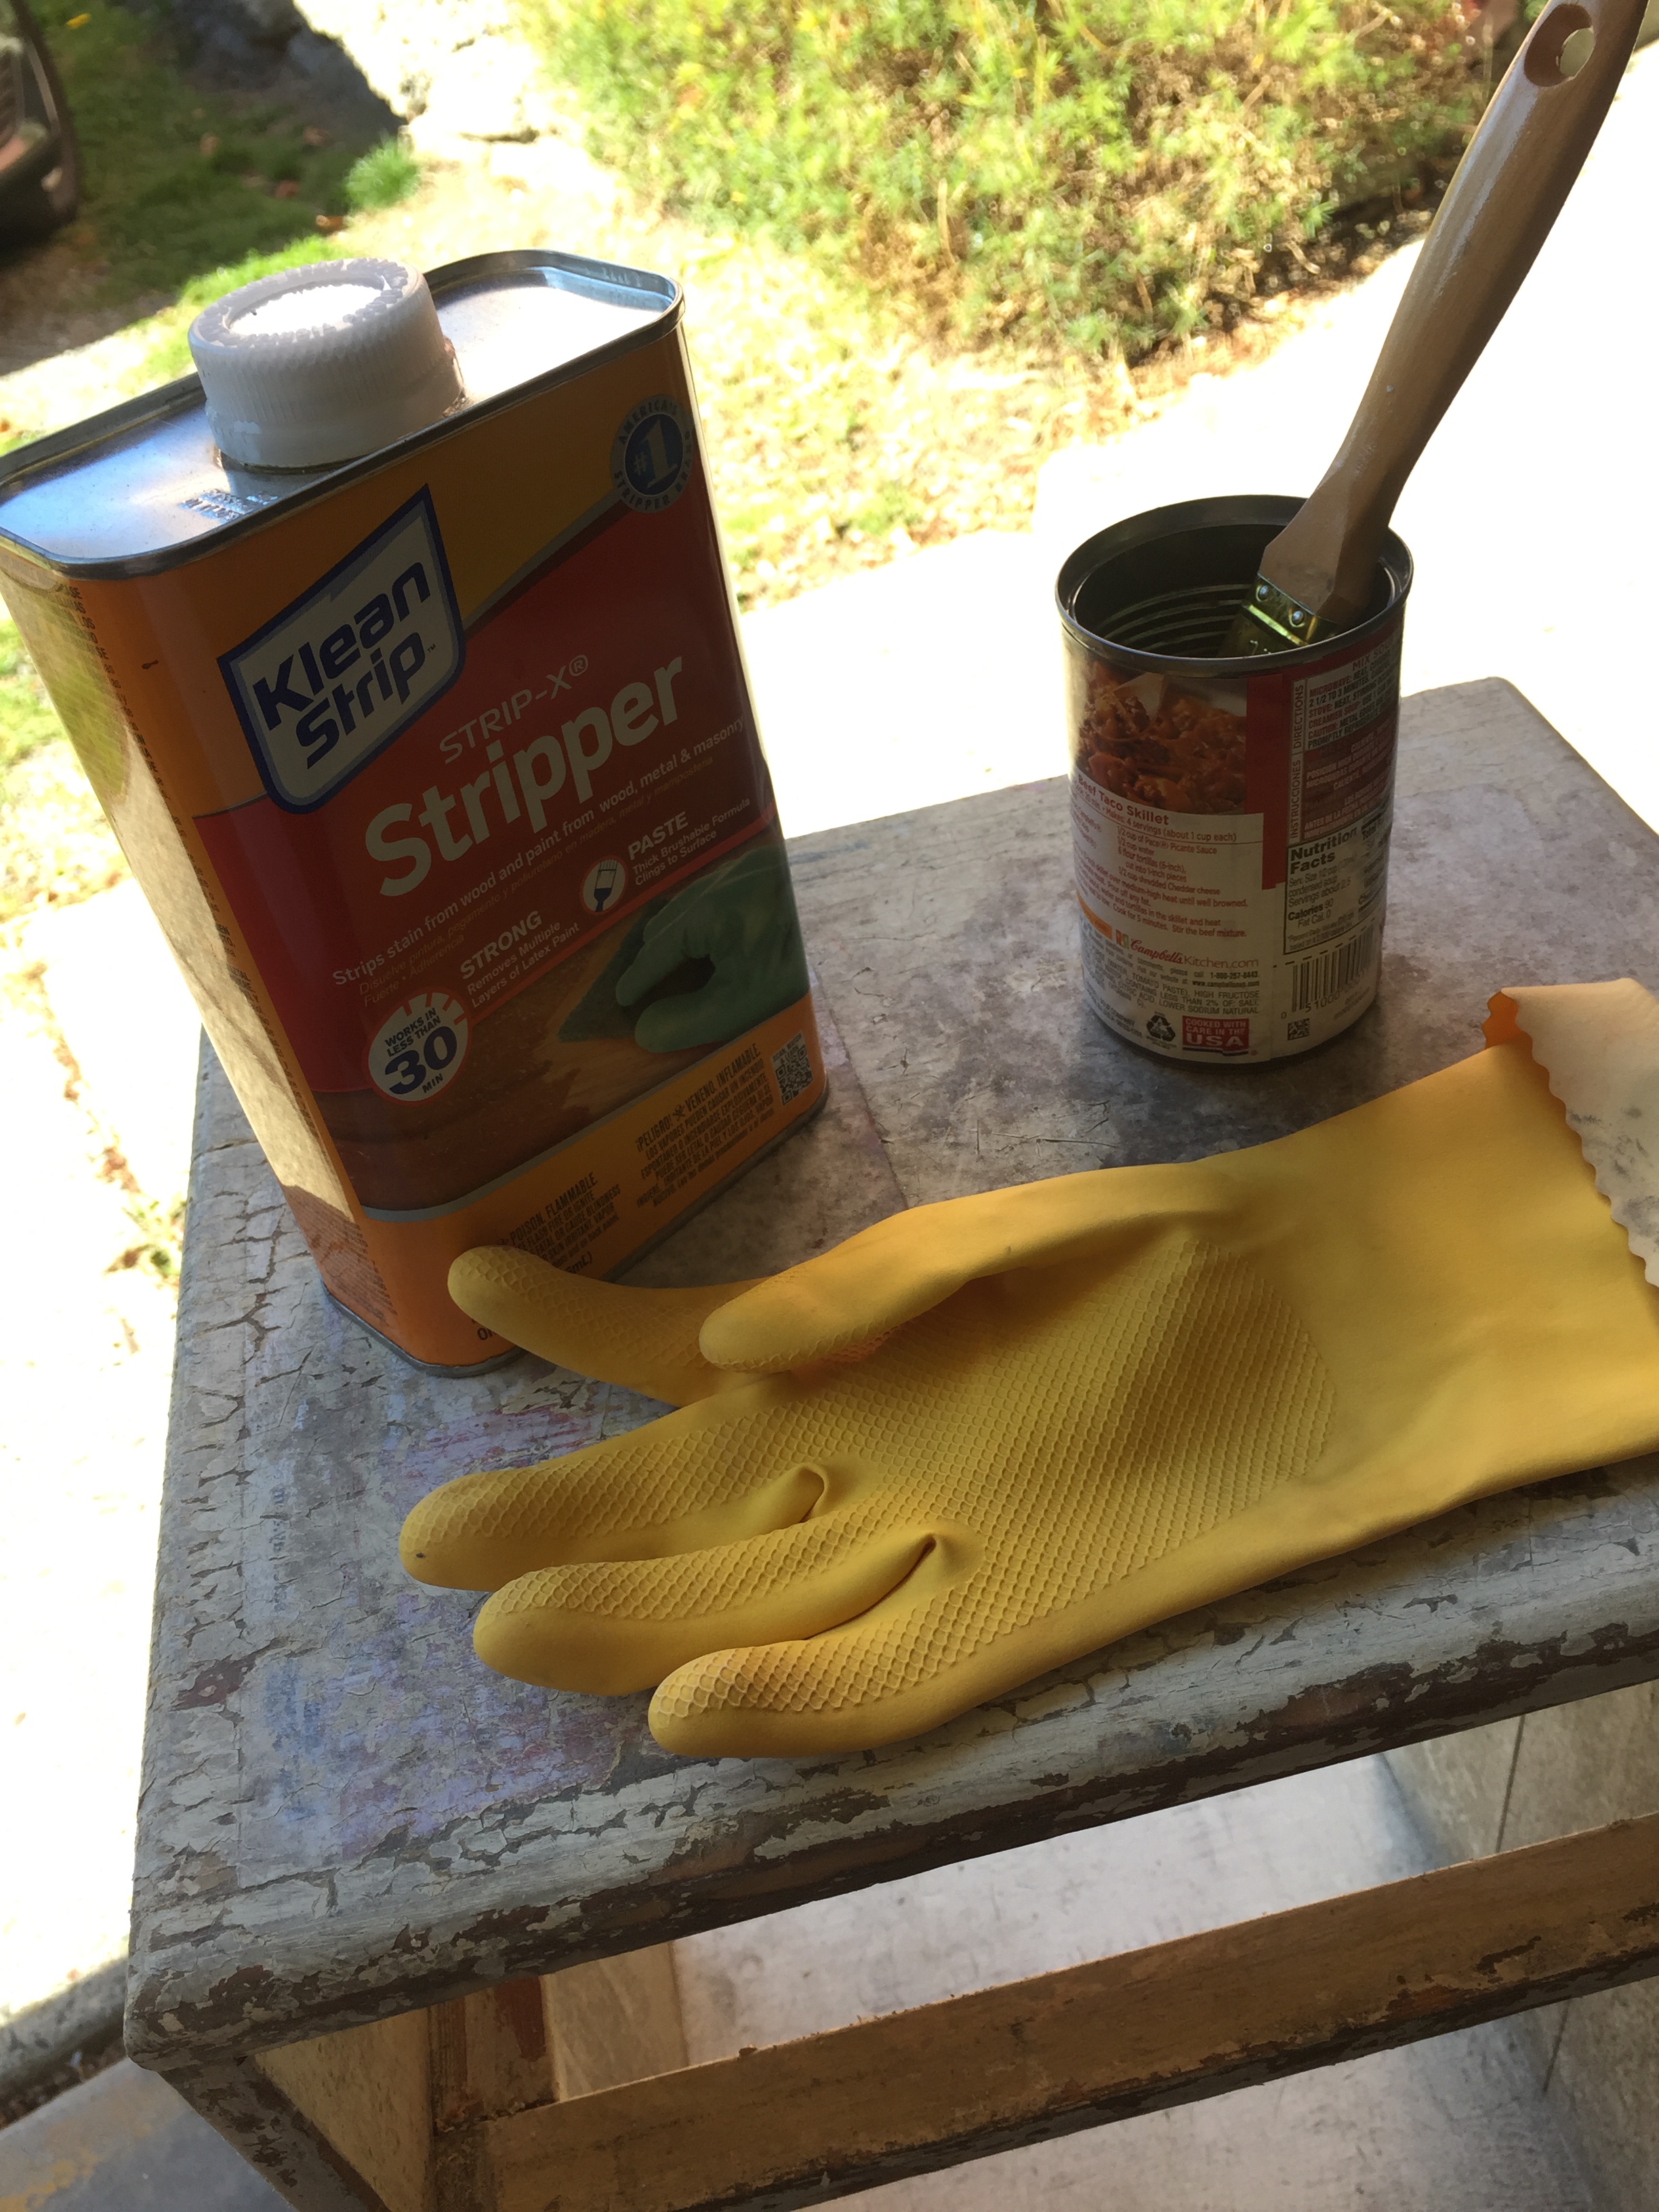

At first, I wasn’t quite sure what direction I wanted to take this nightstand. But, I did know that I wanted to strip the paint from the top, and give it a nice stain. And I won’t lie to you…stripping paint takes a lot of work. For this process, you’ll need some chemical resistant gloves, paint stripper, a paint brush, and a metal can to hold the product you’re using. Cover the entire surface with the paint stripper. Let it sit for 30 minuets. DO NOT LET THIS CHEMICAL TOUCH YOUR SKIN.
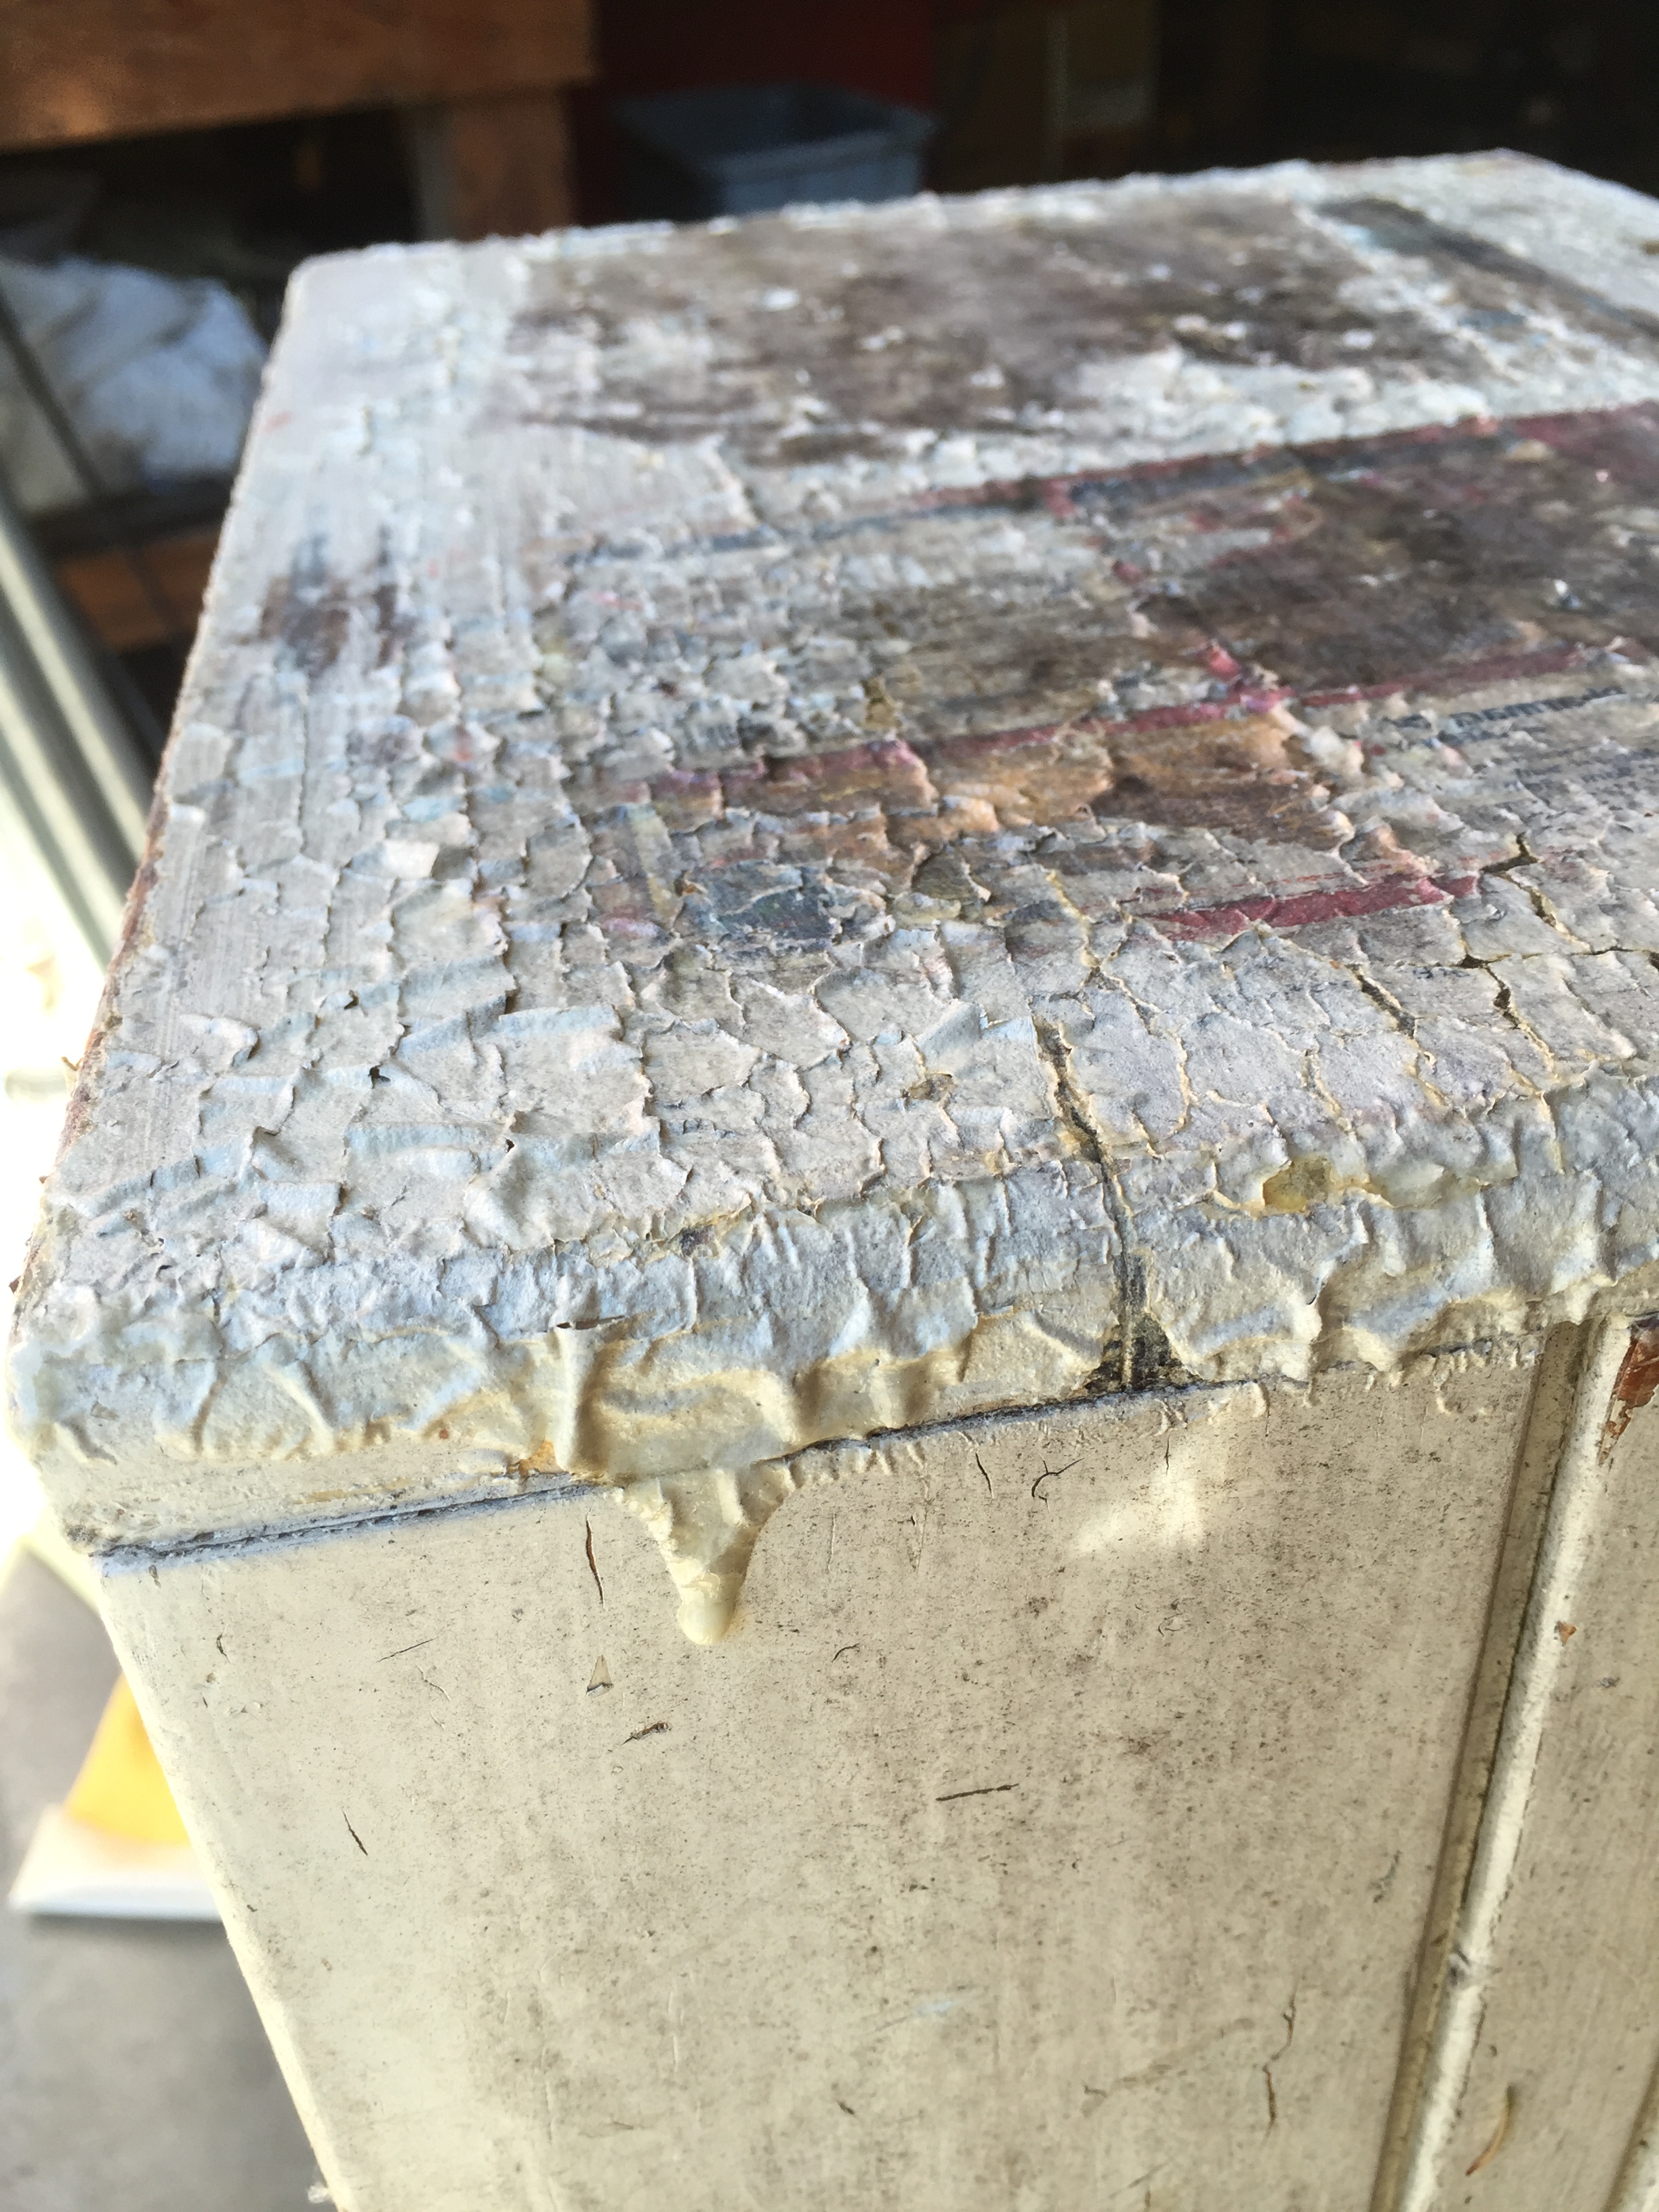

The picture on the left is what the surface will look like after 30 minuets. And I learned that I didn’t use enough of the paint stripper, and I had to repeat the whole process again. After waiting the 30 minuets, use a PLASTIC putty knife to scrape the paint away. Af first, I used a metal one…it damaged some of the wood. The picture on the right is after my first attempt to strip the paint. So, unfortunately I had to do it again.
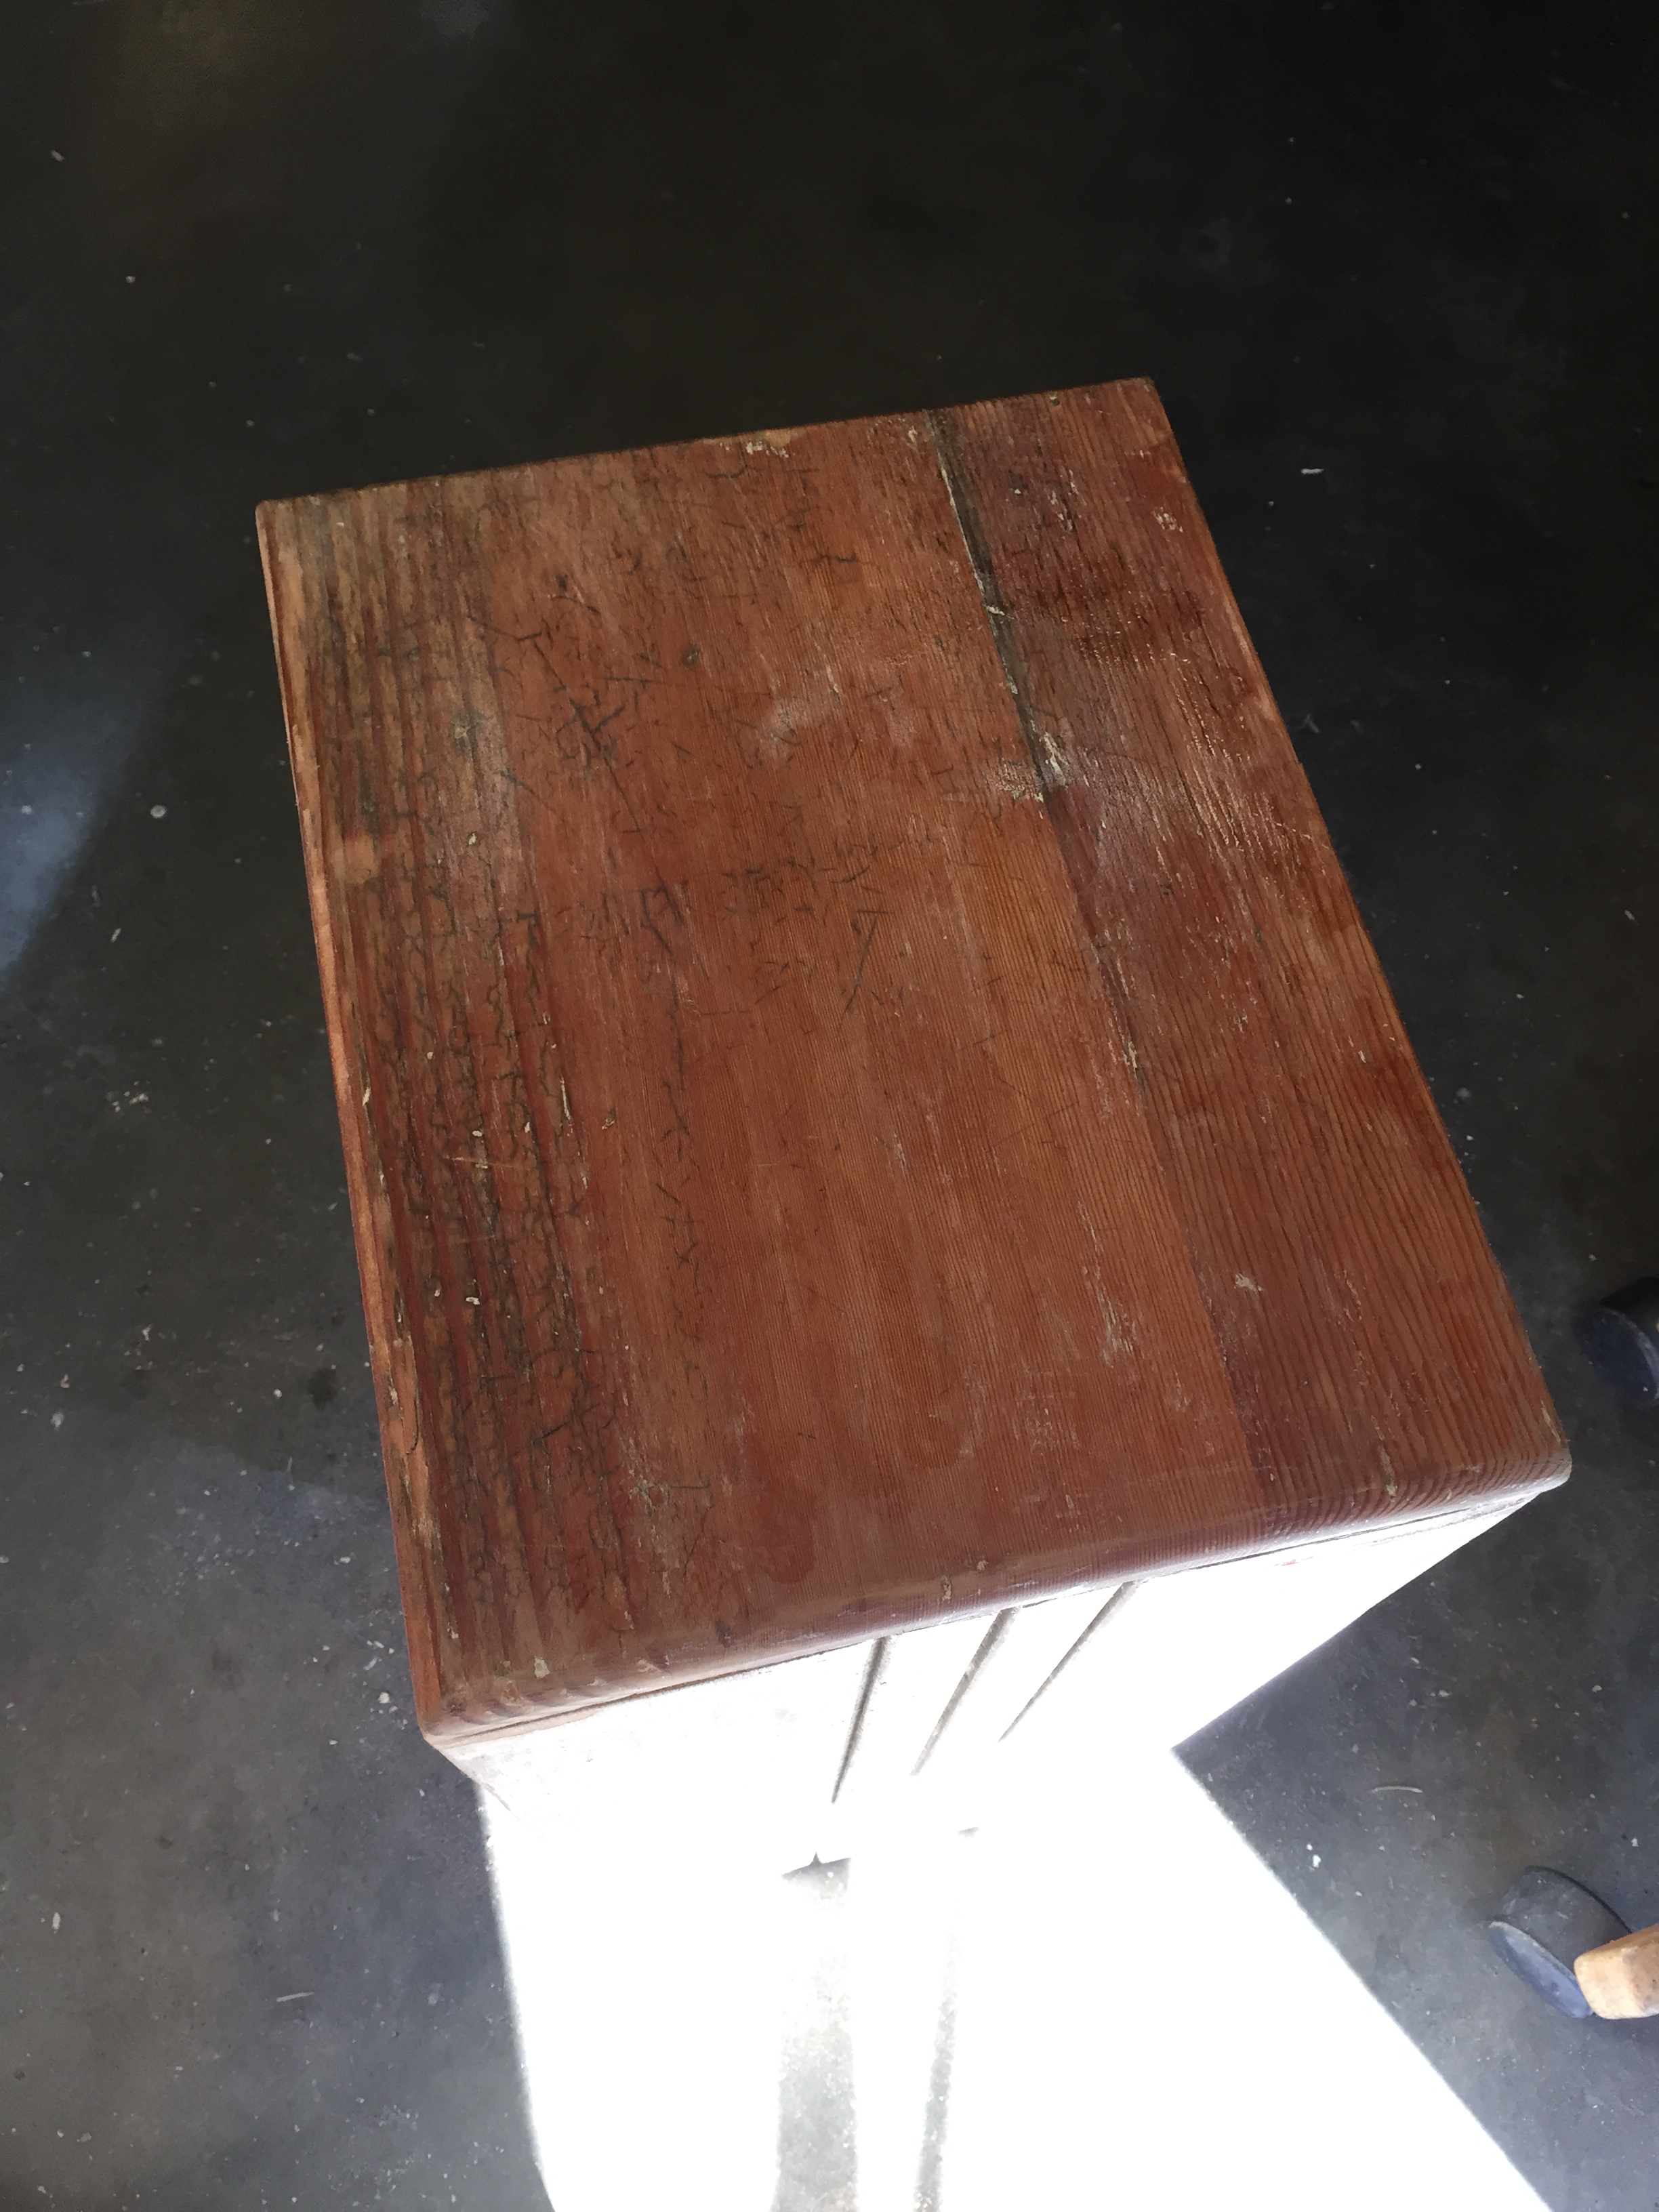

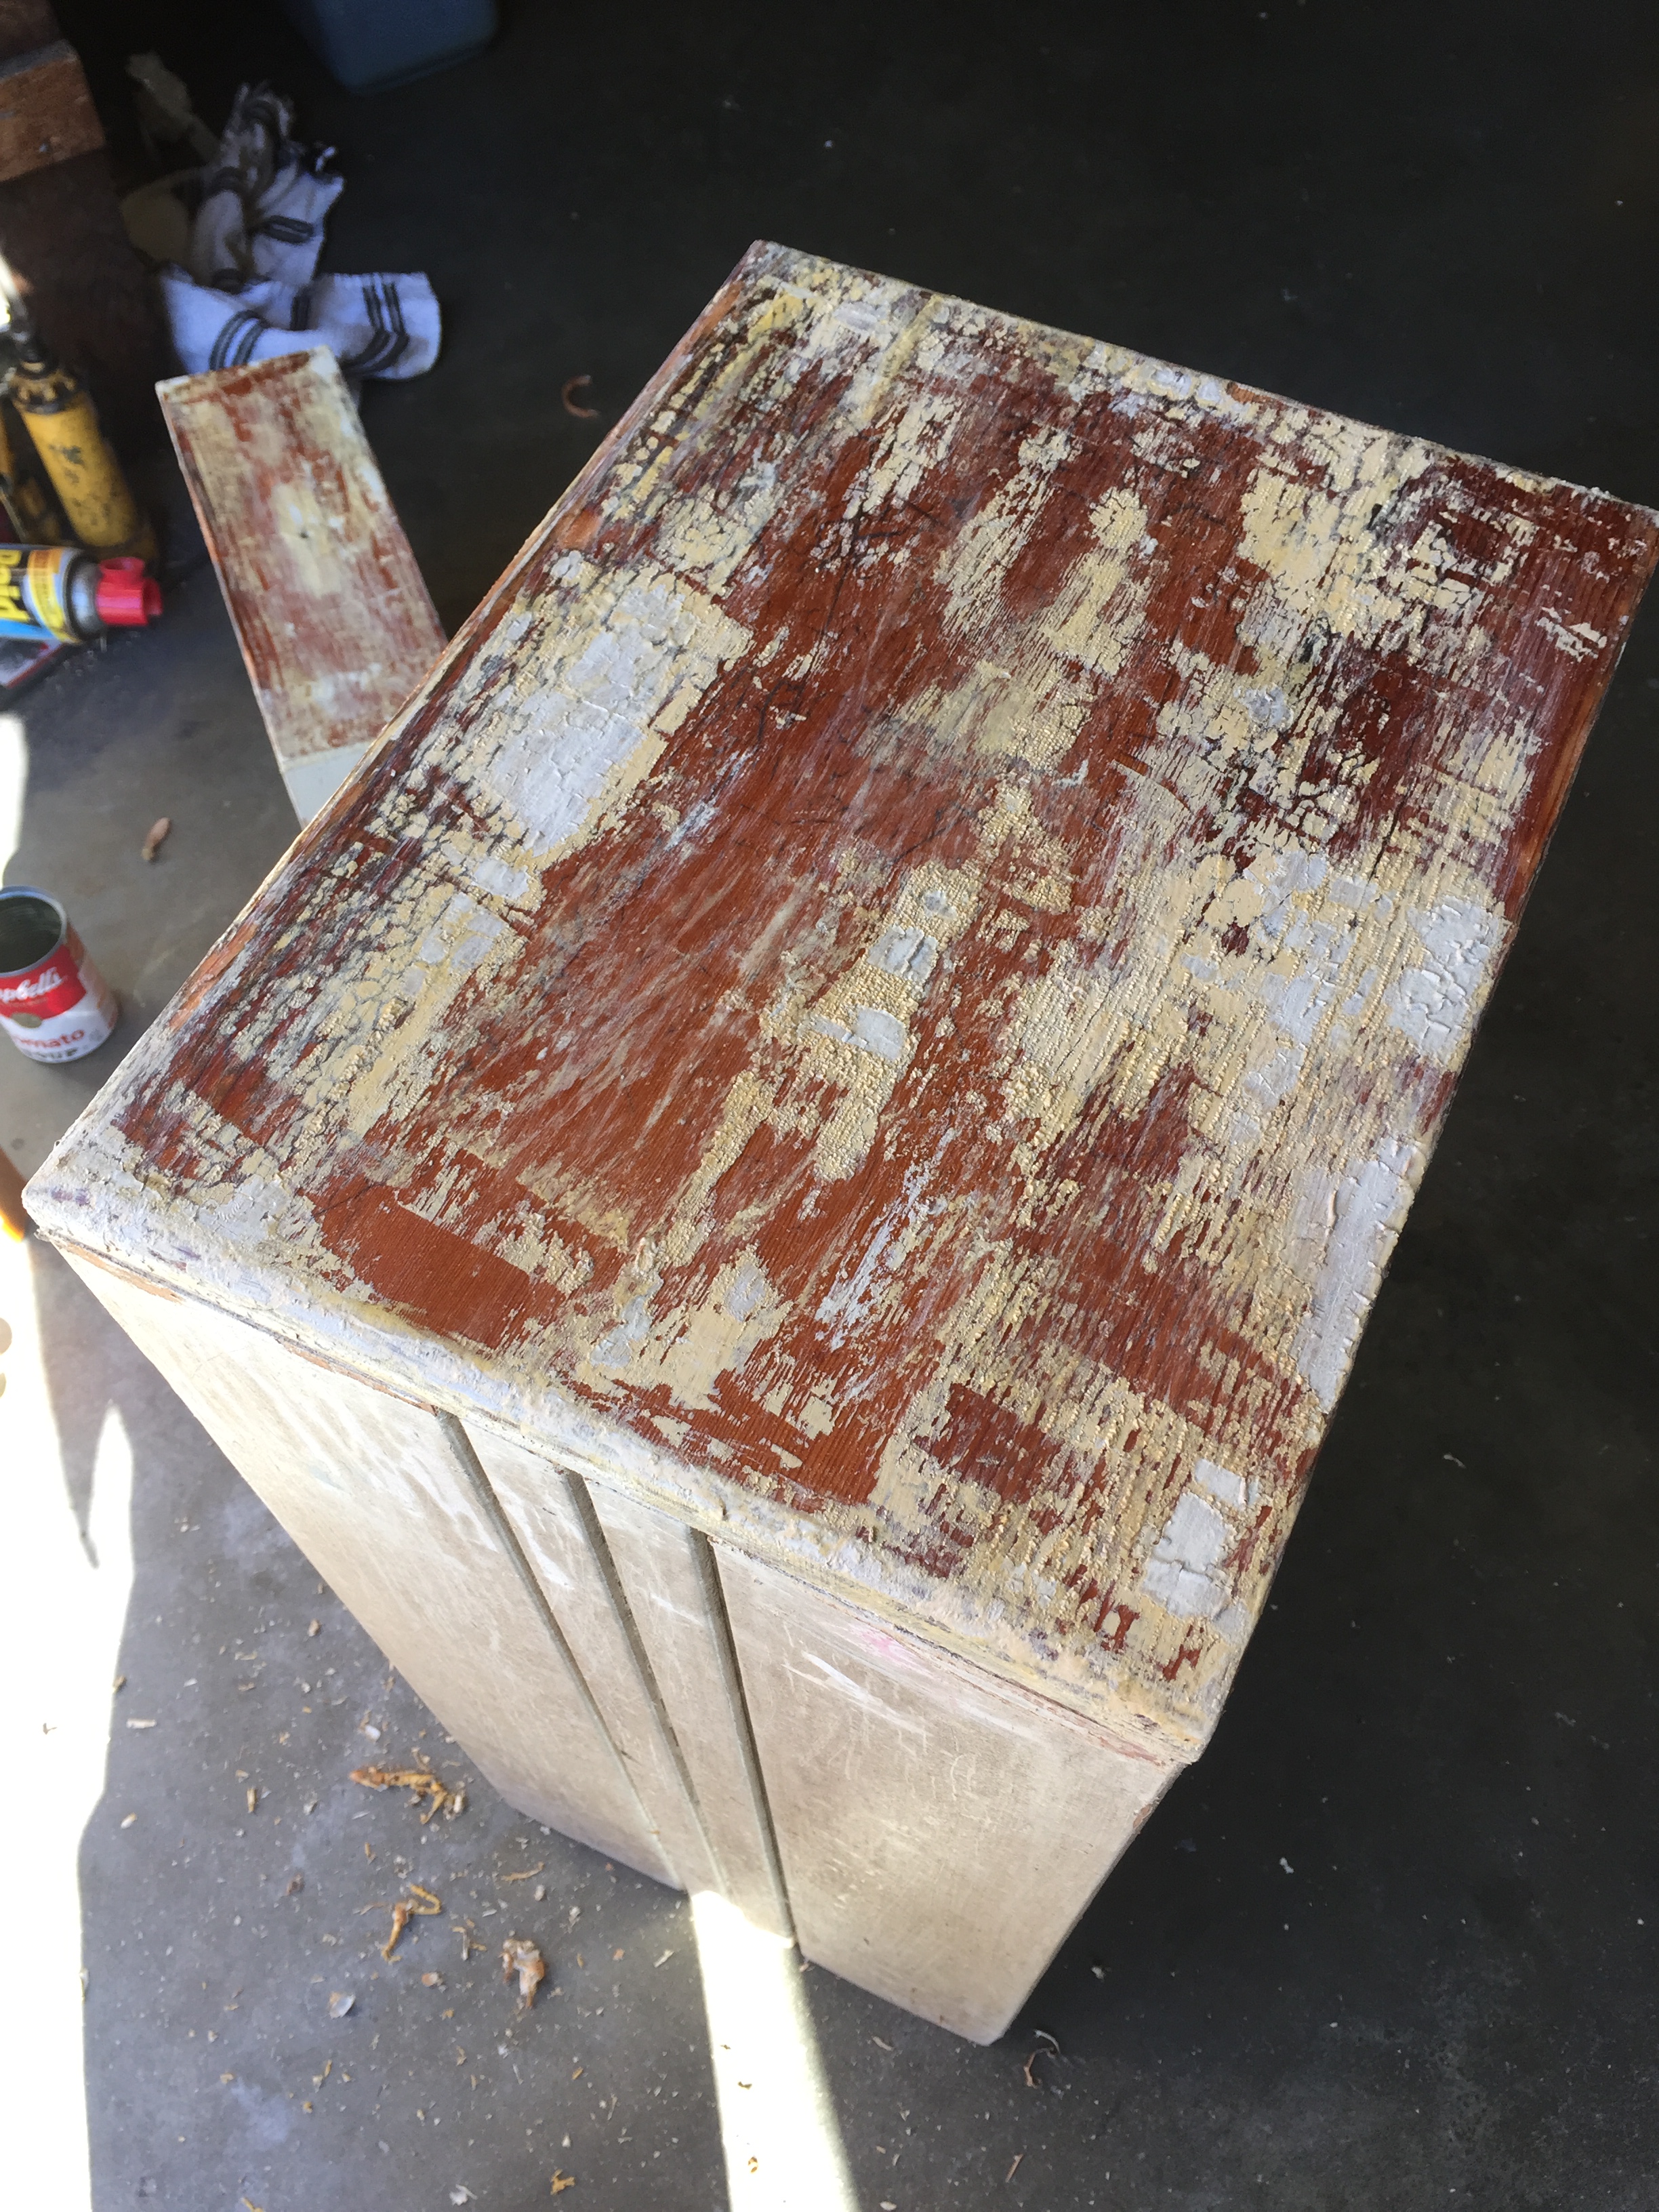
This is the top after my second go at stripping the paint. You can also use a brillo pad to work some of the stubborn pieces of paint away. Which you can see in the picture on the right. After this step, wipe the wood down with a wet cloth to get rig of the excess paint stripper.

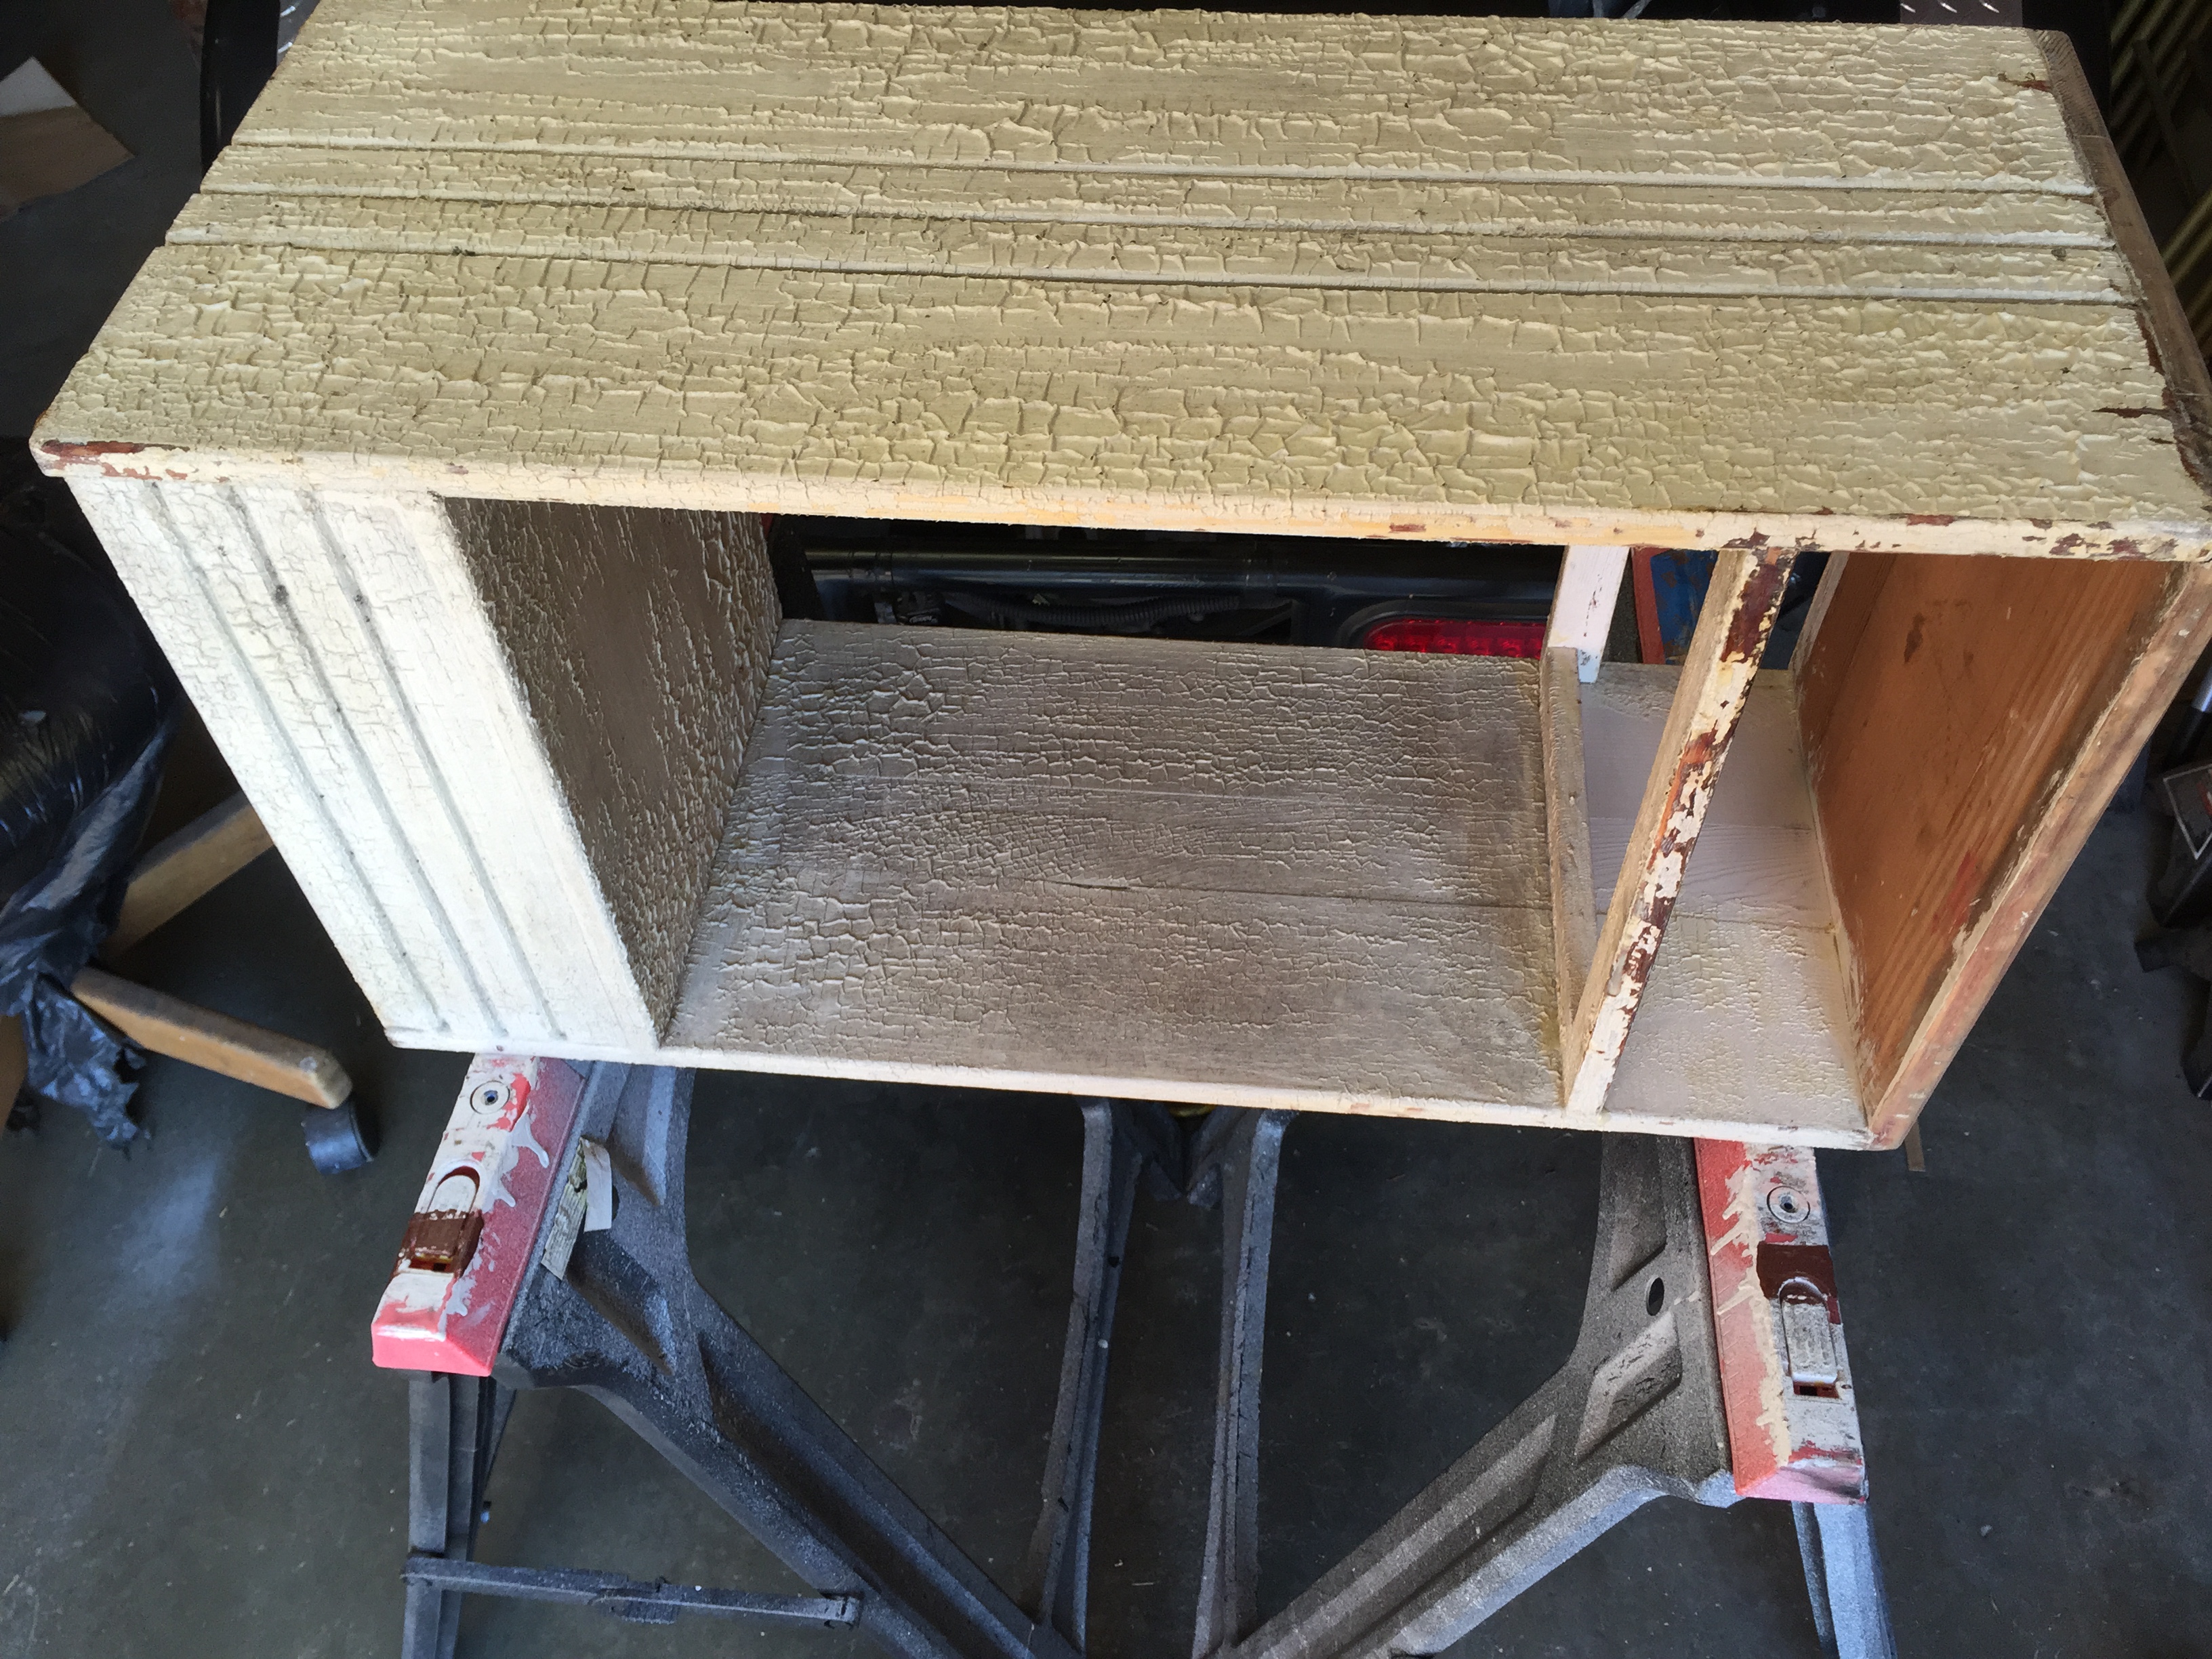

Once I finished the top, I decided that I wanted to paint the rest of the nightstand. And since it had been out in the rain for so long, the paint was too damaged to simply sand and paint over. So…regrettably, I had to strip the paint off of the entire thing. And OH BOY did that take a long time. Mainly because of those grooves on the sides. Once the paint is all stripped away, give the entire piece a good sanding. I used 100 grain sand paper and a hand sanding block. Then, you’ll want to wipe the entire surface with a damp cloth to remove all the dust.


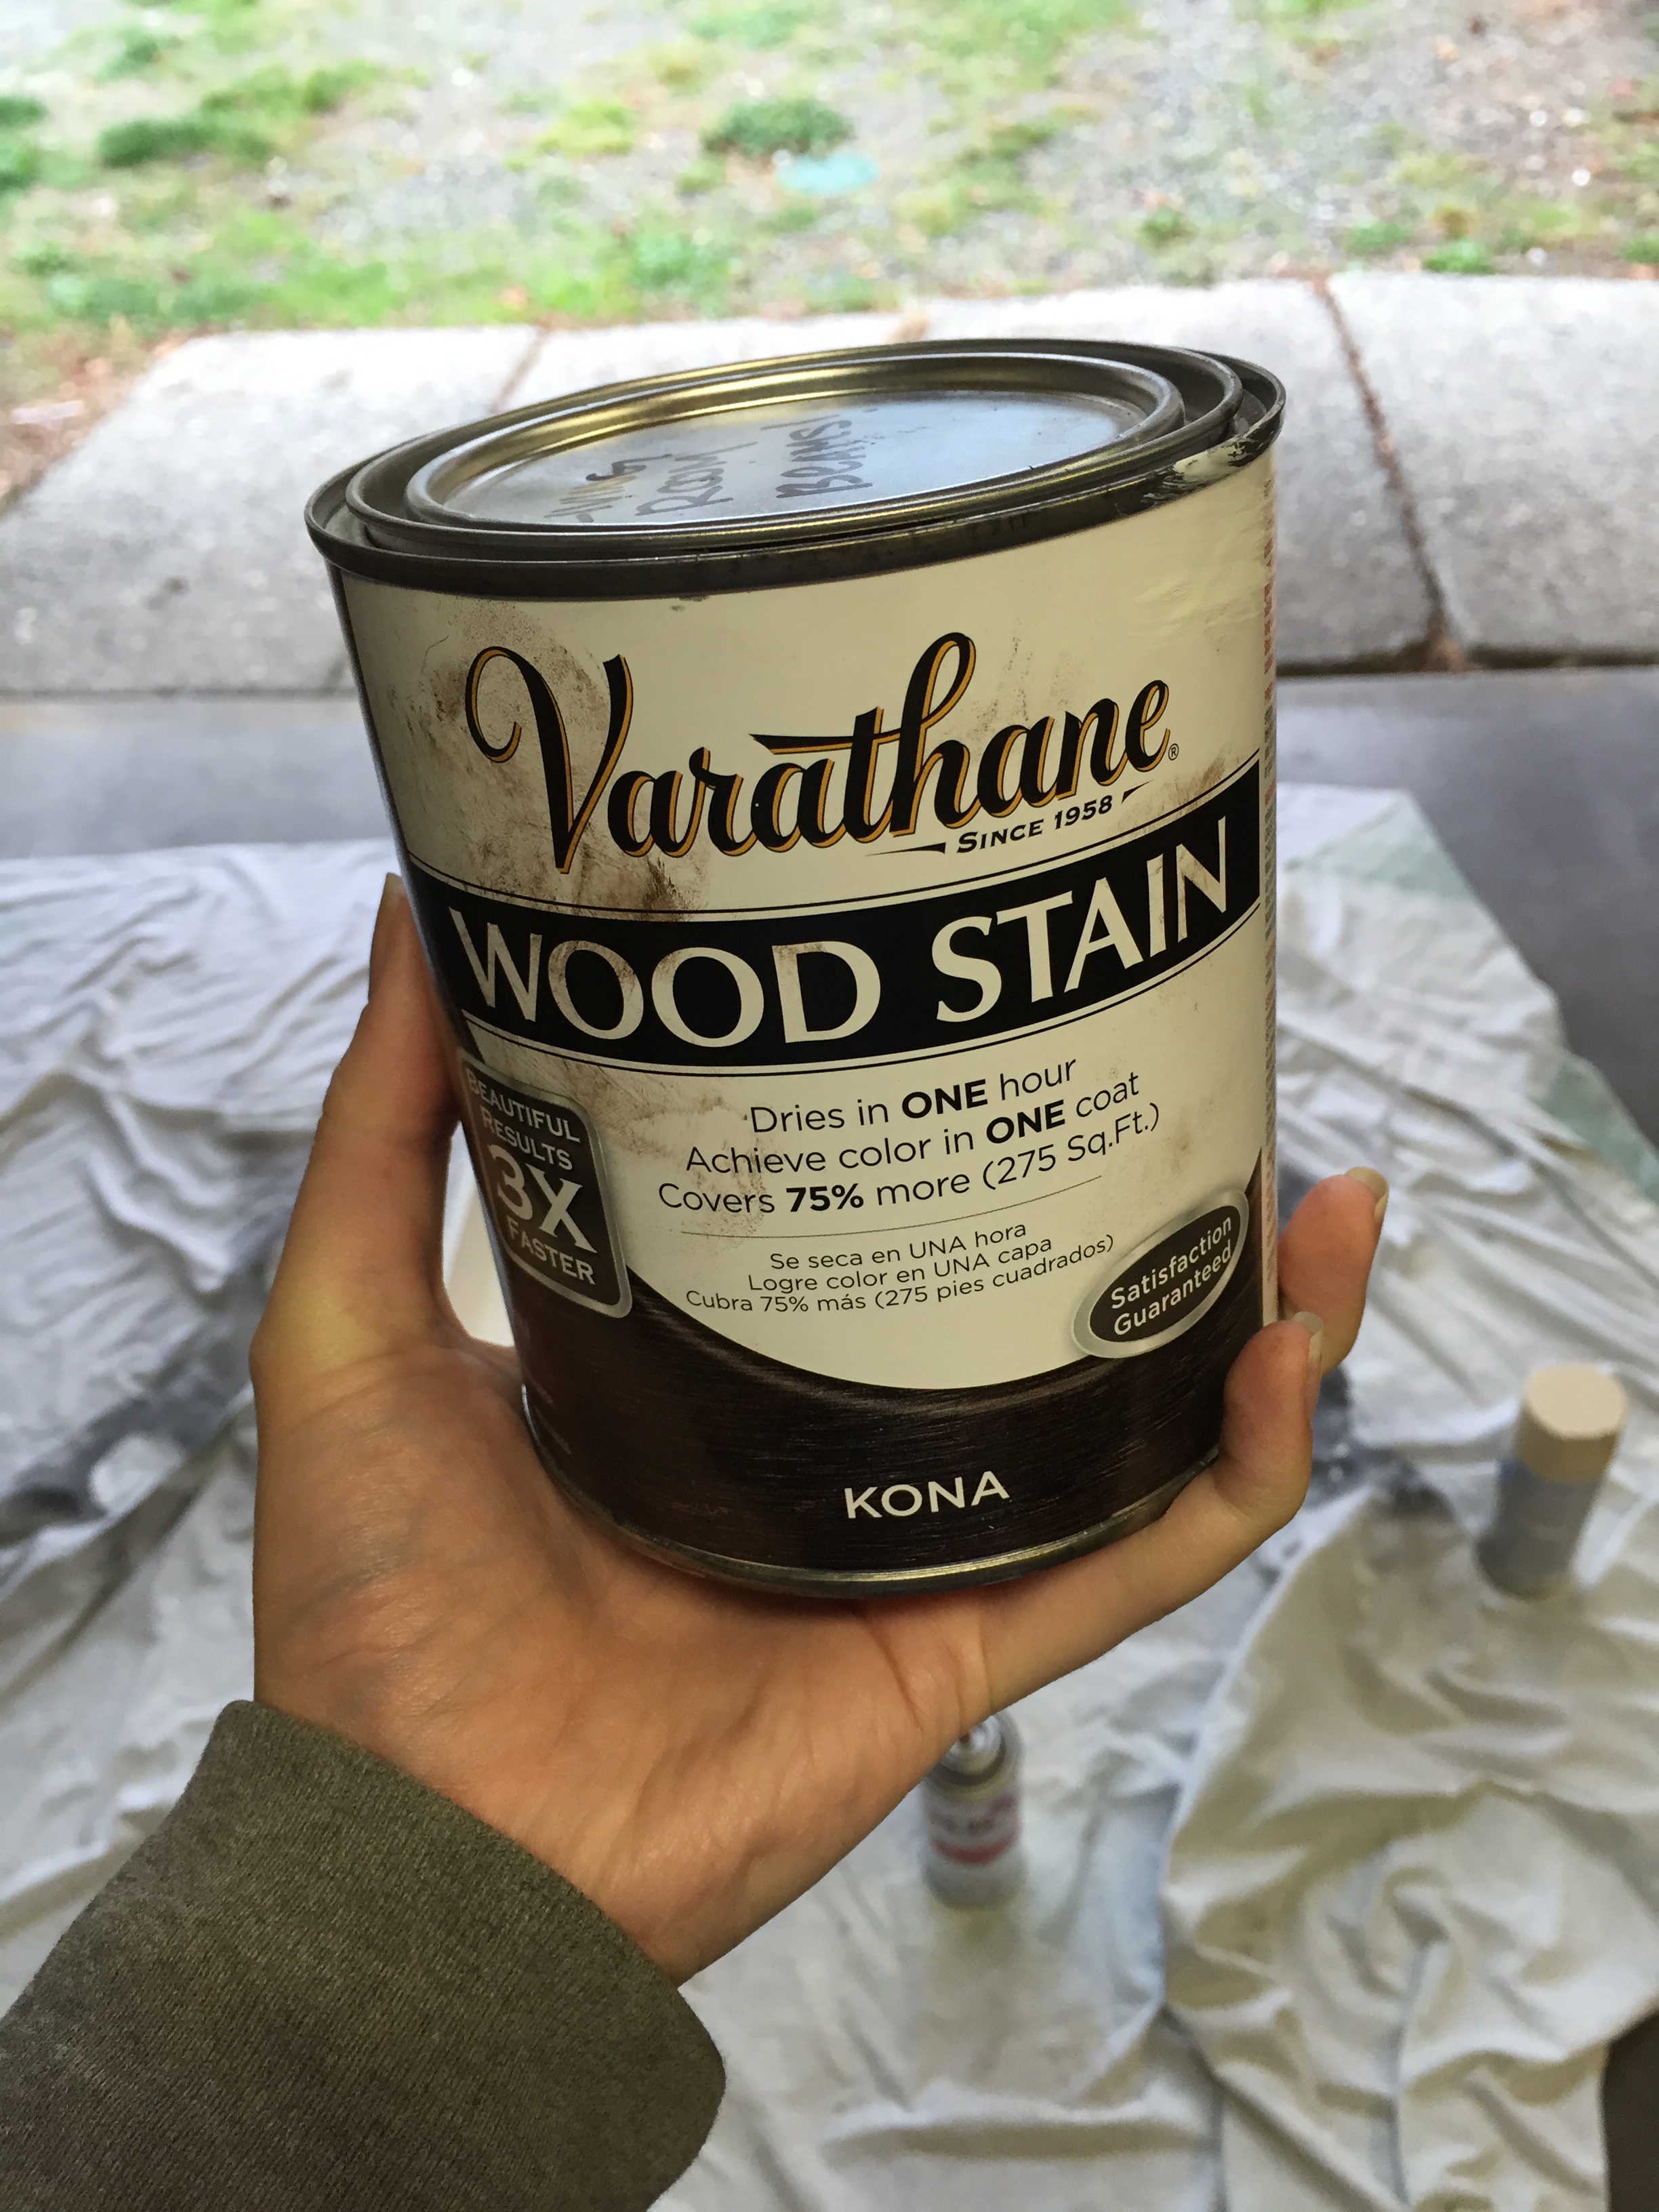
Now it’s time to stain! Since I only want to stain the top, I taped off the sides with painter’s tape. The stain I used is extremely old, and of course…I found it in the depths of the garage. The color’s name is “Dark Oak.” When staining wood, you want to use an old cloth and apply it in long strokes WITH the grain of the wood. Put down an entire first coat, then wipe the excess away with a DIFFERENT cloth.

After the first coat of stain, I decided it was just too light. So I pulled out the stain that I used for the last project. (SEE THAT HERE) I did one really quick coat, because I didn’t want it to be all that dark.

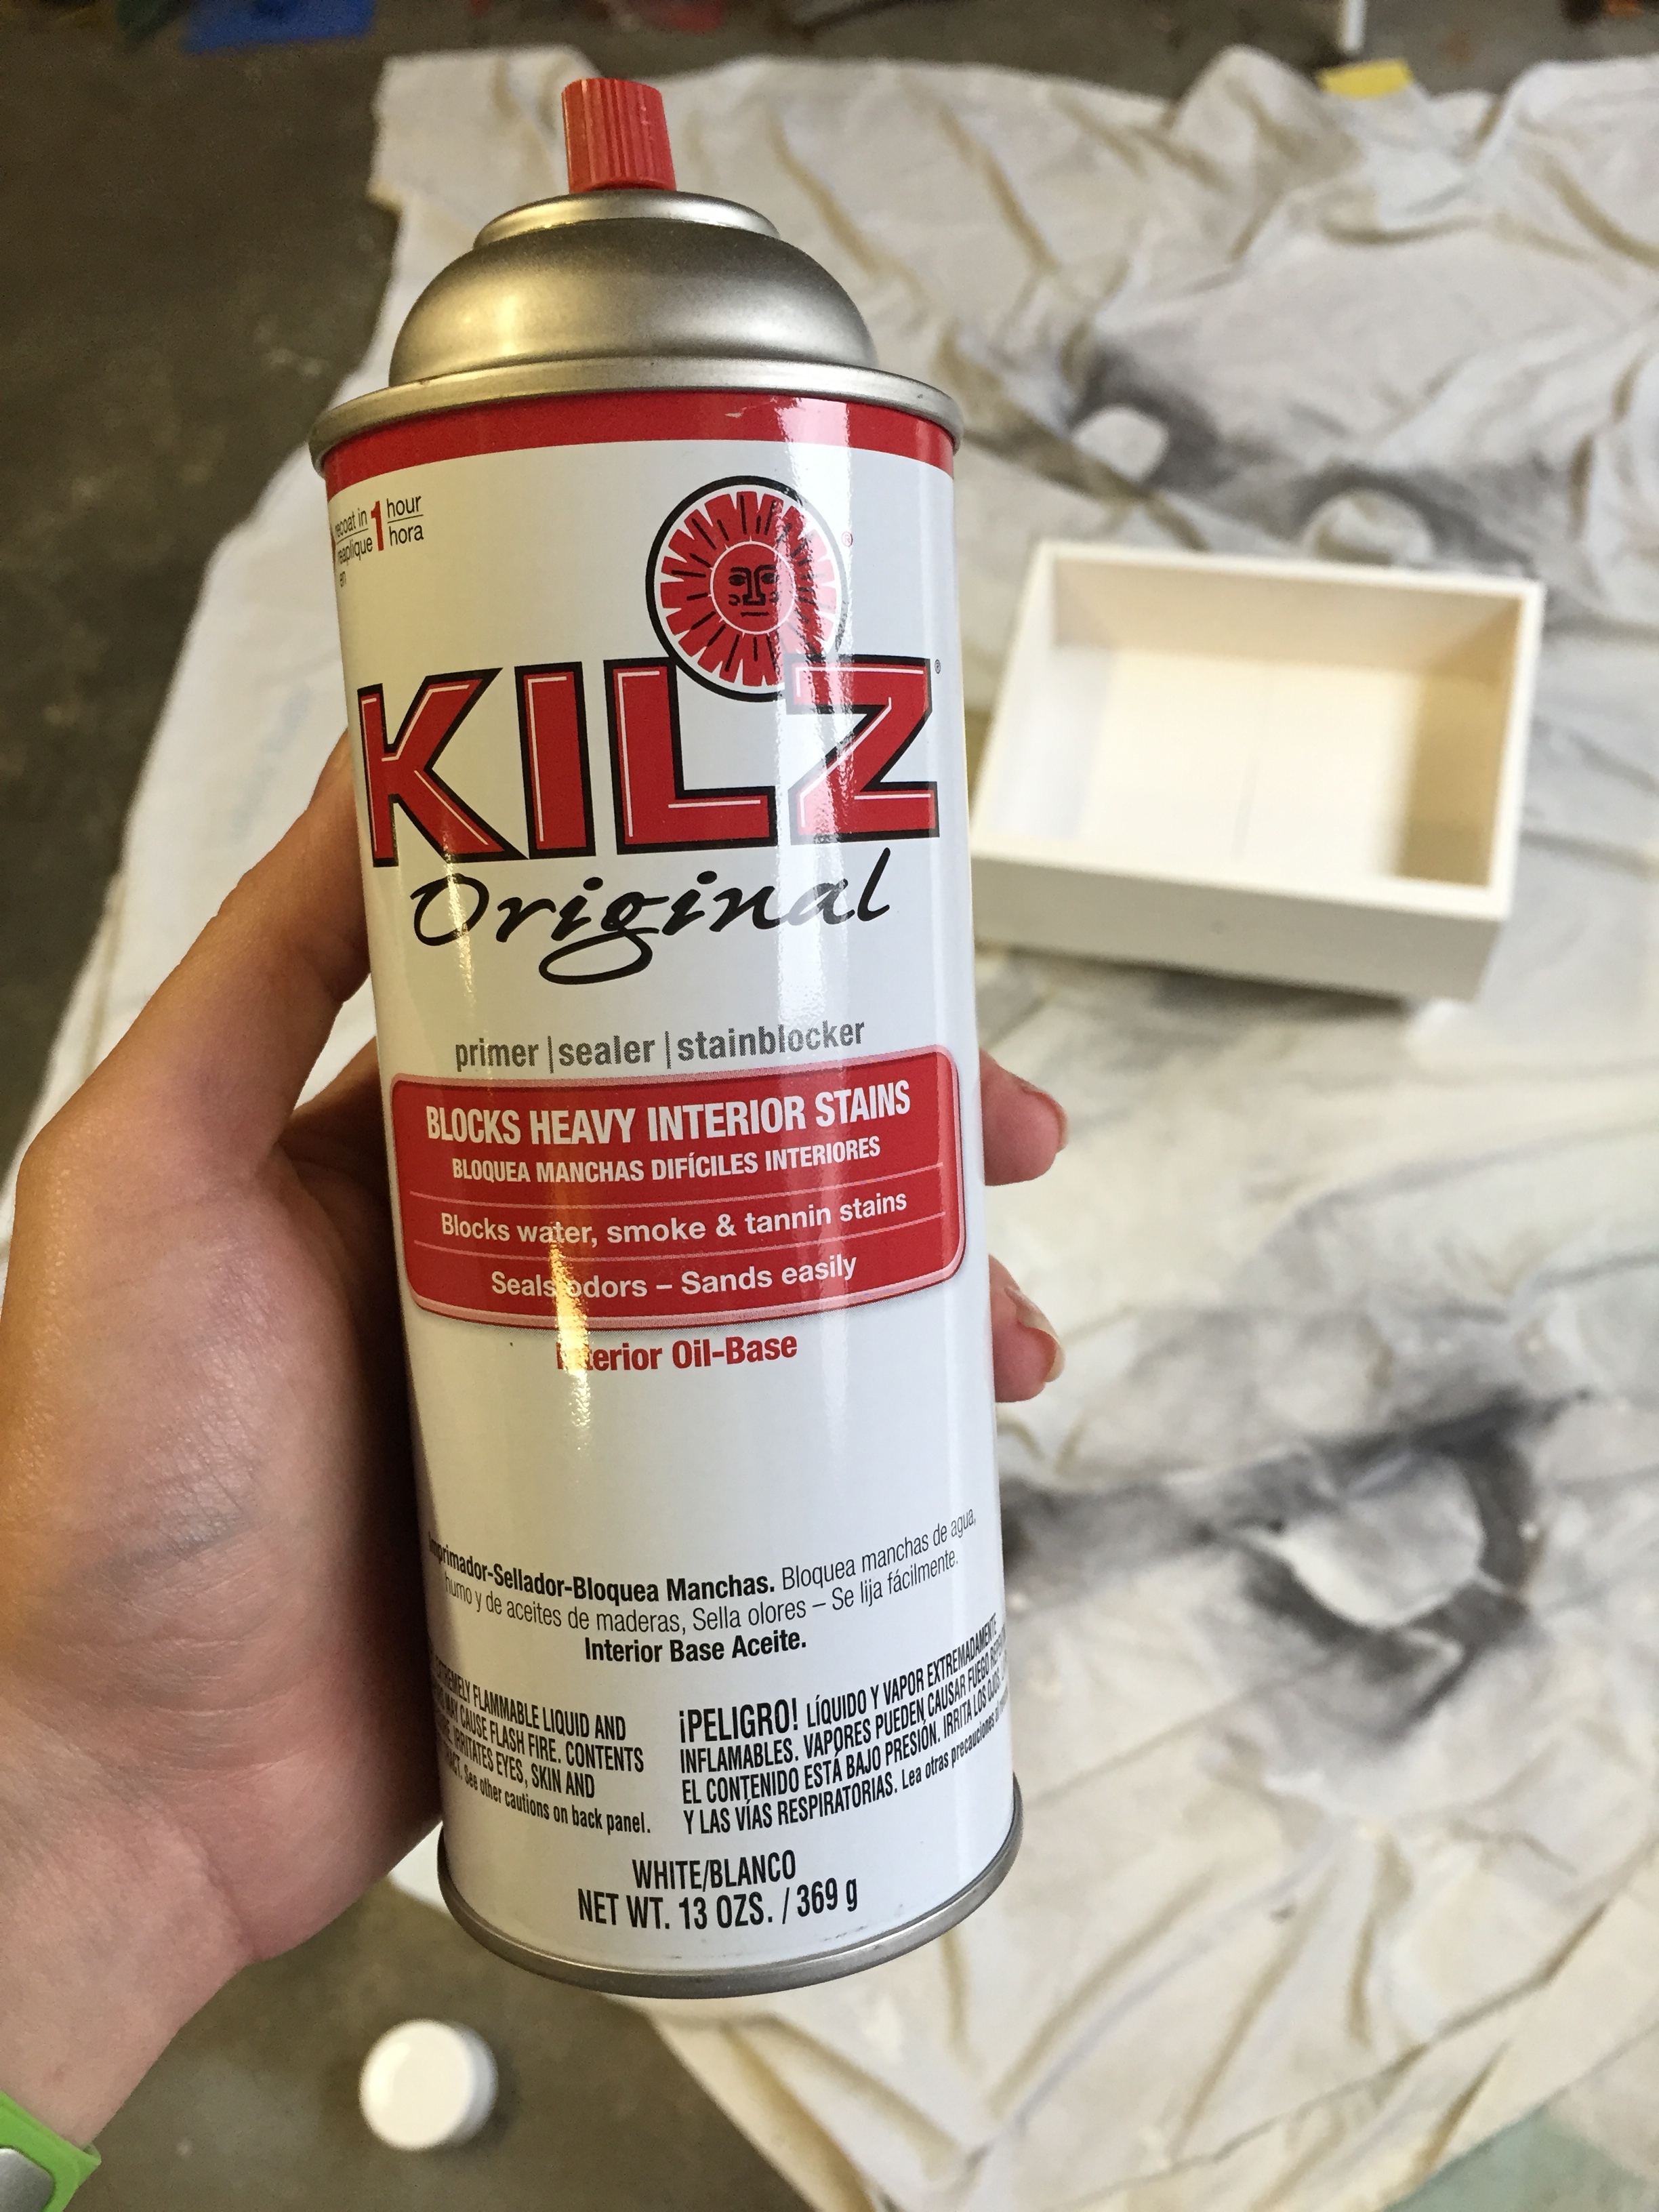
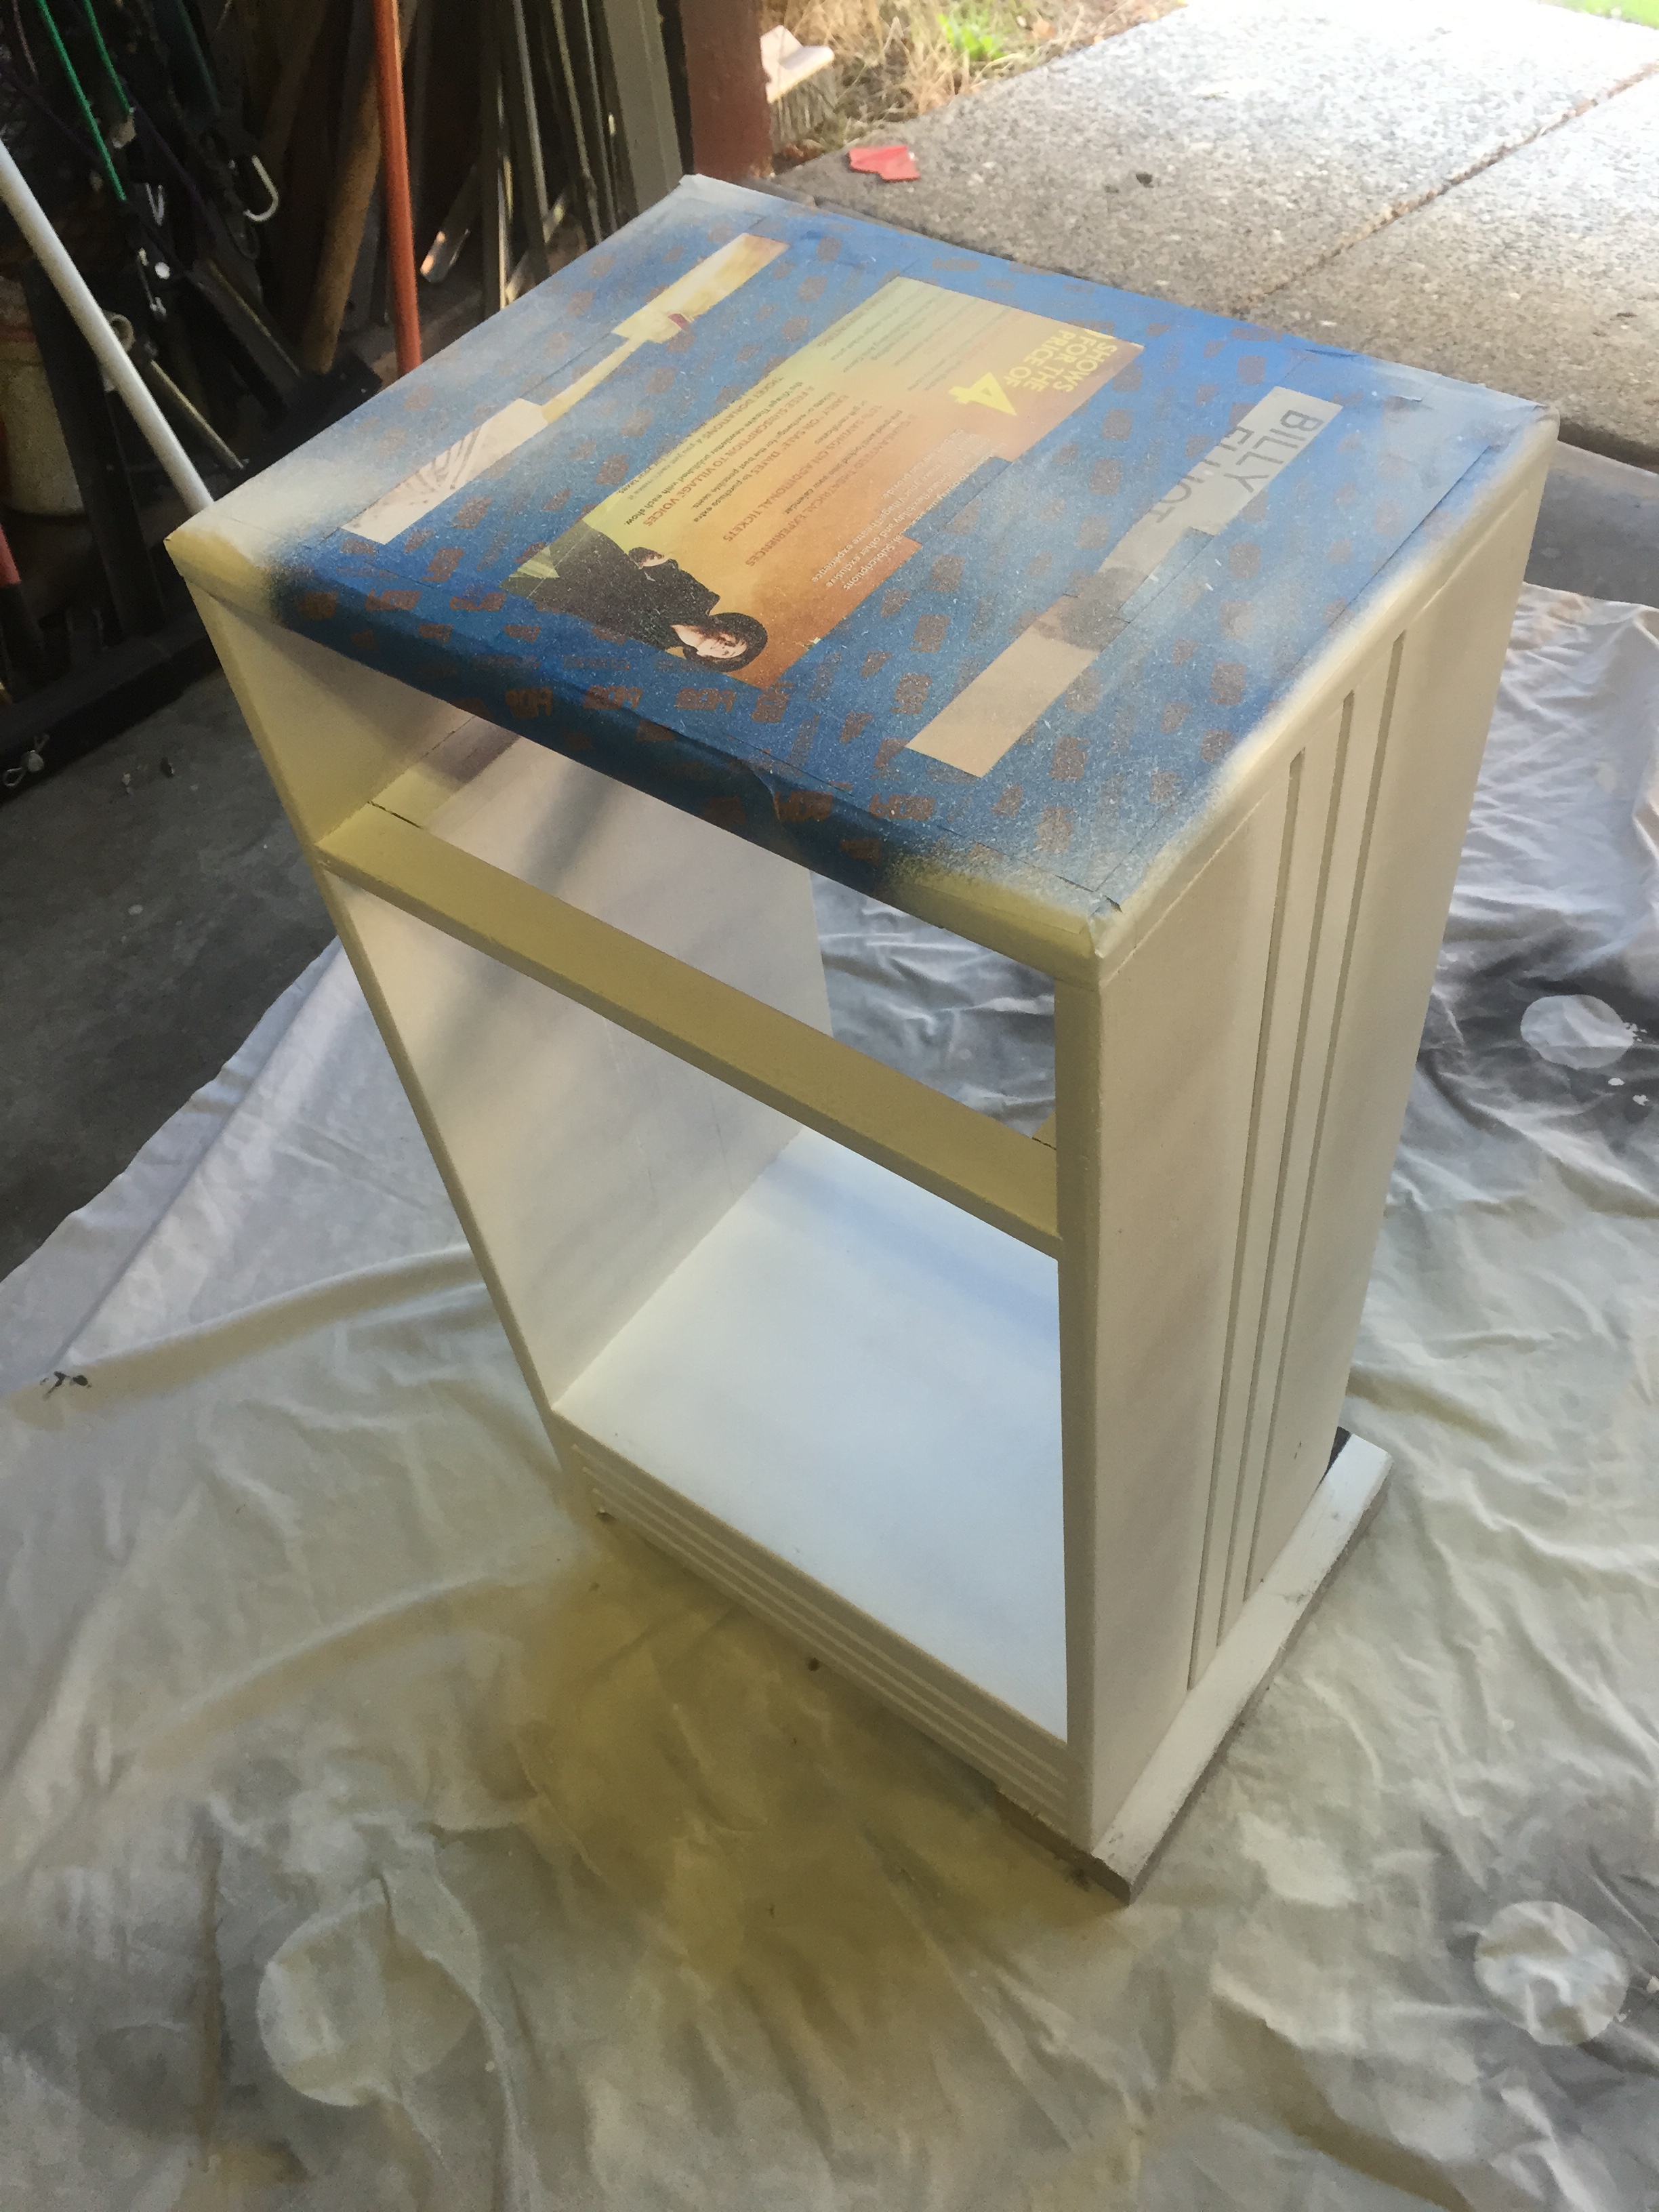
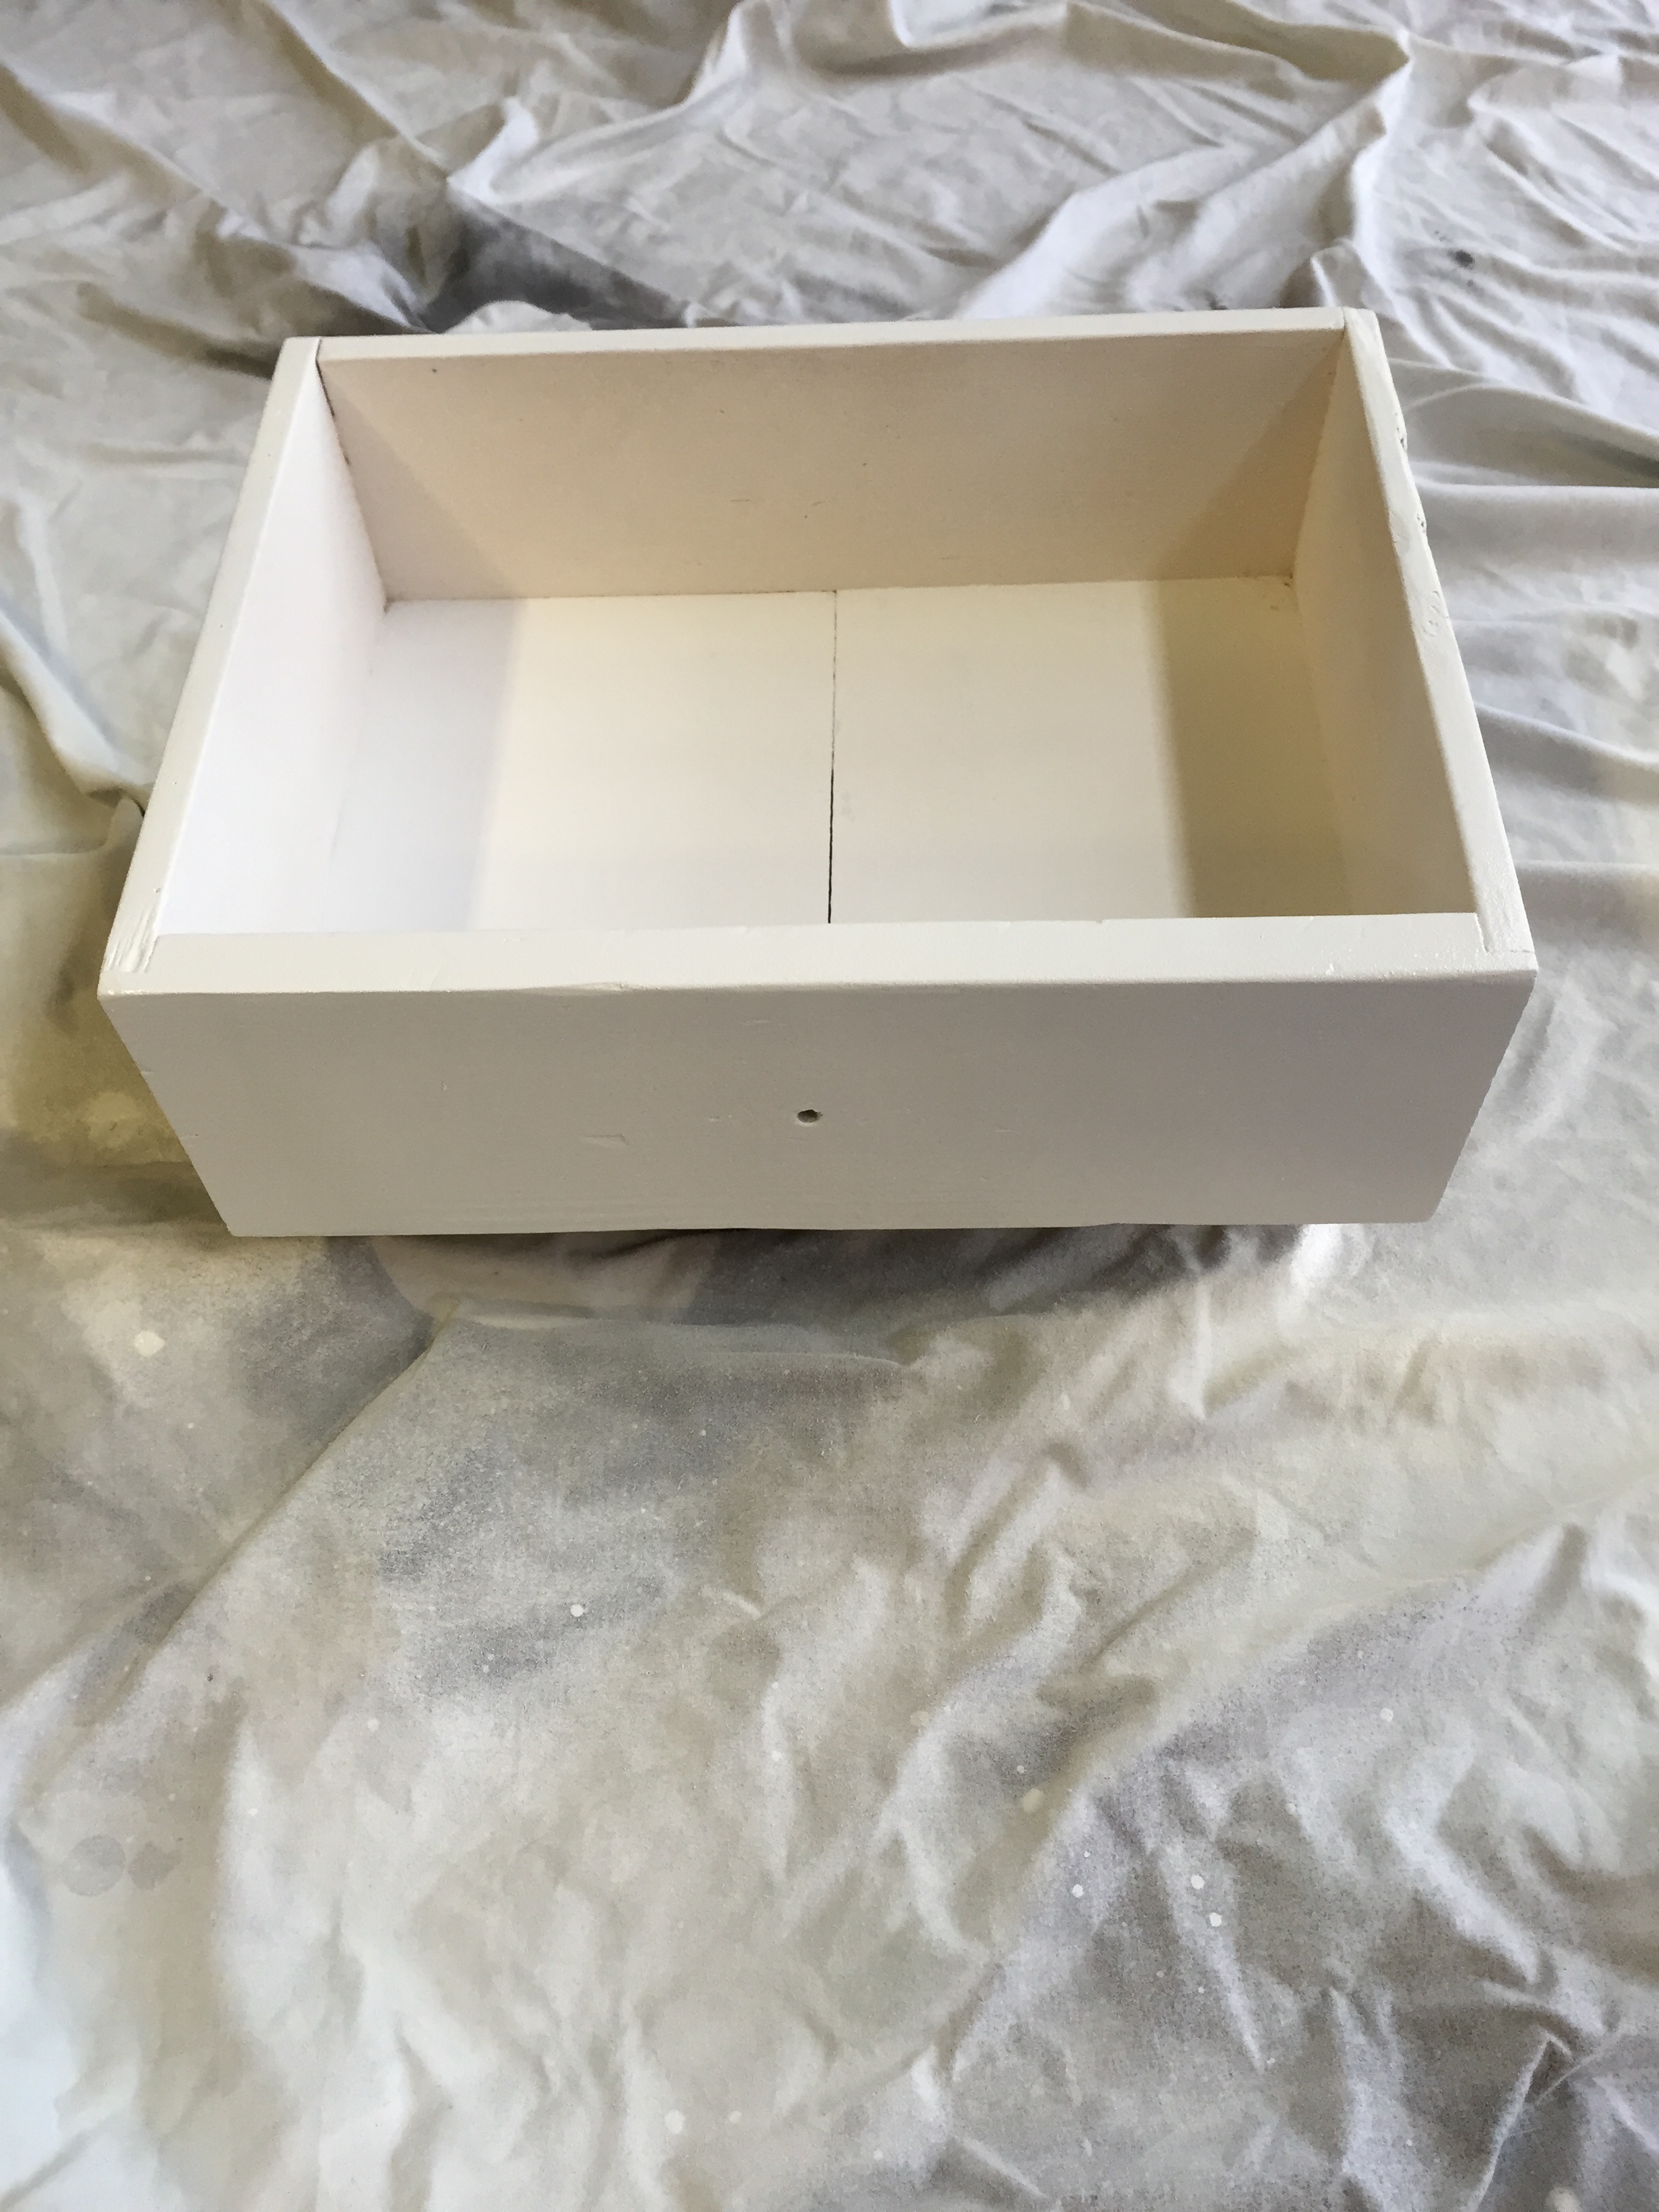
Next, It’s time for my favorite primer. KILLZ! But we want to protect the beautiful stain we just did. So tape it off, and/or use a waxy paper like an add. Then spray a coat over the entire nightstand. Including the drawer.

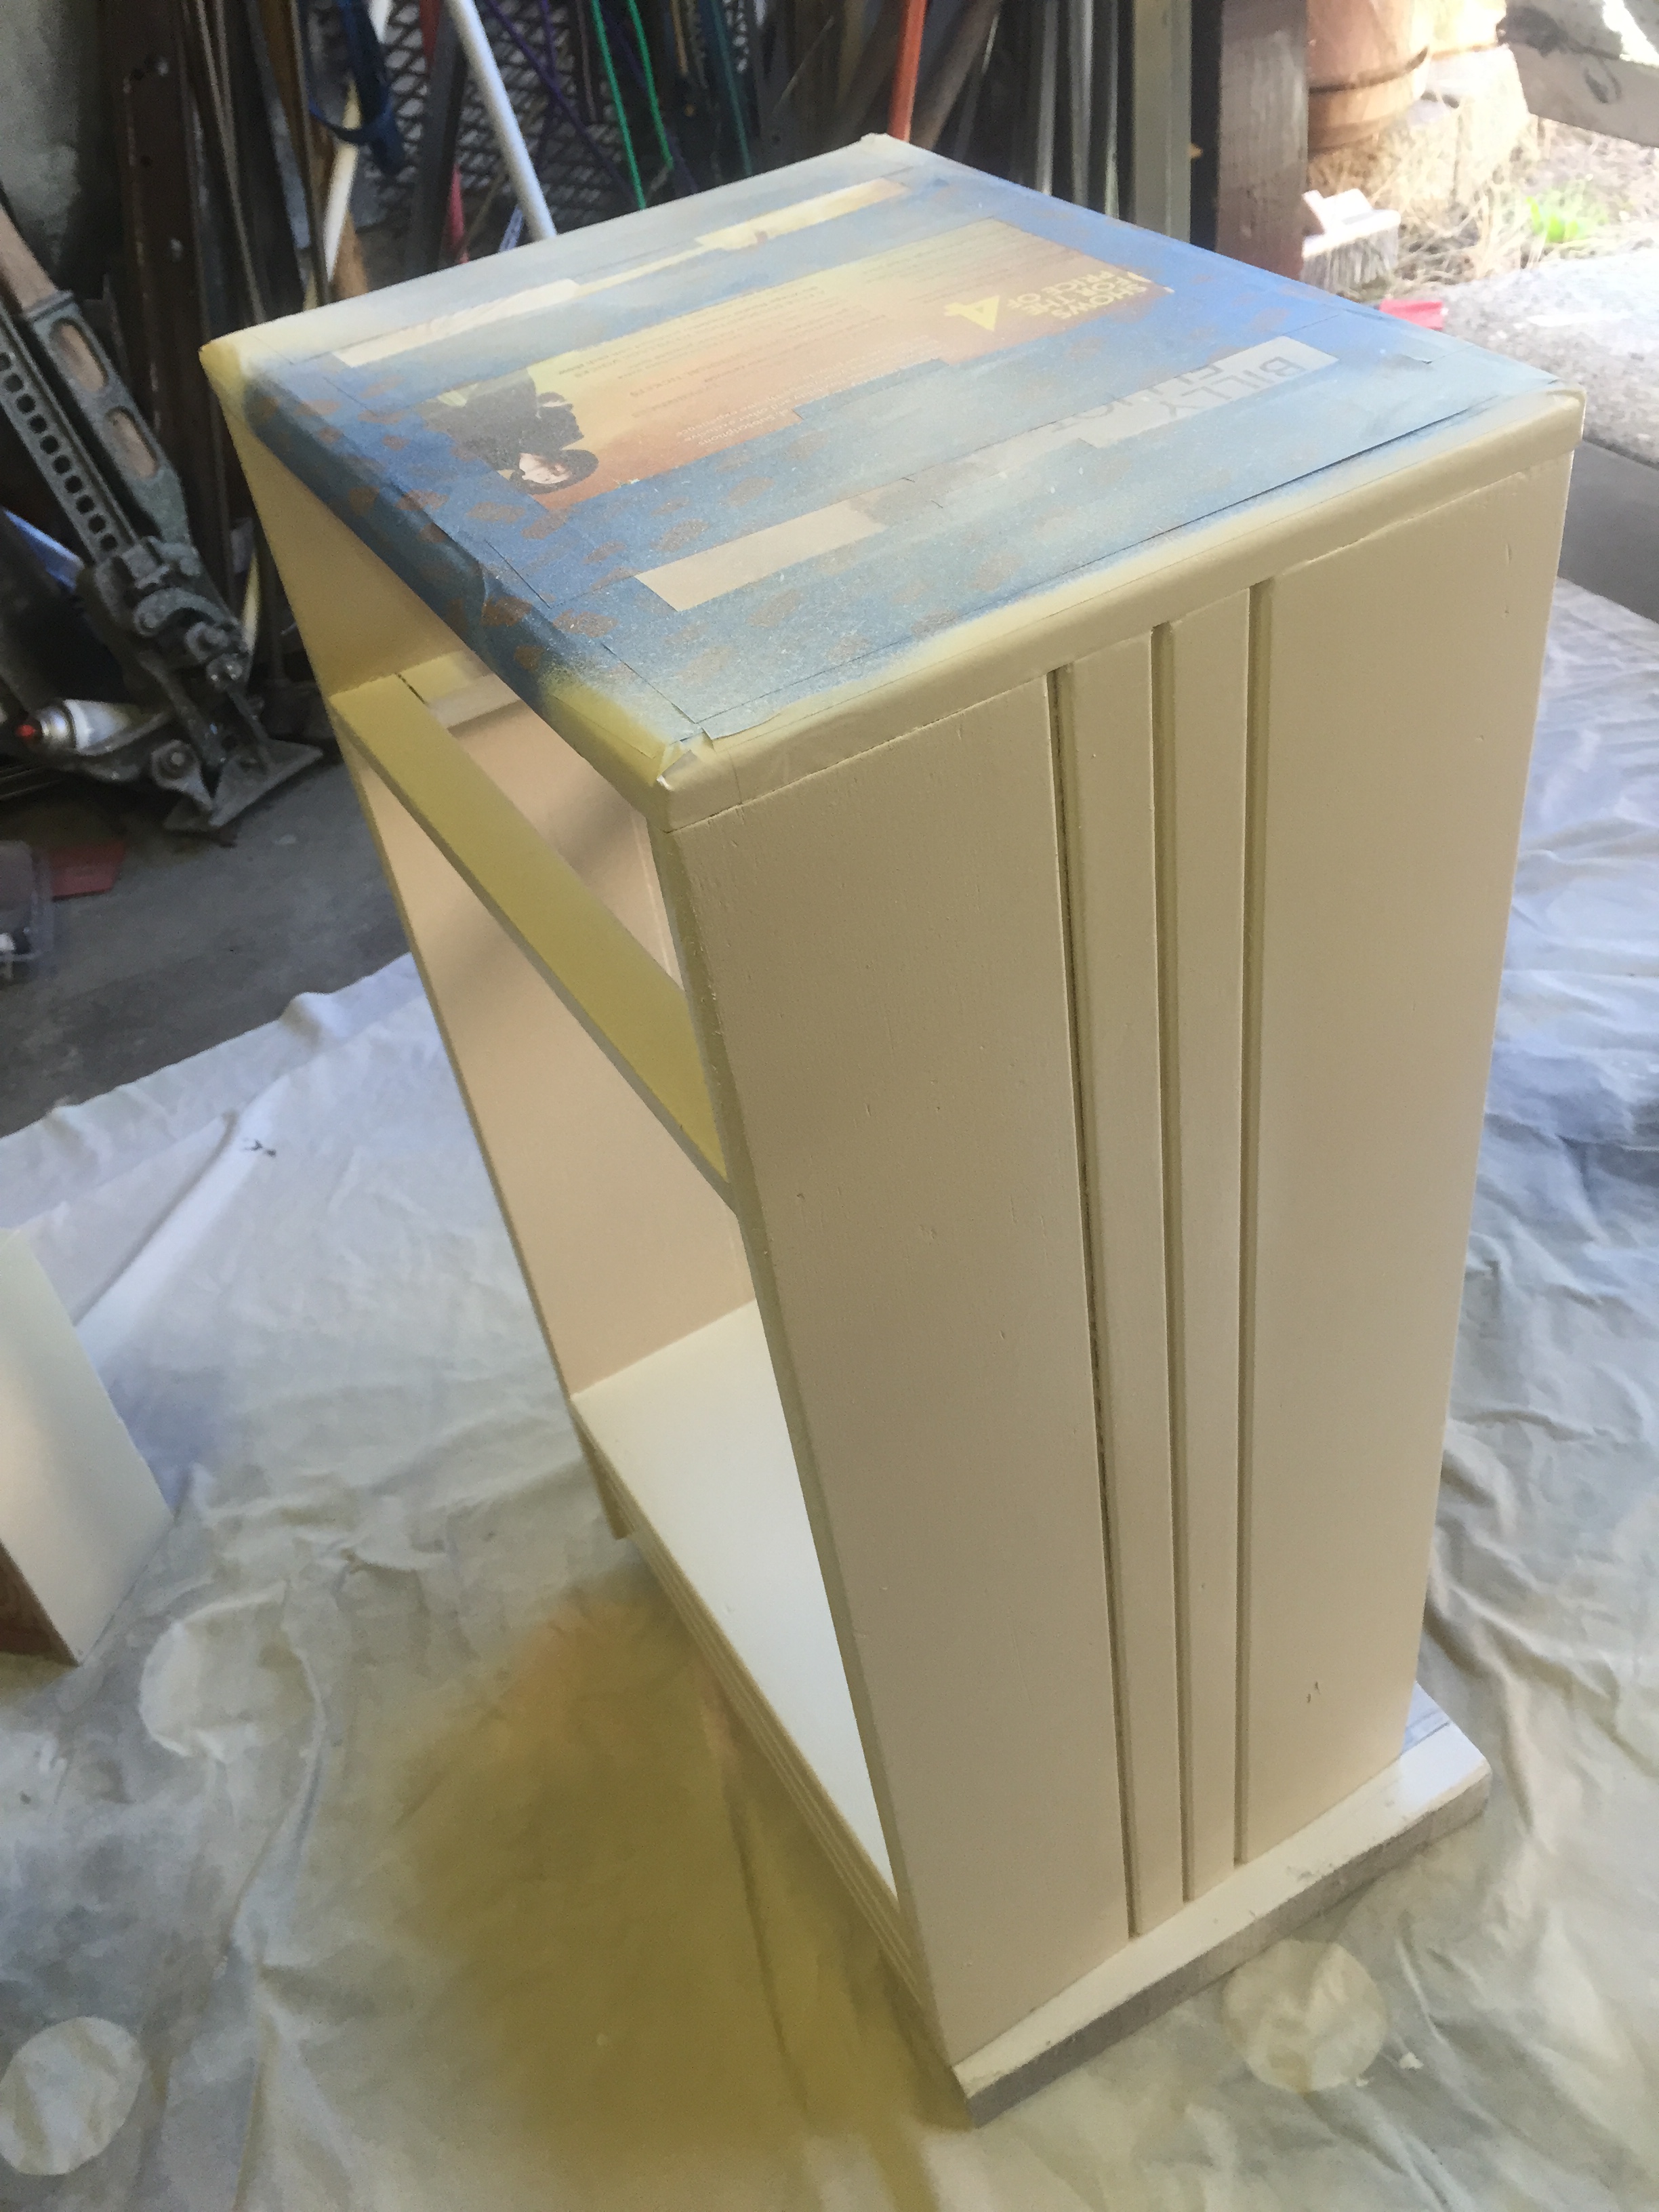

Once the primer is dry, its time for your color of choice. I picked this light cream color because I thought it would bring out the rich color of the stain. I found this paint at Home Depot for $3.79. Make sure to do at least two coats with ample drying time in between. I ended up using the whole can.
Once the paint is dry, remove the tape slowly. Pull it AWAY from the new paint, not against it.

Last but not least, I added a new knob that I got from Home Depot, which cost me $3.95.
I hope this tutorial has inspired you to upcycle and create beauty from something abandoned. I think this old nightstand turned out absolutely stunning! You never know what can come from a little hard work!
TOTAL COST: $7.74
Total Items SALVAGED From the Inevitable Seattle Trash Day:
- Nightstand
- Paint and Primer
Leave a comment if you’re going to try this out! I want to hear how it goes!
And hit subscribe for updates!

One thought on “Abandoned Nightstand Gets a New Look”