Hello internet world!
QUESTION OF THE HOUR: Have you ever had a beautiful piece of art that you wanted to hang, but found yourself never actually getting to it because you had to go out of your way to purchase hooks or hanging hardware?
Well, I’m here to give you a wonderful solution!
HOWEVER: This method of course, will not work for every single item you have. Art can be made out of anything. And you certainly wouldn’t want to use these instructions to hang glass art….You’ll understand why that’s funny as you continue reading.
After completing my latest project (SEE THAT HERE) there was no way I was going all the way back to the store to get the hardware I needed to hang them…Just so I could take pictures of them for the website. So I did a little research. Below, I’ll describe how I hung them in about 2 minuets and how simple it was!
Let’s get started!
WHAT YOU’LL NEED:
Electric screwdriver, a drill bit of decent size, tape, tiny nails, and a hammer.
(Seriously, that’s all)


STEP ONE:
Mark off the depth of the wood art that you want to hang with tape, directly to the drill bit.
STEP TWO:
Using a pencil, “X” marks the spot. AKA: Where you want the art to hang from.
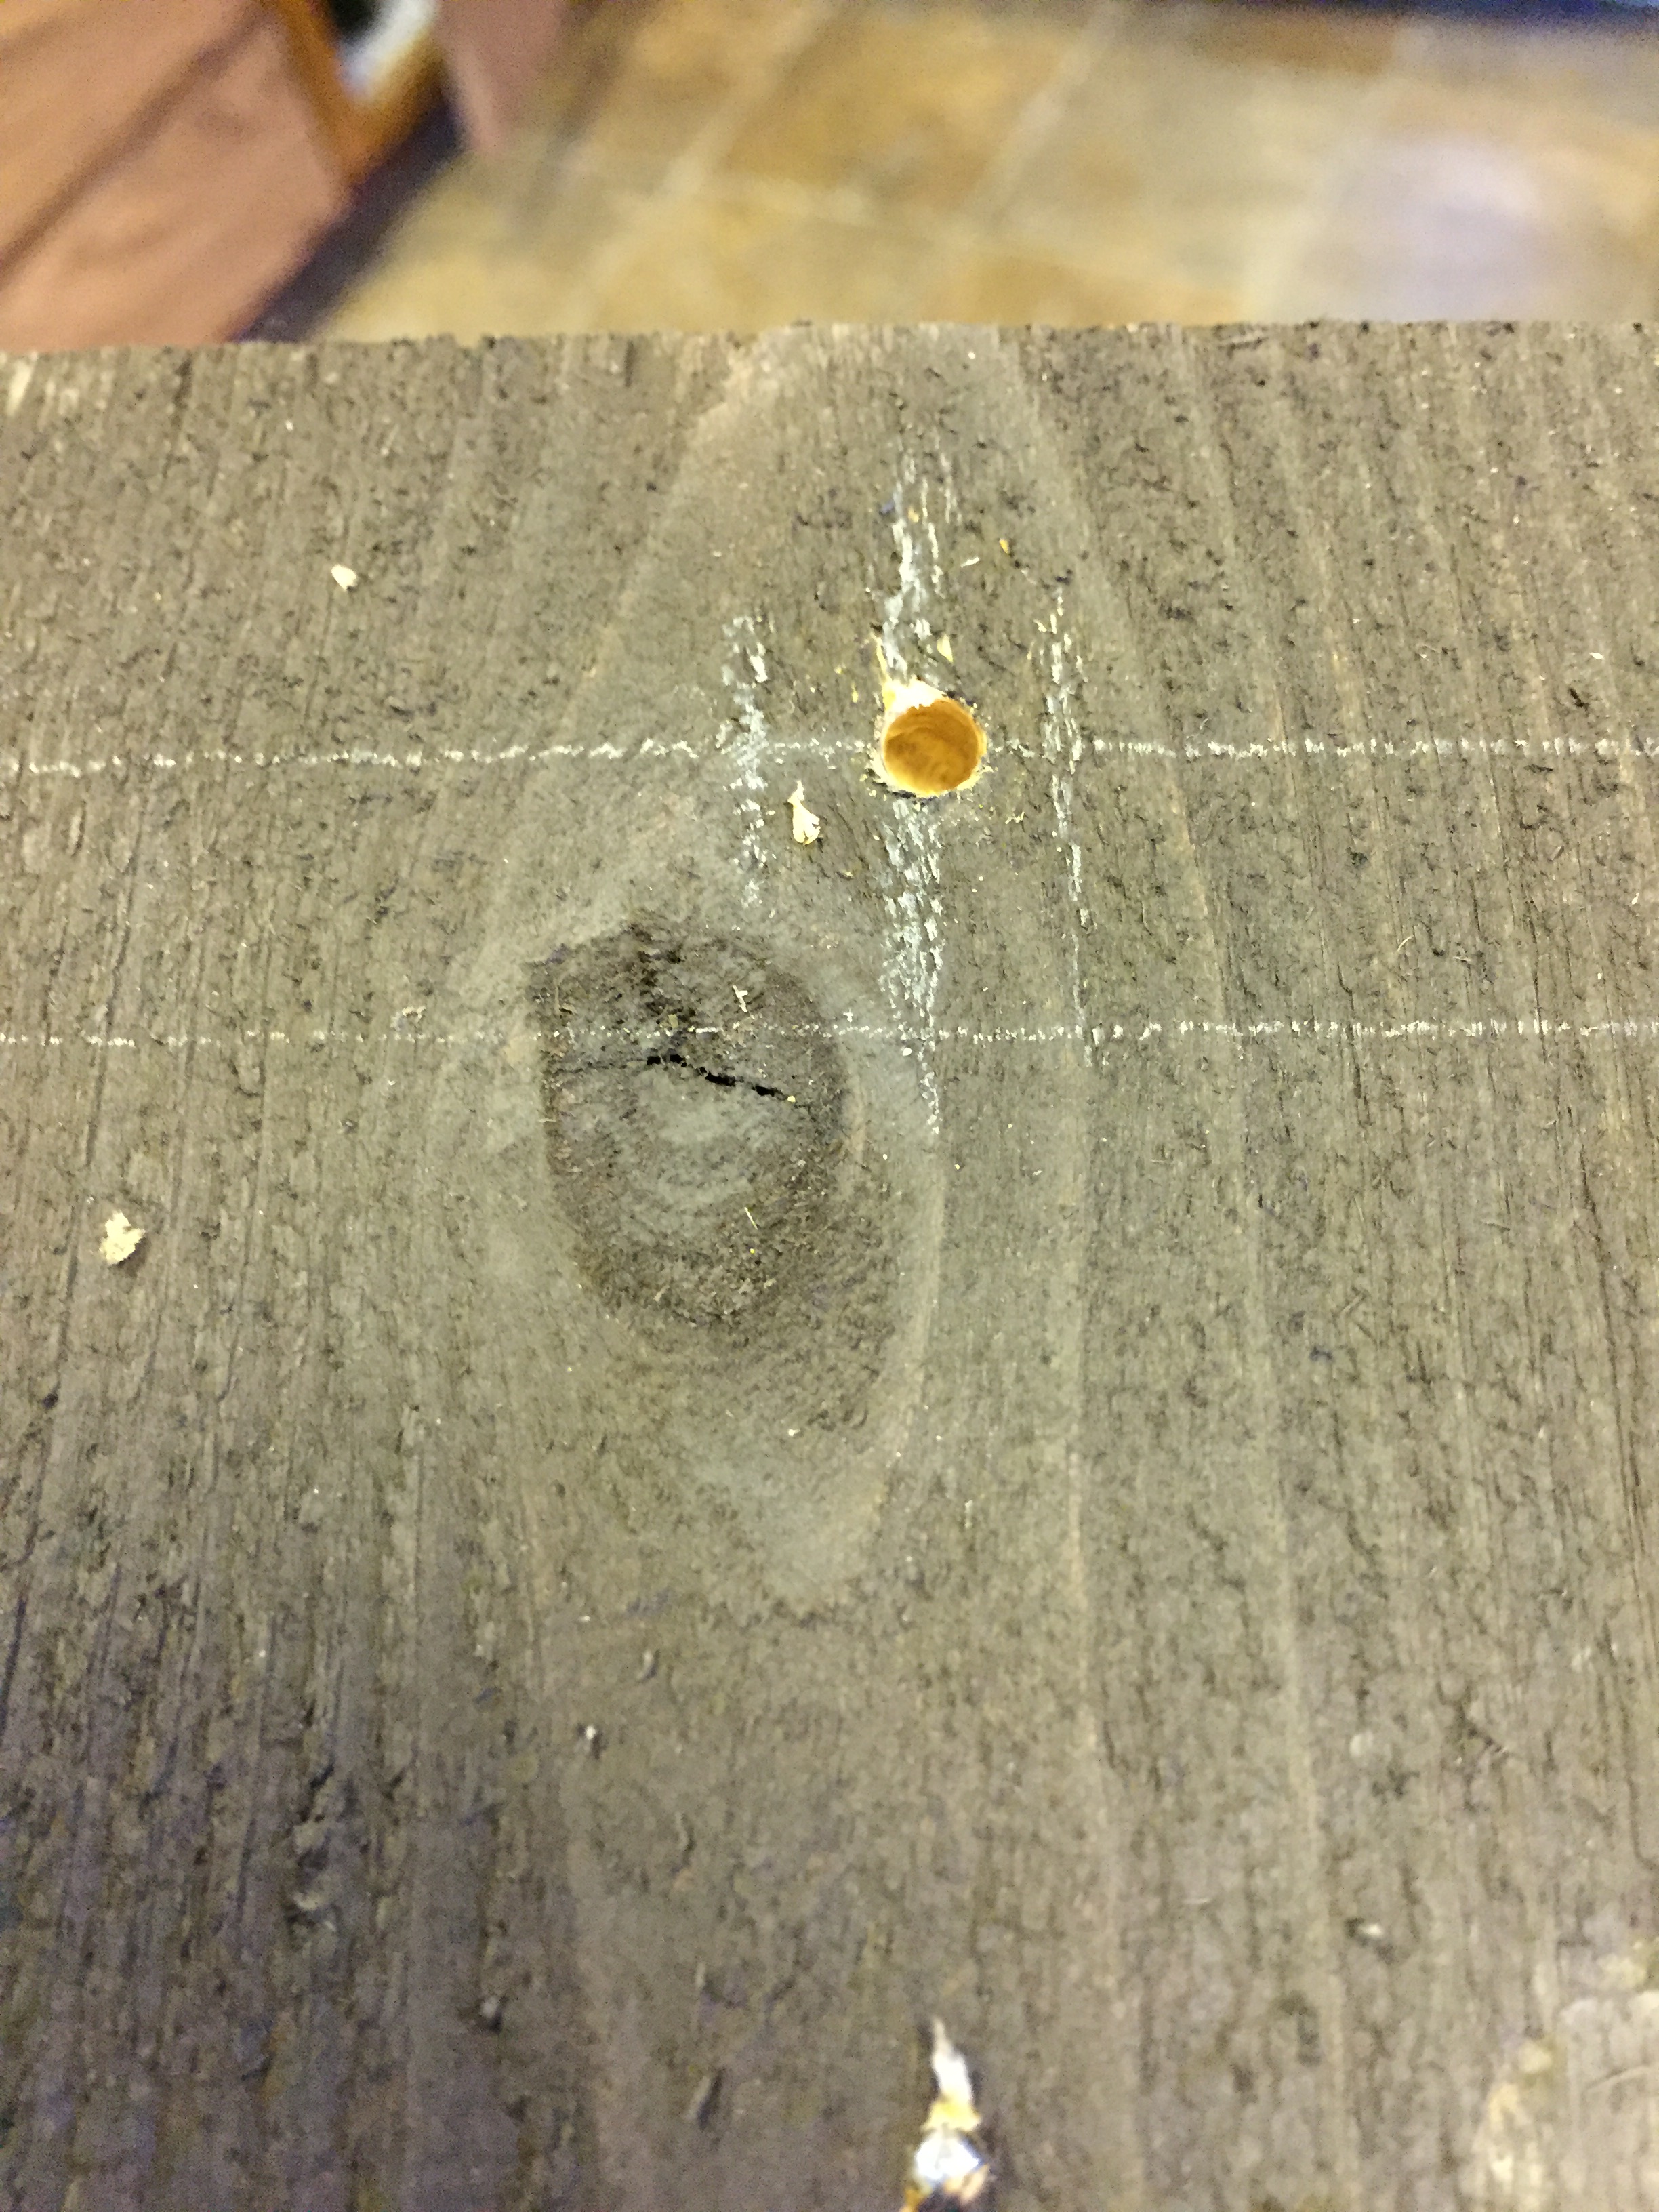
STEP THREE:
At an upward angle, drill into the wood. STOP BEFORE YOU GET TO THE TAPE!
STEP FOUR:
Hammer a small nail into the wall at roughly the same angle at which you drilled the hole. (Head of nail goes up)
STEP FIVE:
Hang the hole in your art right over the nail.
Then, all that’s left is to stand back and marvel at your beautiful art! So, obviously this method won’t work for every piece of art, but it’s a dang good one for wood! Let me know if you try this out by leaving a comment!
And as always, hit Subscribe, and Like Salvage Seattle on Facebook!
Stay Crafty My Friends!
