
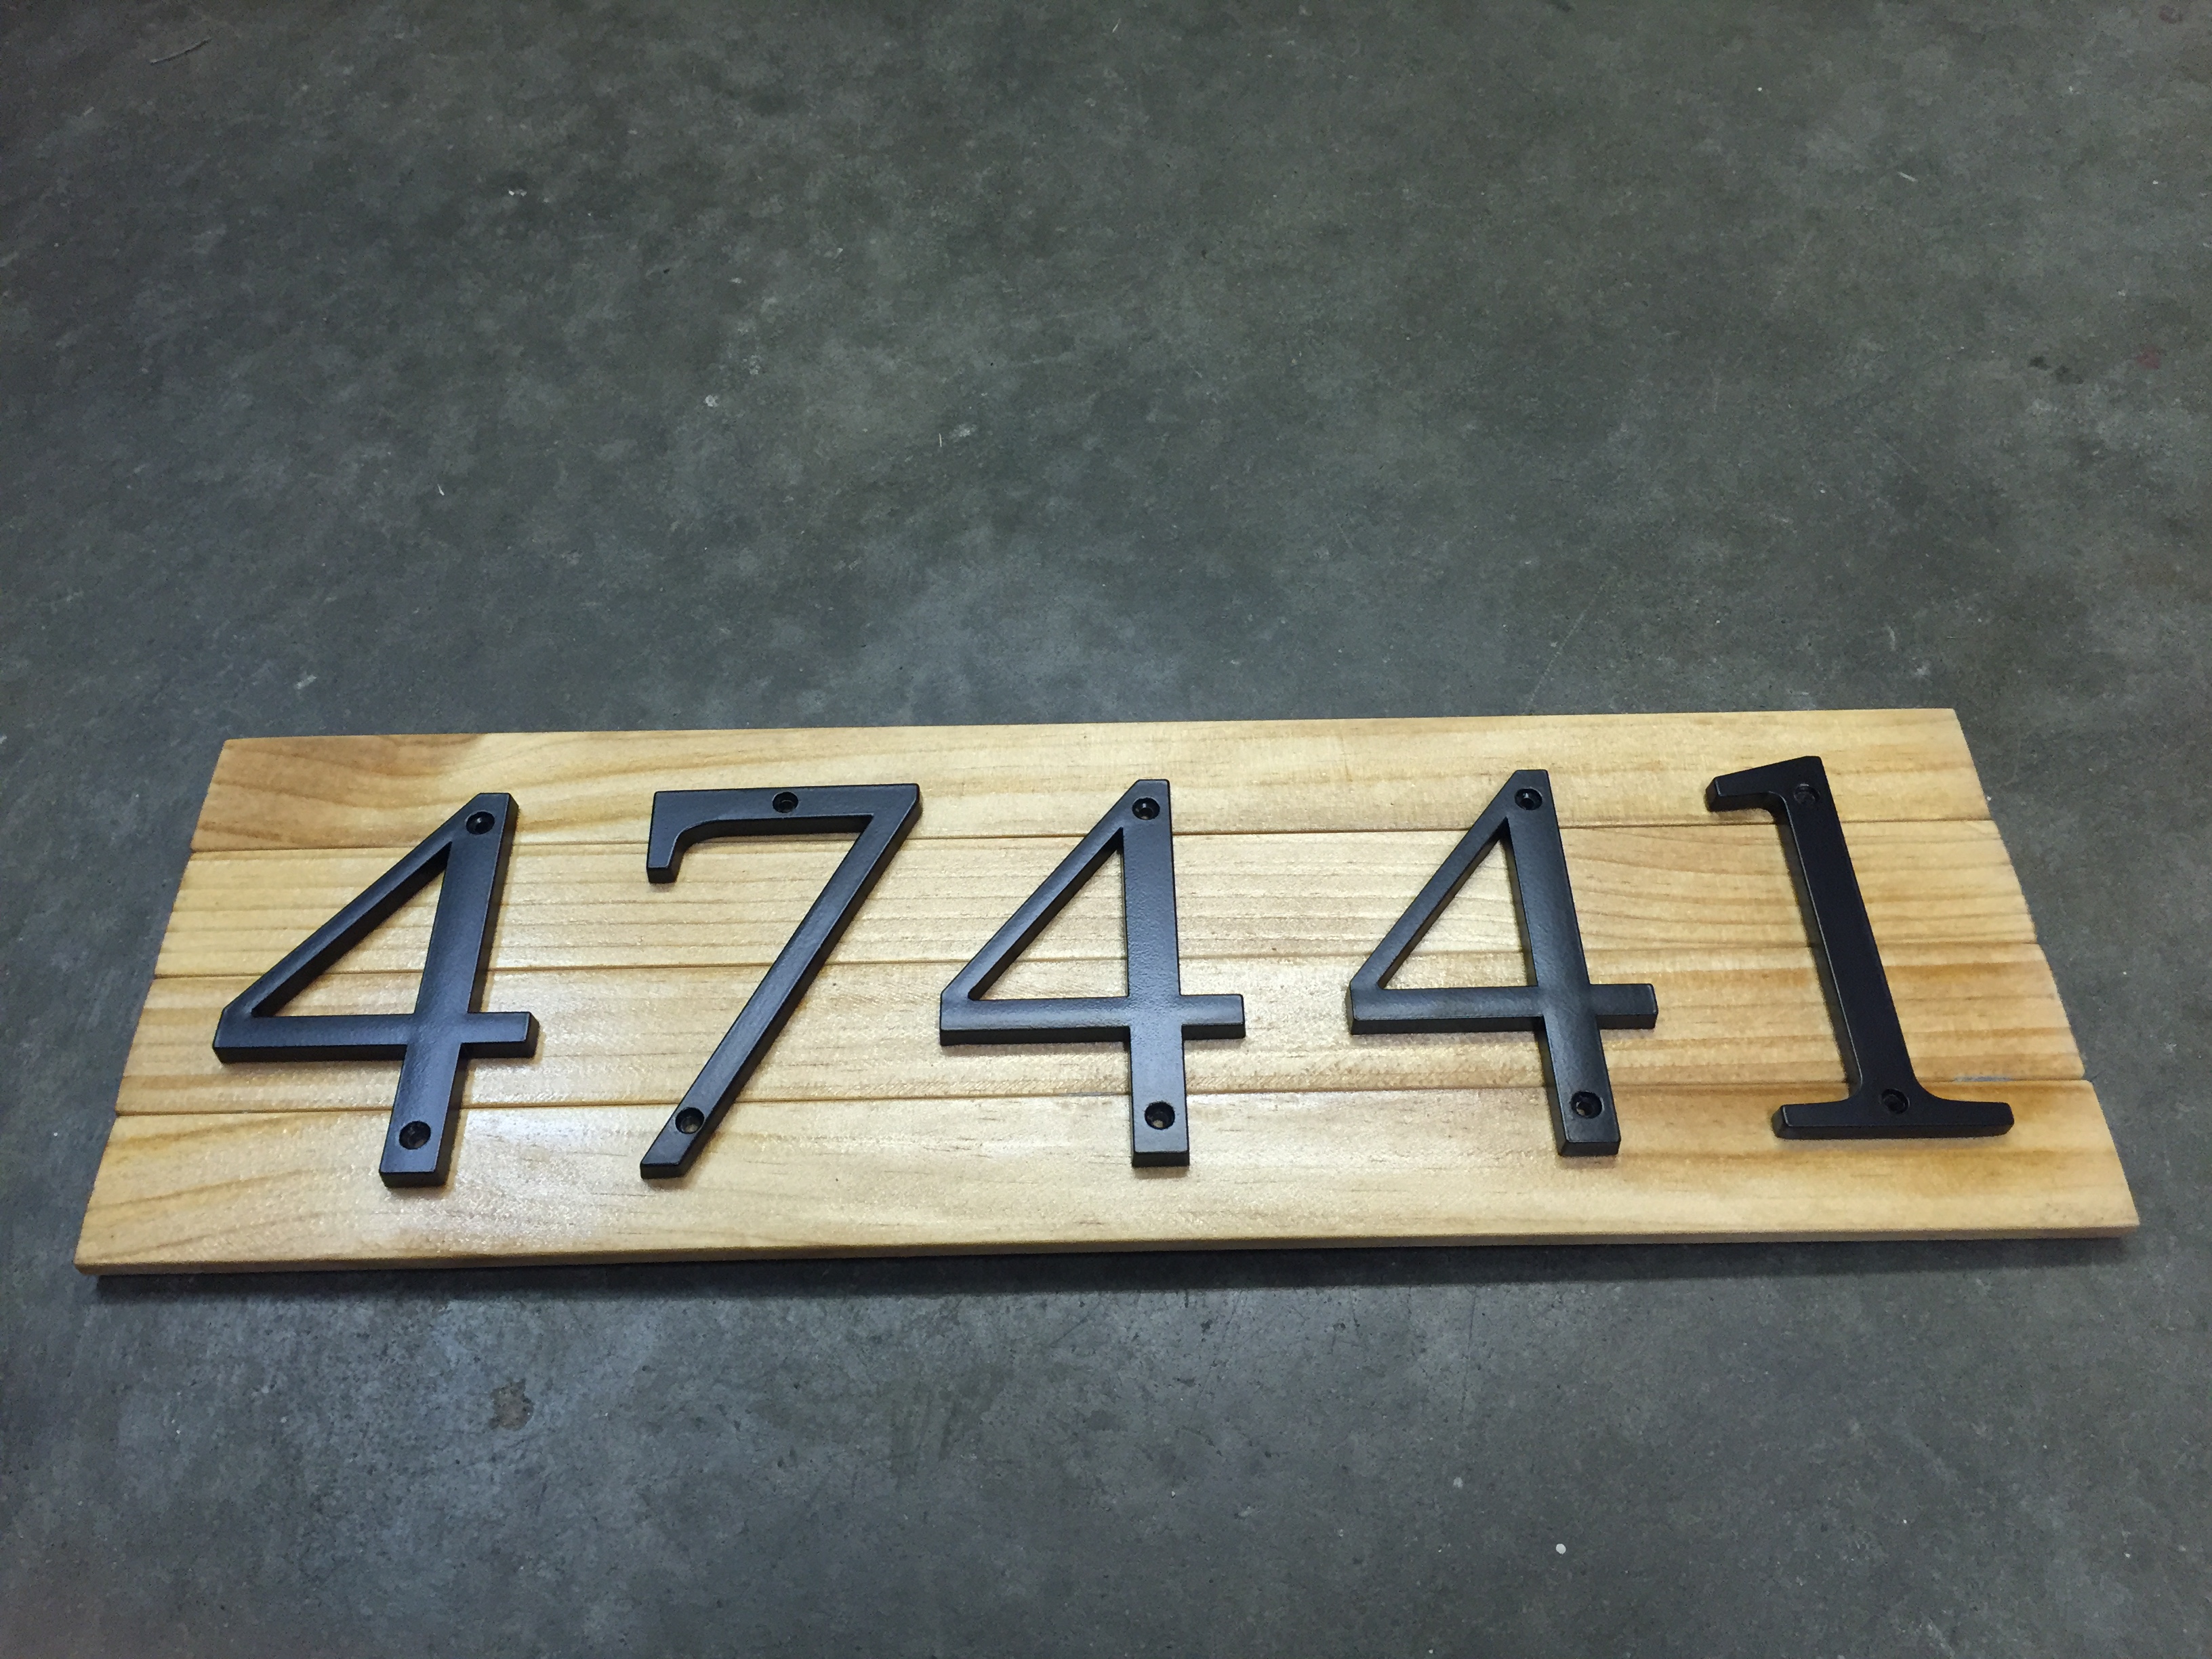
With the constant remodel going on at my parents home, I thought it would be nice to offer a little bit of improvement to the curb appeal. Up until now, the address has been displayed with stickers. That’s right….stickers. Needless to say, I think they are in need of an upgrade. And NO, this is not the real address. Notice that there aren’t any screws holding in those numbers. I thought it would be wise to hold the real numbers back from the public.
This beauty was made out of FREE paint stir sticks! Can you believe that? FREE! Which is good, because the numbers definitely were not. And the numbers shown were not the actual numbers that I was trying to get. However, this was the only style that actually had all the numbers that I needed in stock. But, I still think it turned out pretty nice. Also, the stain doesn’t really come out well in this photo. It’s actually a bit darker. Like a rich honey.
Let’s get this DIY started!


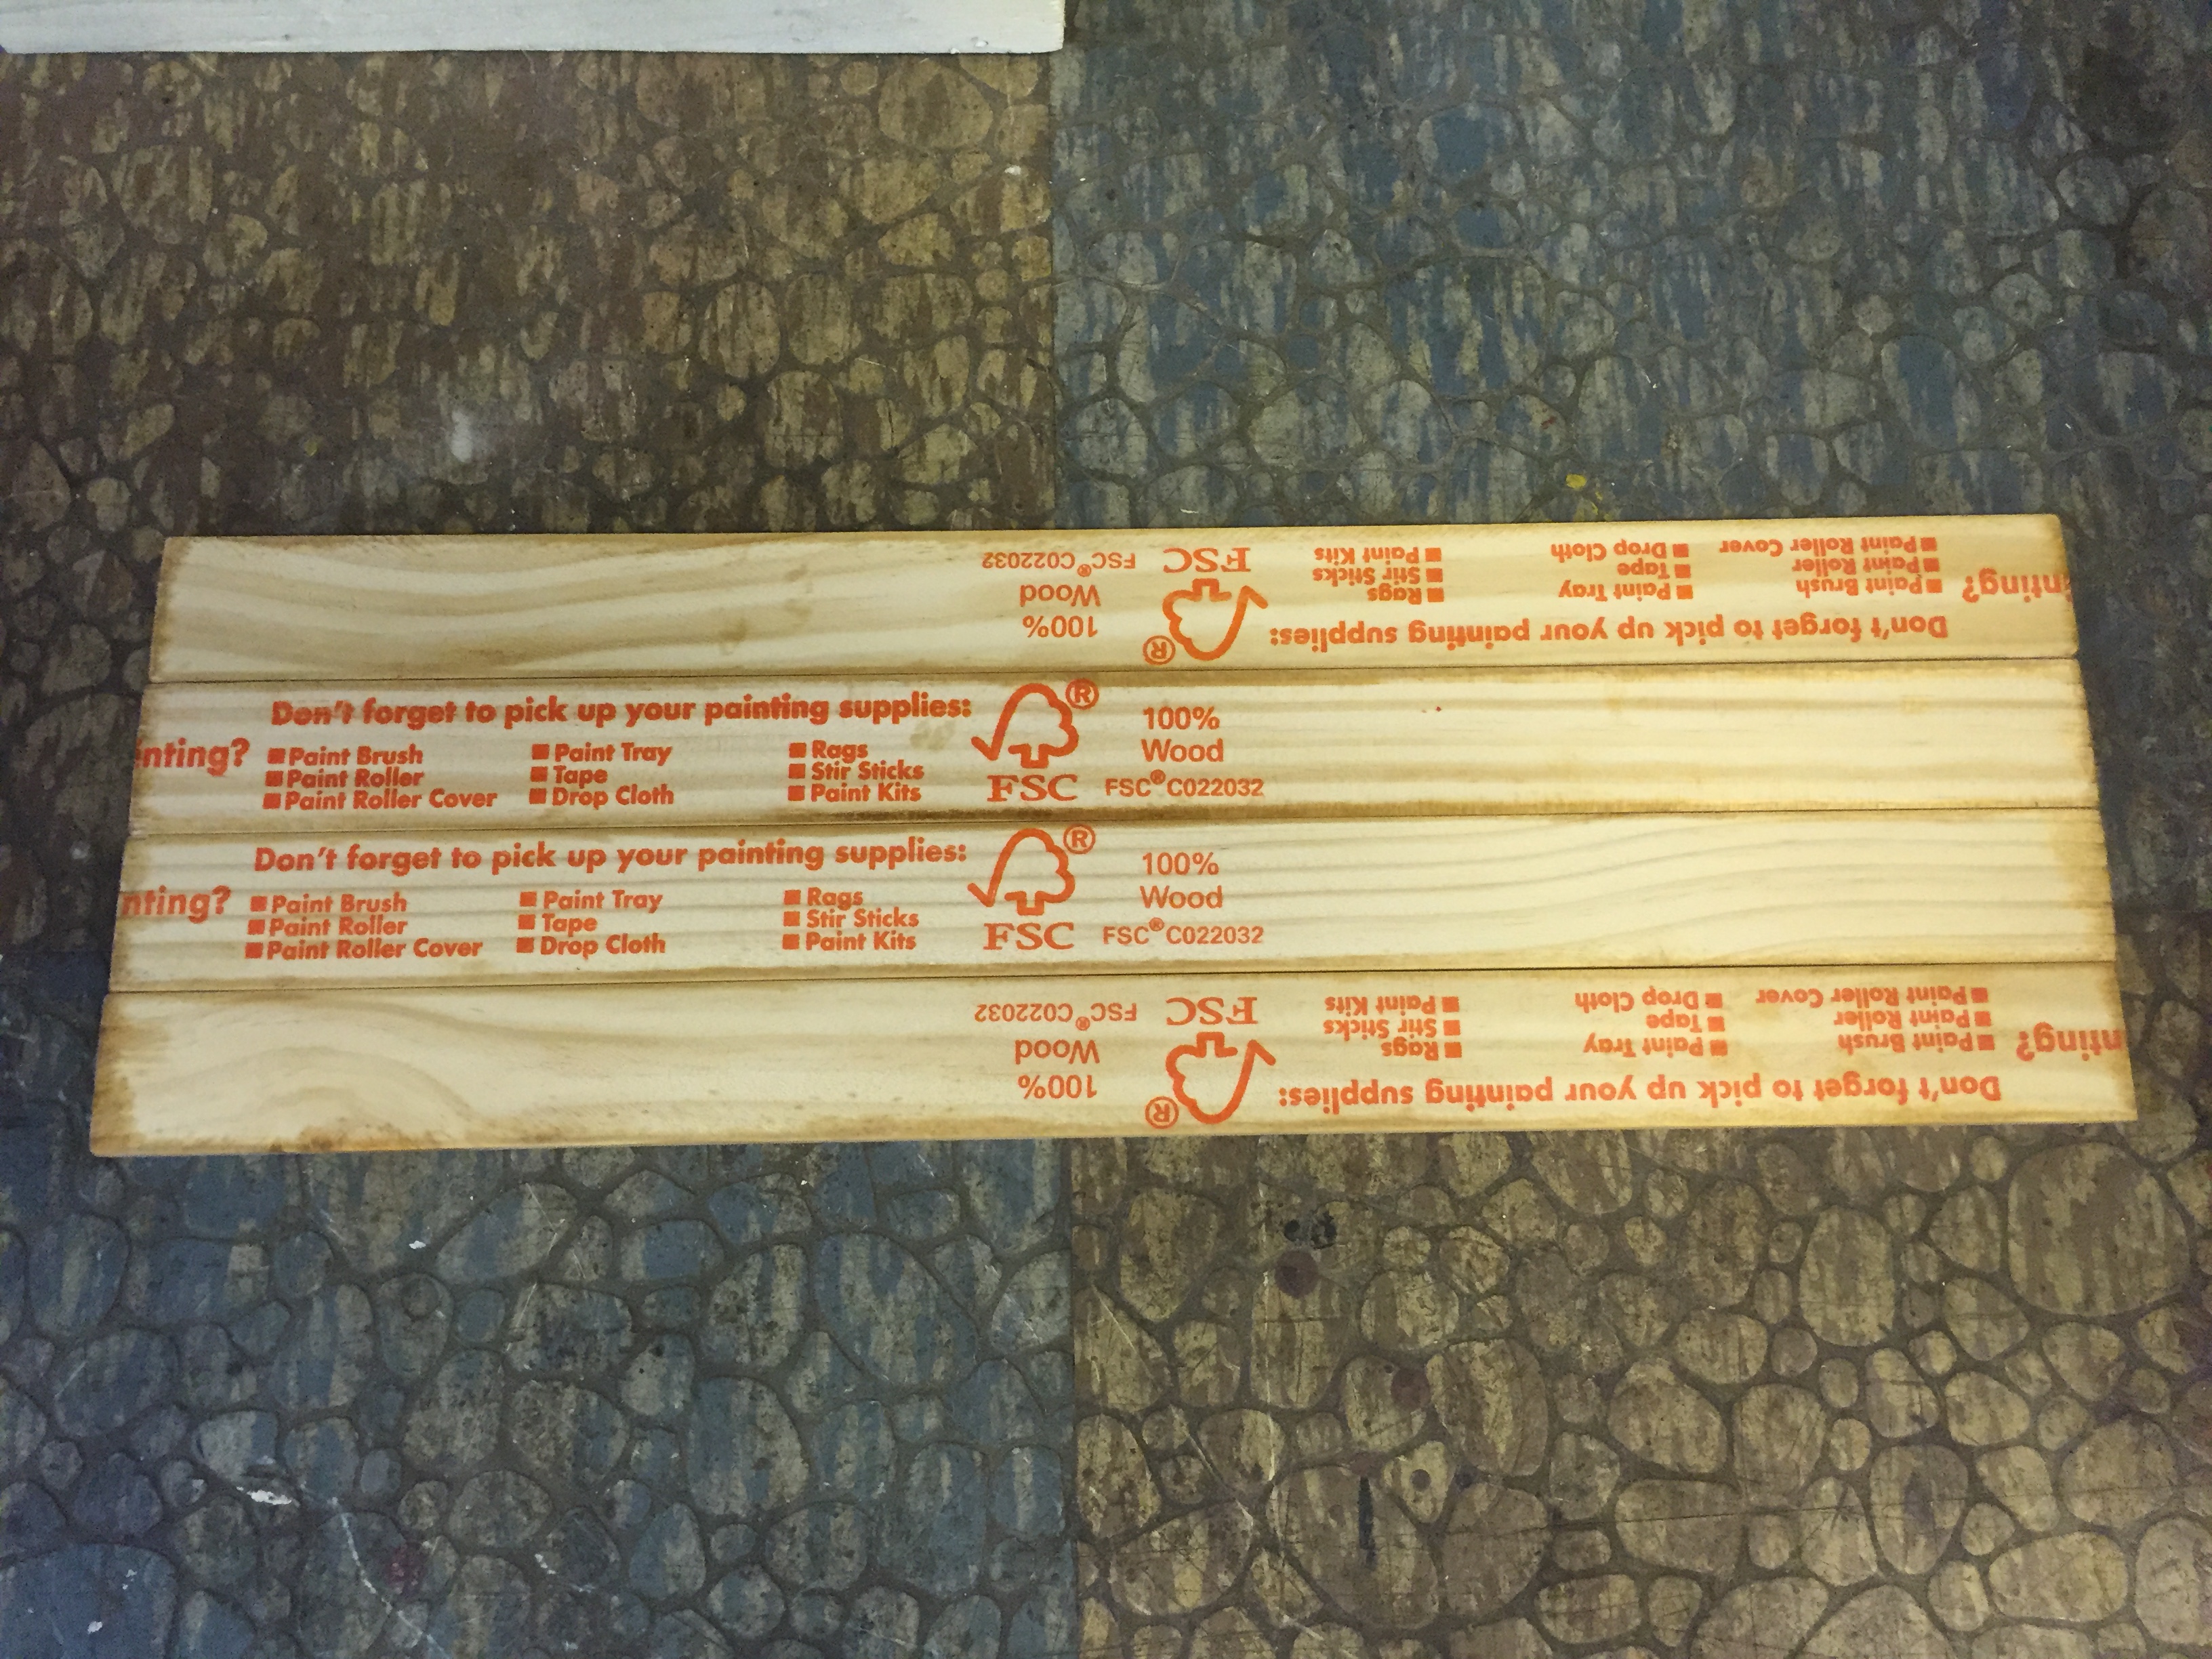
The first steps in this project is acquiring all the supplies you’ll need. Which is 4 extra large, and 3 regular sized paint stir sticks. The awesome thing about using these sticks (other than the fact that they’re free) is that you’re giving them a second chance at having a purpose. As a stir stick, you get used maybe a couple times and then you’re thrown away. And that seems like such a terrible waste of a tree to me. This way, they have a life-long duty.
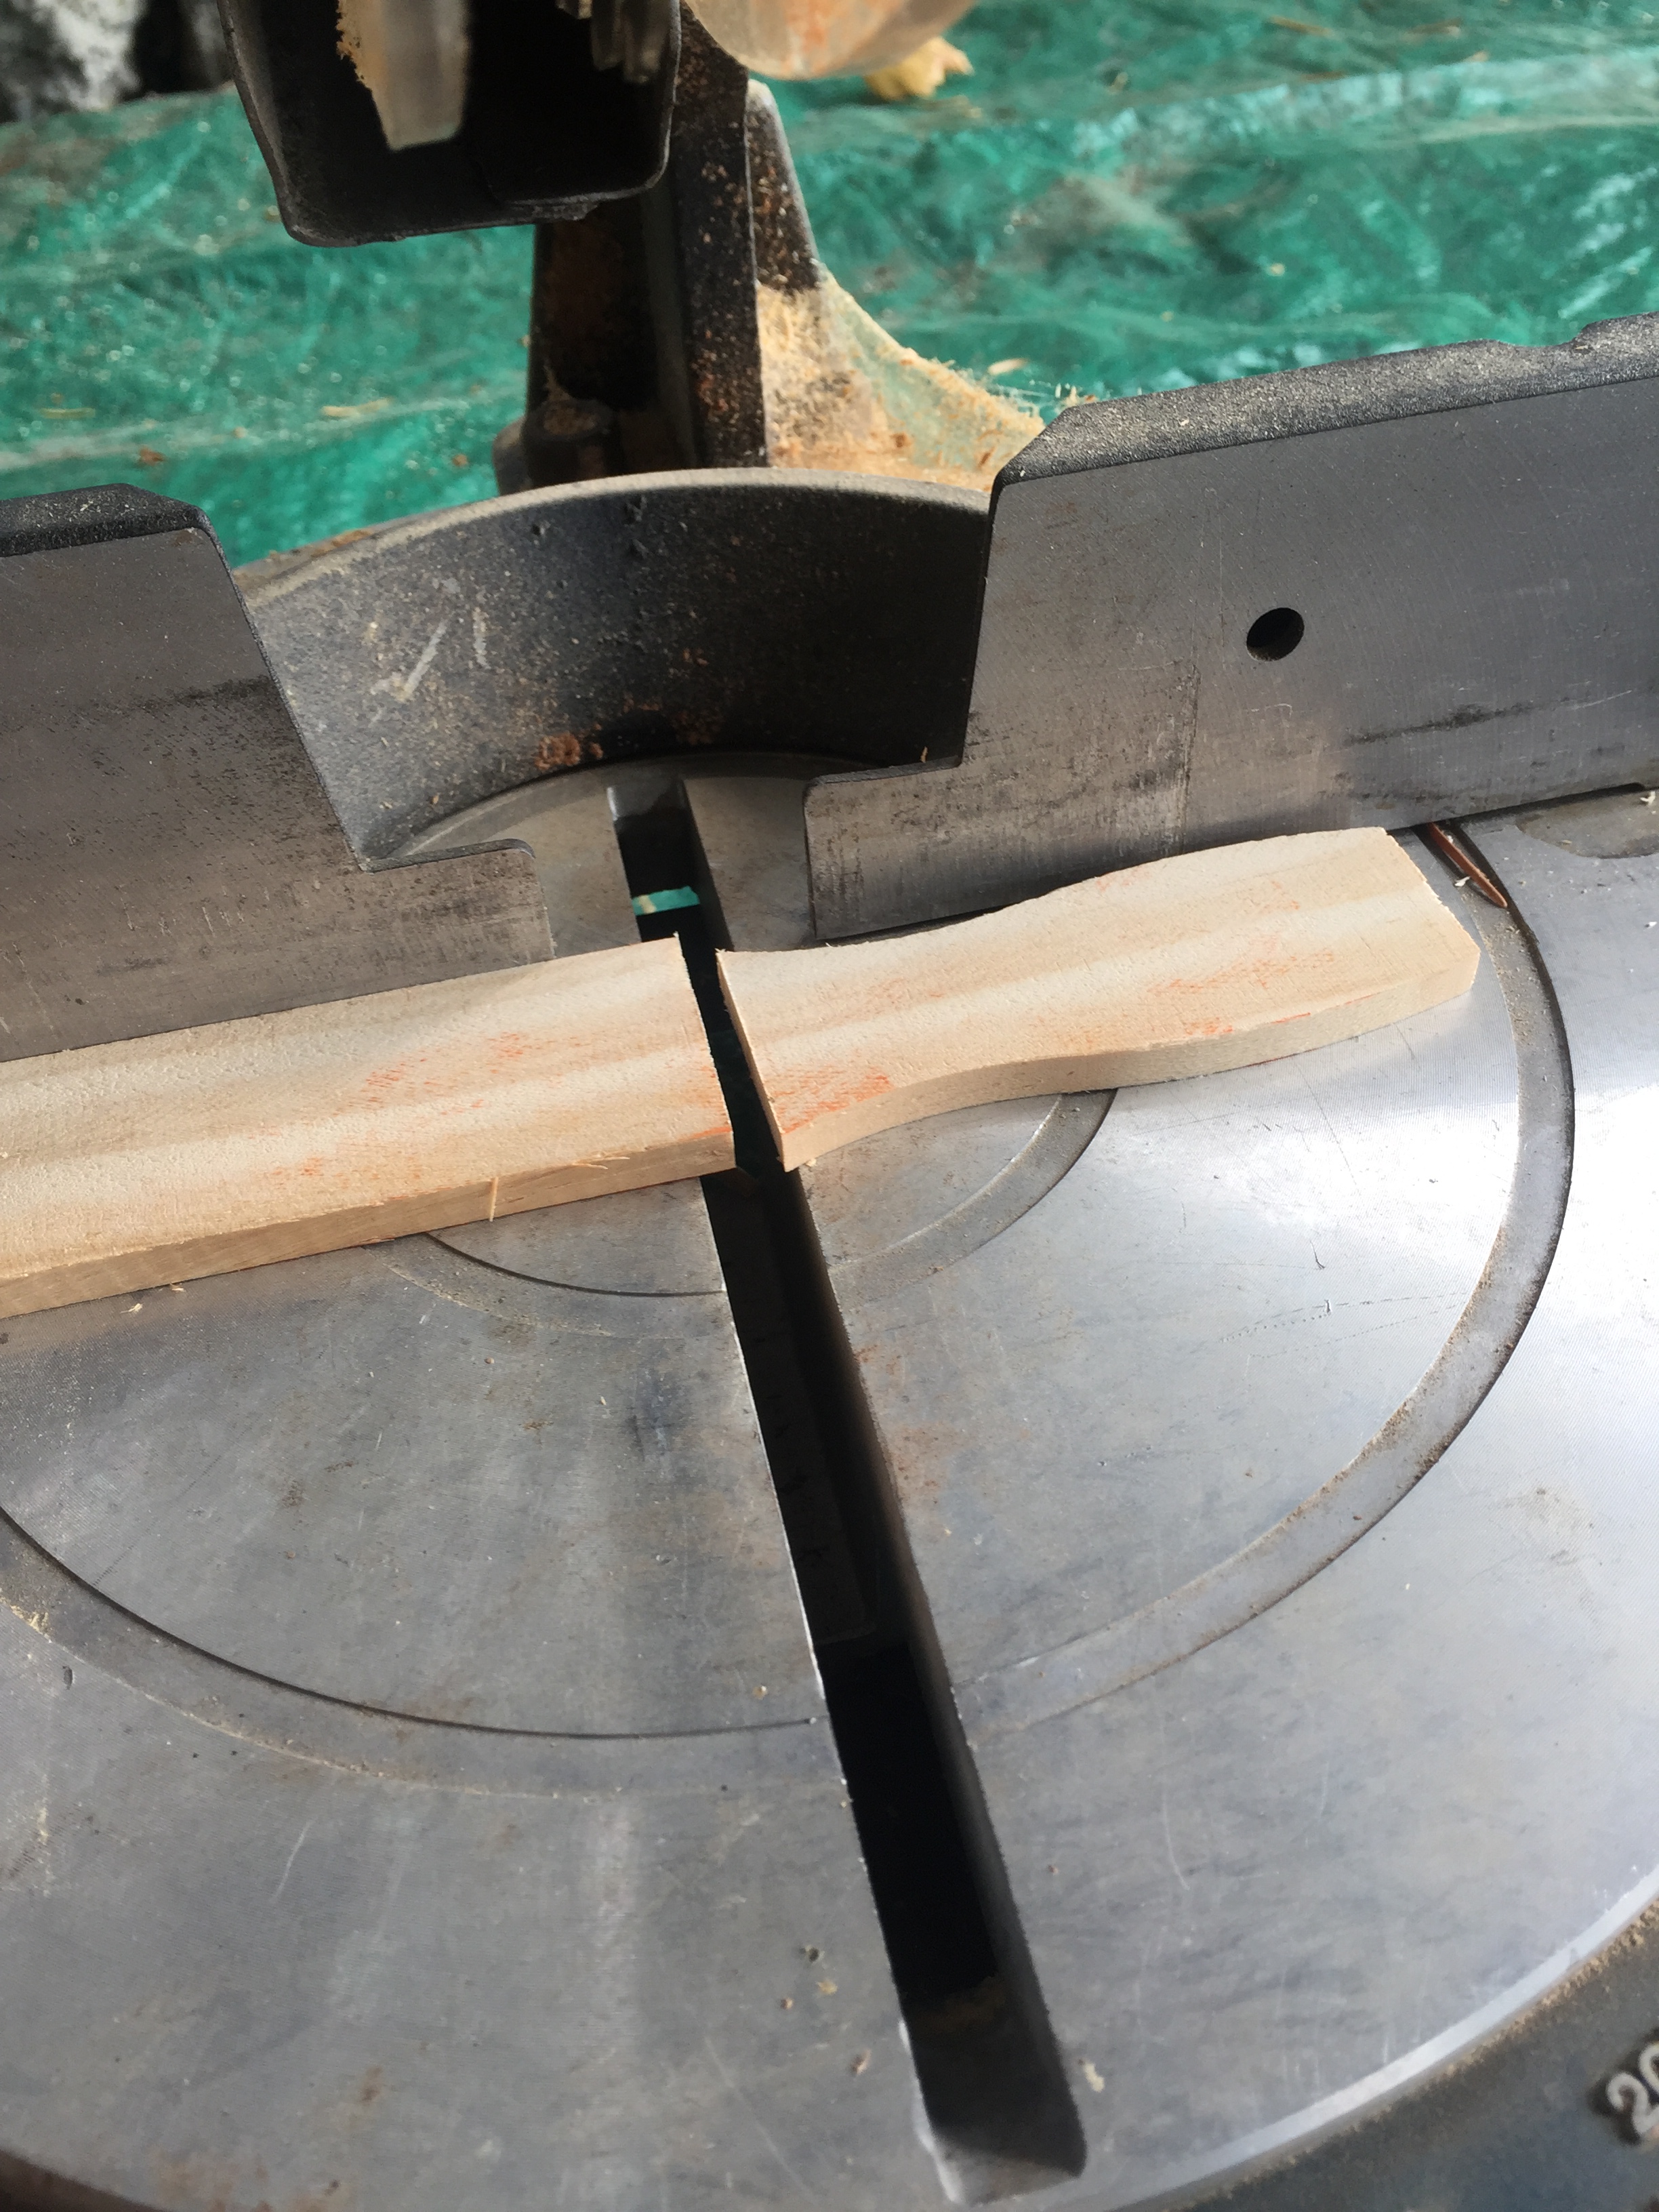
Once you have all the sticks you need, cut the ends off the large ones, and then cut 5 inches off the ends of the small ones.
NOTE: If you don’t know how to use an electric saw, please seek the help of someone who does.


Next, you’ll need to sand each stick a little bit by hand. I used 100 grade sand paper. You’ll want to sand the edges of every side. this will creates a bit of a division between each piece of wood (because of a rounded edge). Which, is the effect I’m going for. That way, it doesn’t just look like one big piece of wood.


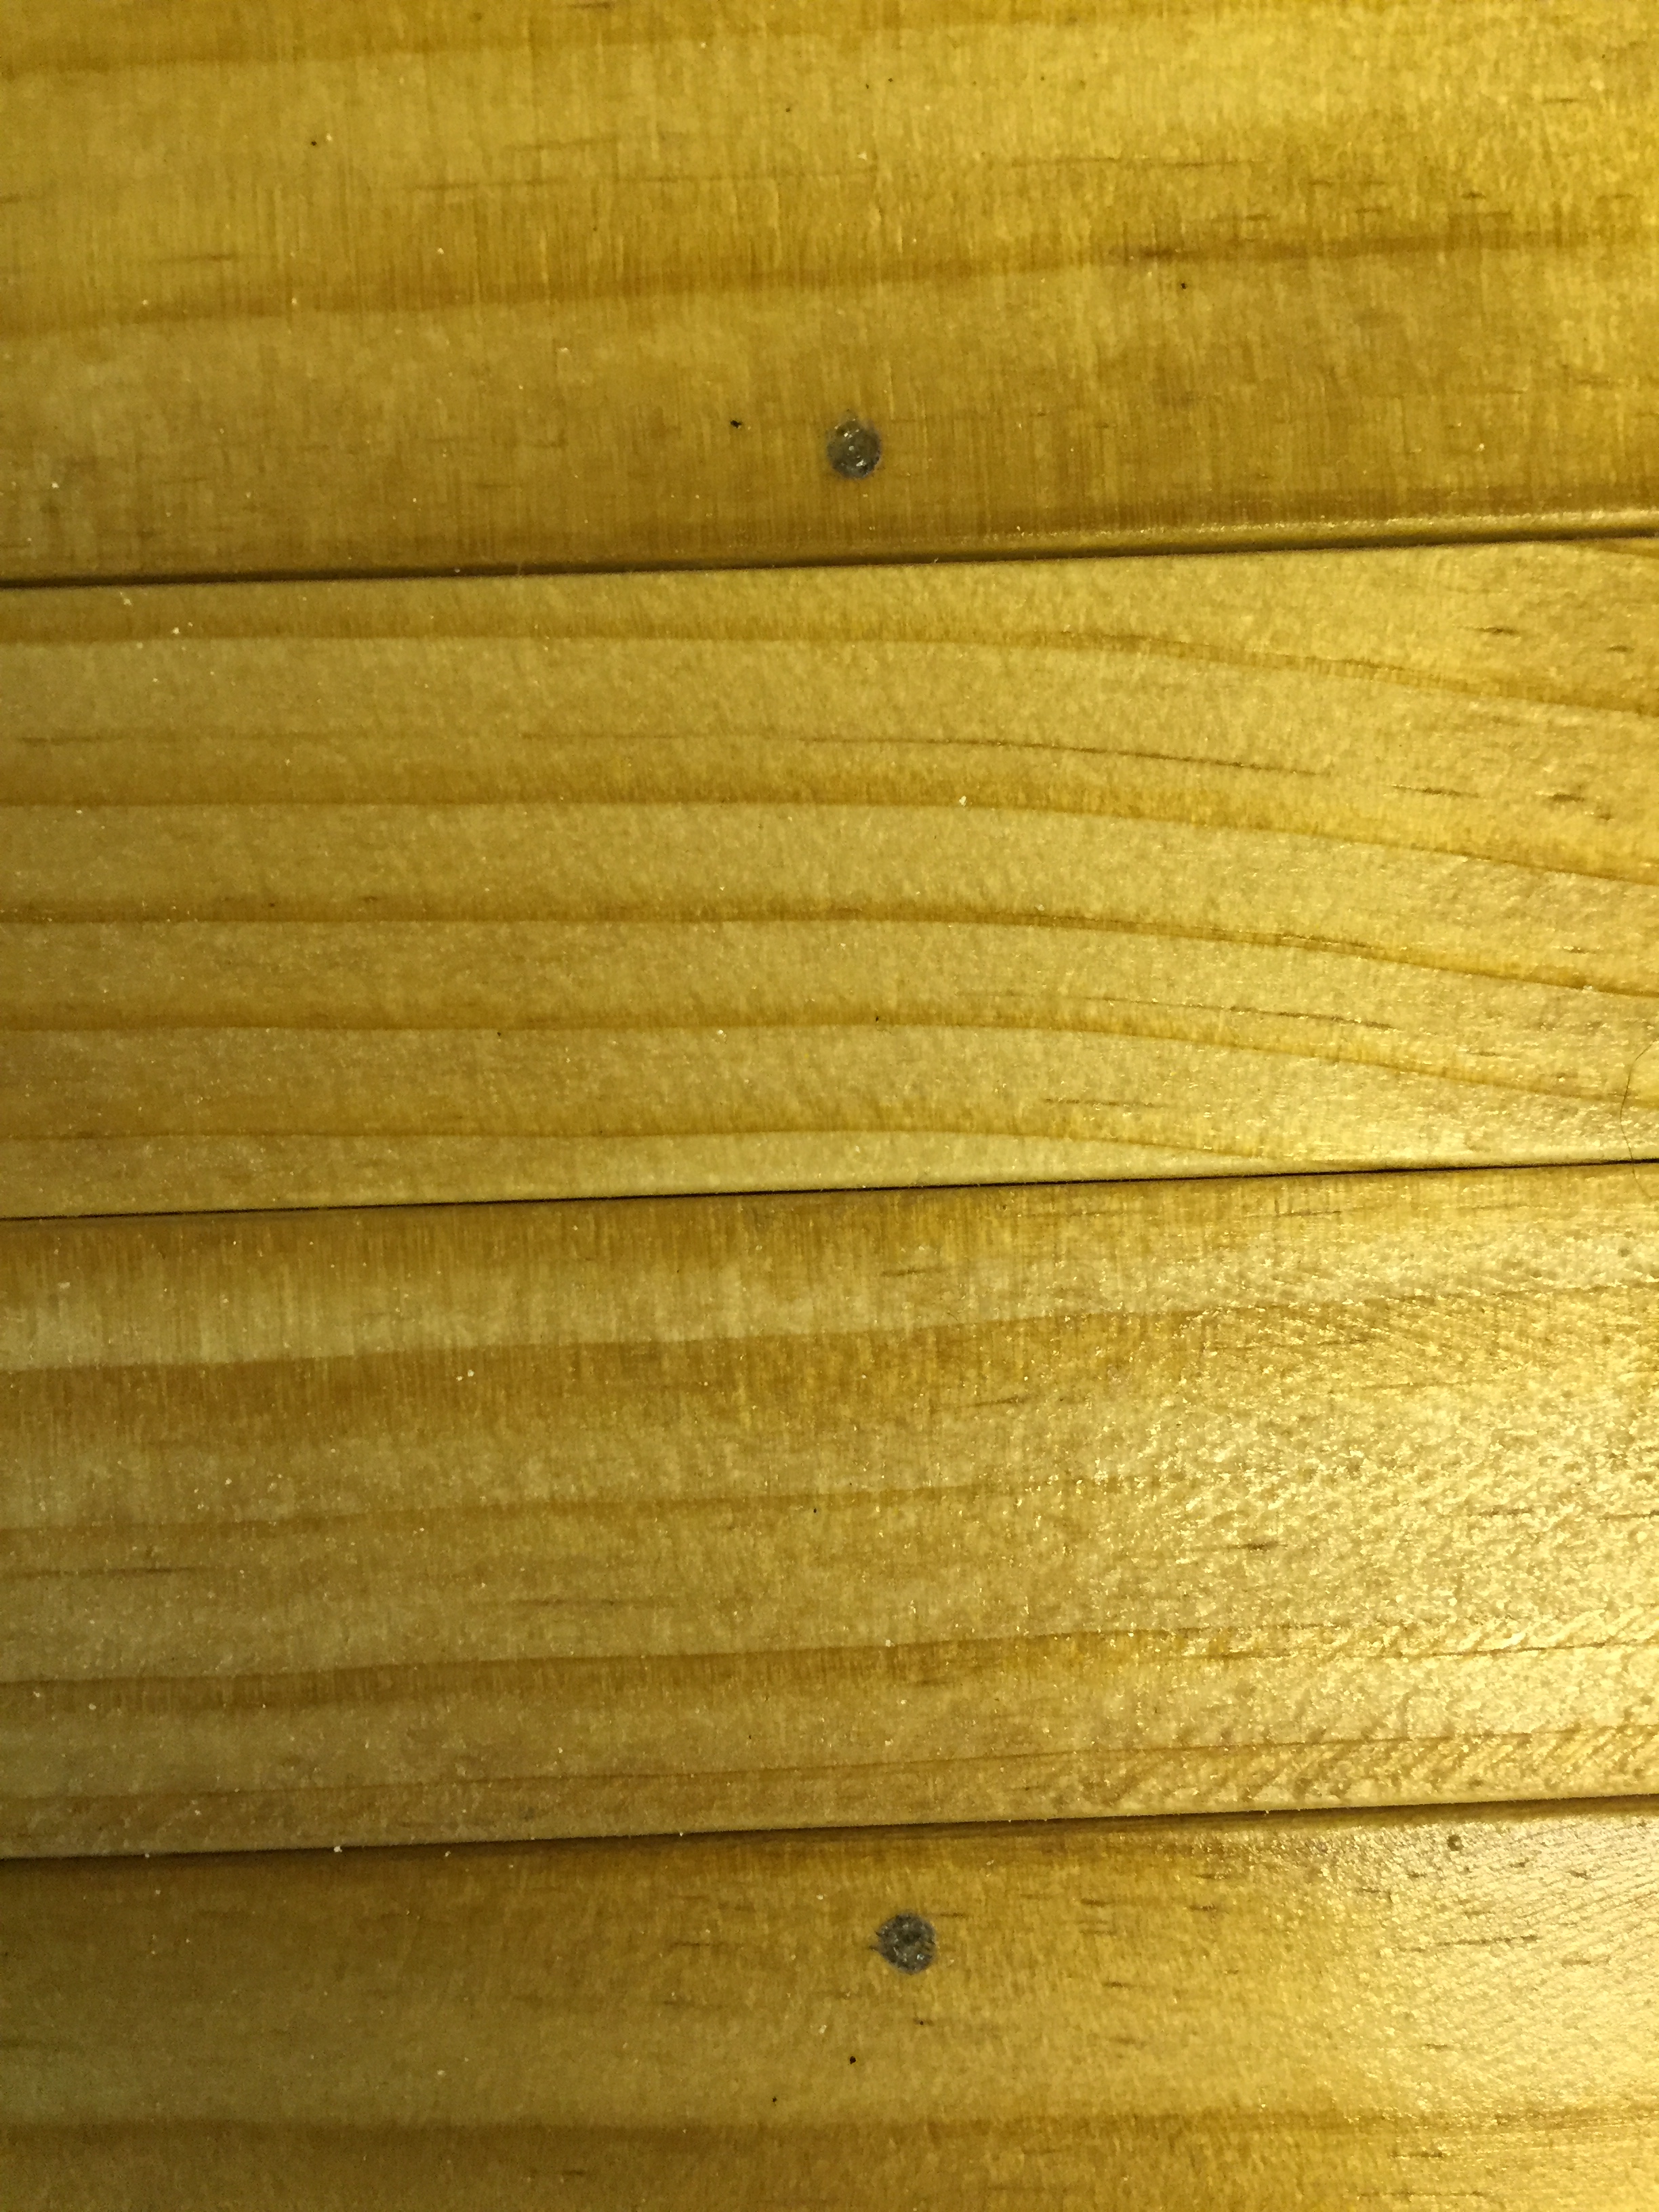
Next, I went digging through my dad’s wood stains and found a light stain that I thought might look nice, but I wasn’t quite sure how it would turn out. So I took an extra piece of the stir stick, and tested the stain. Which I then decided I loved because it was light enough to make the black numbers POP.
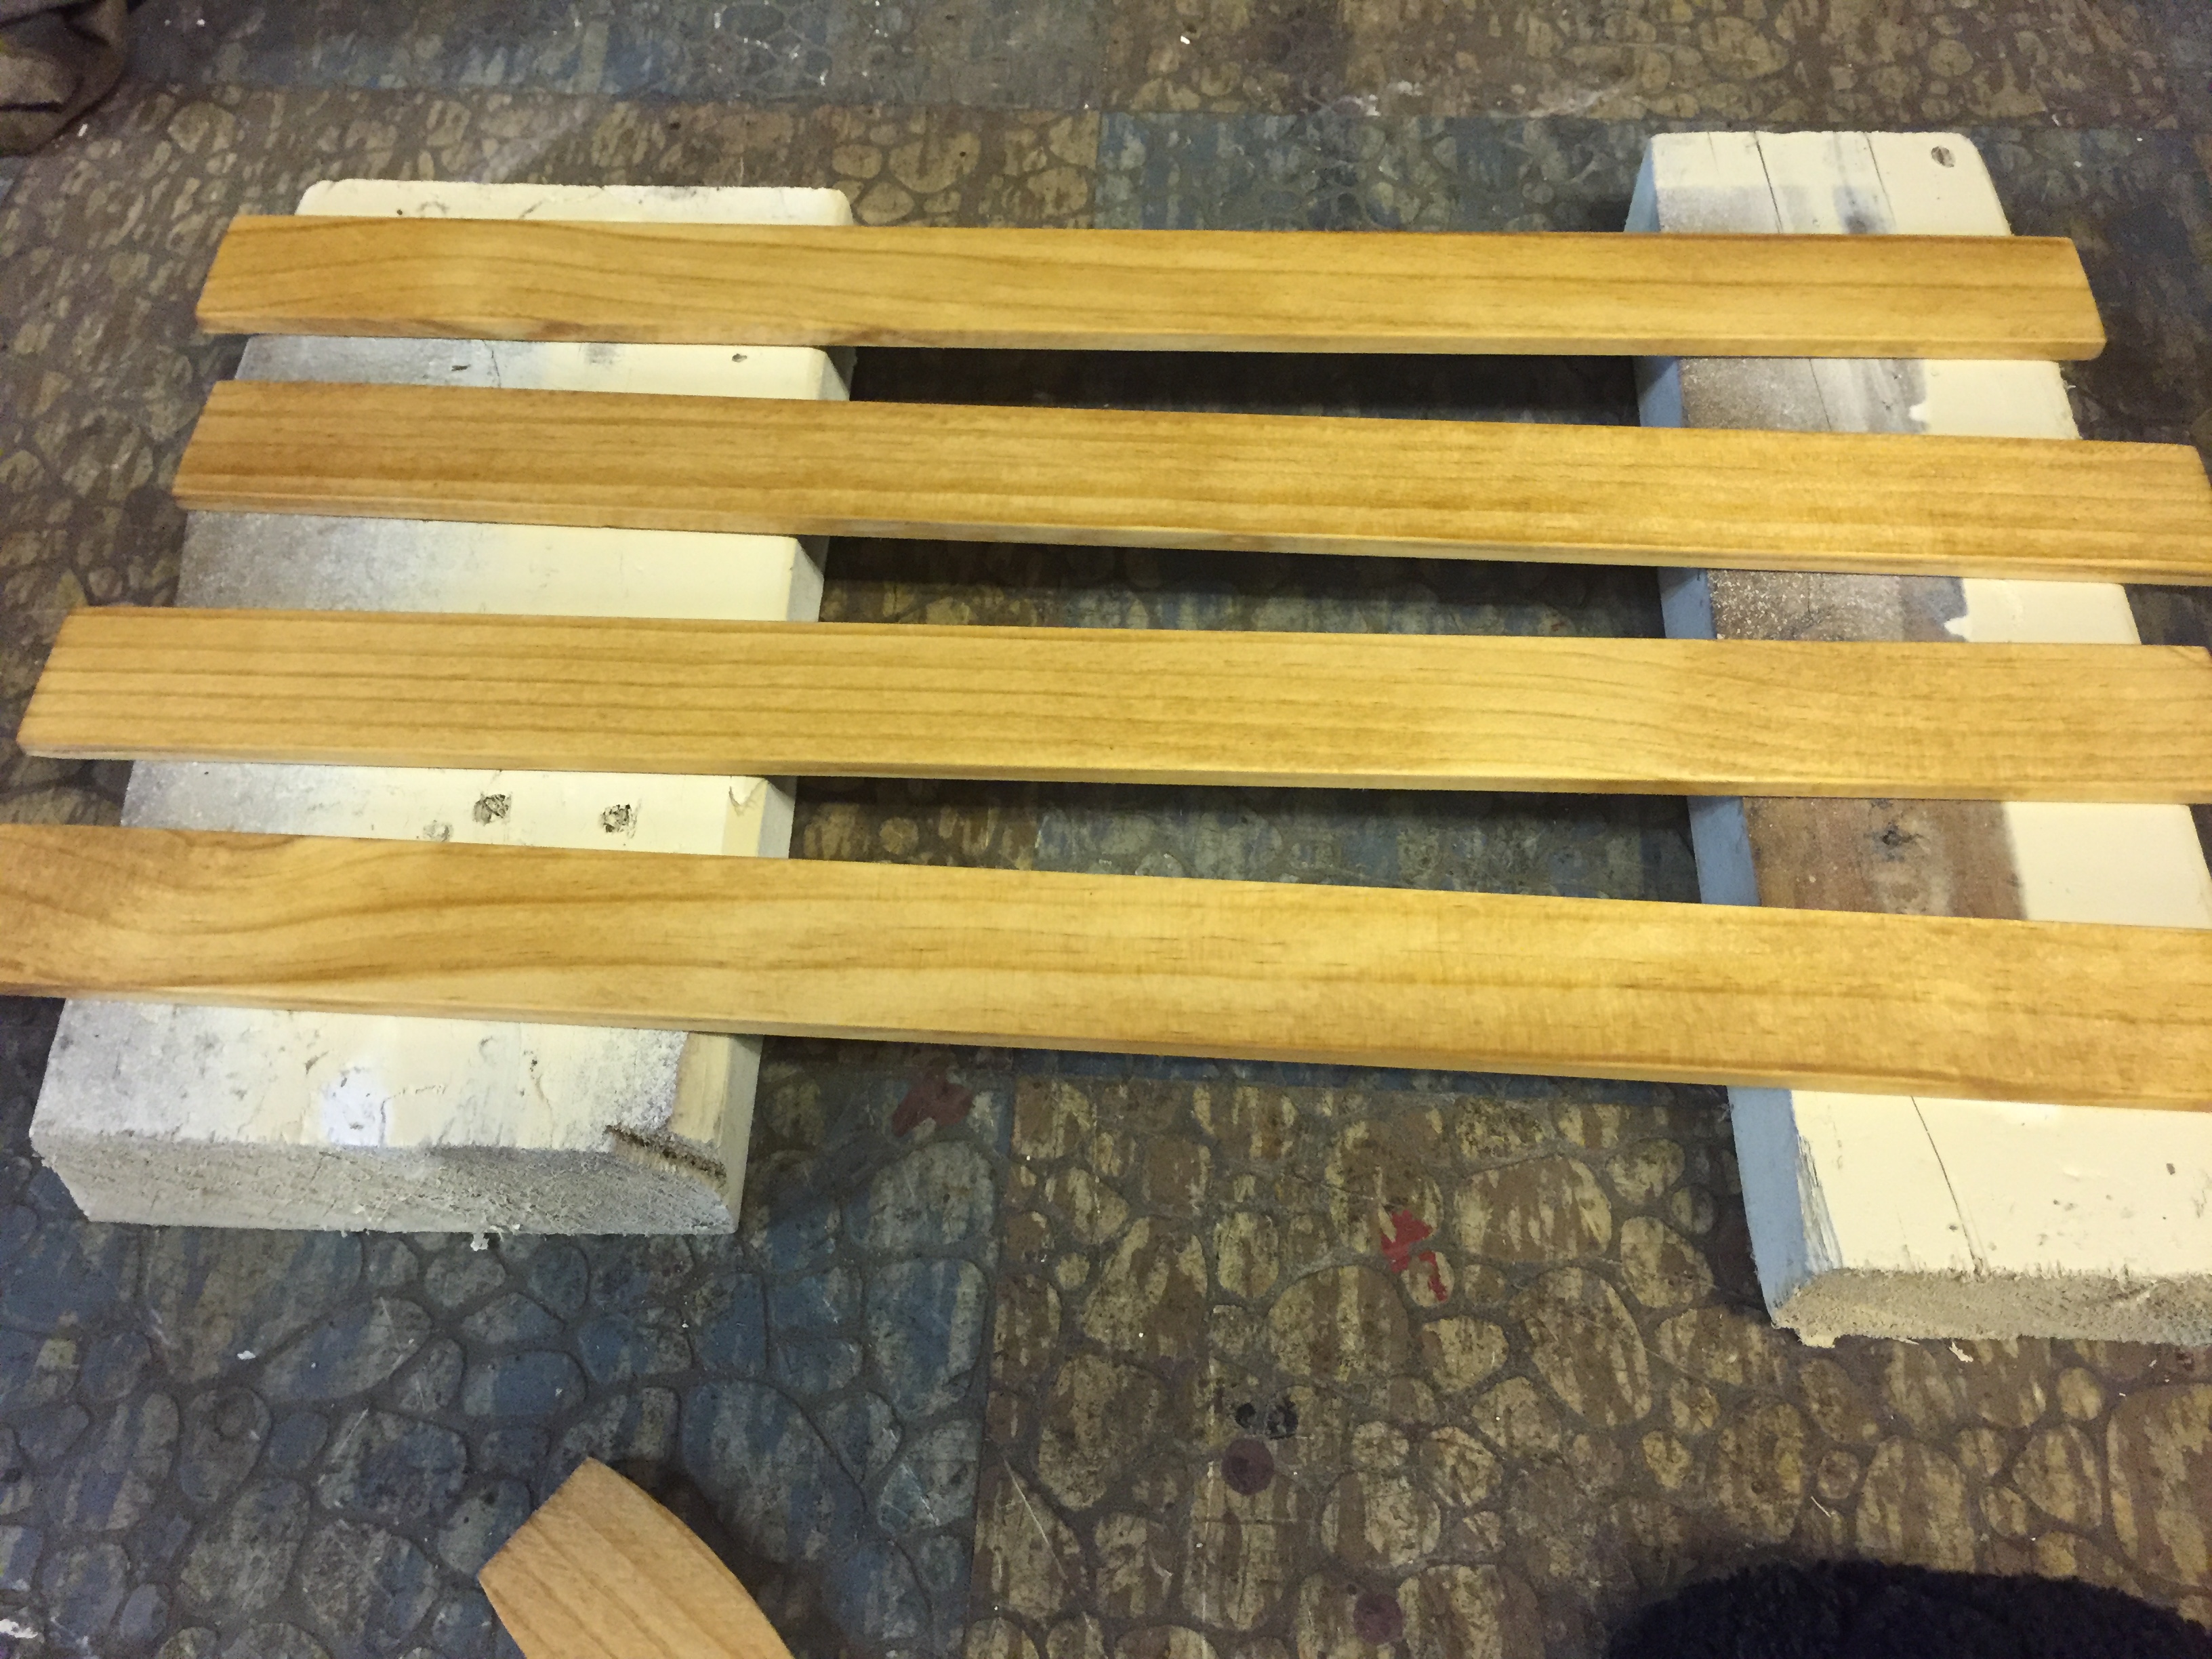
Once you’ve decided on your stain, it’s time to take action. Rub the stain into the wood with an old clean rag. Make sure to move with the grain of the wood. Wait a little while for the stain to set in, then wipe it away.
NOTE: Darker stains will need almost no time to set in. Lighter ones may need to sit a while. You can always add another layer if it doesn’t turn out dark enough.

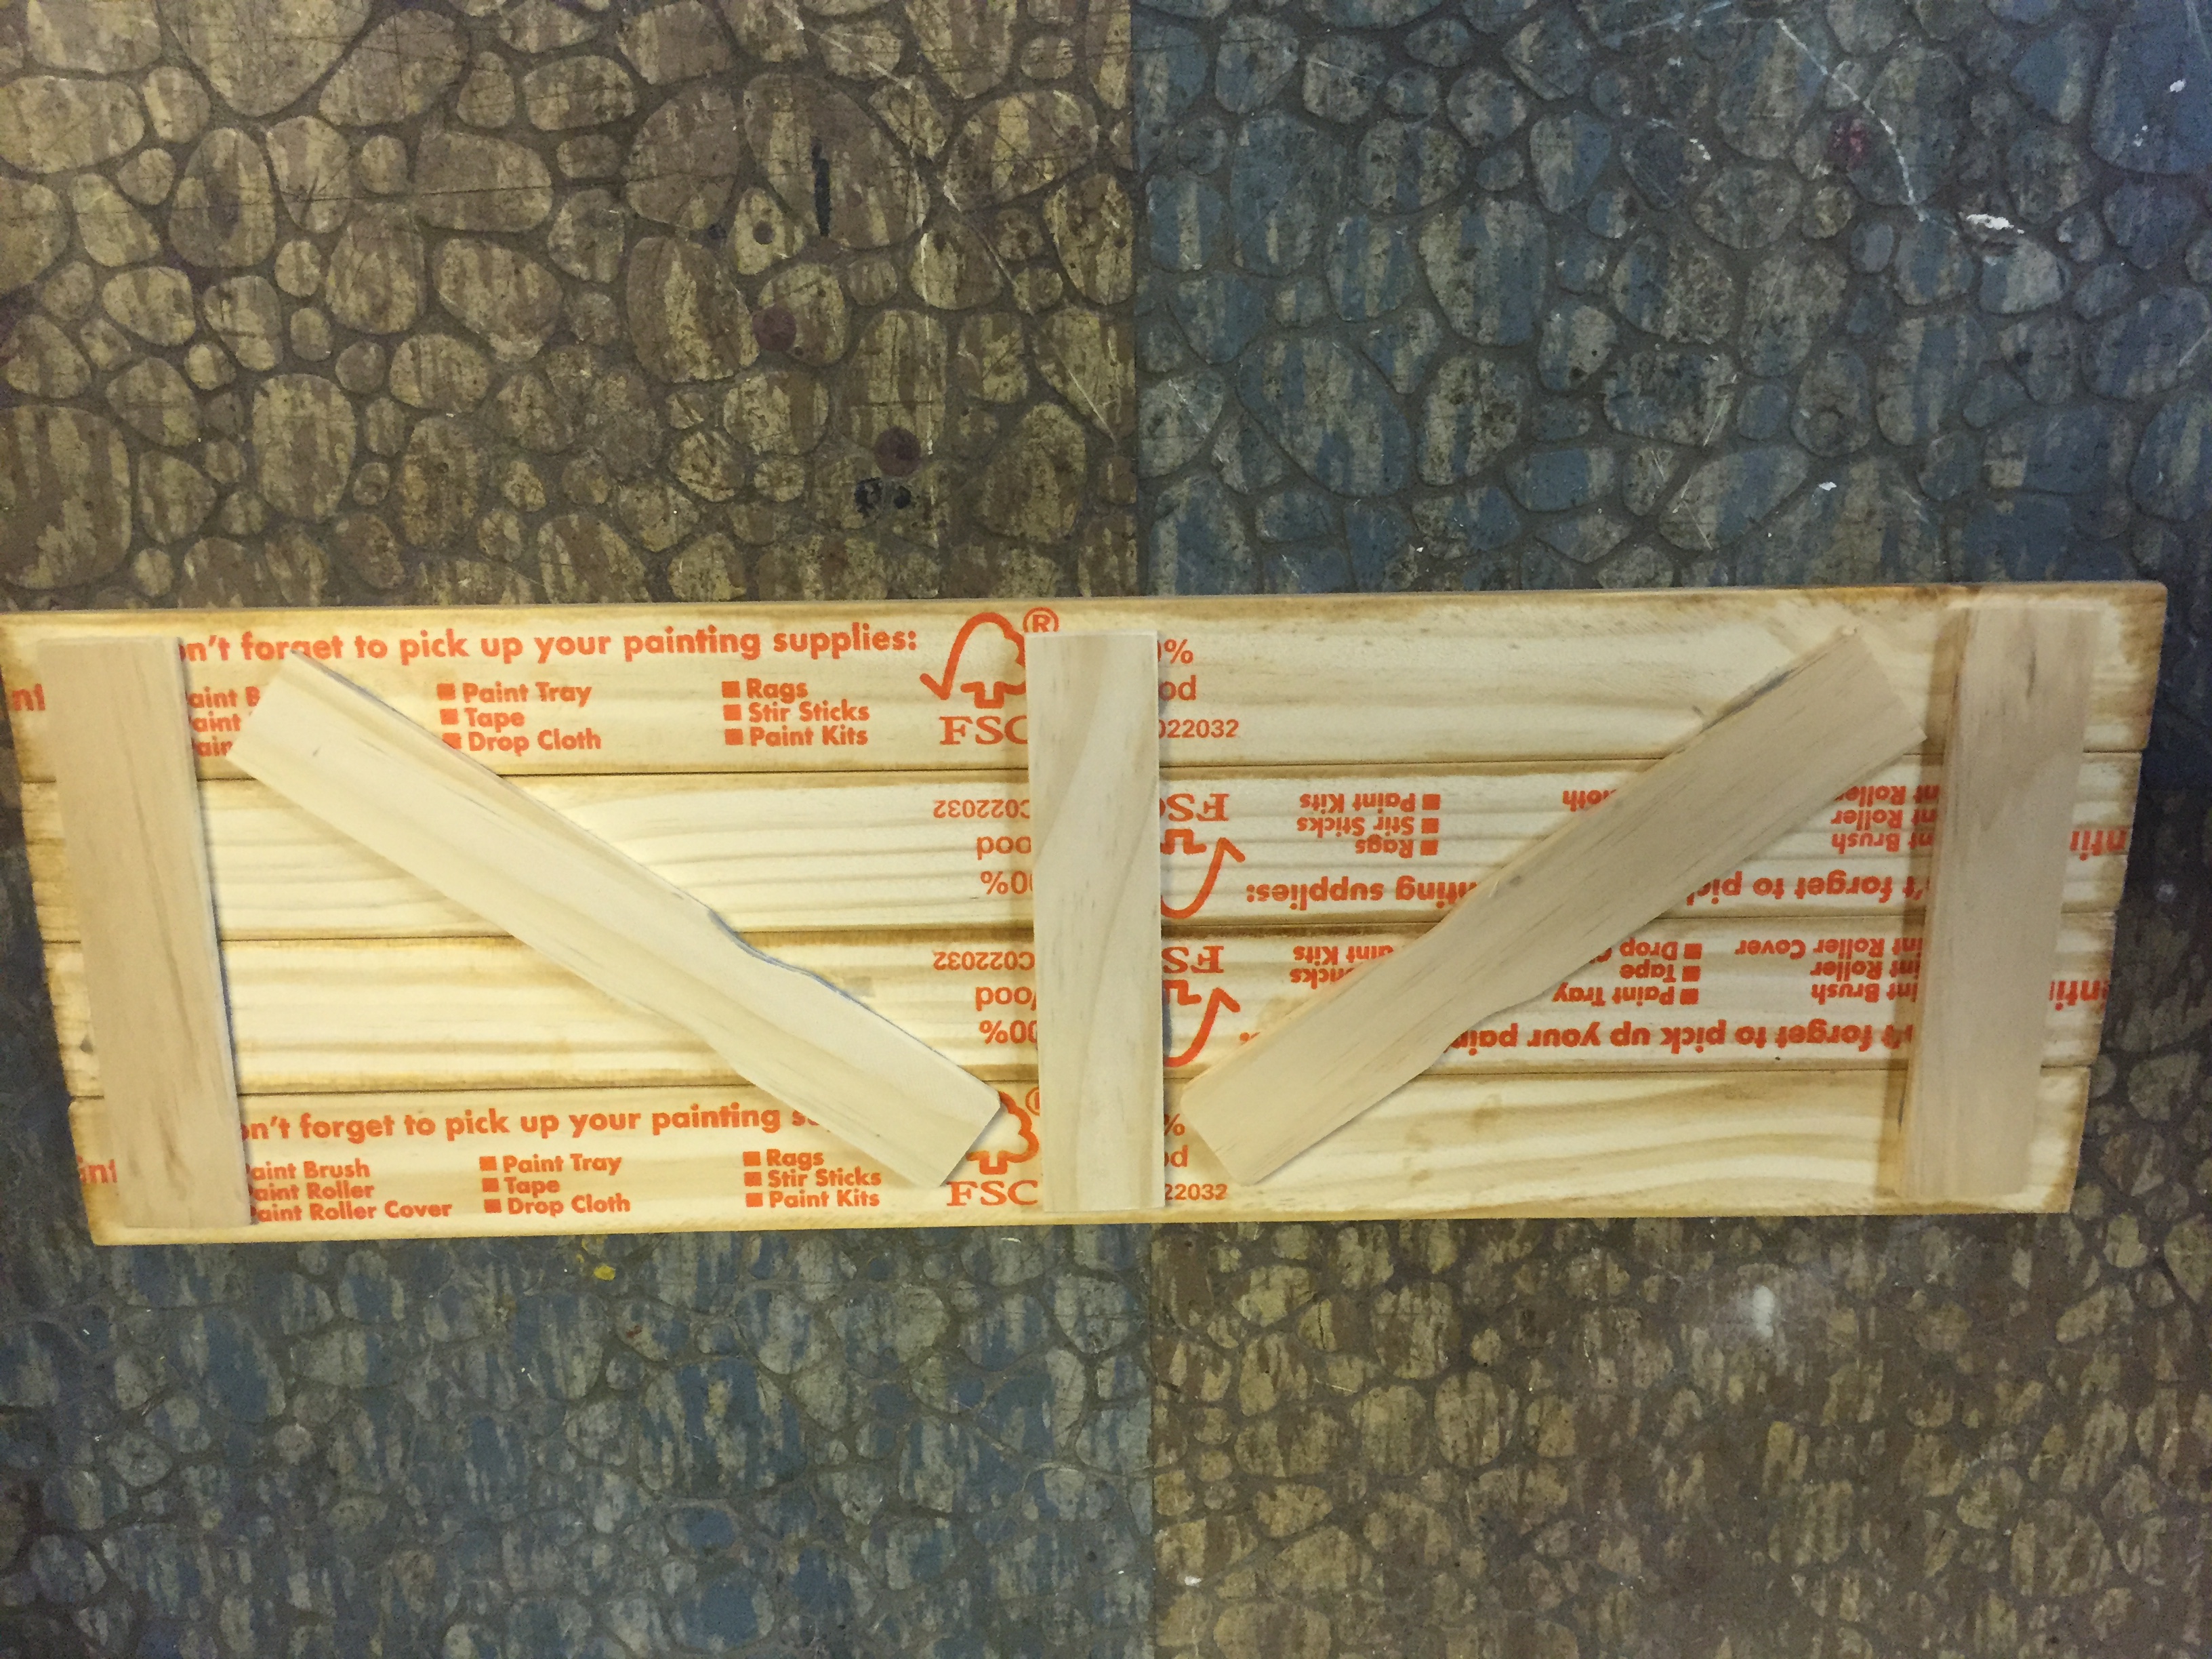
After the stain is completely dry, it’s time to glue your pieces together. I used a latex glue that was already open. But wood glue will work best! This is where the smaller stir sticks come into play. They are going to be holding all the beautifully stained pieces together. Glue them as shown on the back of your stained pieces.
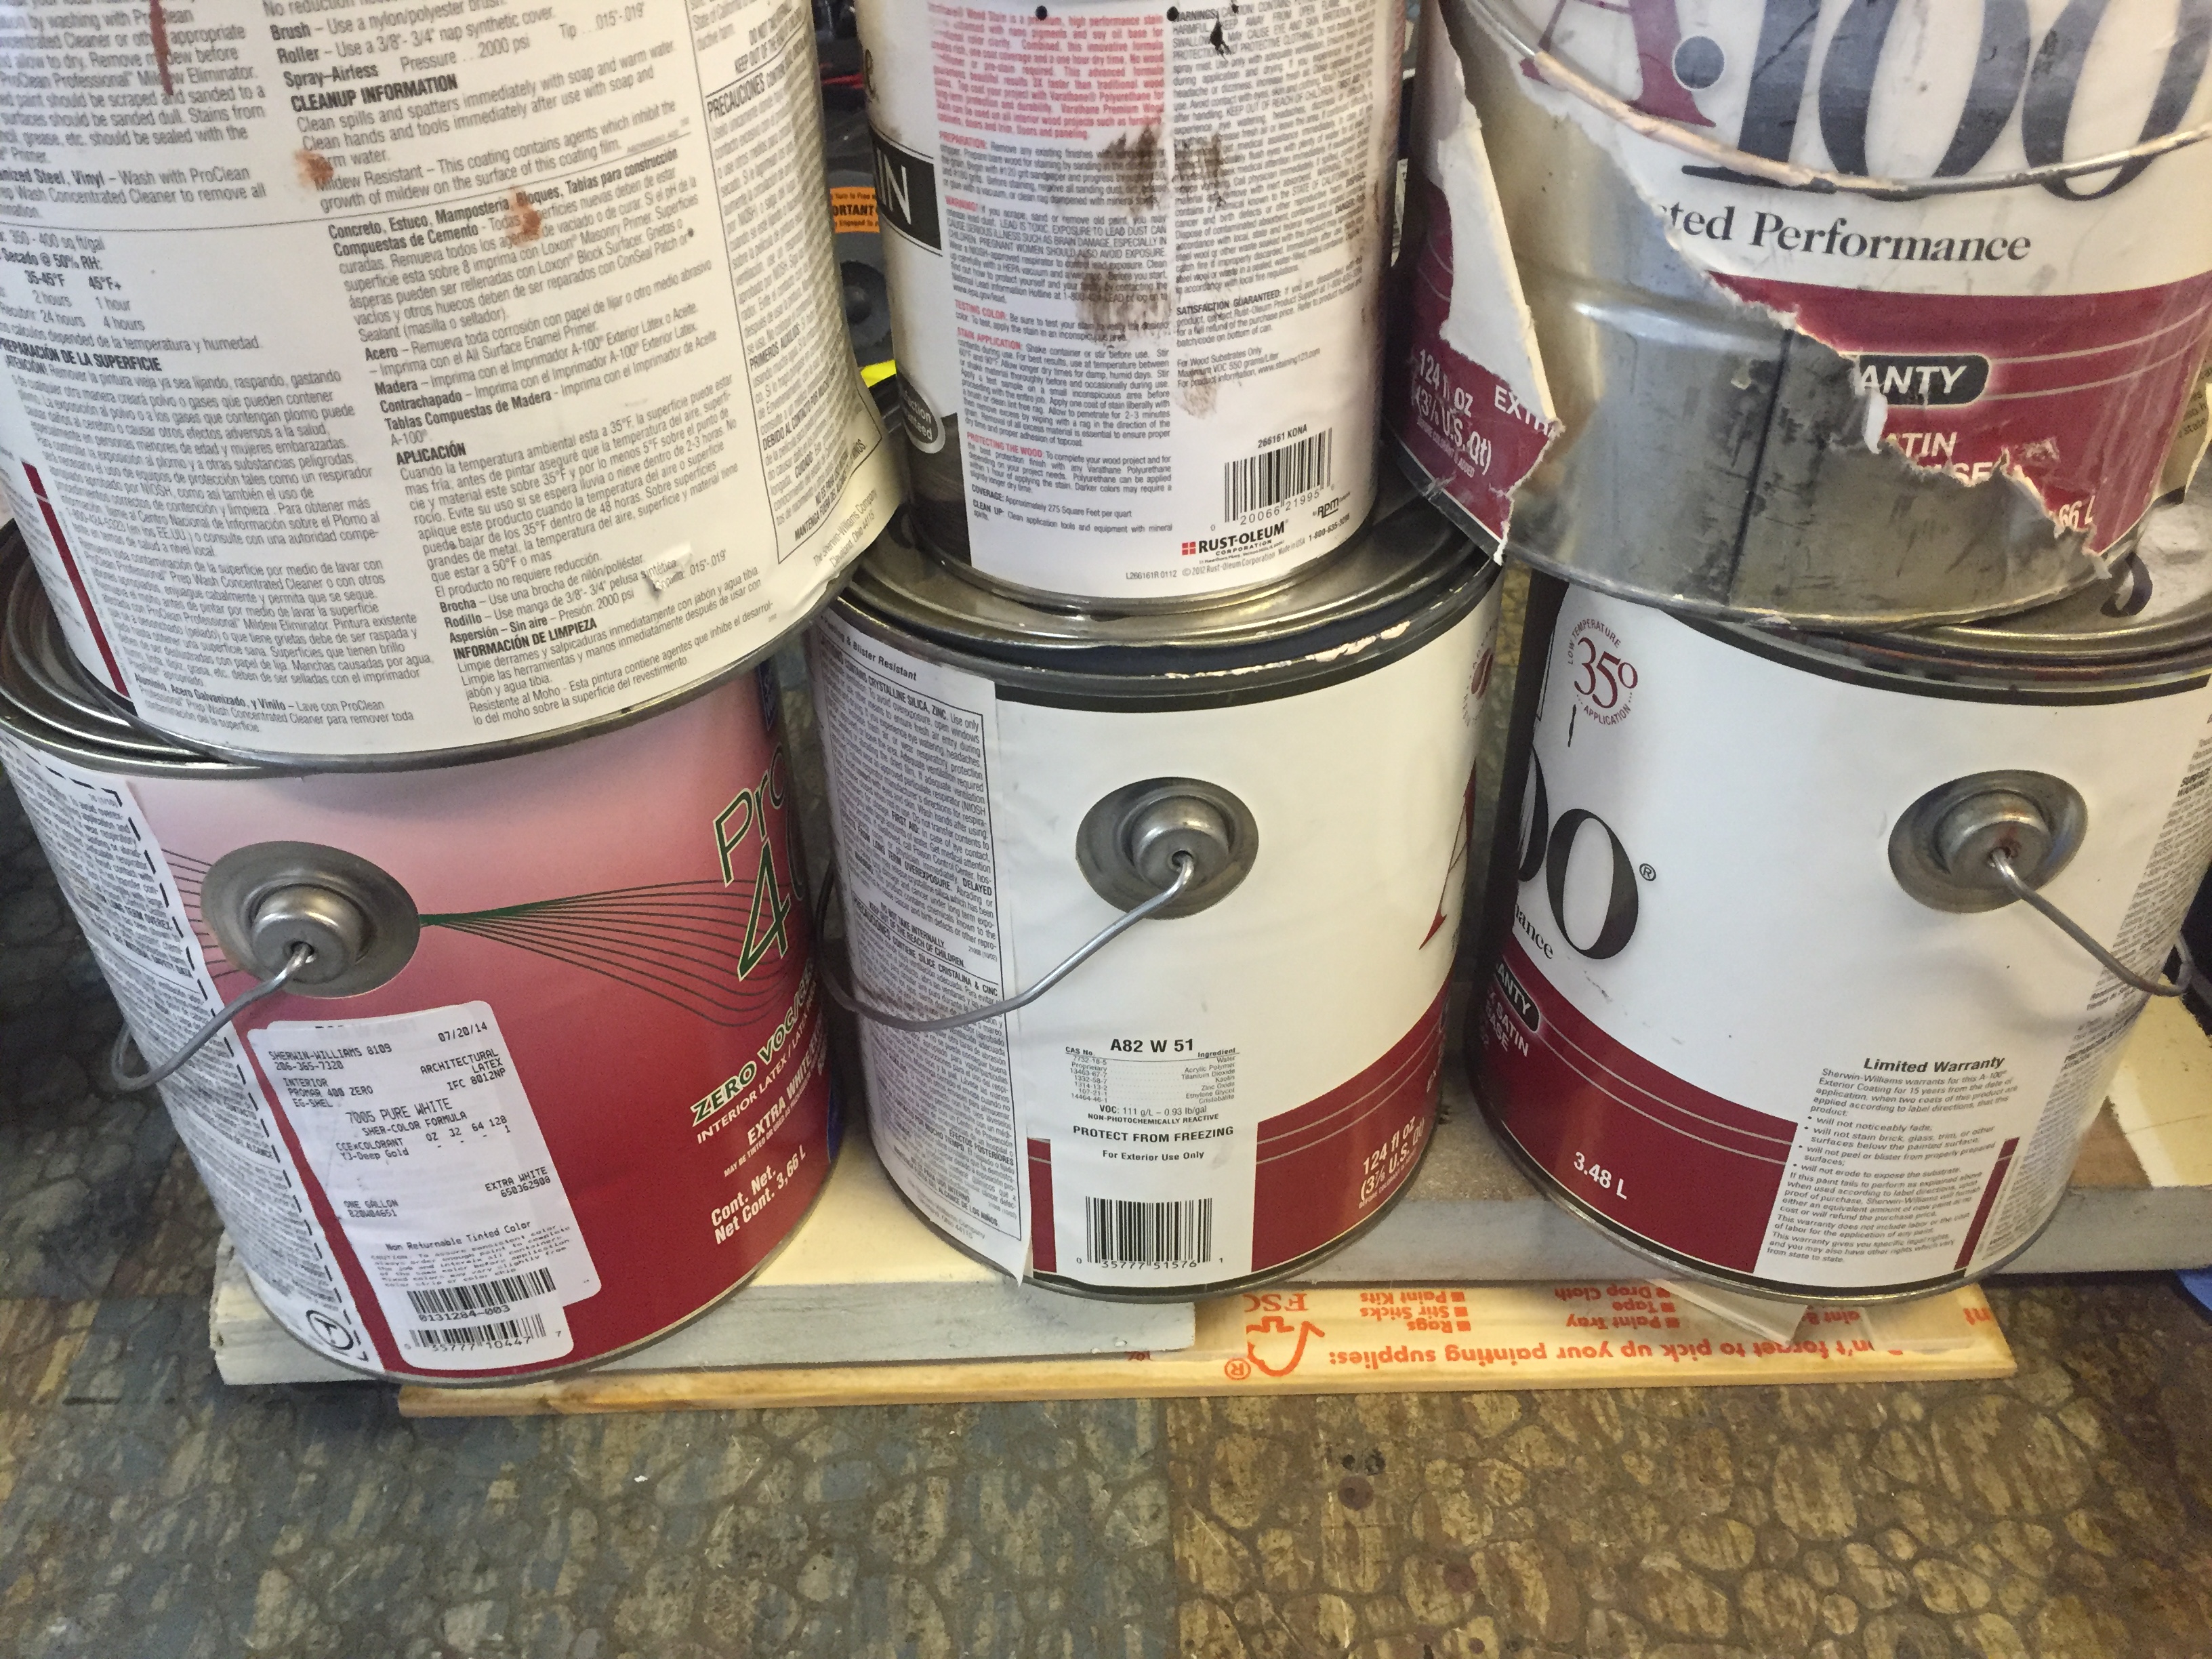
And of course, then you want to put lots of heavy objects on top of all the newly glued pieces while they dry. Here’s just an example of the many paints and stains my dad’s has in the garage….so many!


Once everything is dry and sturdy, it’s time to do a little waterproofing. (I waited till the next day to do this step) As an easy water repellant, I used this clear spray paint. You’ll want to spray the entire surface, including the back. I did two layers to make sure I sealed the entire surface. Then it will also give it a beautiful shine.


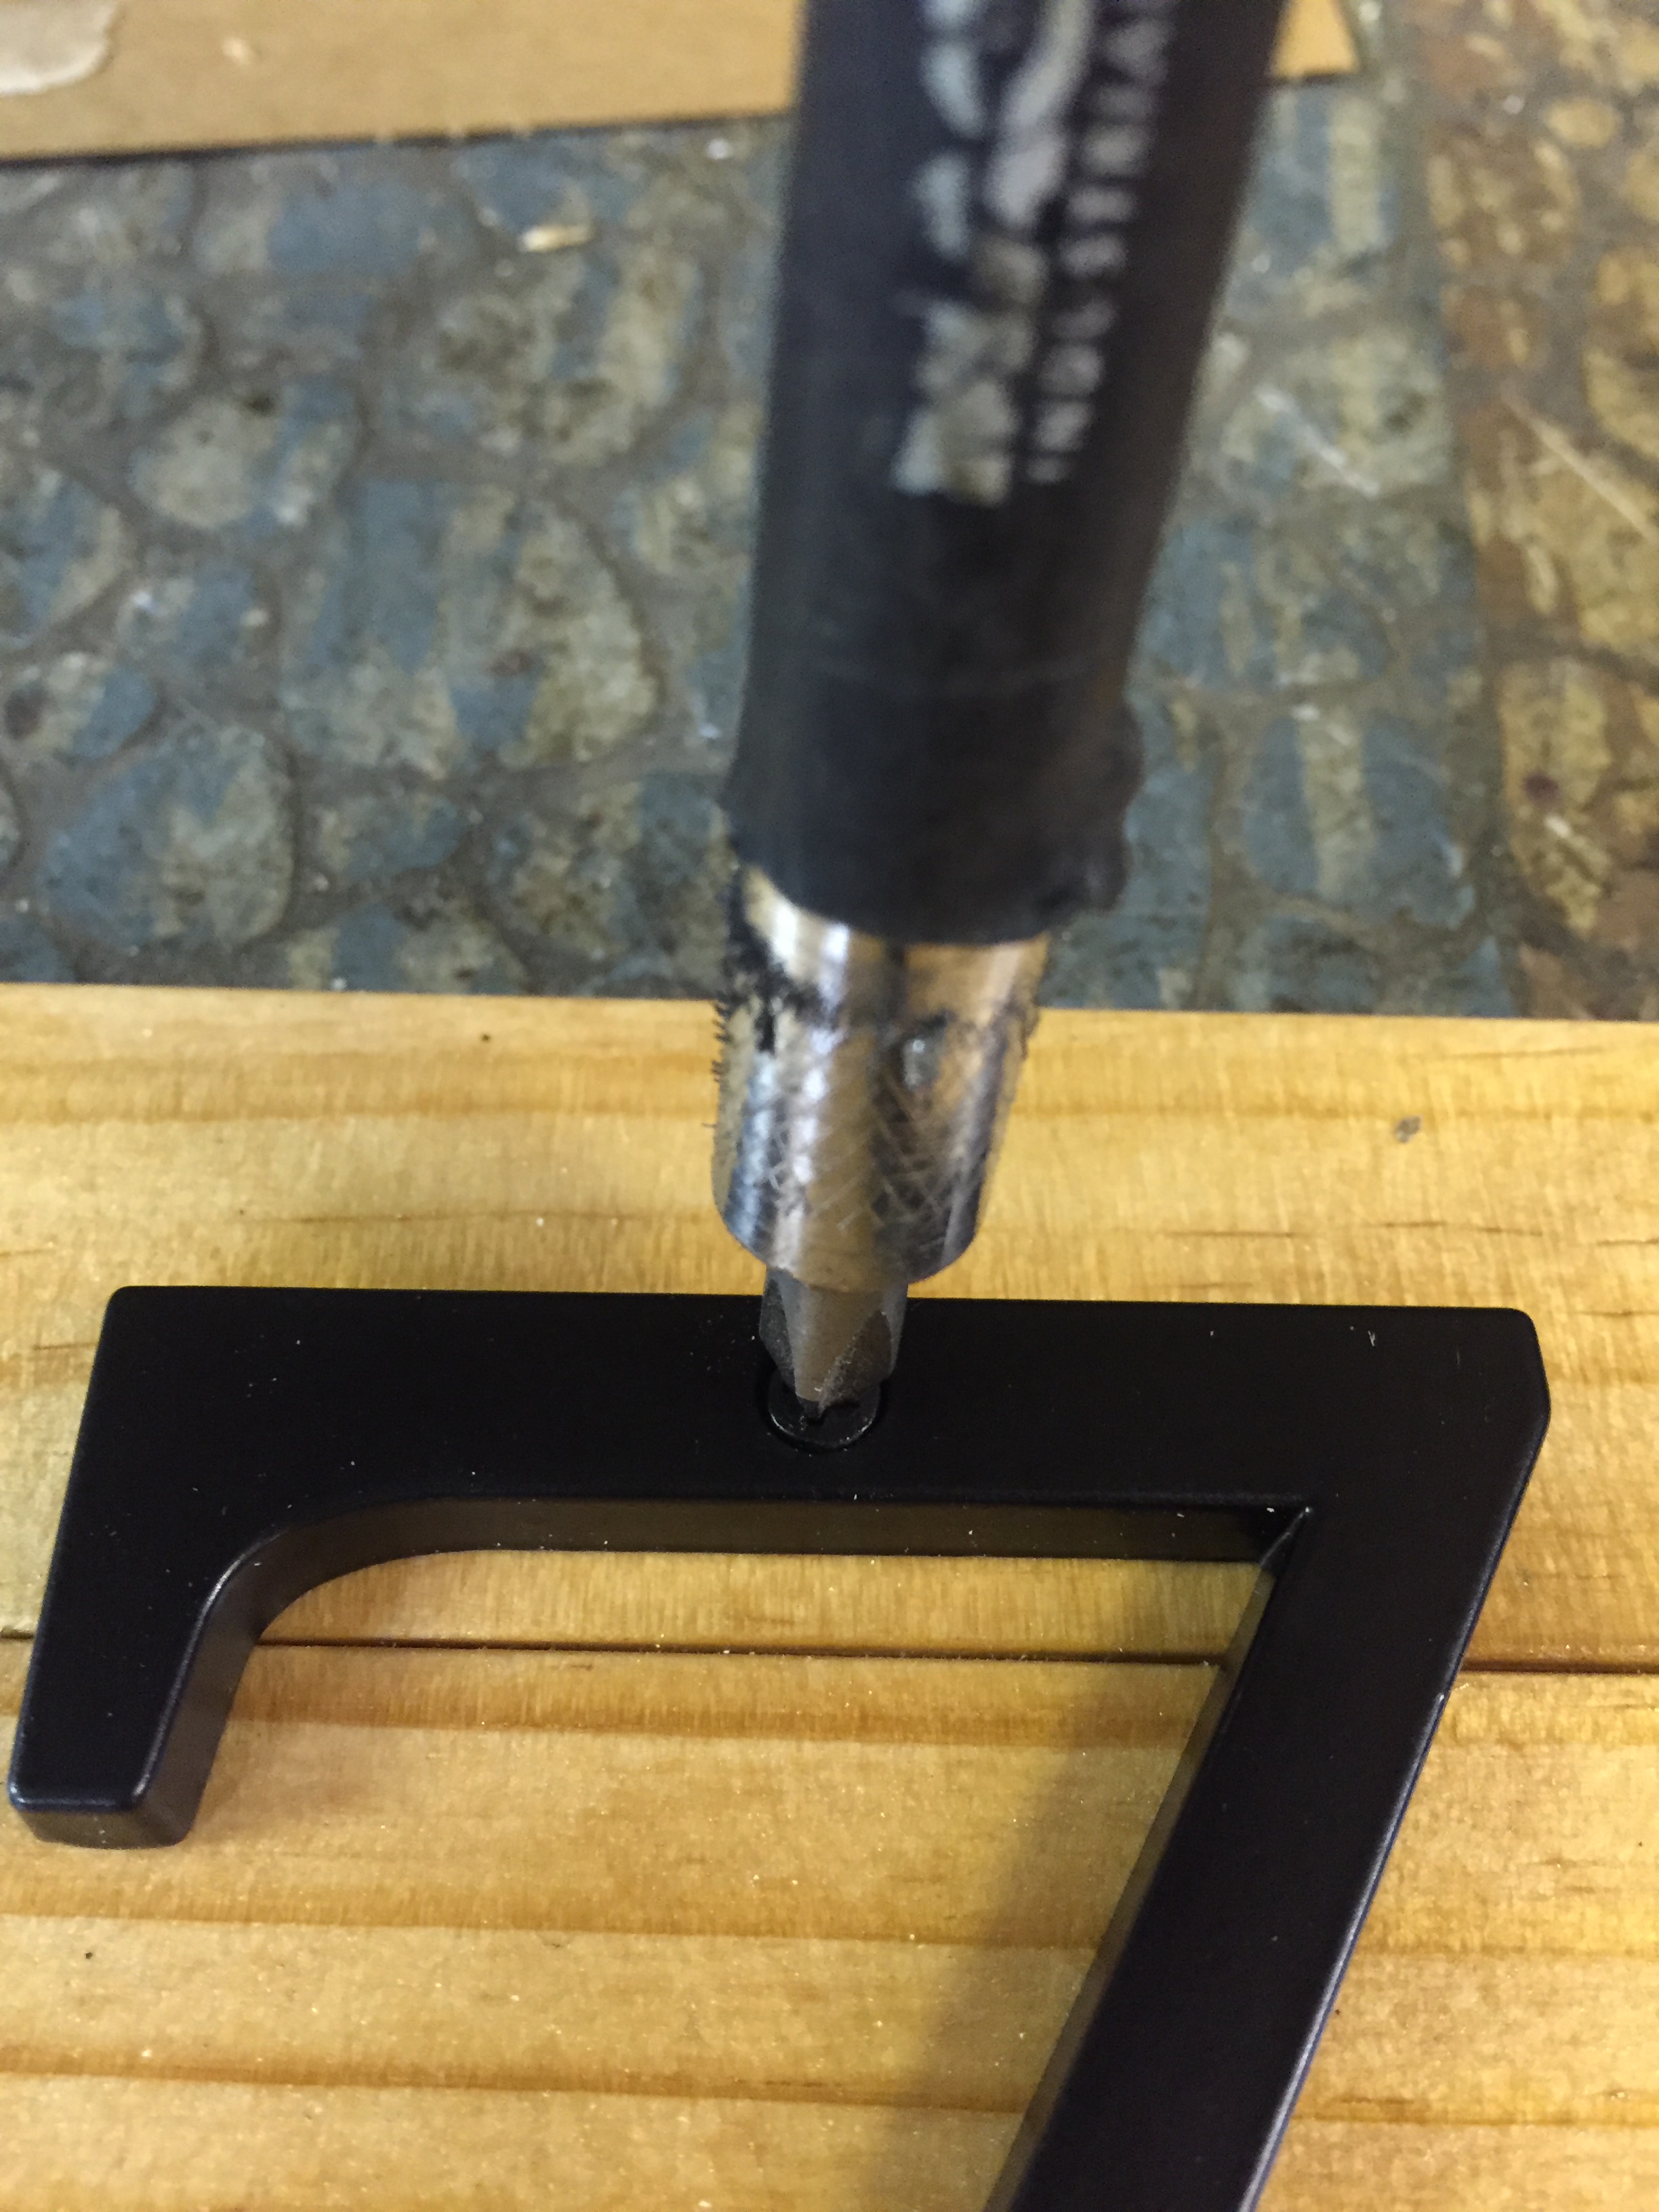
Once your spray paint is completely dry, we can start the process of adding numbers. First use a square to make sure that you get each number completely lined up….or the entire thing will look sloppy. Once the numbers are in the perfect place, use a pencil to mark through the screw holes. Then you’ll need a drill bit that is just a tiny bit smaller than the crews that come with your numbers. Drill a hole for each screw on the pencil marks. Then you are ready to add the numbers using a screw driver and the provided screws.
And there you have it. A modern and beautiful way to display your house number.
(And of course, this is not the actual house number)
Let me know if you try this one out. I love to hear all your stories!
Hit subscribe and LIKE US ON FACEBOOK HERE!
TOTAL COST: $20 for new numbers from Home Depot
Total Items SALVAGED from the Inevitable Seattle Trash Day:
- Paint stir Sticks
- Stain and Spray Paint
- House Numbers

One thought on “DIY House Street Number Display”