

This beautiful serving tray was once an eyesore, believe it or not. But after a bit of love and affection, it is now ready for high tea! Or in this case, wine and cheese. And in case you’re wondering….that is Washington State University’s Cougar Gold Cheese! By far, my most favorite cheese! Such a wonderful sharp cheddar.
Below you’ll see the ugly before picture of this serving tray. Which, I found at Goodwill for $3.99! It’s made of wood and has rubber bumper feet on the bottom.

I don’t really know what was going on with the old painting that was on the tray. And I’m sorry if I painted over someone’s hard work. But it needed to go! And on a side note…the tray smelt like old rotten fish…which was a plus.
So without anymore delay, let’s get this DIY started!
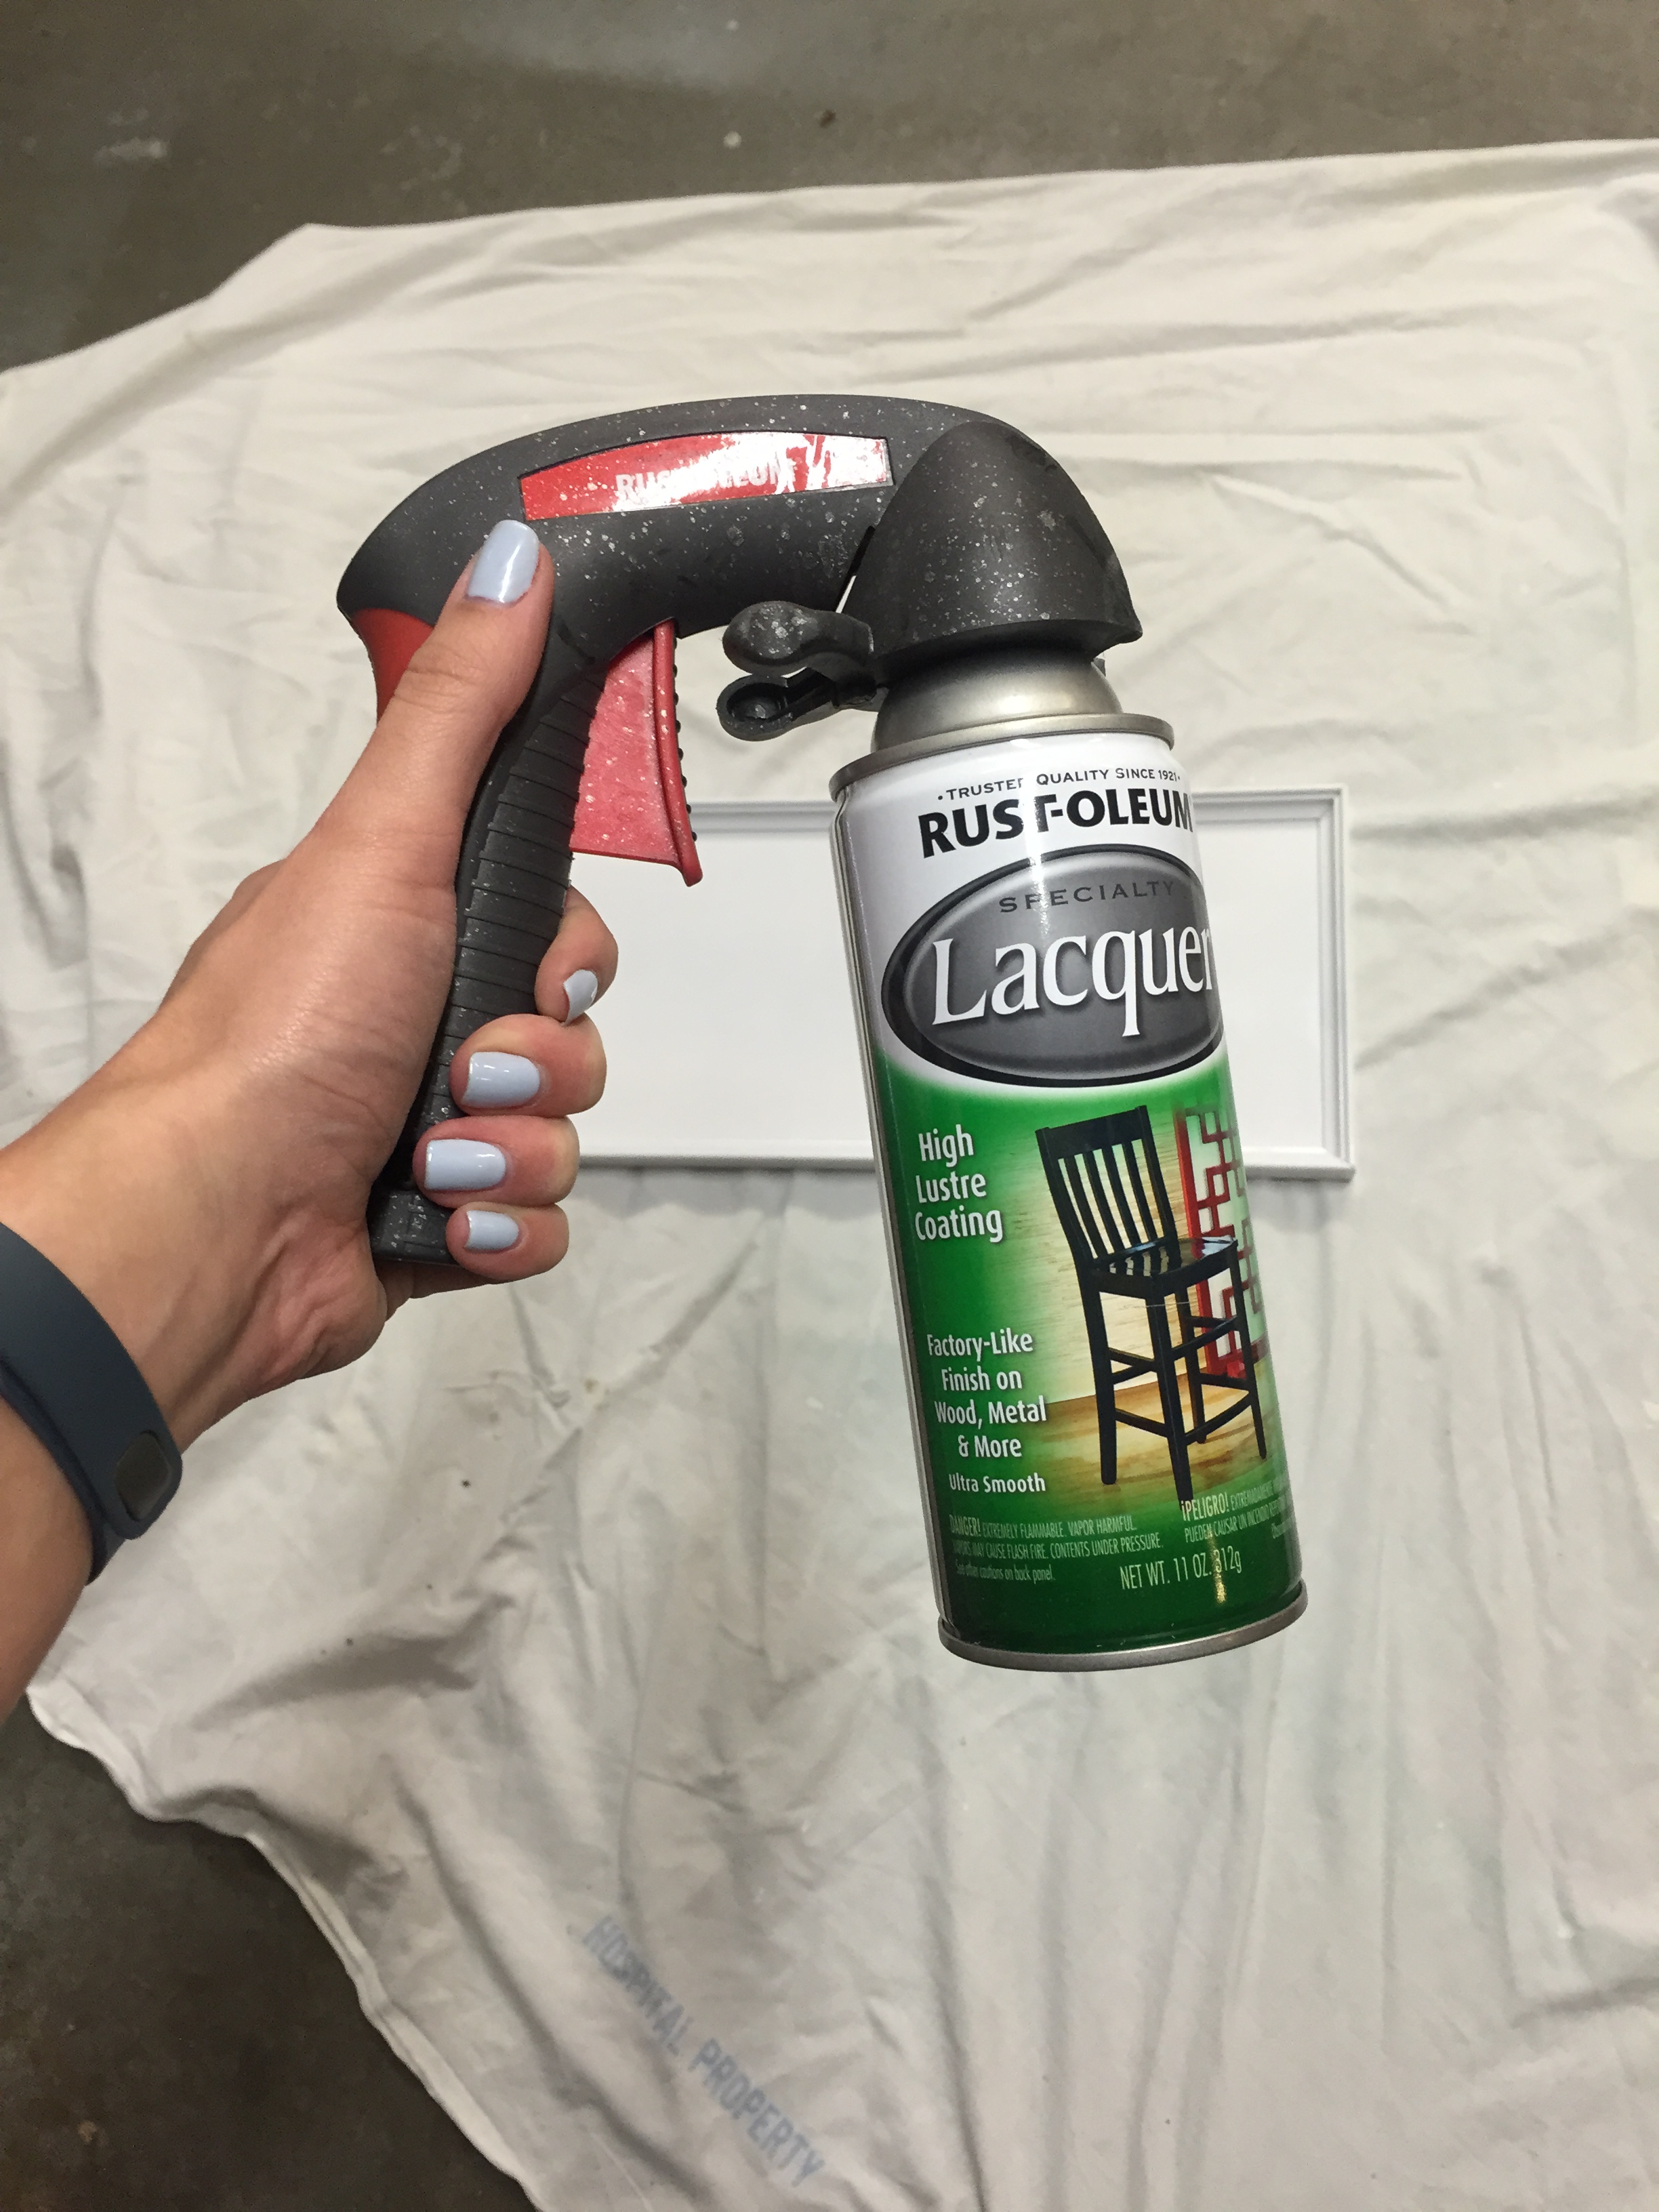

The first step in this project was to remove the handles and give the entire piece a light sand. Followed by, a wipe down with a damp cloth to remove all the dust and dirt. Once it is completely dry, it’s time to paint! And spray paint is just the easiest way to do this. I chose white lacquer to insure it would be durable. I found this one at Home Depot for $3.79. Make sure to do two coats of paint and allow it to completely dry in between coats.

The next step is to tape off the design for your pop of color! I originally wanted to do a chevron pattern. But the only painter’s tape I had, was too thick. So, I settled on stripes, and I think it ended up looking great anyway! I extended the tape far from the edges to make sure the color didn’t get onto the white sides.
NOTE: Always use painter’s tape instead of any other type when you’re painting something. Or you will regret it when you peel the tape away….I promise you that.


The color I used was “Robins Egg.” This is the same color I used on the chalkboard project SEE THAT HERE! Since, I already had the color and love how it looks, it was a no brainer! Spay the color over the entire area that is meant to have color. And as always, make sure to do two coats and allow for ample drying time.
Once the stripes are dry, remove the tape very slowly and keep the tape close to the item as you peel it away. After you stare at your beautifully painted stripes for a moment, you can put your handles back on, OR you can apply a clear coat of enamel spray paint. I chose to do this because I wanted to make sure that it could take some ware. But it isn’t all that necessary. Although, it will give it a great shine! This is a product that I found in my dad’s box of spray paint. You can find it at any craft store or Home Depot. And once your product is completely dry, put the handles back on and enjoy!
I originally thought I was going to paint the handles a brushed nickel. But after the white and Robins egg color was dry, the original handles looked great with the new style of the tray.
And there you have it. I beautiful serving tray!
Let me know if you try this out, and hit subscribe below!
TOTAL COST: $7.78
Items SALVAGED from the inevitable Seattle Trash Day:
- Ugly serving tray
- Spray paint

One thought on “Serving Tray Transformation”