
Hello everyone! And happy Labor Day!
Today’s DIY project is creating a custom stamp! This is something I’m pretty excited to share because I really wanted to have a stamp so I could advertise on the items I upcycle and sell. But, before I started gathering the supplies I needed, I did a bit of research on the different ways to make stamps. And sureeeee, I could have bought a custom stamp online that would look super professional. Although, I think the final product turned out fabulous! (Way better than I anticipated)
Like all my projects, I hit a few bumps in the road. But, that means you can learn bout those here…and you can avoid them!
Let’s get this DIY started!

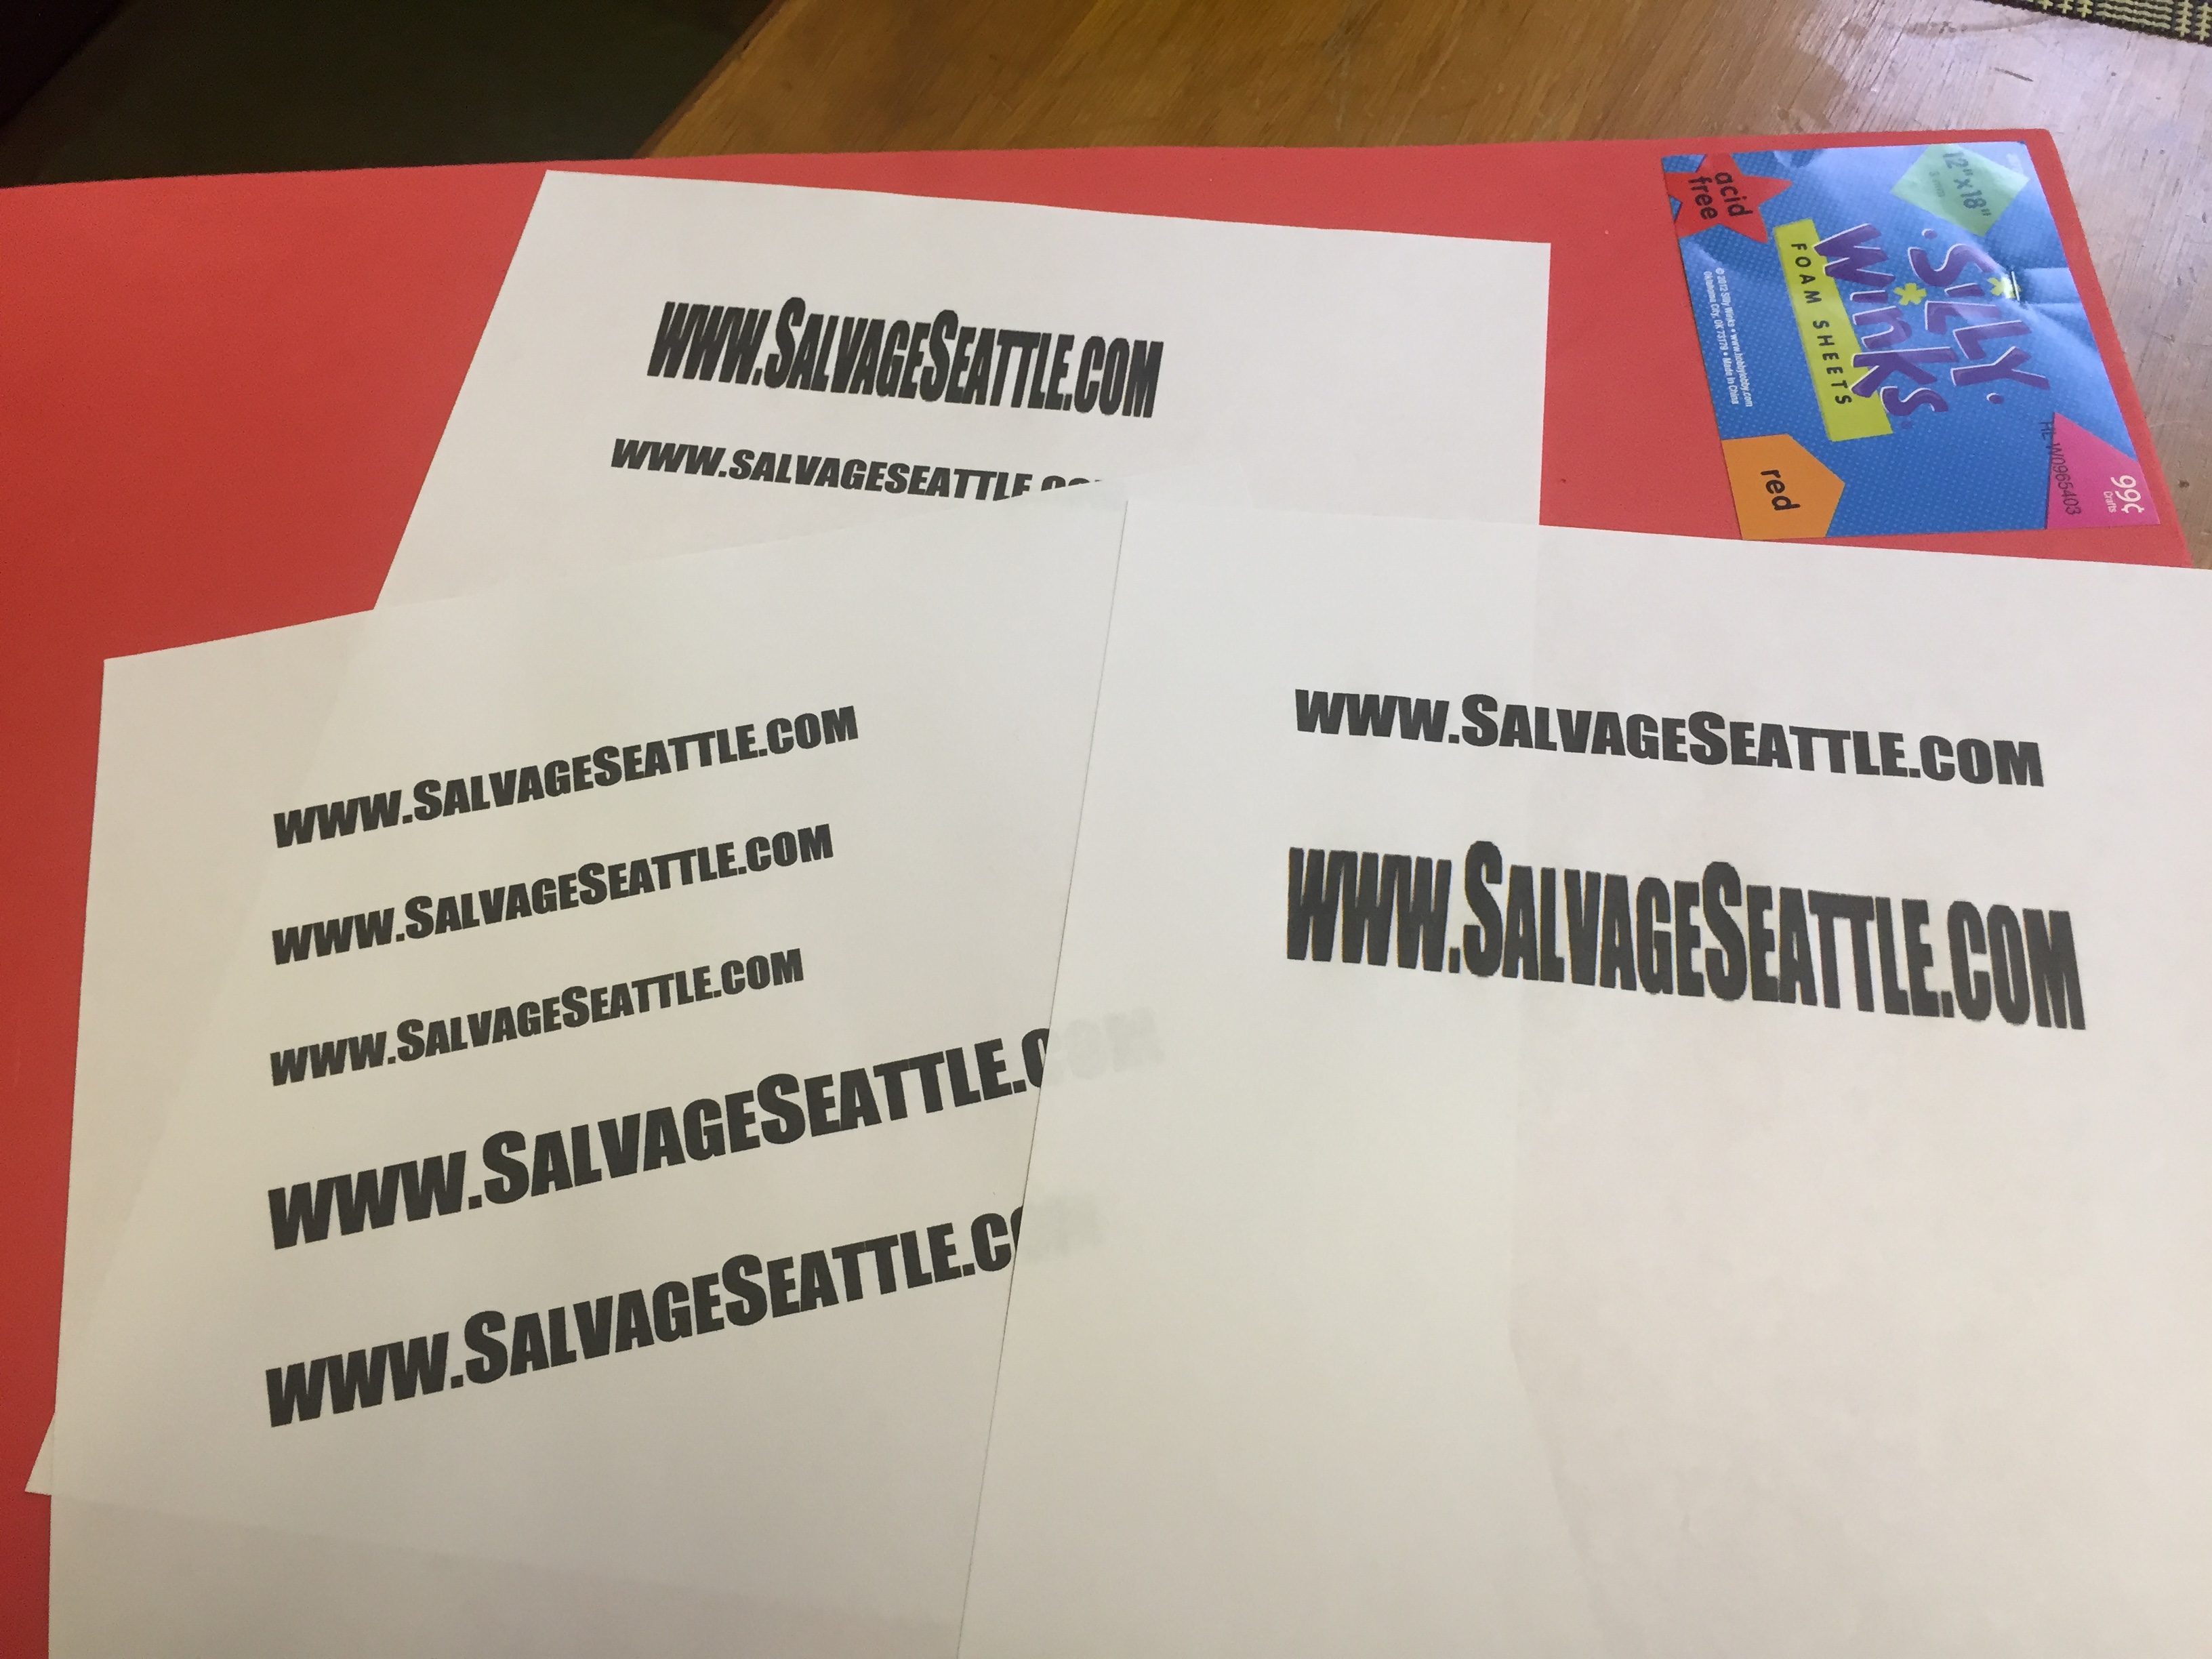
First, I’m going to explain the way I planned to create the stamp…and then tell you what went wrong. In the pictures seen above, you can see that I bought a few things. A plastic mounting block for my stamp, which cost me $2.50, an ink pad costing $1.50, and a sheet of craft foam for 50 cents. (all of these items were found at Hobby Lobby) I was planning on printing out the website name in the desired font, gluing it to the foam and simply cutting out the letters. Then I was going to glue the letters to the block to create my stamp. WRONGGGGGG. Turns out, the foam was pretty difficult to deal with. As I cut into it, it would squish down and the letters turned out deformed. Although, I’m sure if you used an exacto knife, this method would work quite well. But I didn’t have one….nor did I want to buy one. So I opted for a backup plan.
NOTE: The plastic mounting block is so great! This way you can see through the stamp, so you know exactly where the stamp will go! Unlike wood stamps, where you have to take your best guess.
THE BACKUP PLAN
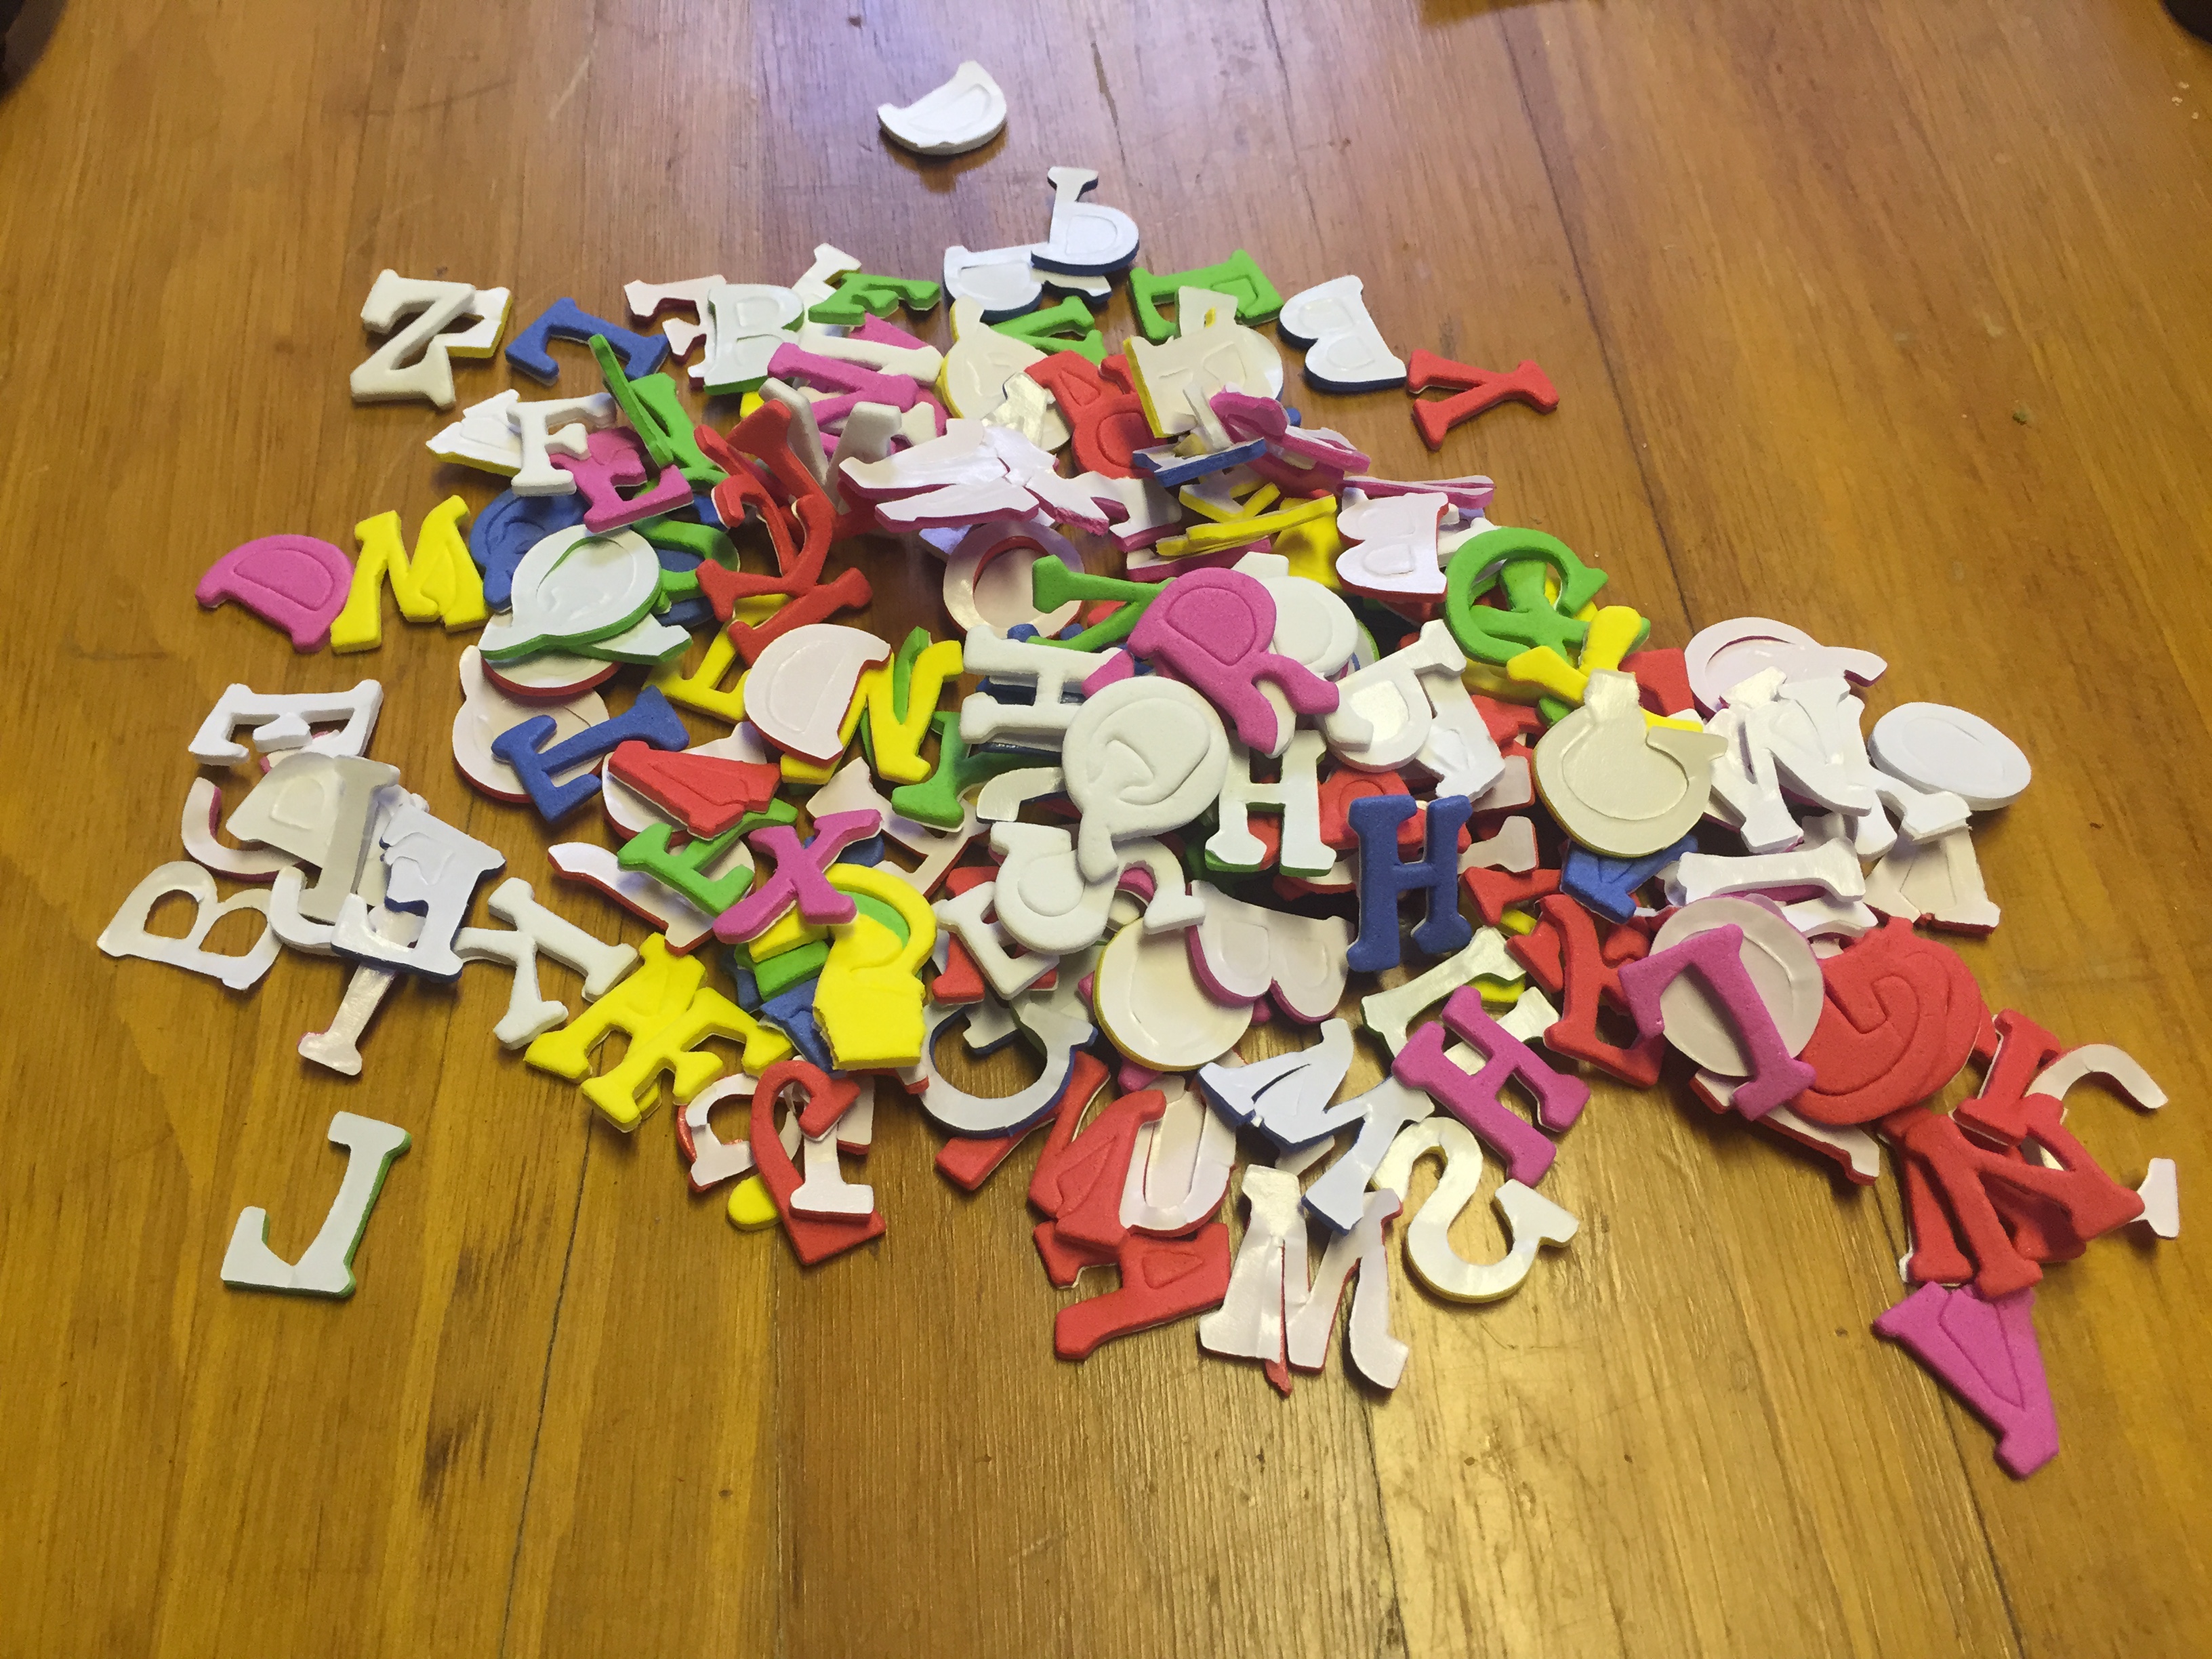
I went BACK to Hobby Lobby and purchased a baggie of foam letters for $1.50 after a coupon. These have a sticky side with a peel off backing. And I was just hoping that they would all fit on the plastic mounting block that I had.
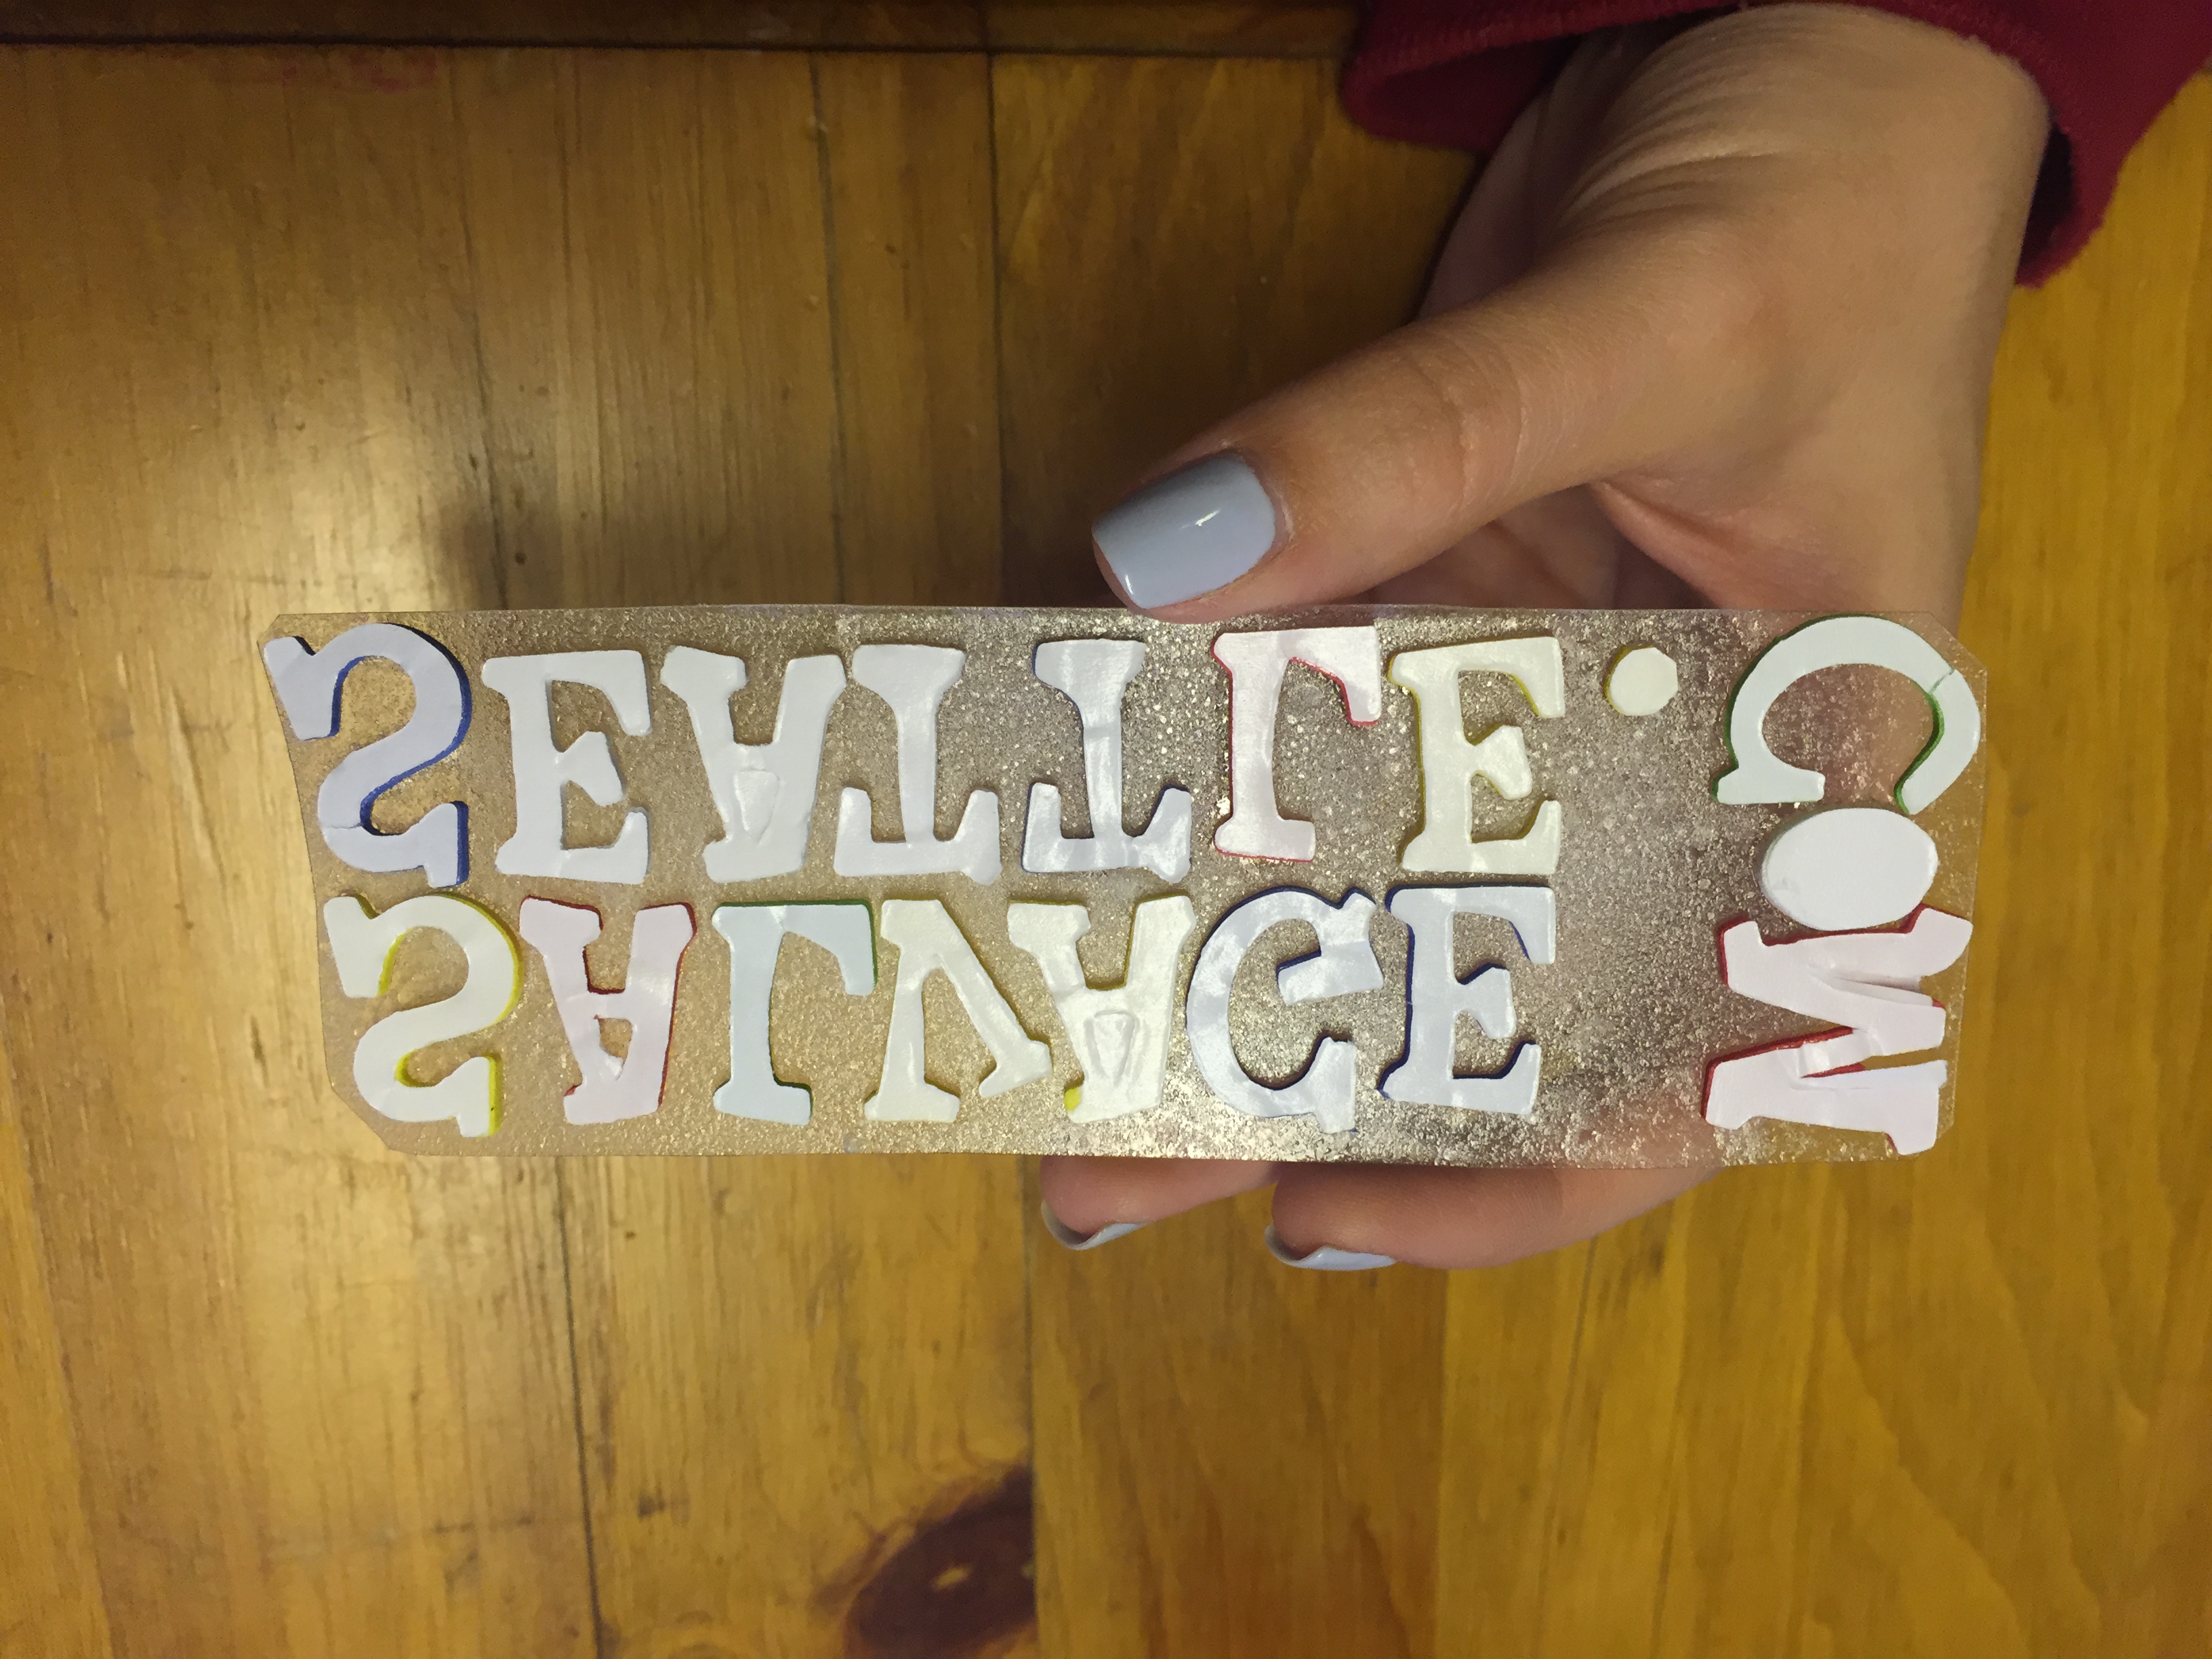

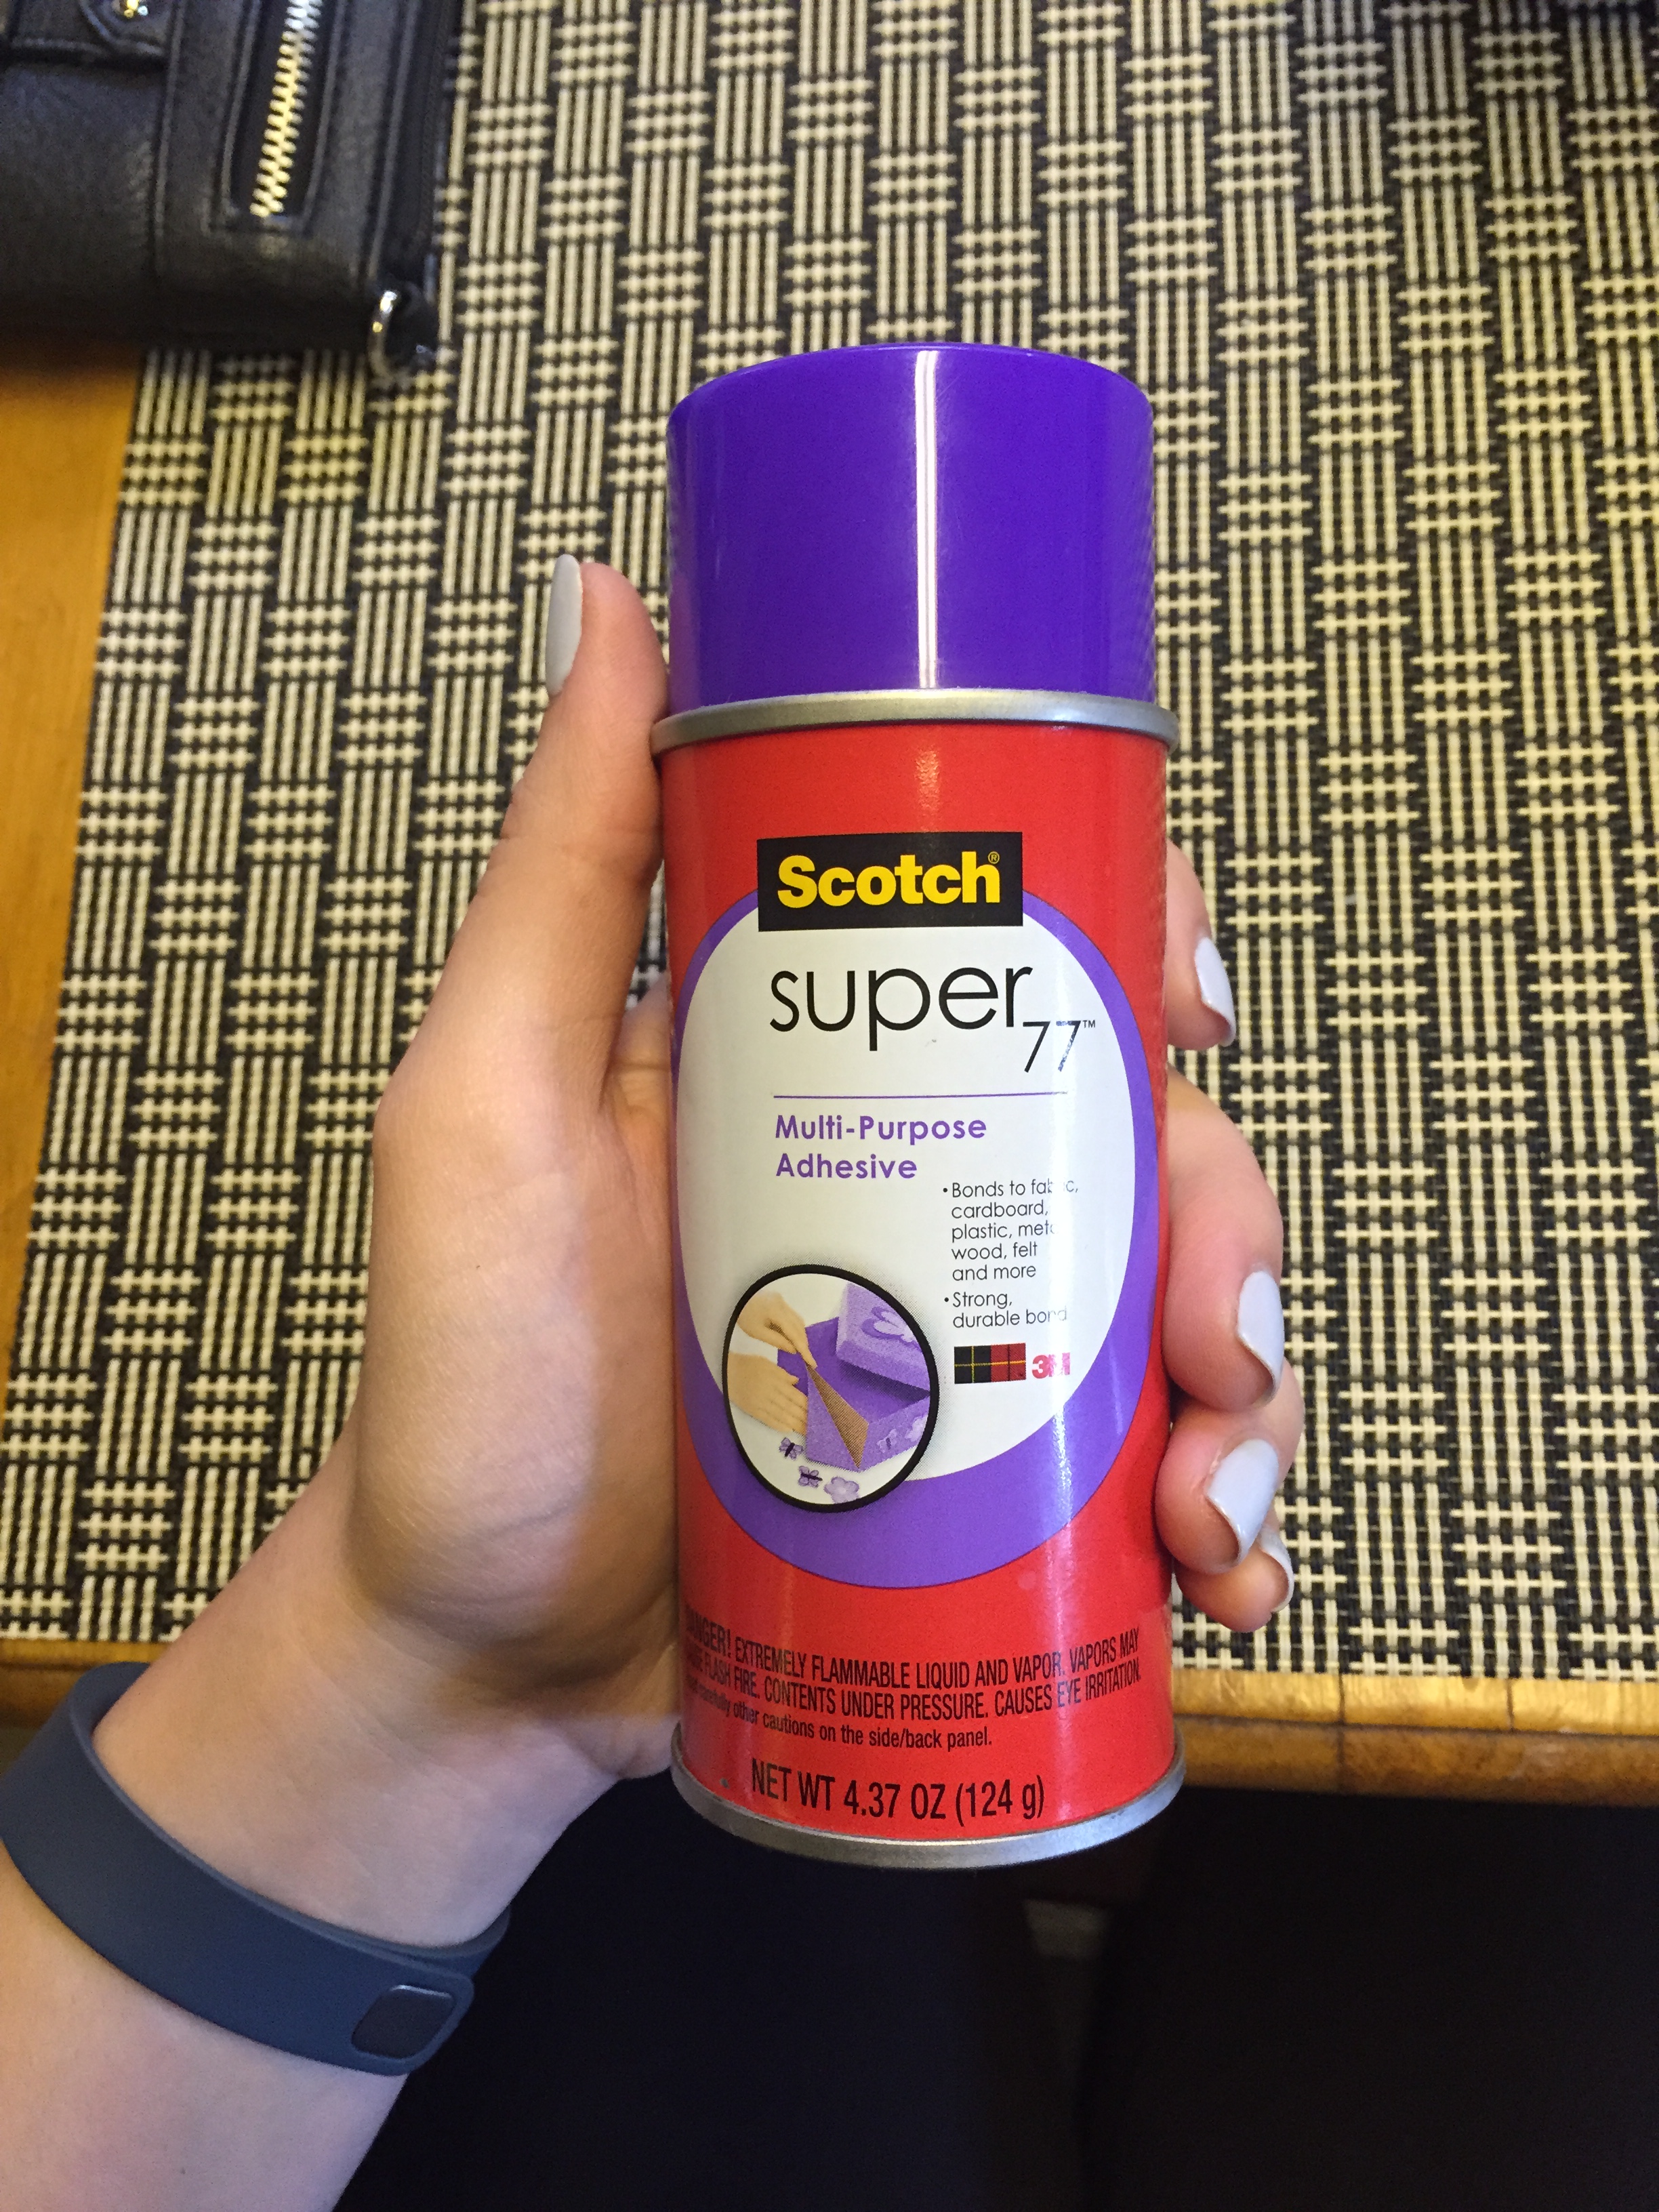
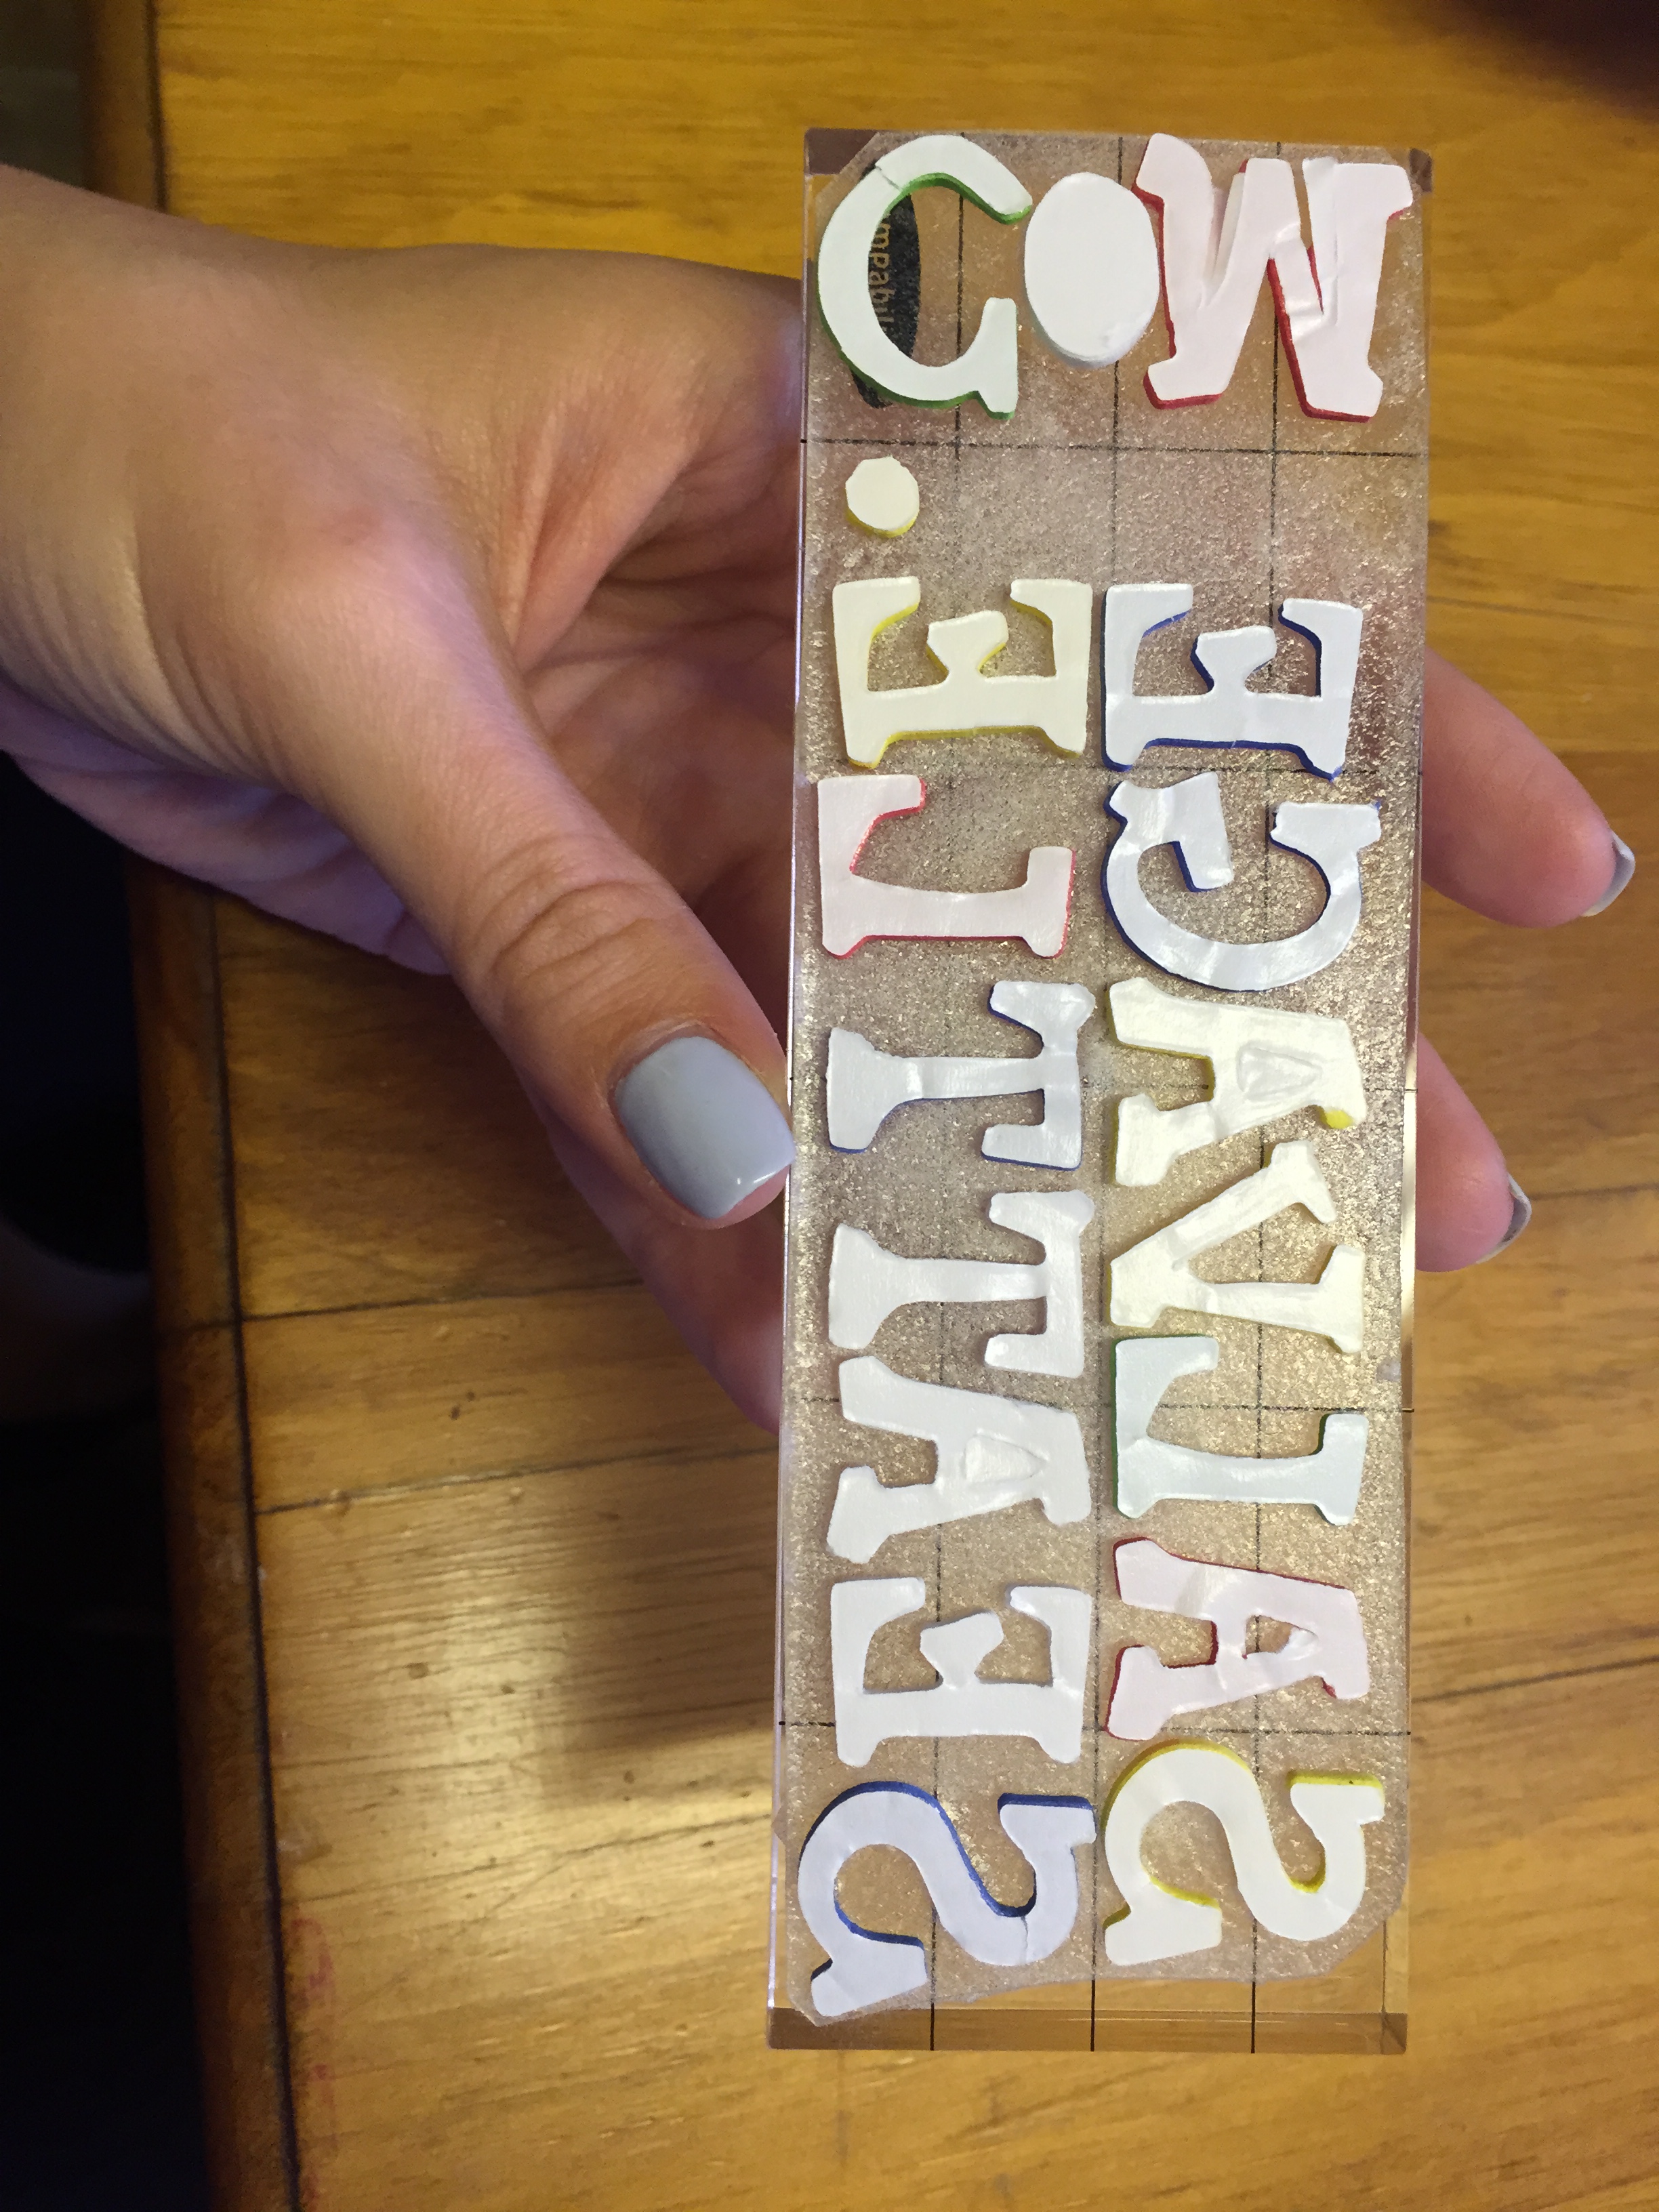
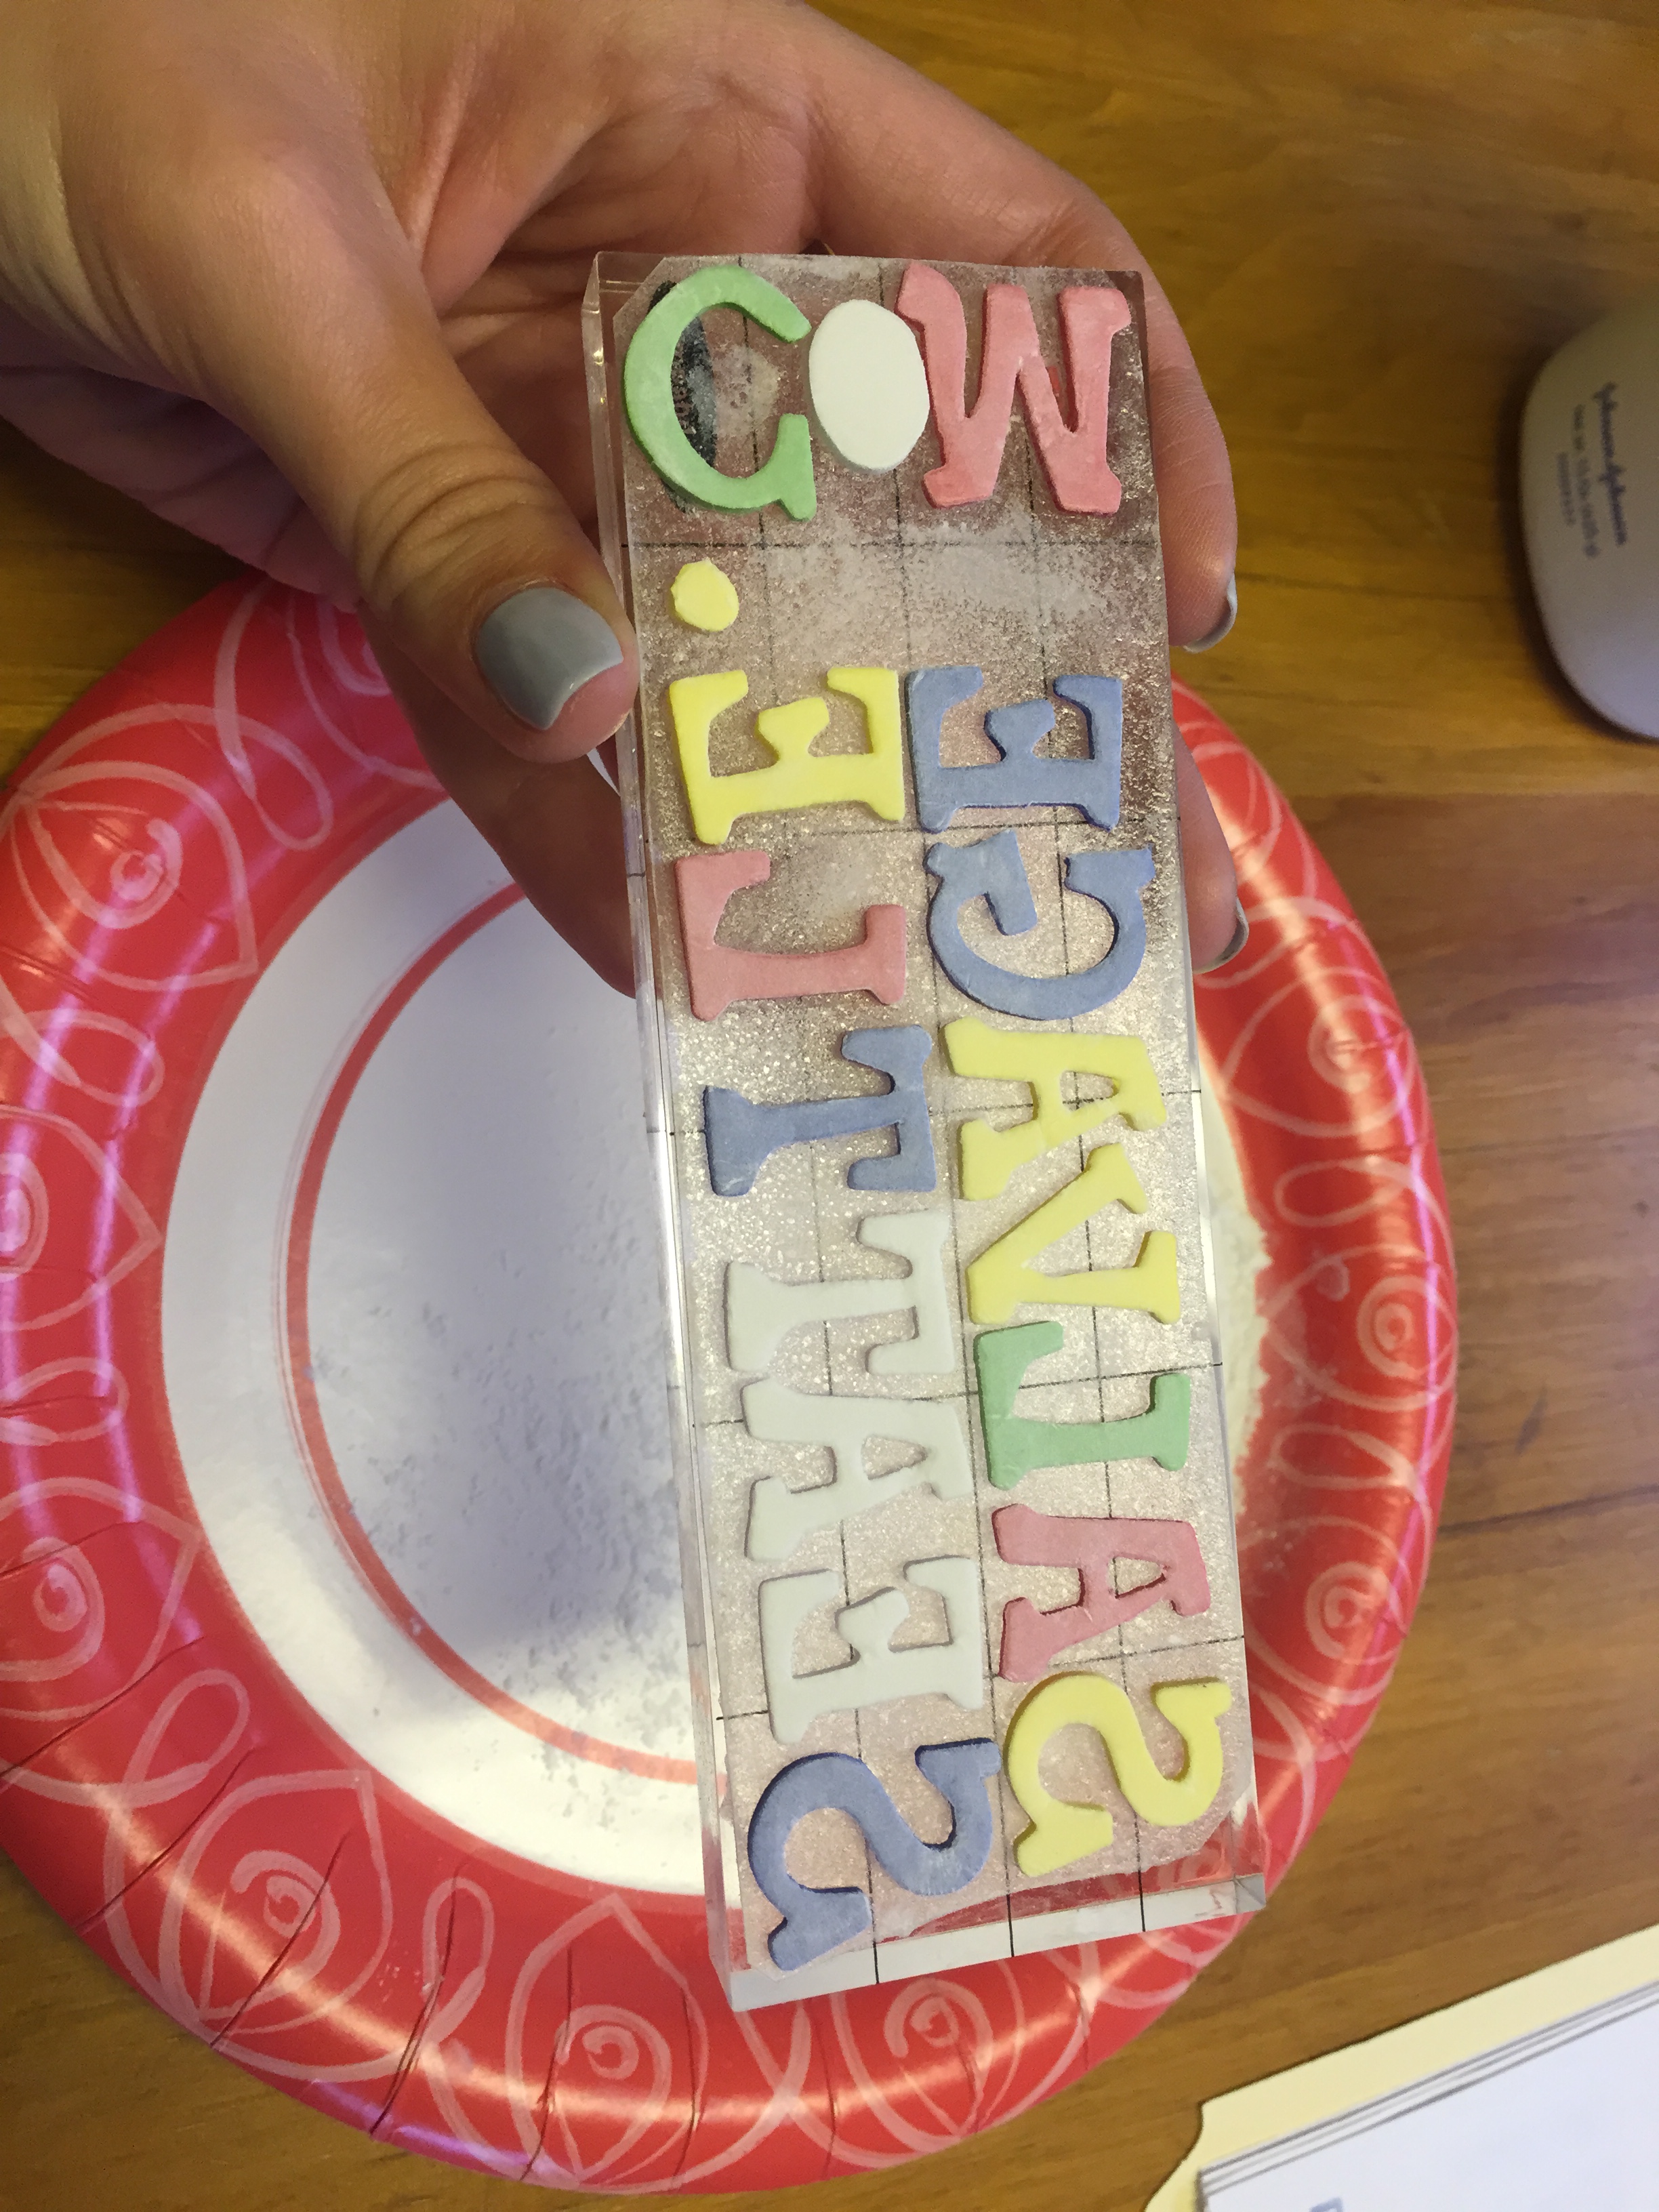
Next, I aligned the letters how I wanted them…AKA: the only way they would fit. After already encountering some issues, I decided that I should glue the letters onto a clear piece of plastic from the packaging the mounting block came in. That way if I screwed it up, I wouldn’t screw up the mounting block. Later, I glued the piece of plastic to the mounting block. Better safe than sorry, right?? The glue I used is seen on the right. This works really well, and is also a glue that I had on hand. But be careful where you spray it, because it makes a pretty pig mess and smells terrible. Once the letters are in place on the sheet of plastic, put something on top of it to press it down while it dries. This can be anything heavy.
NOTE: When creating a stamp, the stamp lays down a mirrored image of the stamp. This is why the stamp needs to be made backwards. Or your stamp will come out backwards. Think of Karen from the movie “Mean Girls” when she puts the letter K on her chest for prom in the mirror. yikes.

Once the glue is dry, use the same adhesive to glue the sheet of plastic to the mounting block. I sprayed the back of the sheet of plastic instead of the mounting block. Then put something heavy on top of it while it dies. I used some cans of food. And placed paper plates under and on top of the block just in case the adhesive tried to stick to anything.
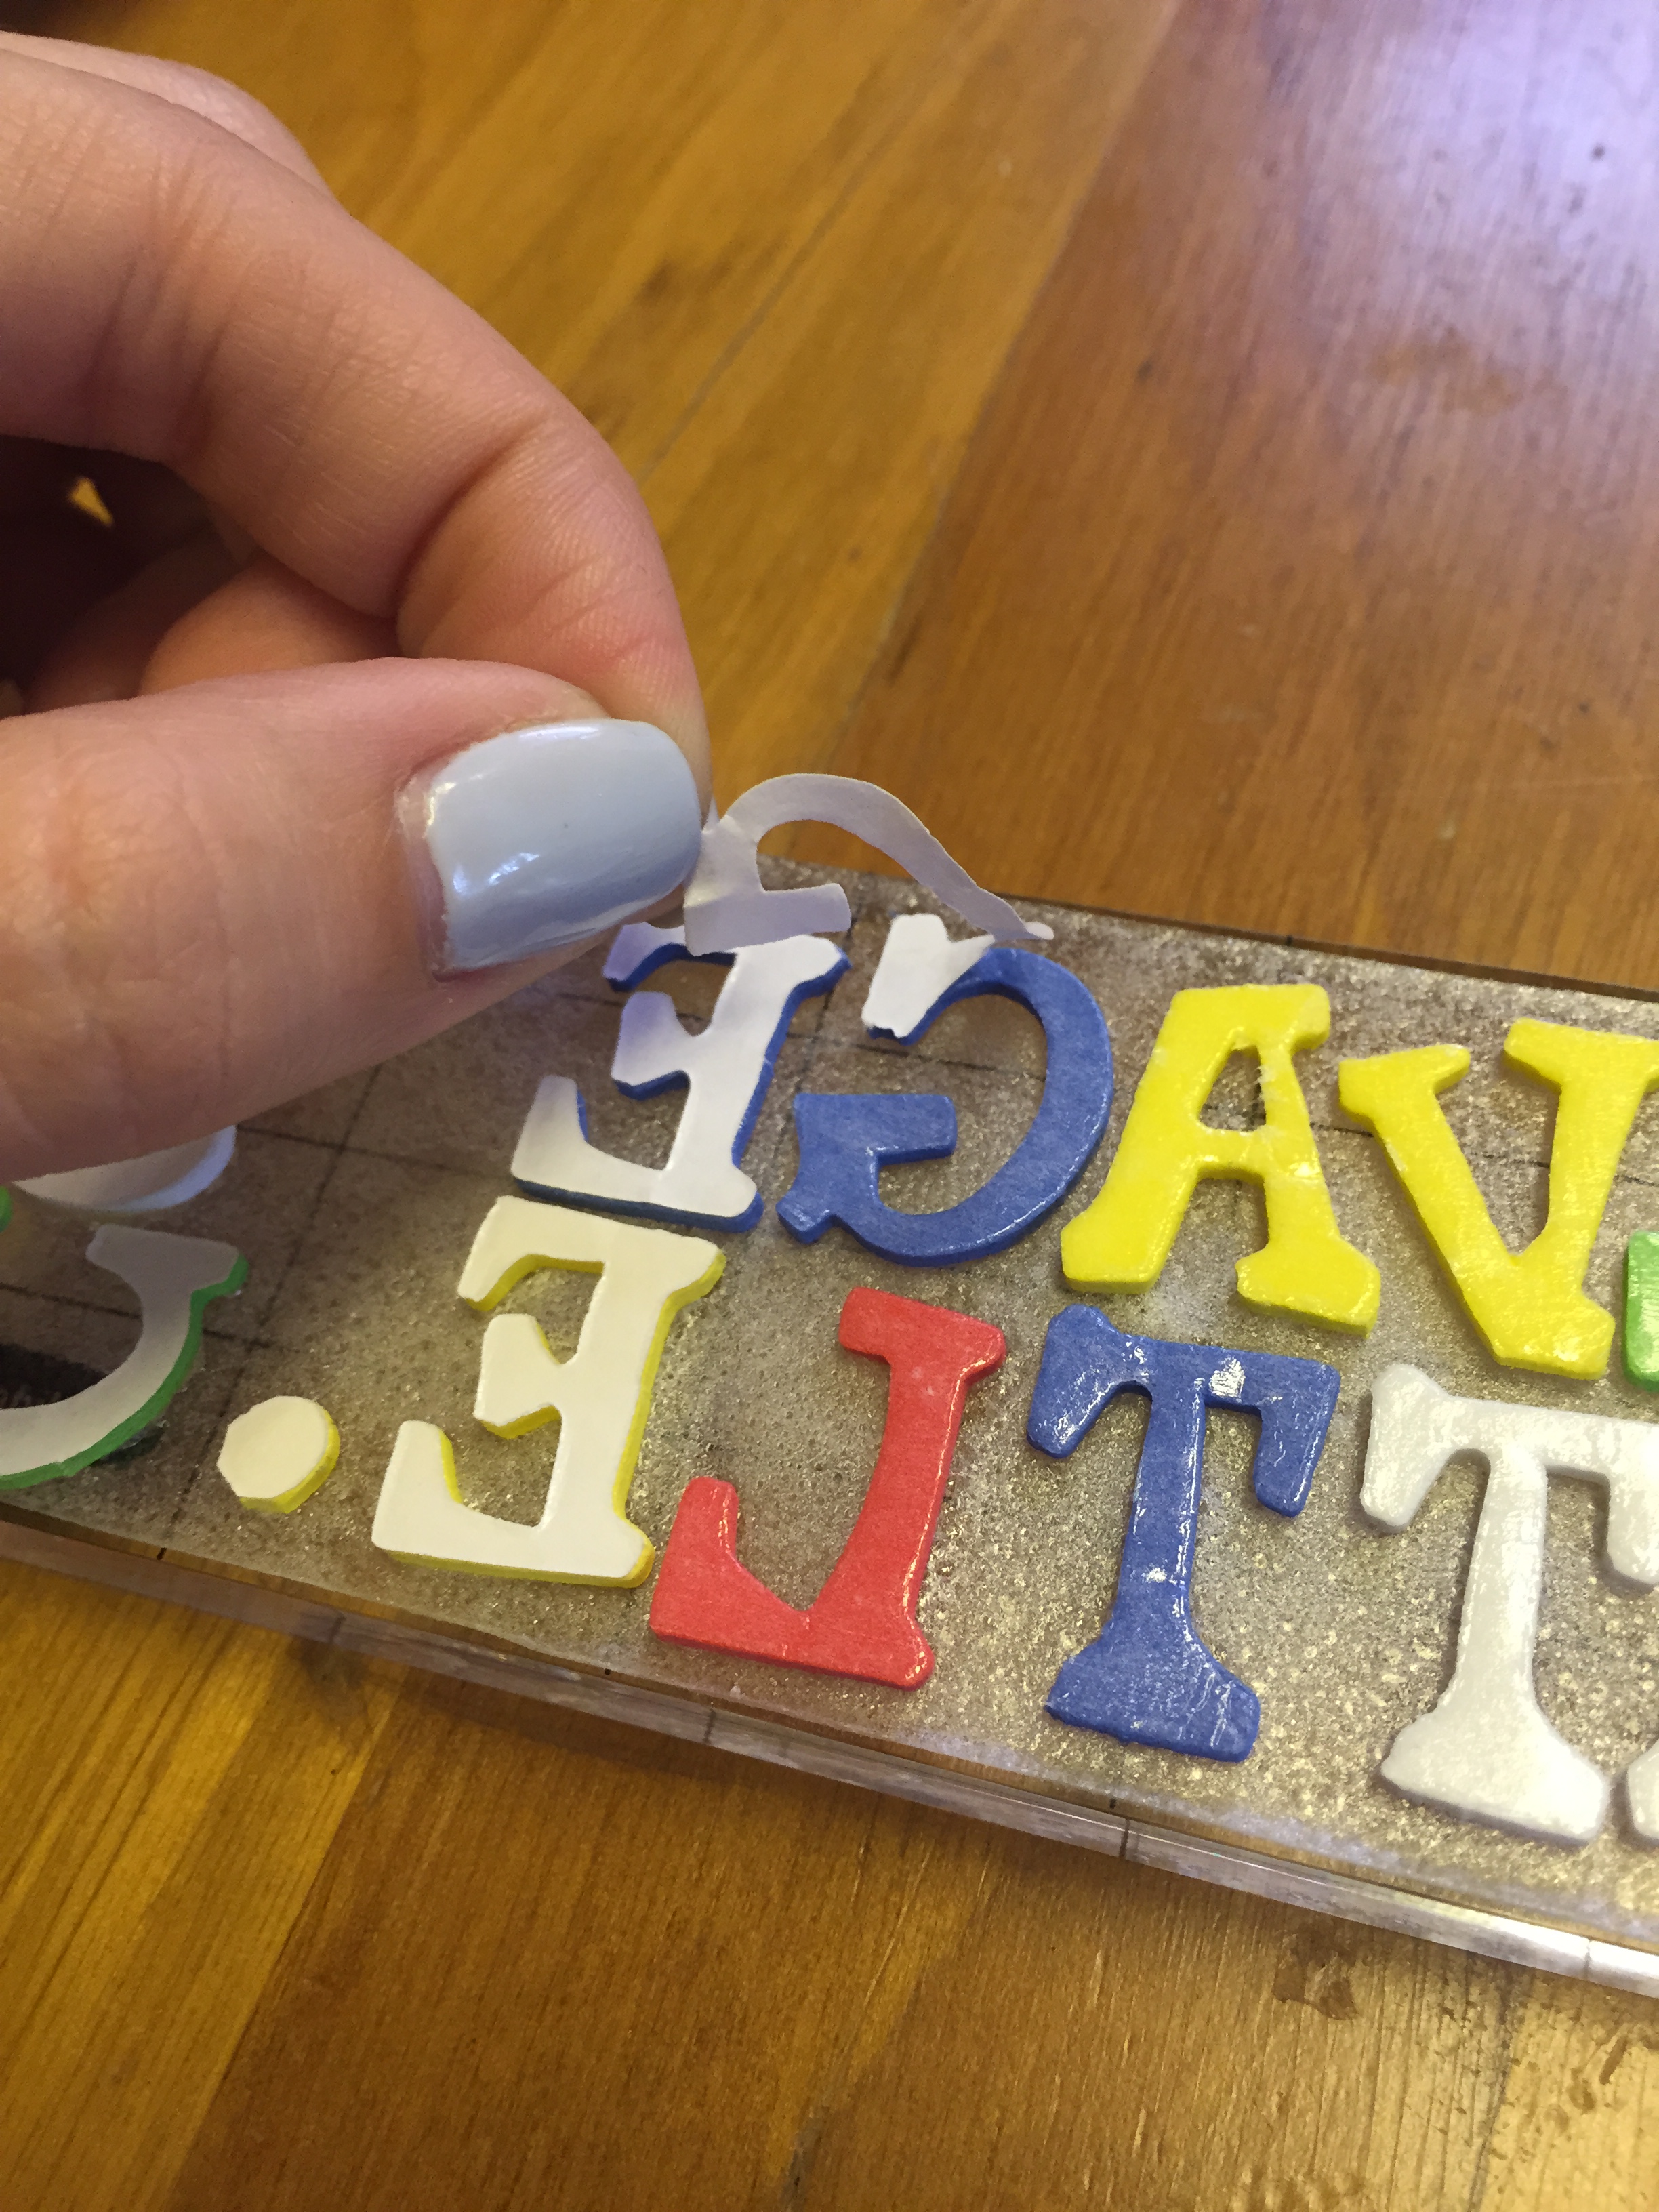

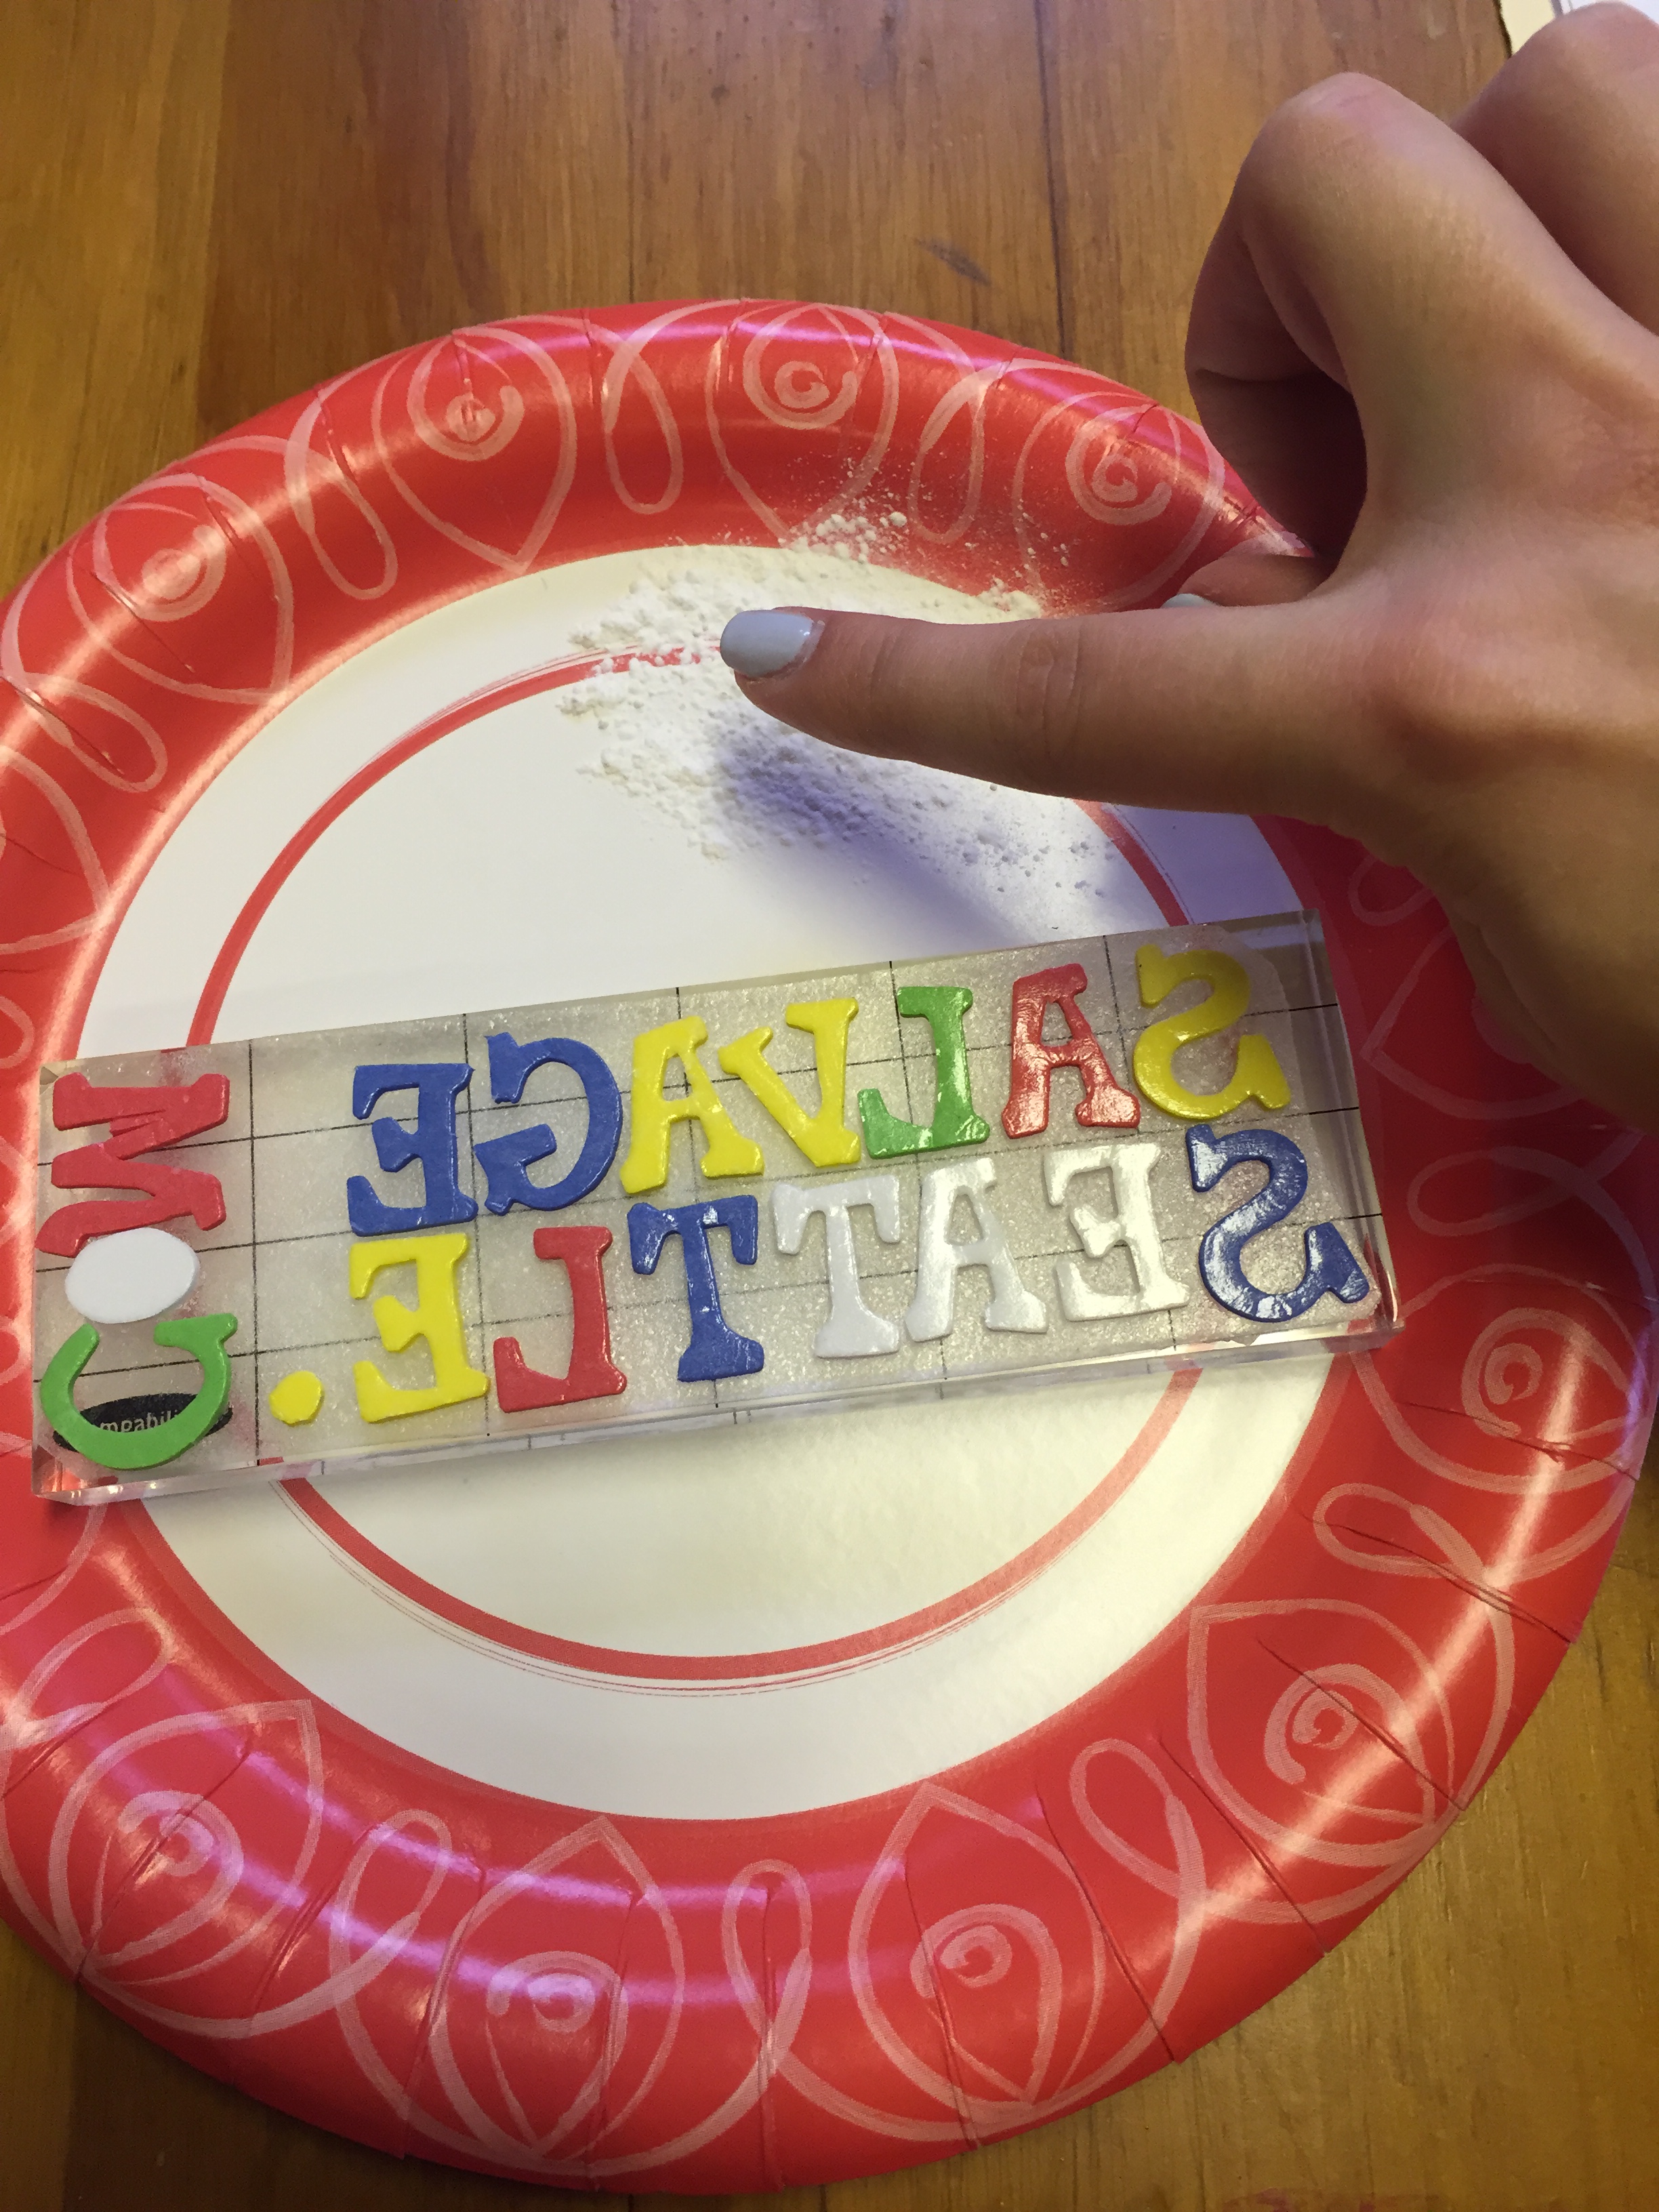
Once the glue is dry, gently peel off the backing to the sticky letters. Of course, we want to get rid of the sticky feel of the letters so that our stamp doesn’t stick to every surface that we stamp. This can be fixed with a little baby powder or corn starch. Just use your finger to dab some onto the entire surface of each letter. Then tap away the extra powder.
NOTE: I also use baby powder as dry shampoo! It works just as well….and is extremely cheaper than dry shampoo. You’re welcome ladies.
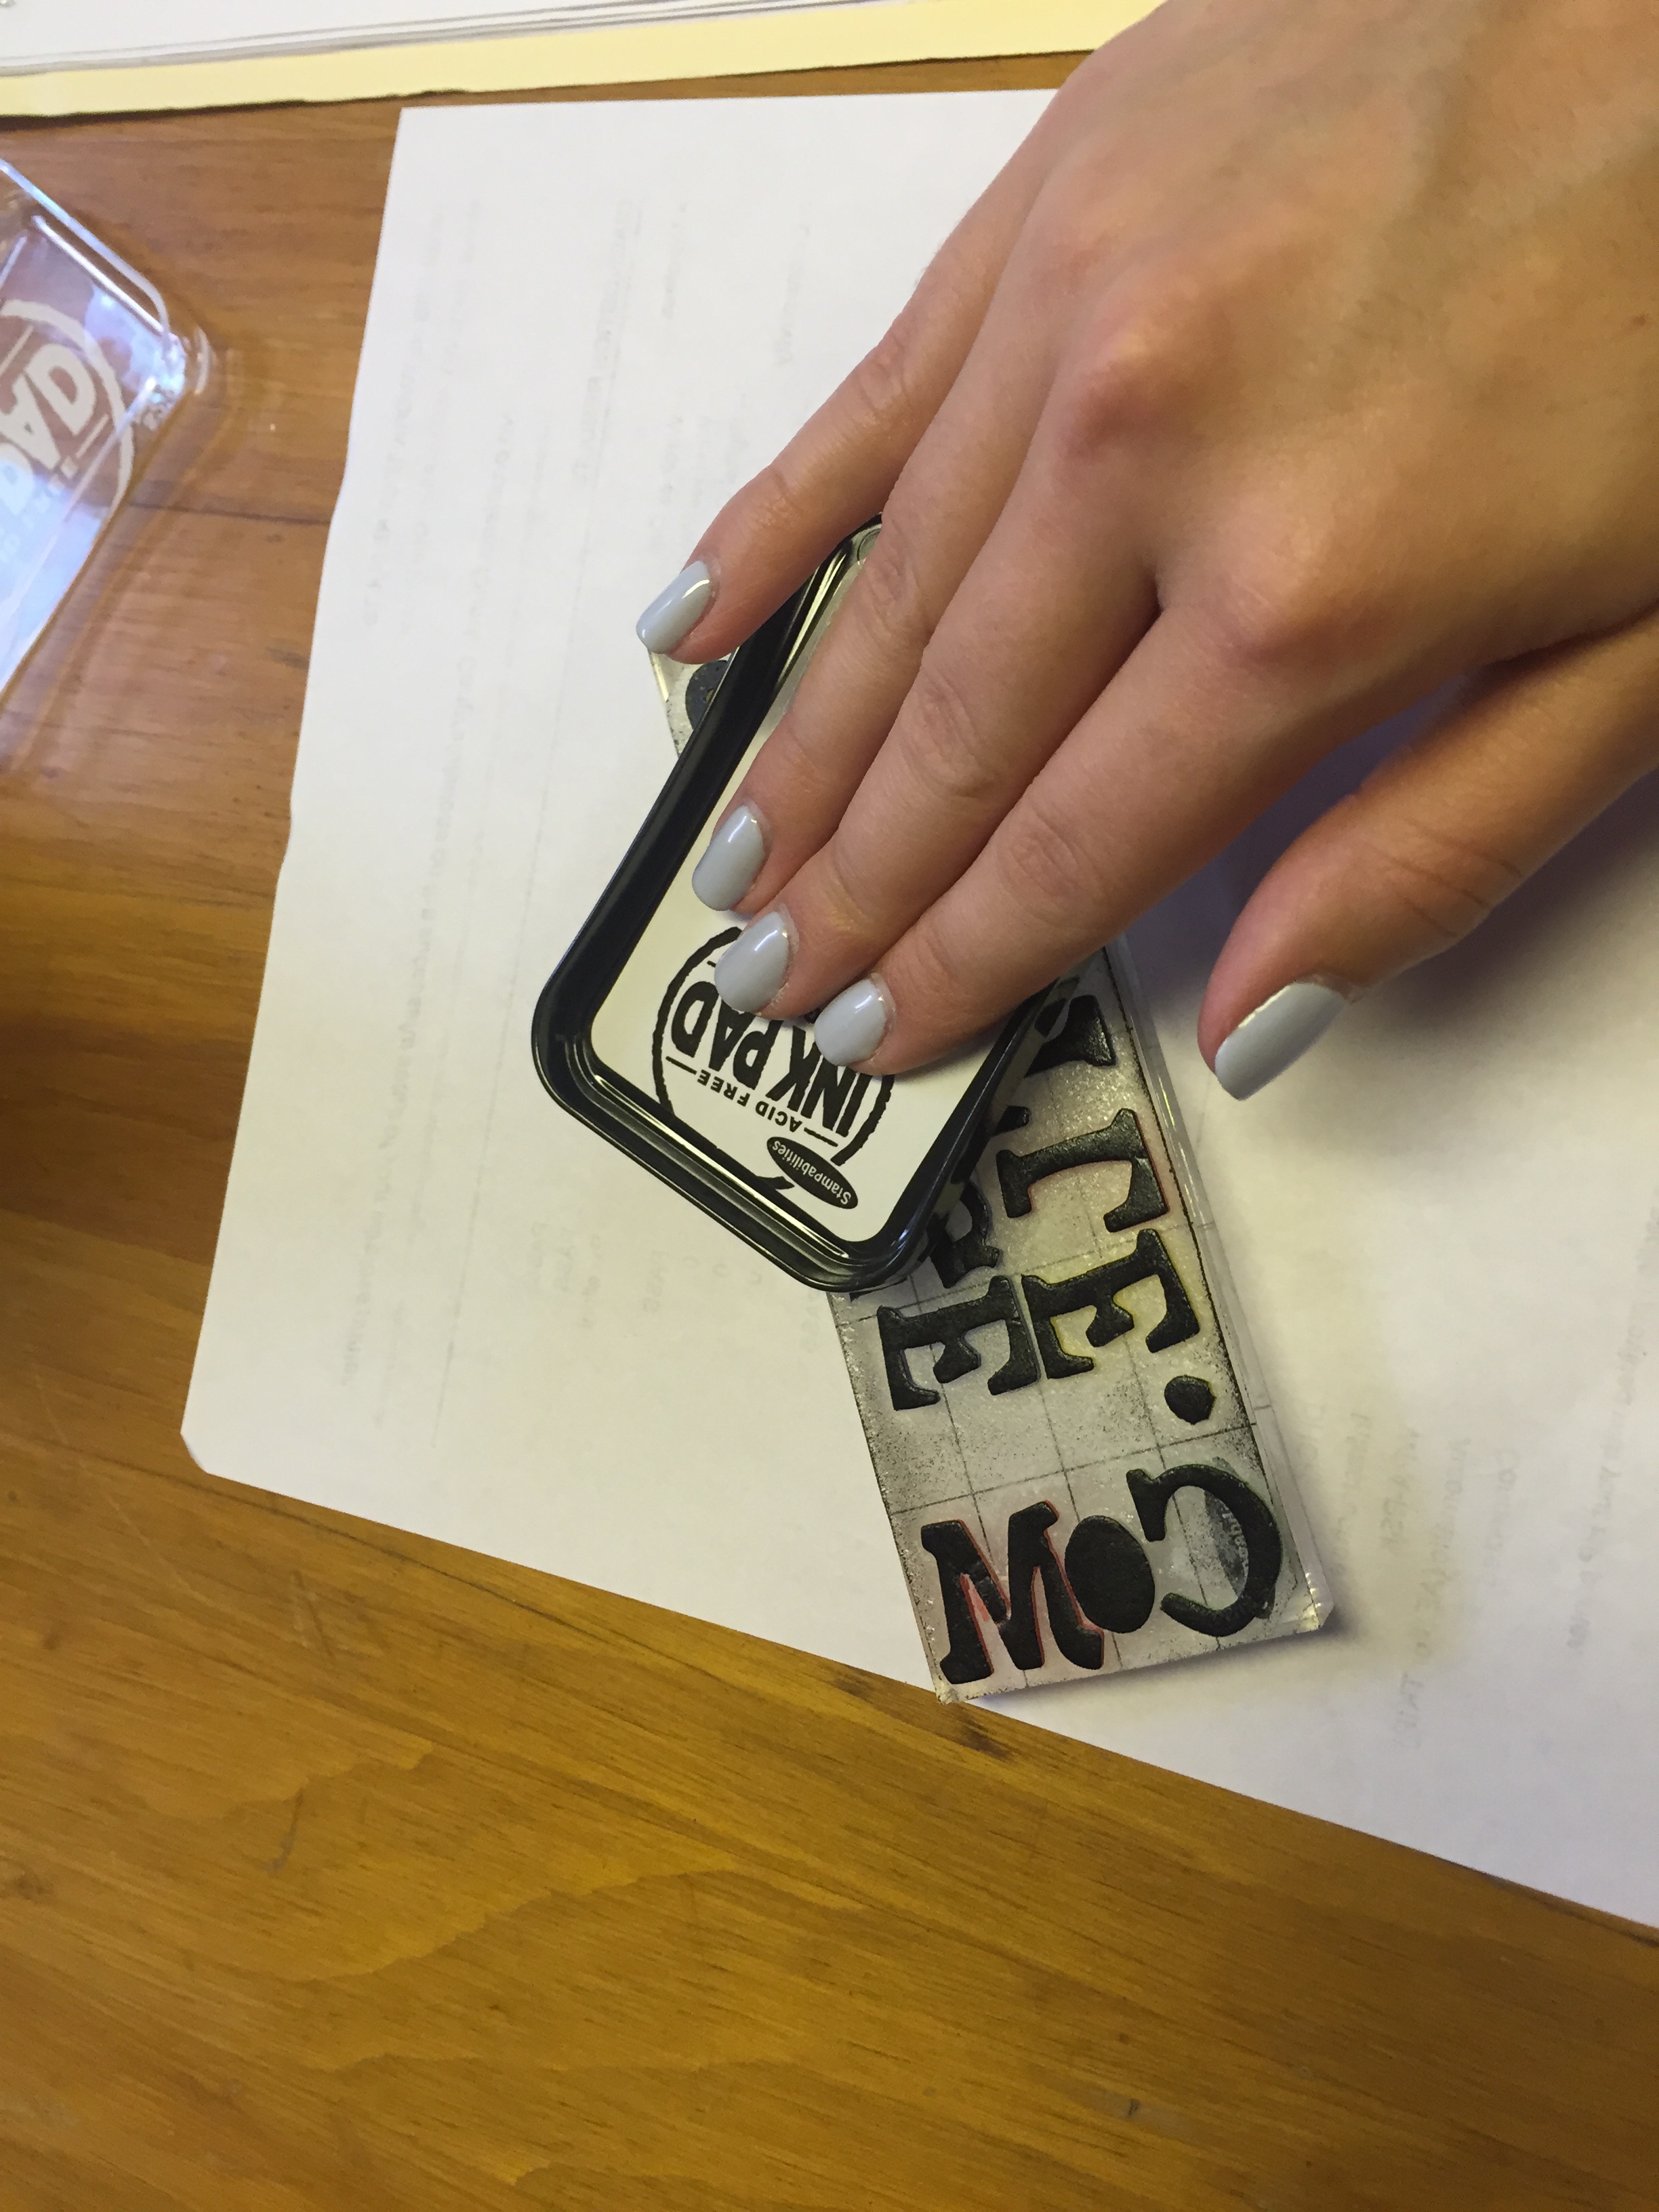
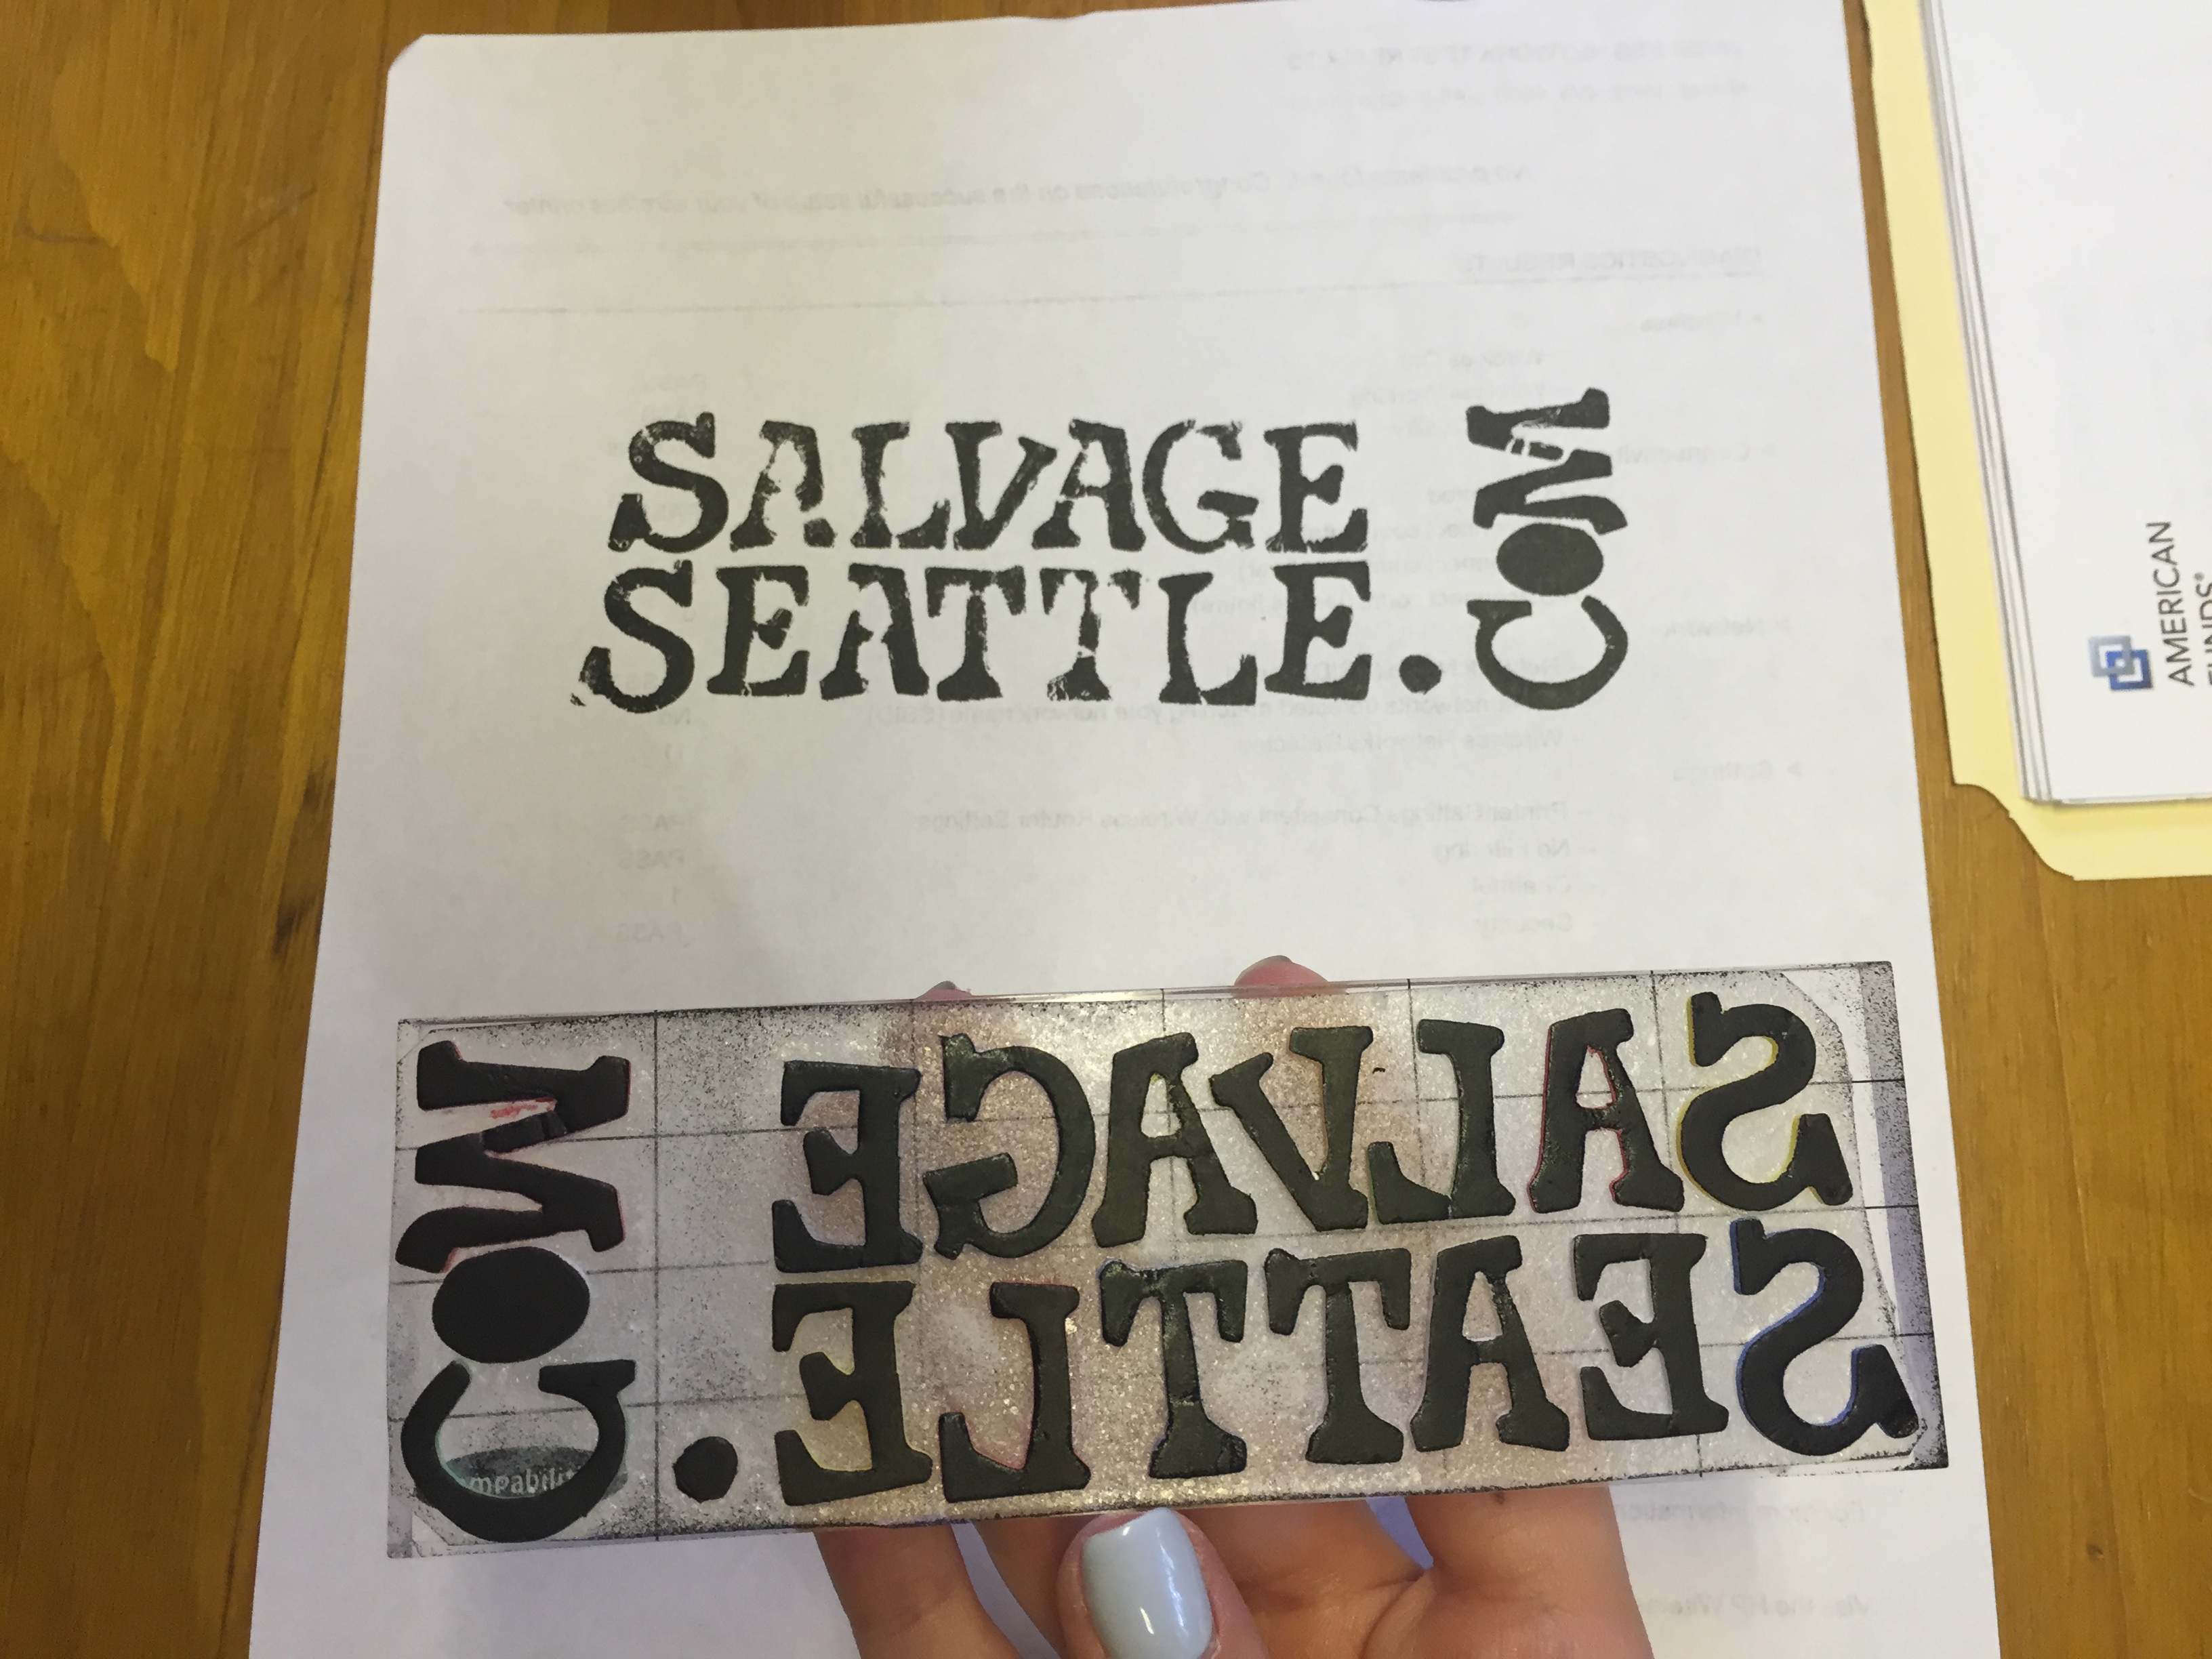
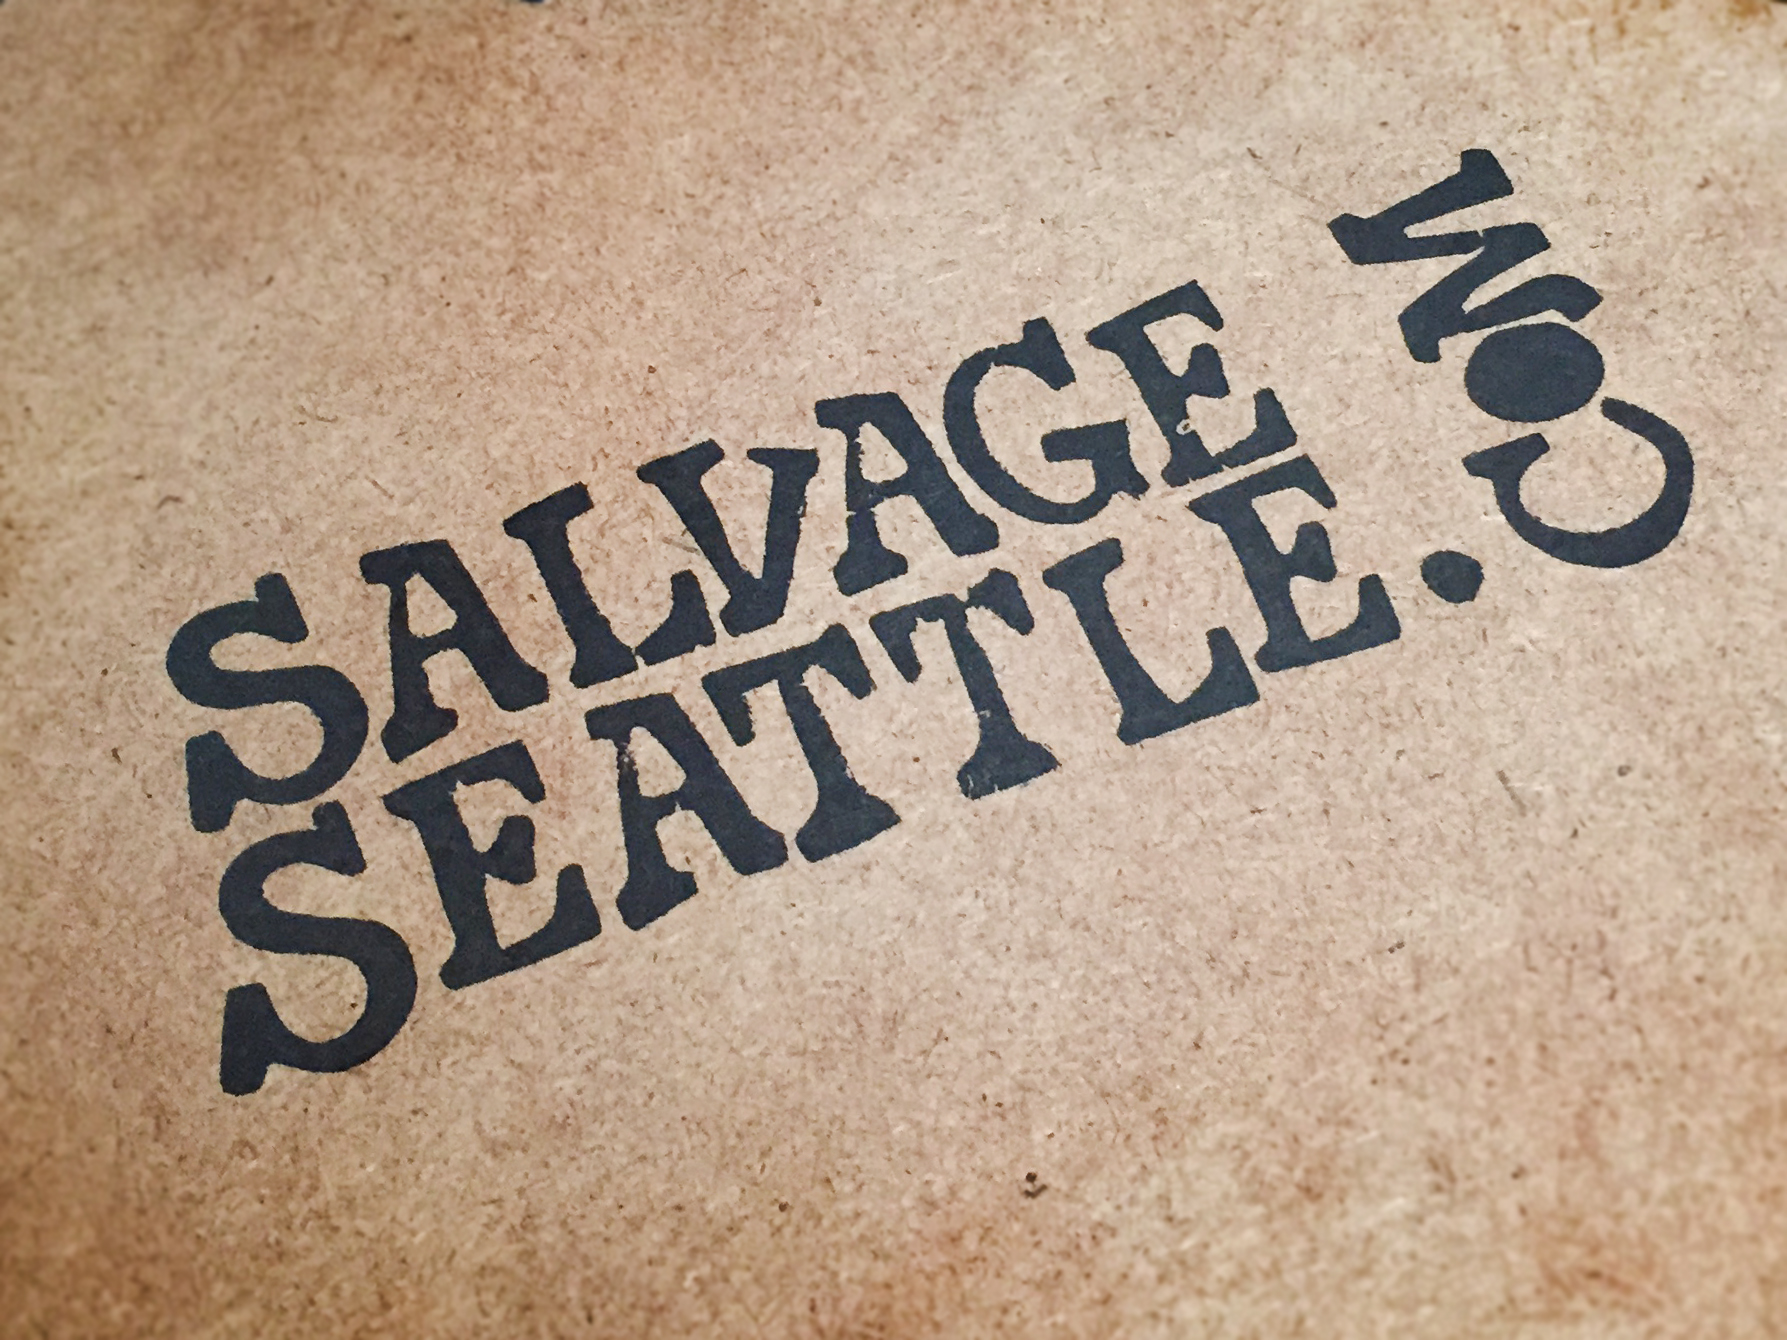
The final step of this DIY is to apply your ink to the stamp and try it out! Make sure to completely cover the stamp with ink and apply pressure evenly to the entire stamp when pressing it to the paper or surface of choice. Then clean off the extra ink by dabbing it with a dry paper towel.
And there you have it. An awesomely cheap custom stamp!
As always, let me know if you try this one out, and hit subscribe below!
TOTAL COST: $6

I watched you work on this project and even though you ran into some glitches, you recovered well and ended up with a nice stamp.
LikeLike