Hey Everyone! Today, I bring you a new method I came across to paint letters onto wood without using a stencil. I thought it might be too good to be true, so I figured I’d try it out on a new beautiful project. And I’m happy to announce that it worked fabulously! Follow these step by step directions on how to complete it on your own!
But first, we need a wood sign to paint on. So let’s get started!
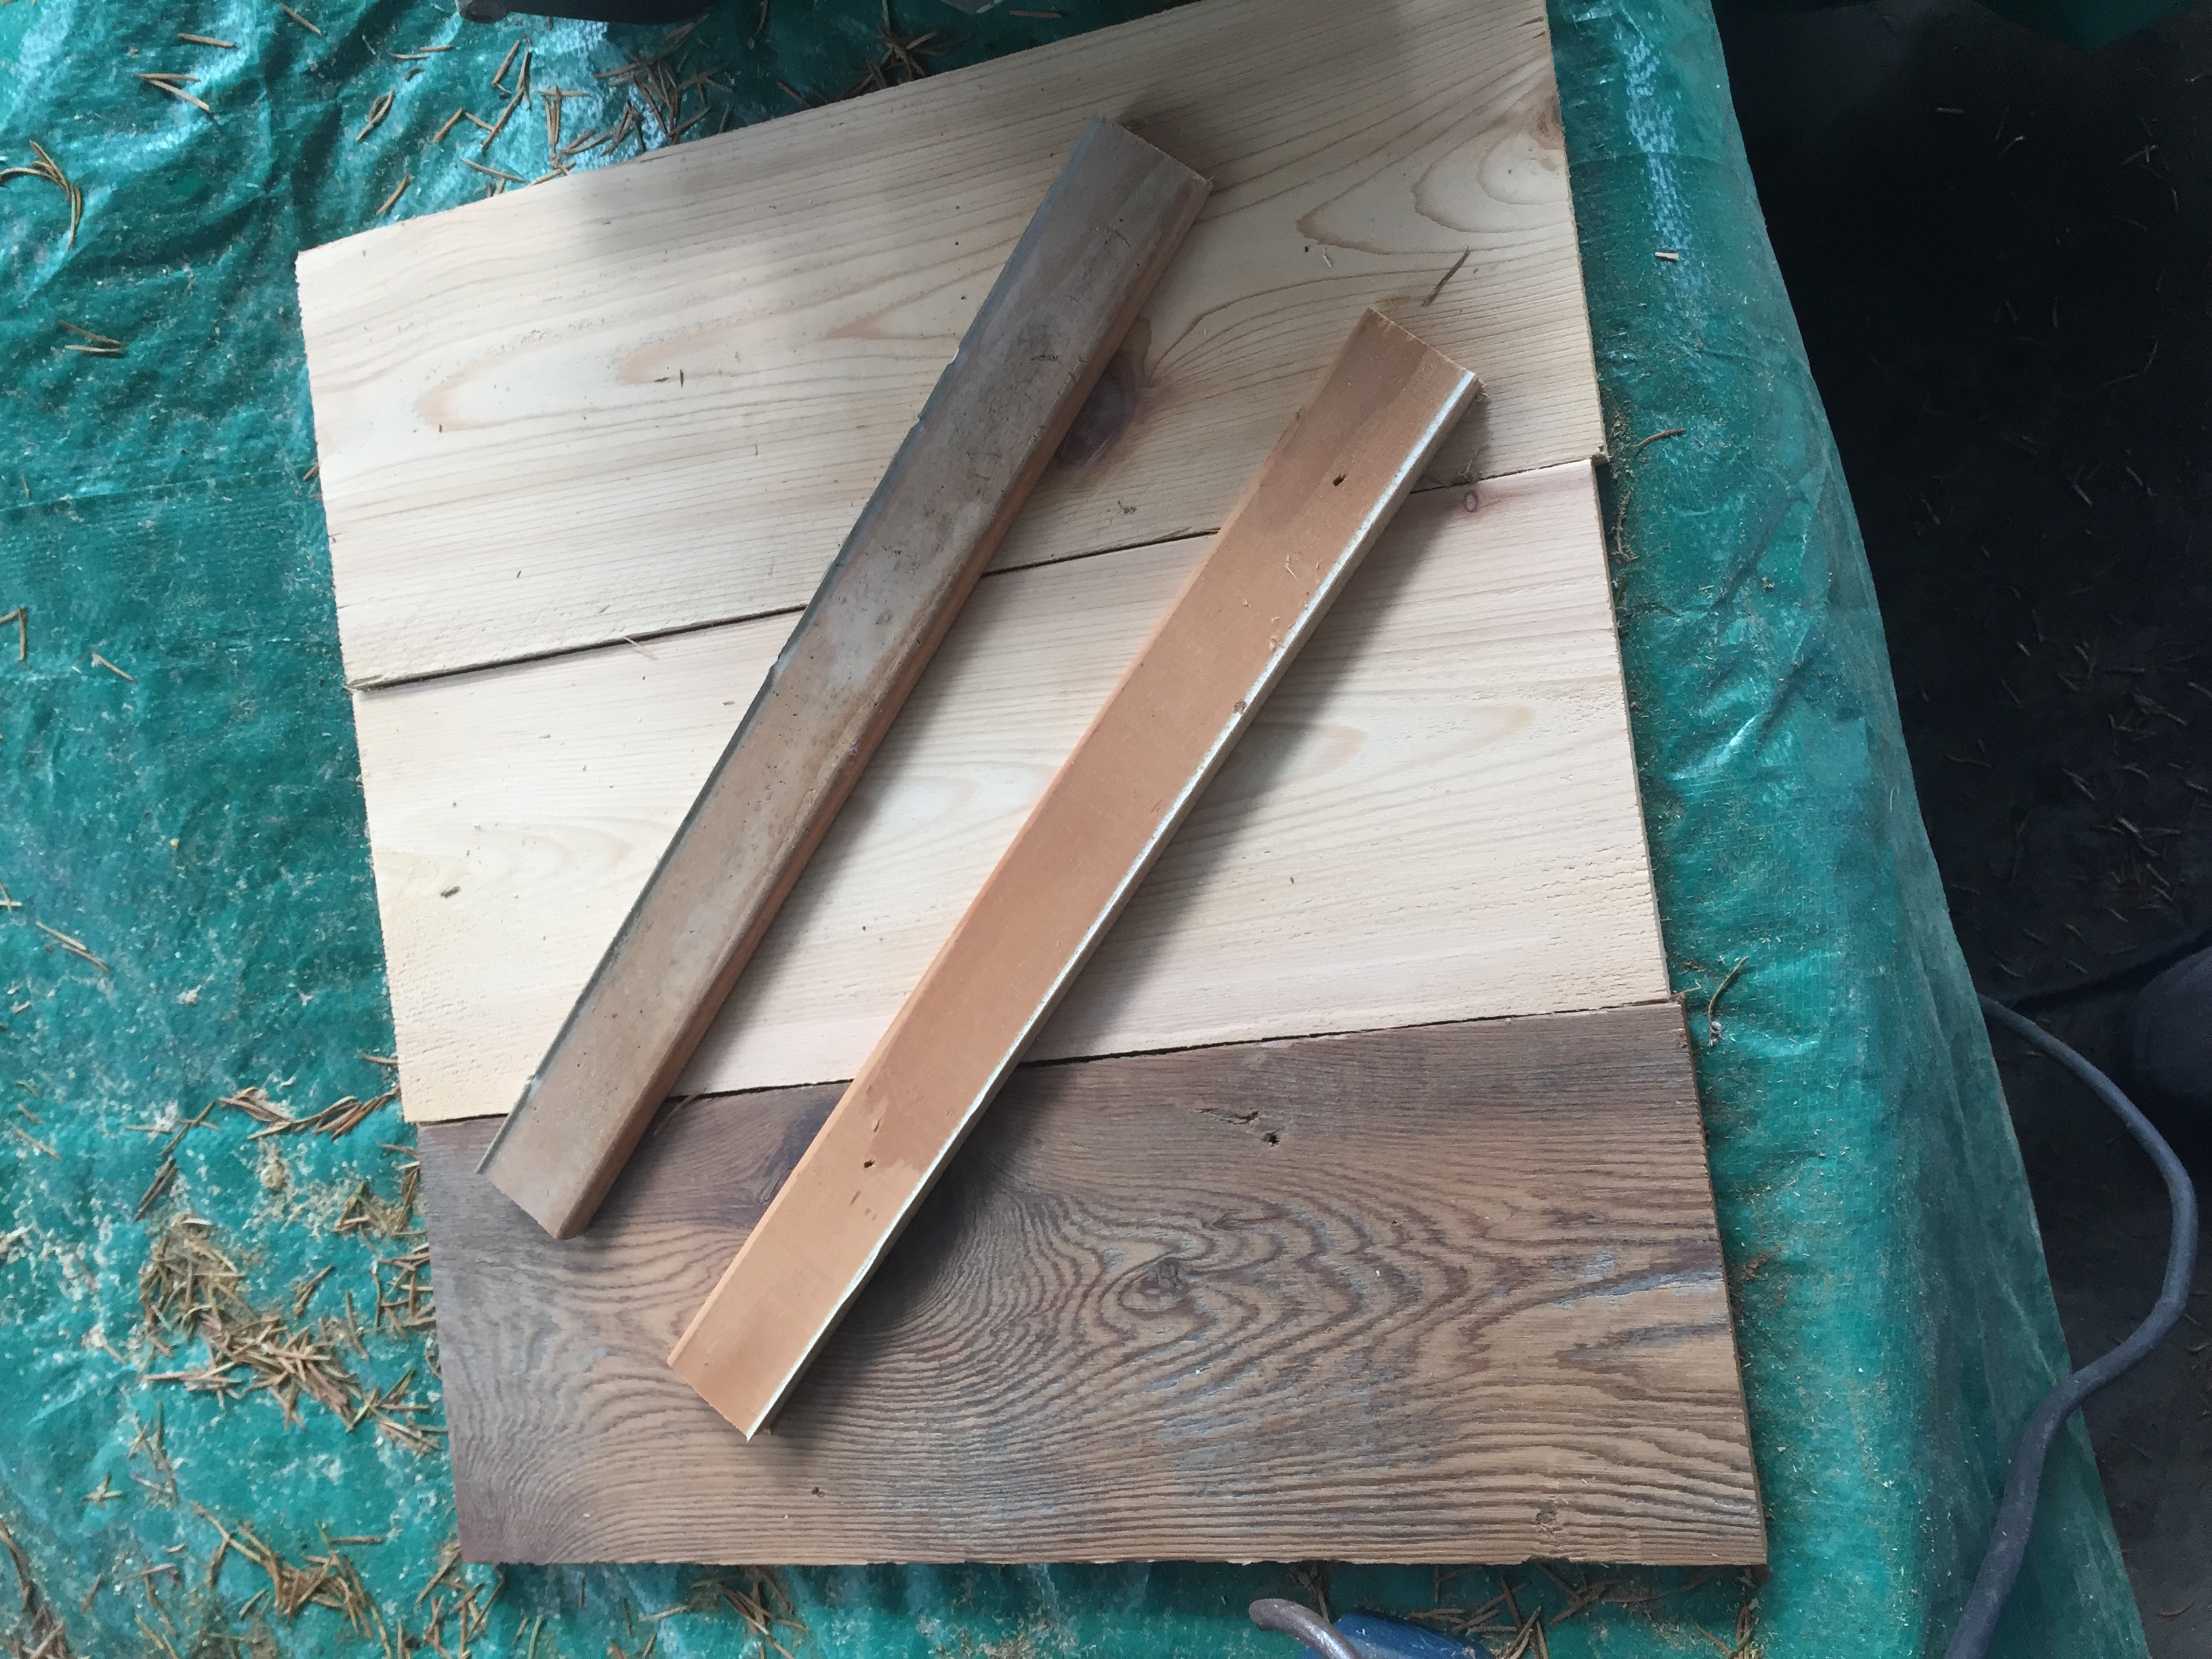

For this project, I used the last few pieces of fence wood from my dad’s wood pile. One which was considerably older than the others. For measurements, I just used the length of the smallest piece, and cut the others to match. I also picked out two small pieces of old wood trim form my parents remodel, and cut them to match. These will be what secures the three larger boards together.
Once you have all your pieces, sand them and then wipe them down with a damp cloth.
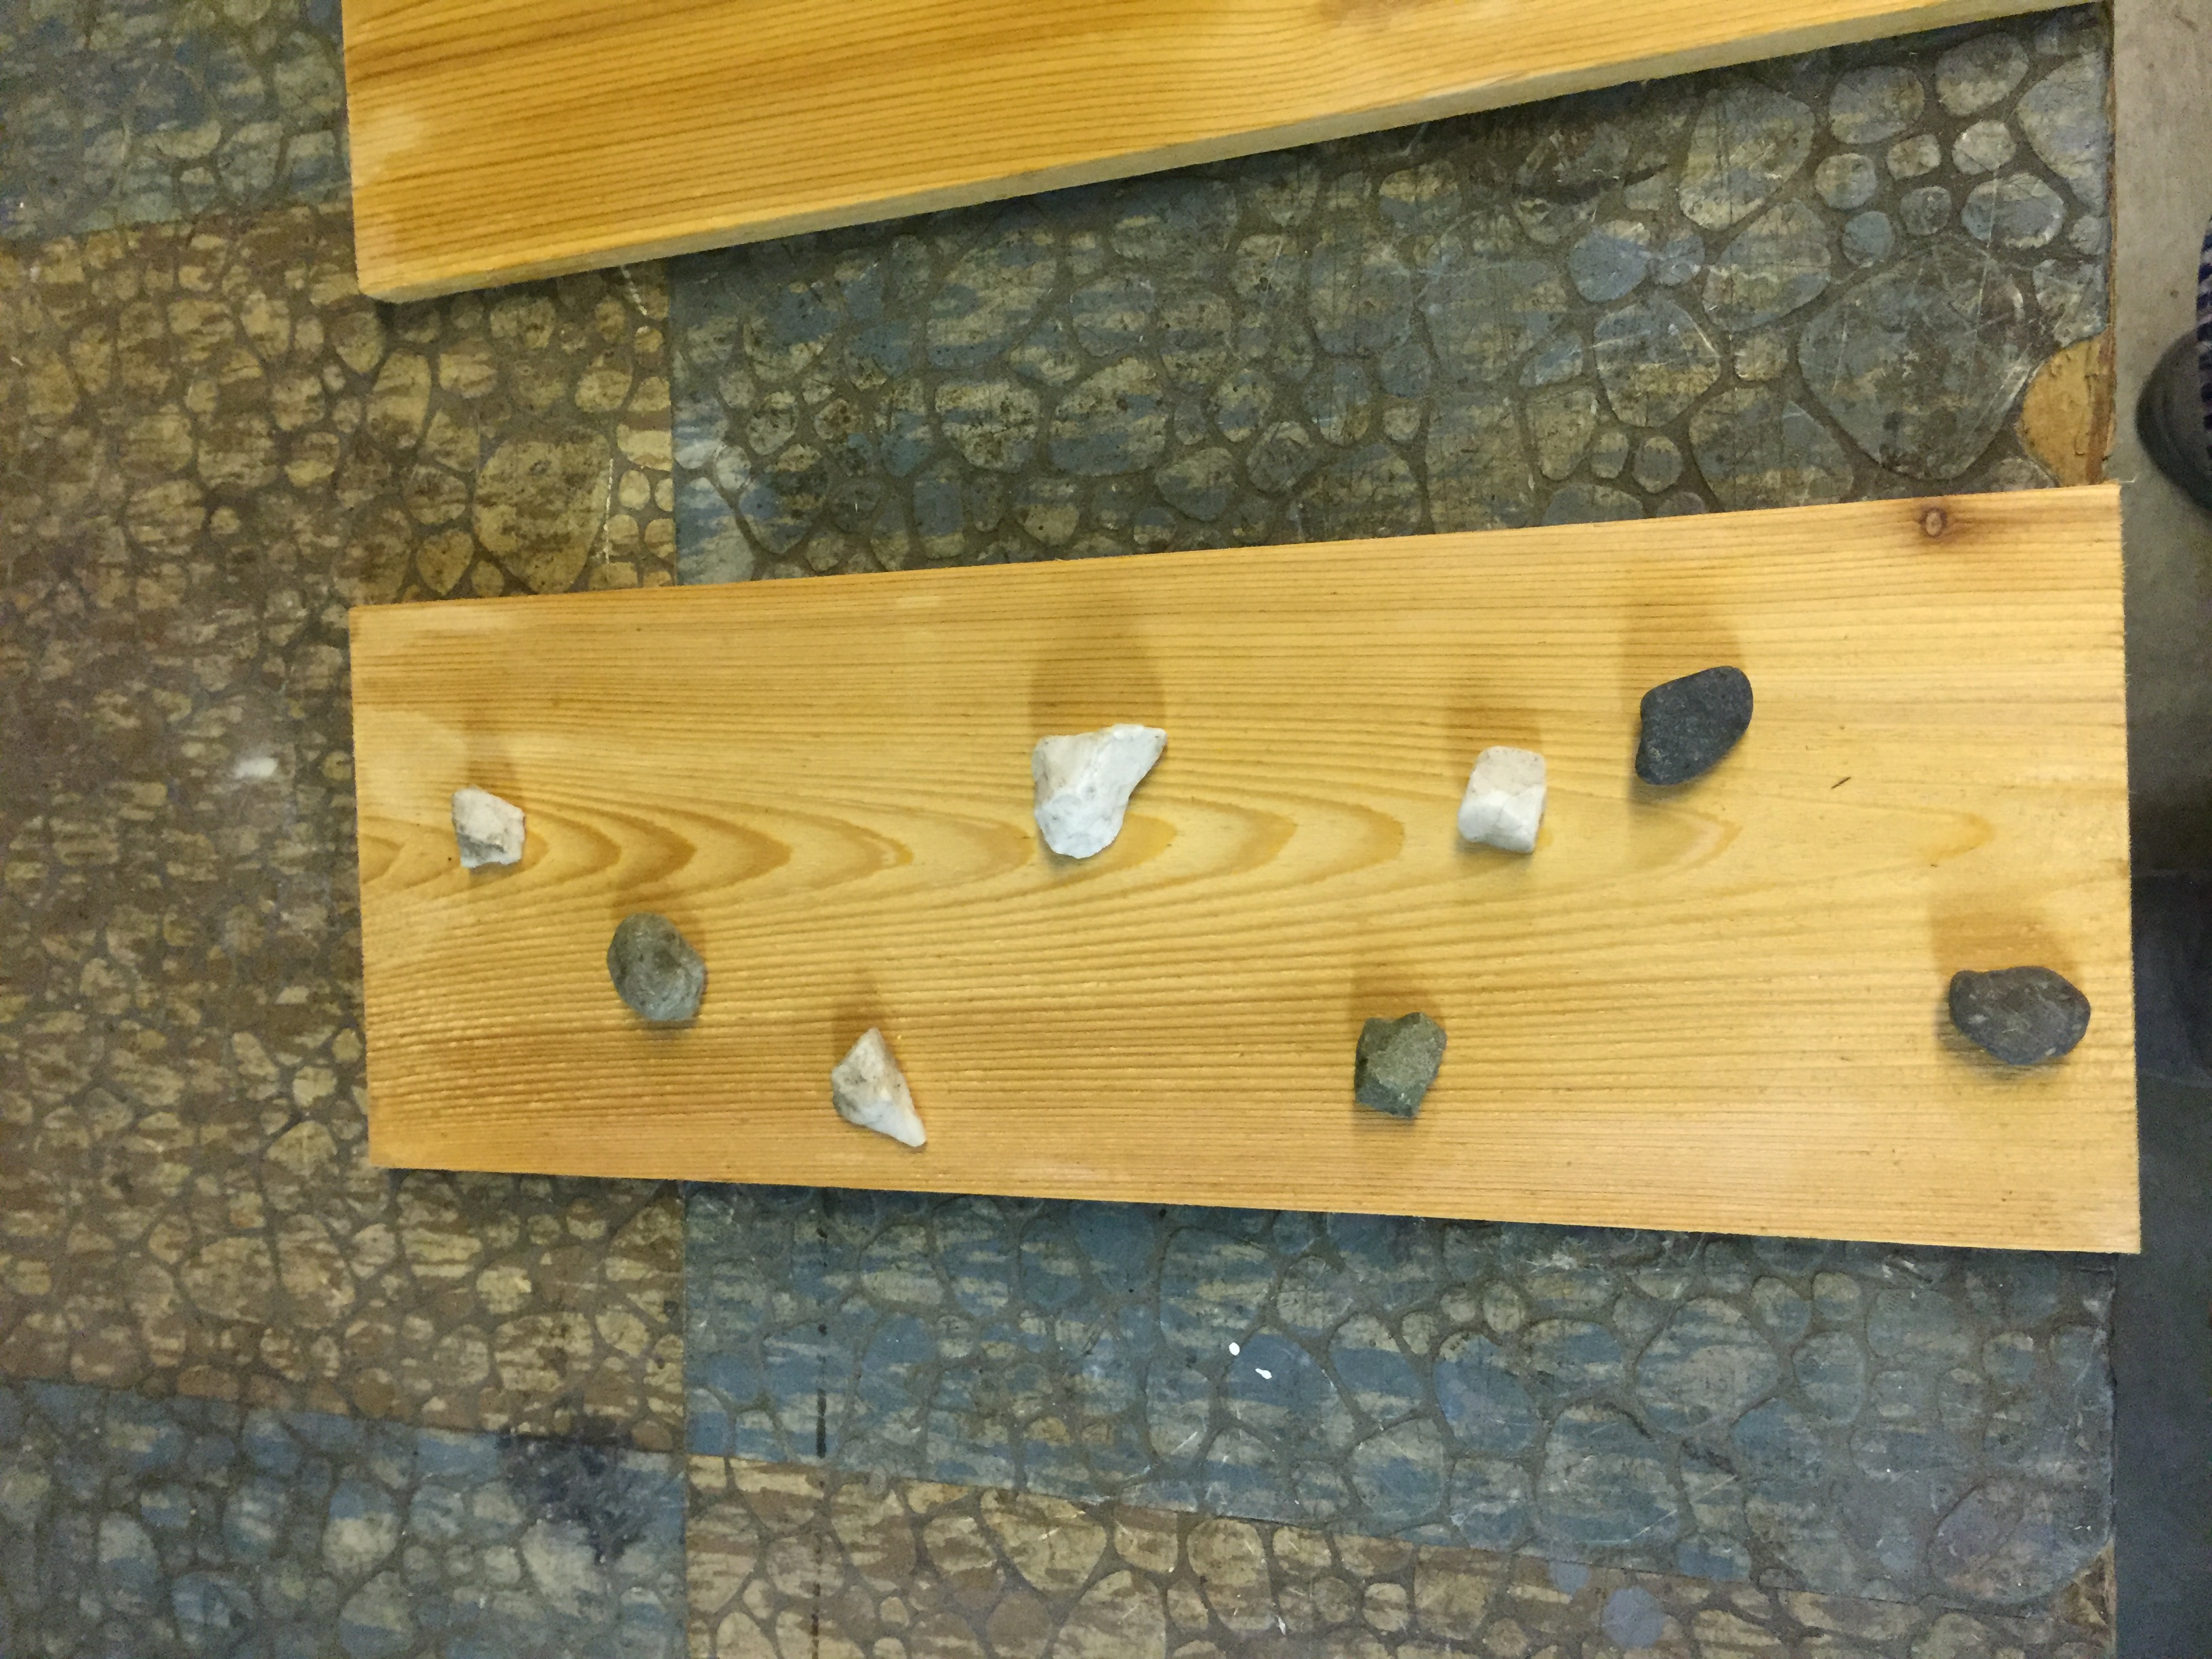
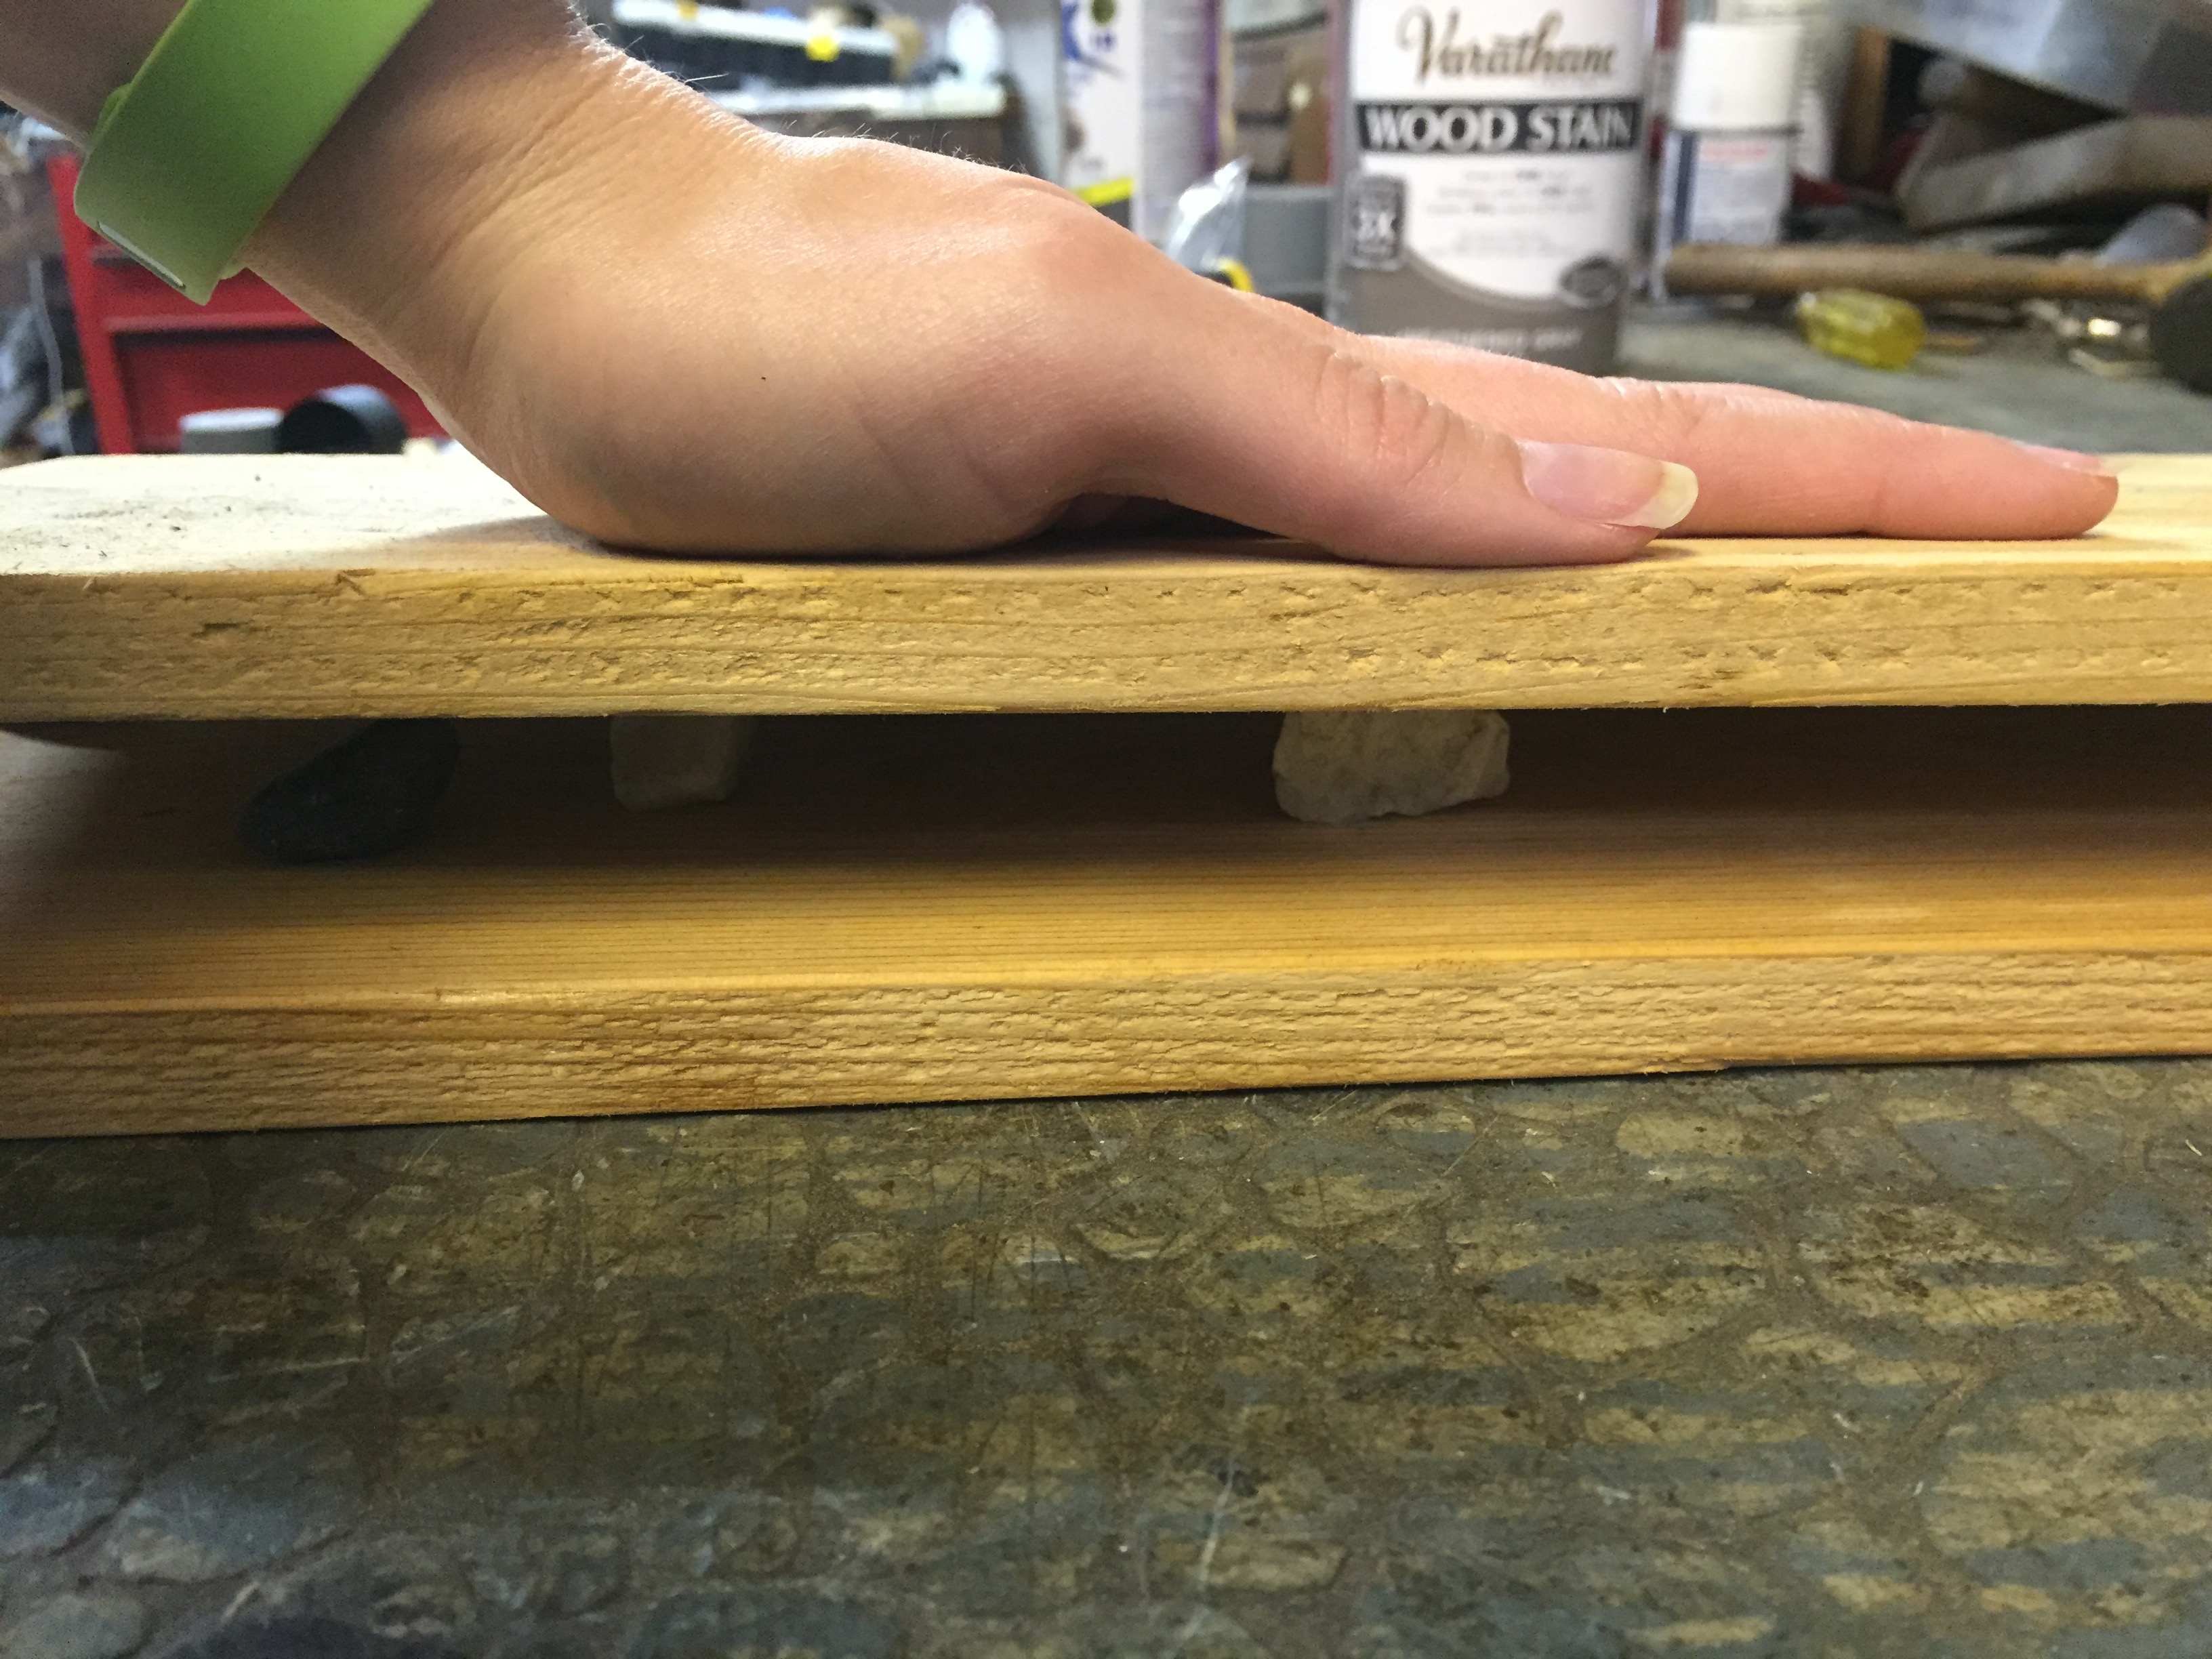

After cleaning up the wood, I decided that I wanted the wood to look a bit more weathered. The newer pieces just looked too new compared to the older one. In order to distress the wood, I placed some rocks between the two boards, applied pressure and moved the boards in circles. This creates some scratches and dents in the wood, which will give it an imperfect look.


I also used this project as an excuse to use a new (yessss, I said new) stain that I purchased a while back. This “Weathered Gray” color seems to be all the rage and super “in” right now. And I LOVED the way it turned out! Although, you really need to sand it down quite a bit. Or it kinda looks like thin gray paint. AKA: not cute!
Apply your stain with an old clean rag and then wipe off the excess with another.
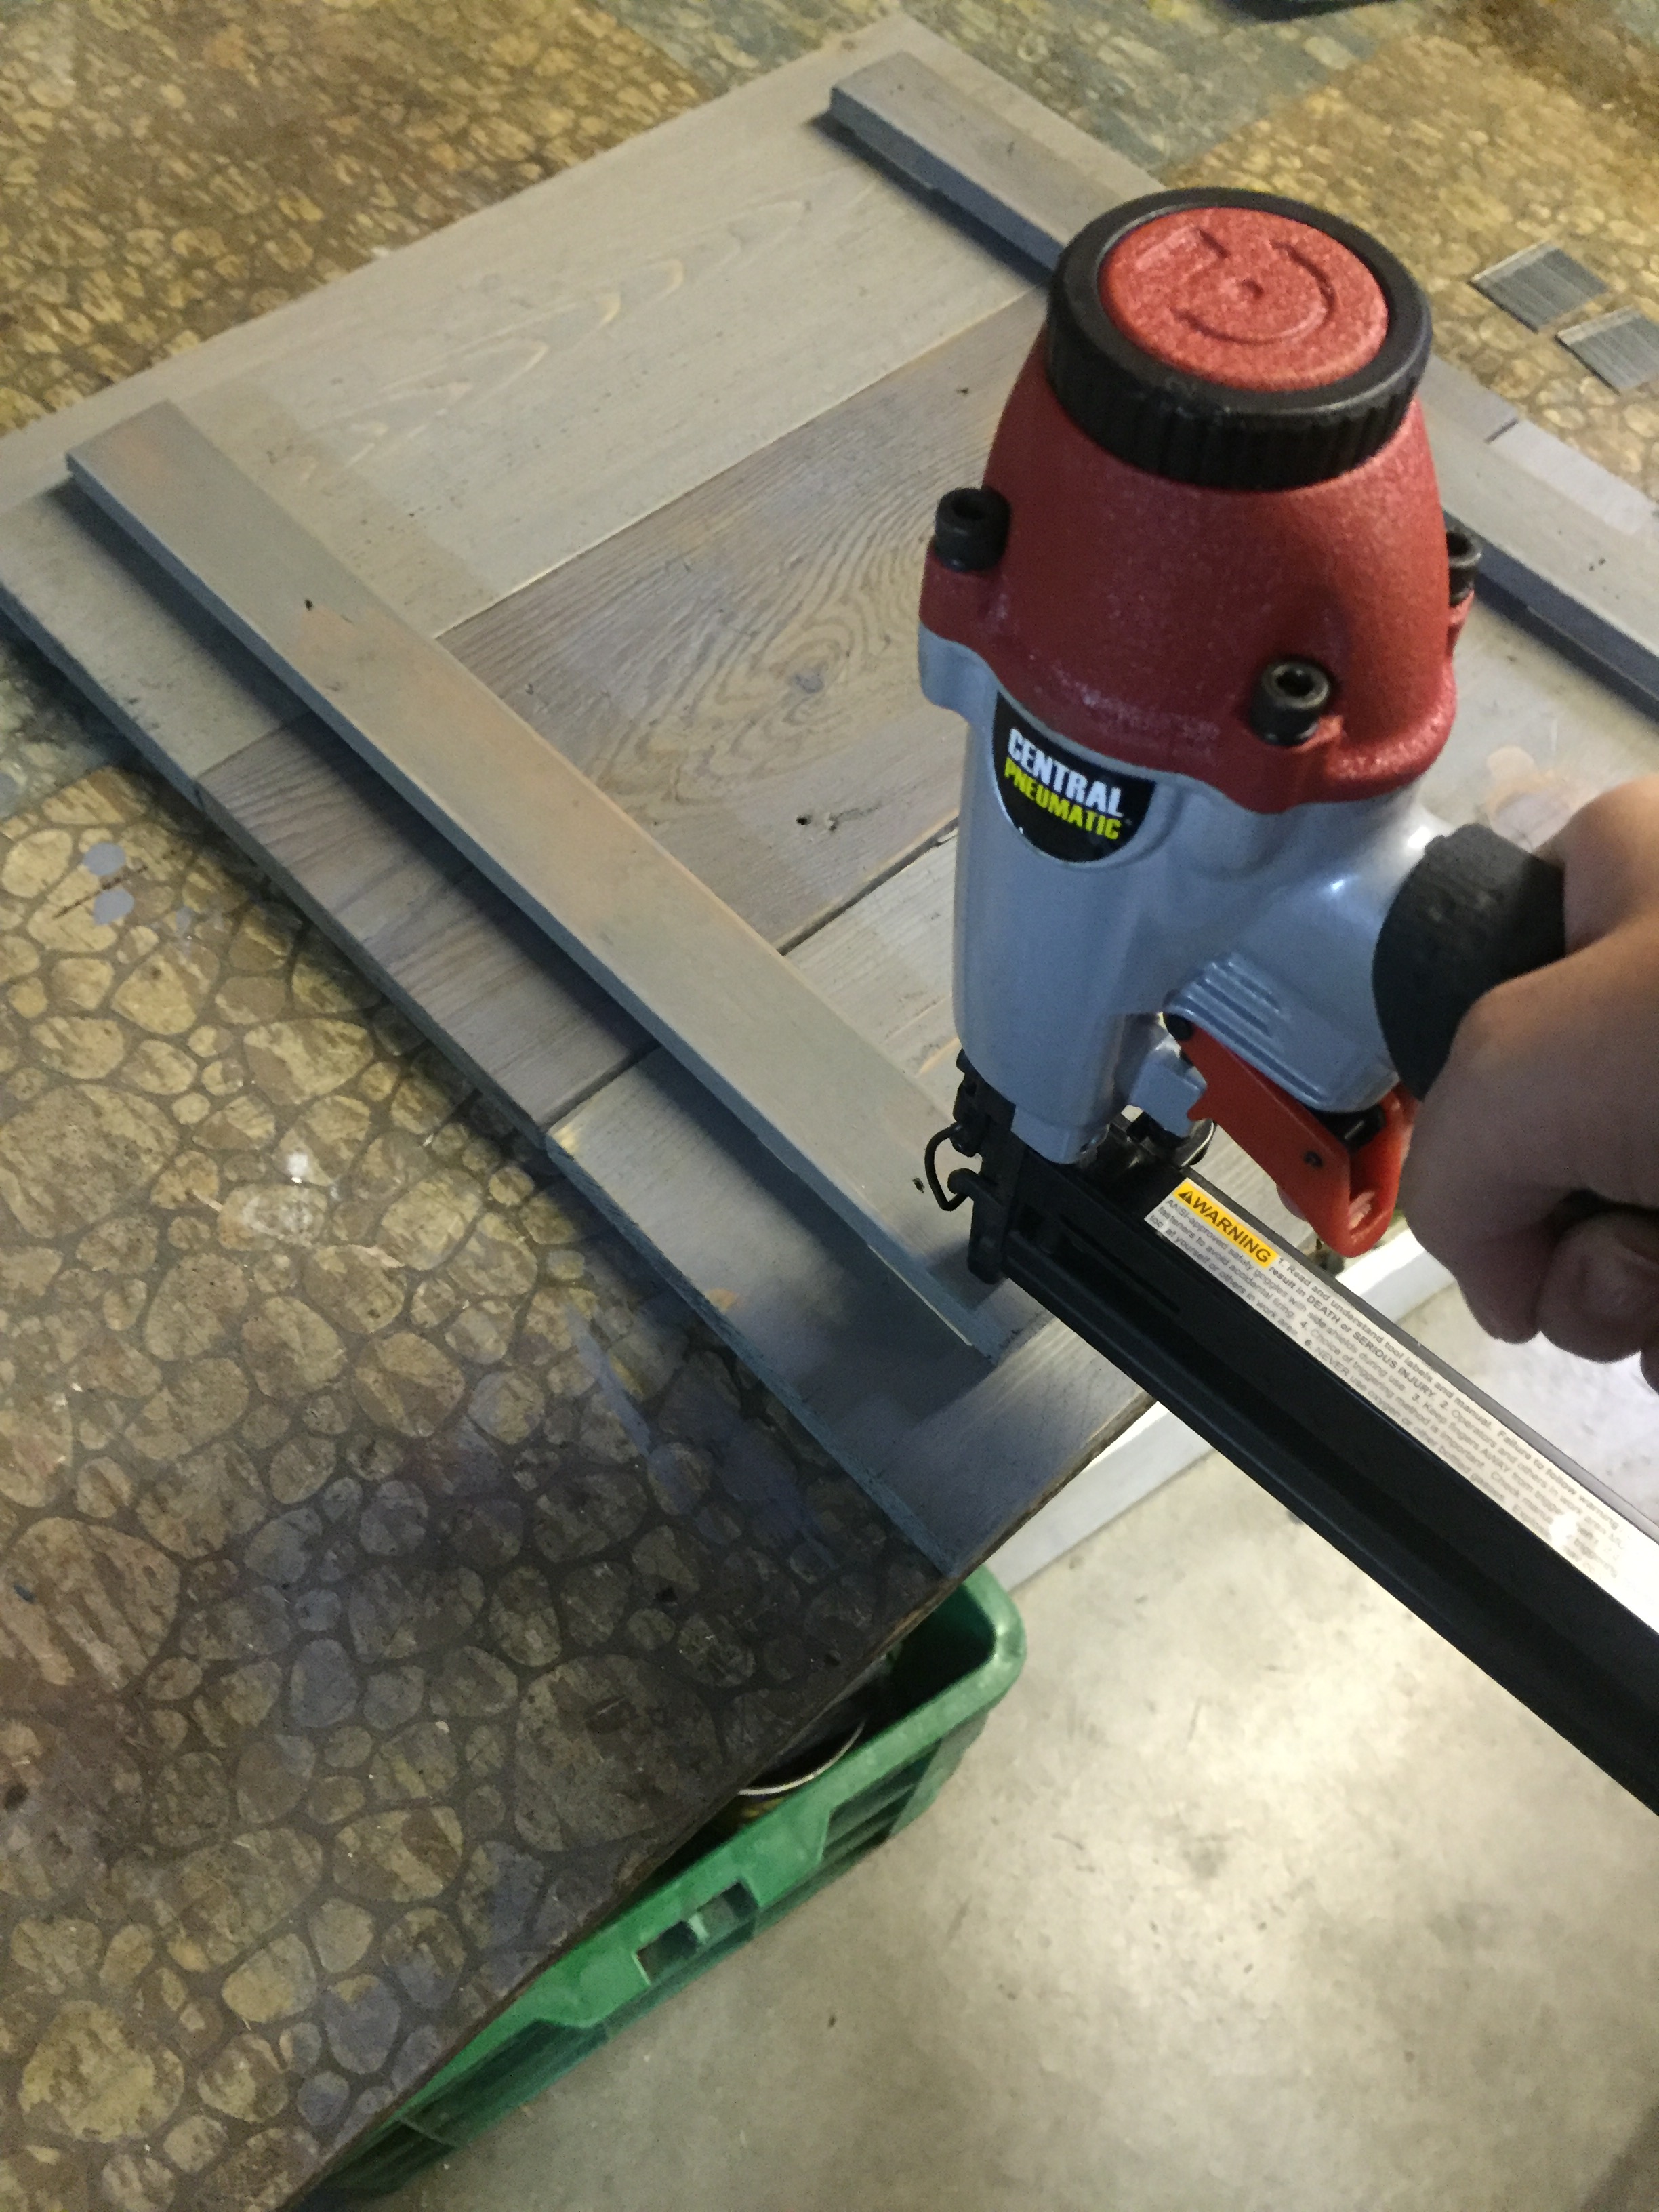

Next, it’s time to secure your pieces of wood together! I used an air compressed nail gun with one inch nails. The only issue I came across, was that the one inch nails were actually too long. In order to keep the nails from going through to the front of the sign, I needed thicker wood. So, I put a pieces of paint stir stick between the two pieces of wood, on both ends. This was all the extra thickness I needed. Then I applied two nails per board, on each side. (12 nails total)
NOTE: If you don’t know how to use a nail gun, seek help from someone who does!
HOW TO PRINT THE LETTERS:
The first step is to glue wax paper to a piece of thick printer paper. (use a glue stick for this)
Once it’s dry, you can print out your words from Word or Photoshop. Be careful of how you place the wax paper into the printer, because you want the ink to print on the wax, not the paper side.
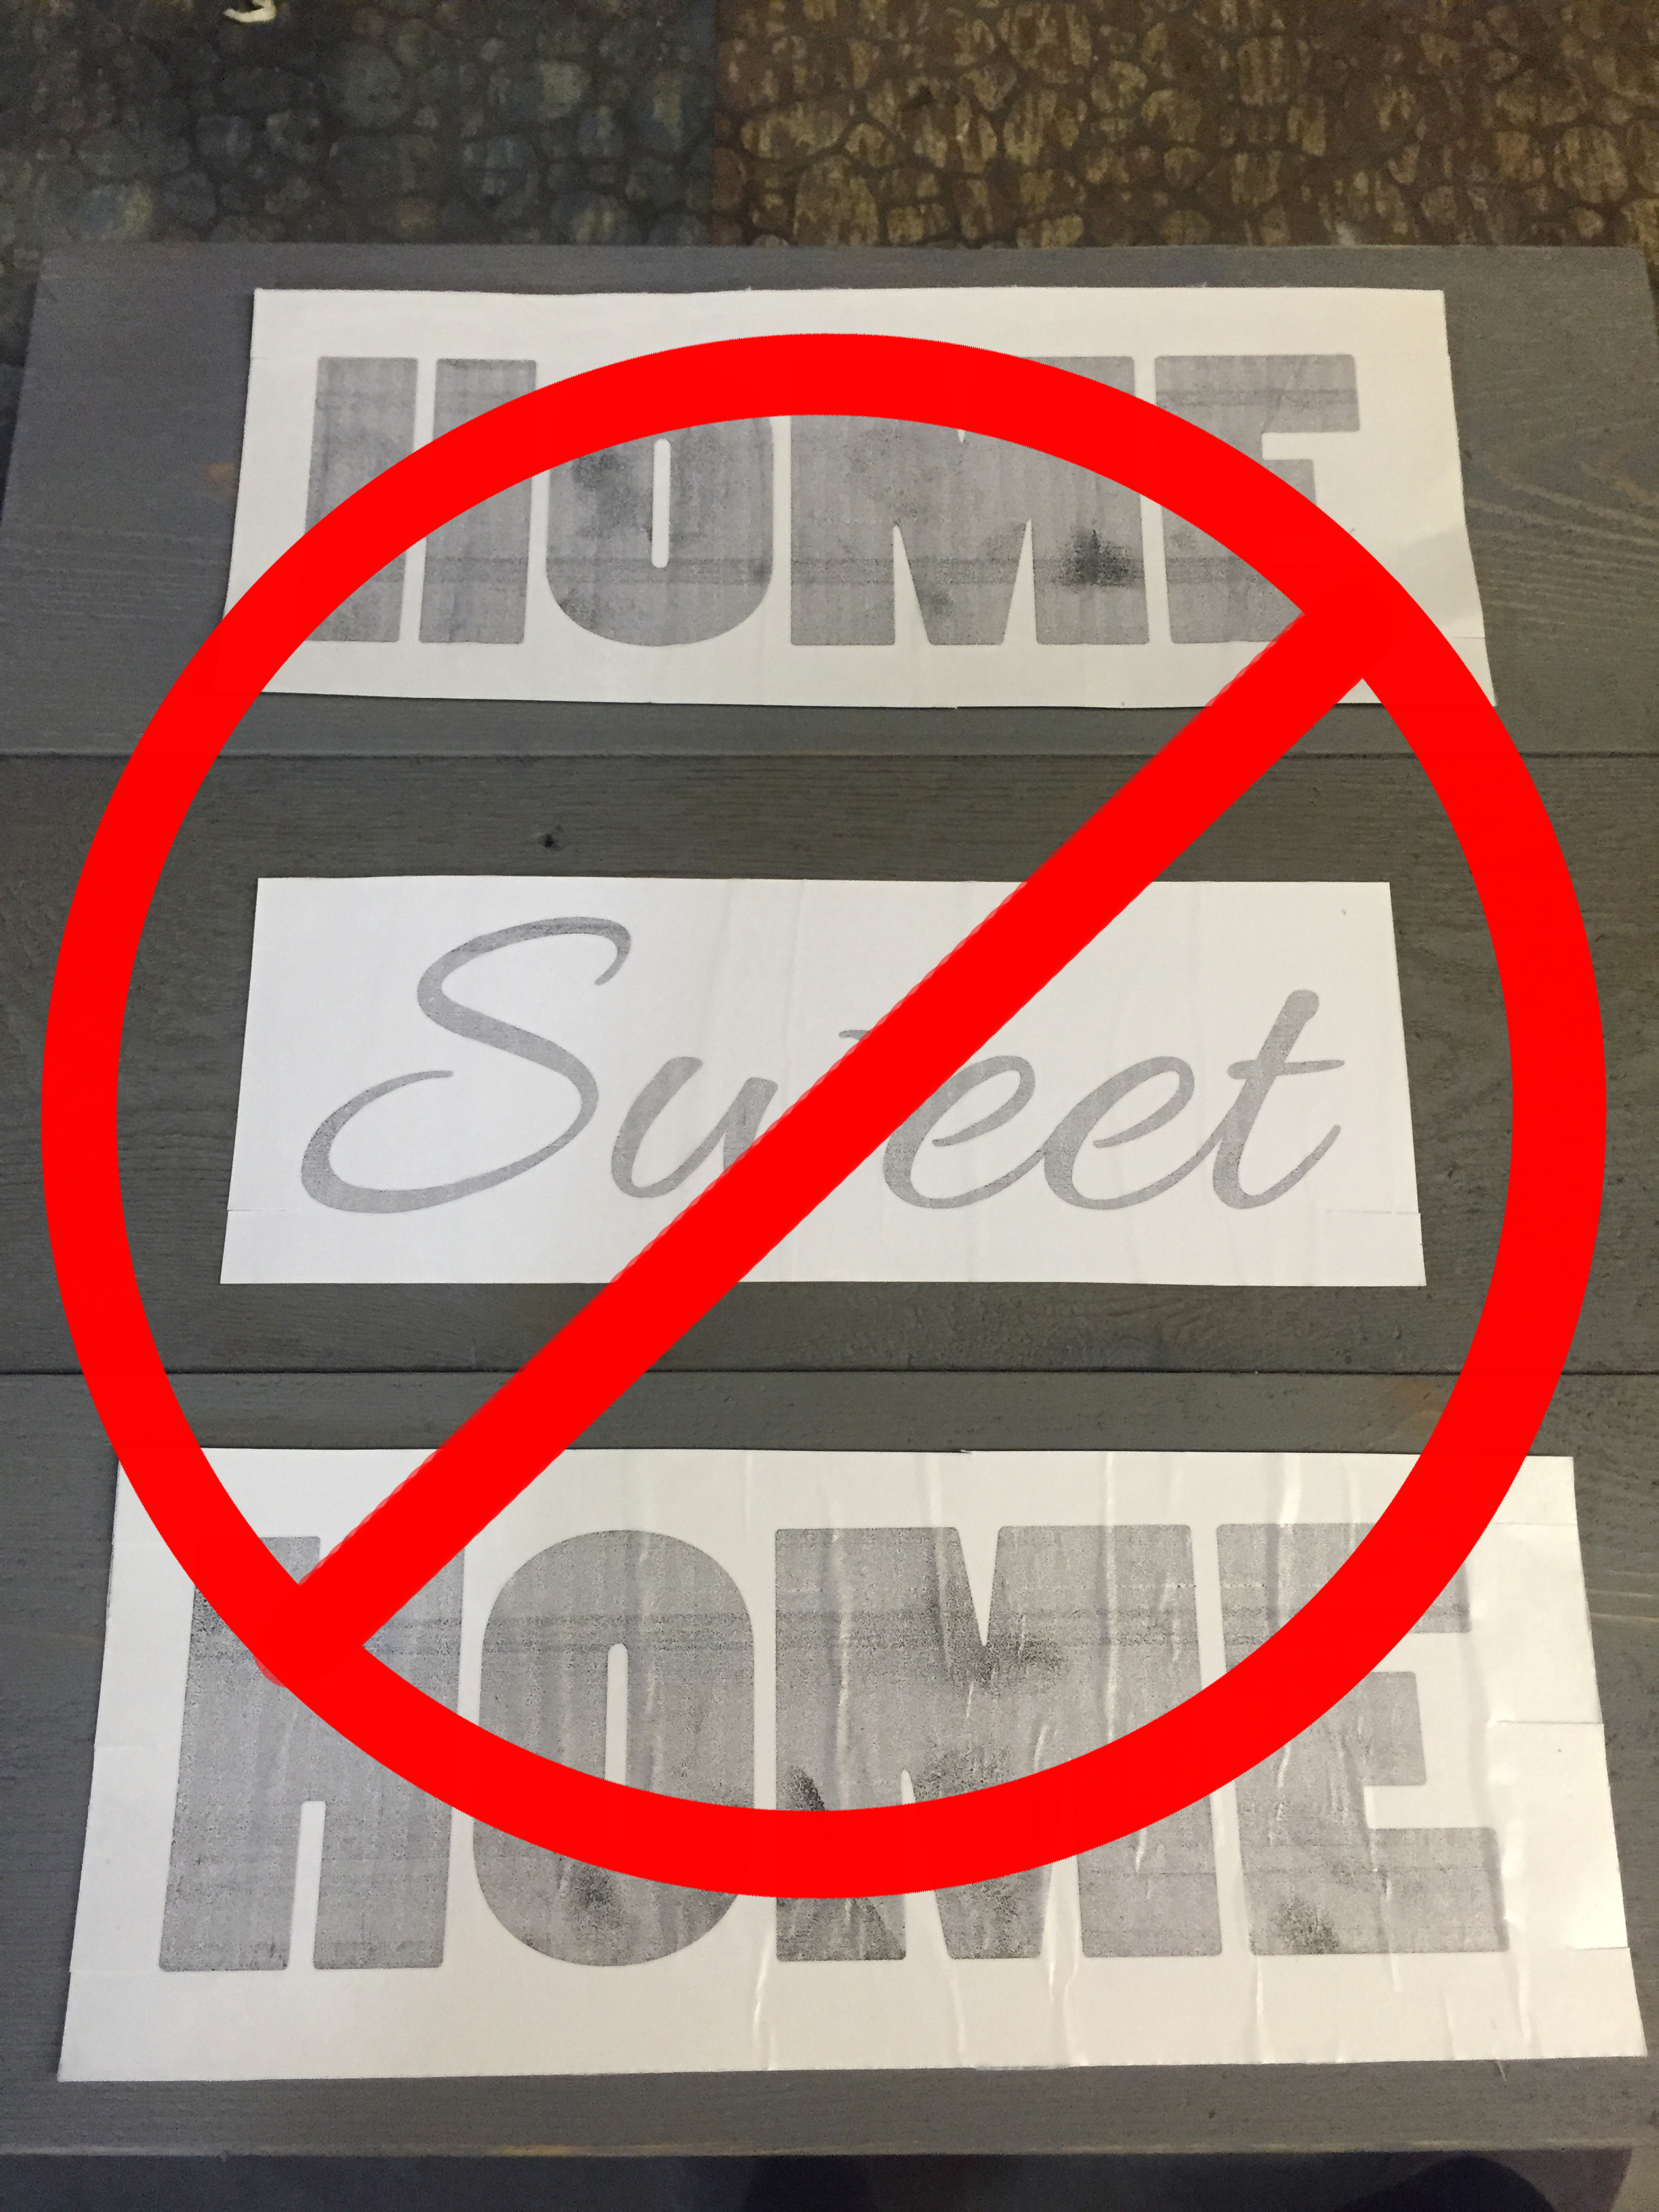
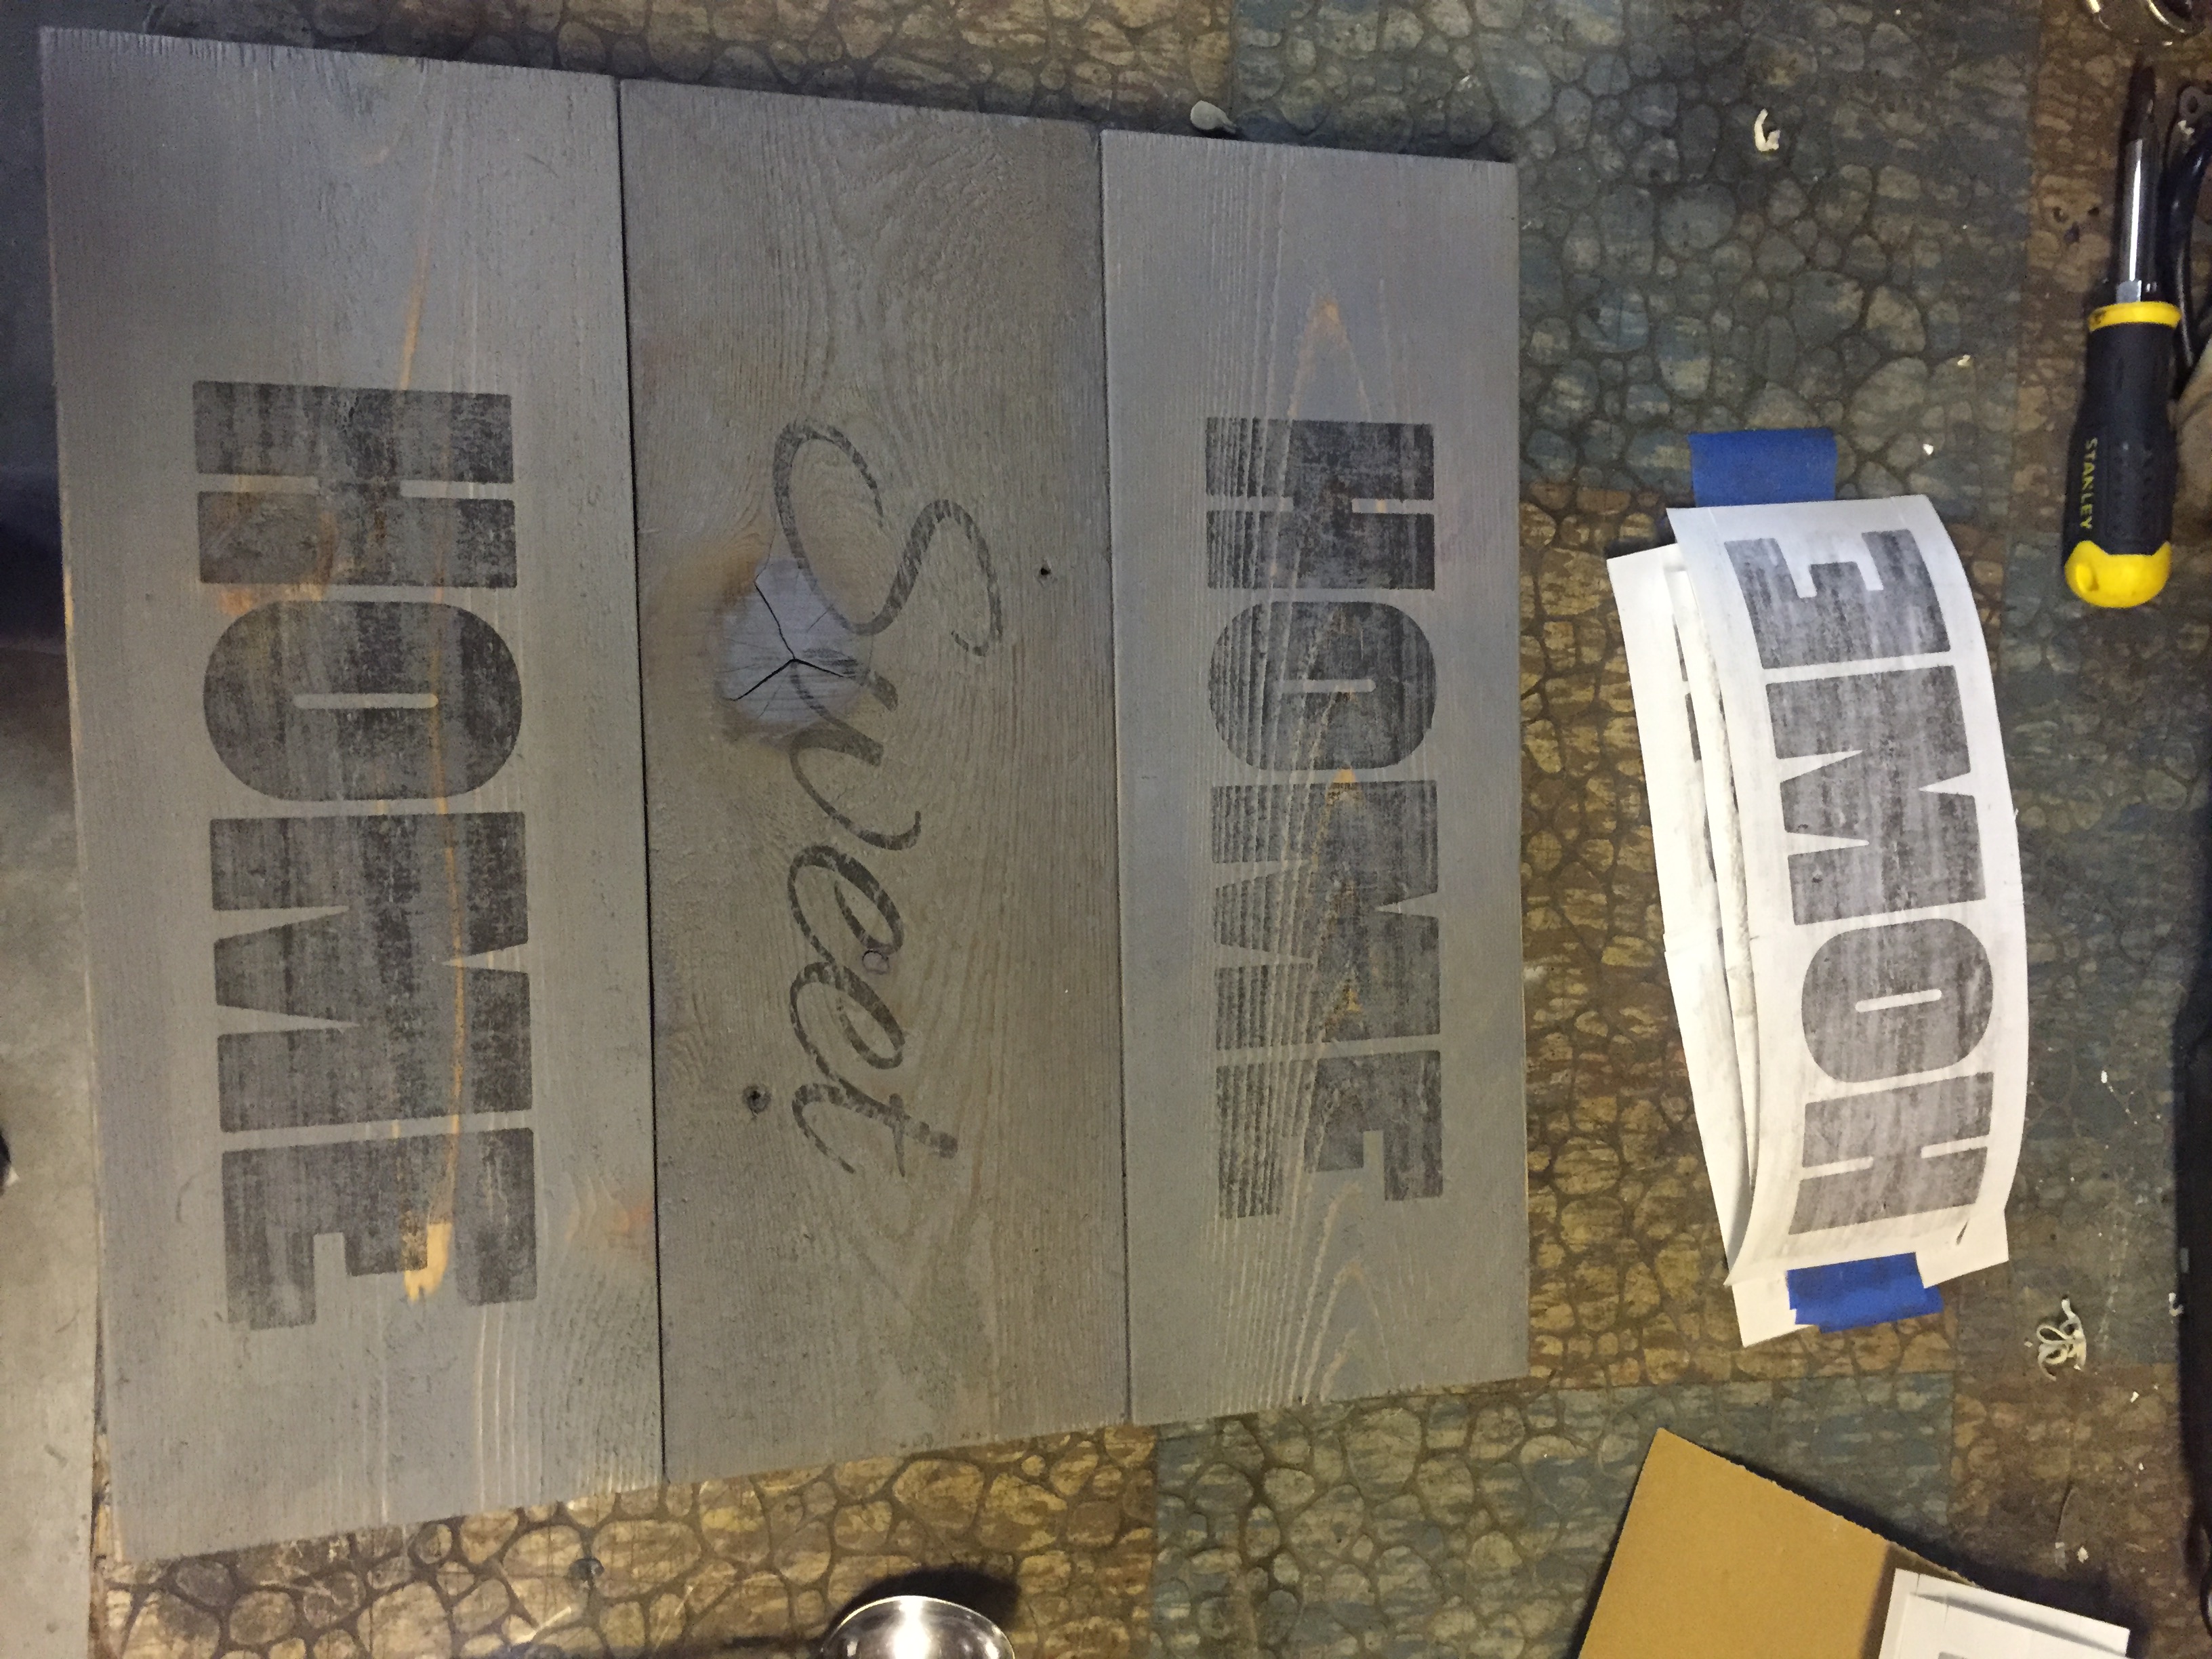
CRUCIAL NOTE: I’m sure you see the huge red X on the picture on the left. This is NOT how to print out the letters. Luckily, I caught my mistake before I applied the letters to the wood. You want to flip or “mirror” the image when you print it out. There is a box to check for this option when you click “file print…” If you can’t find this, you can have Google show you.
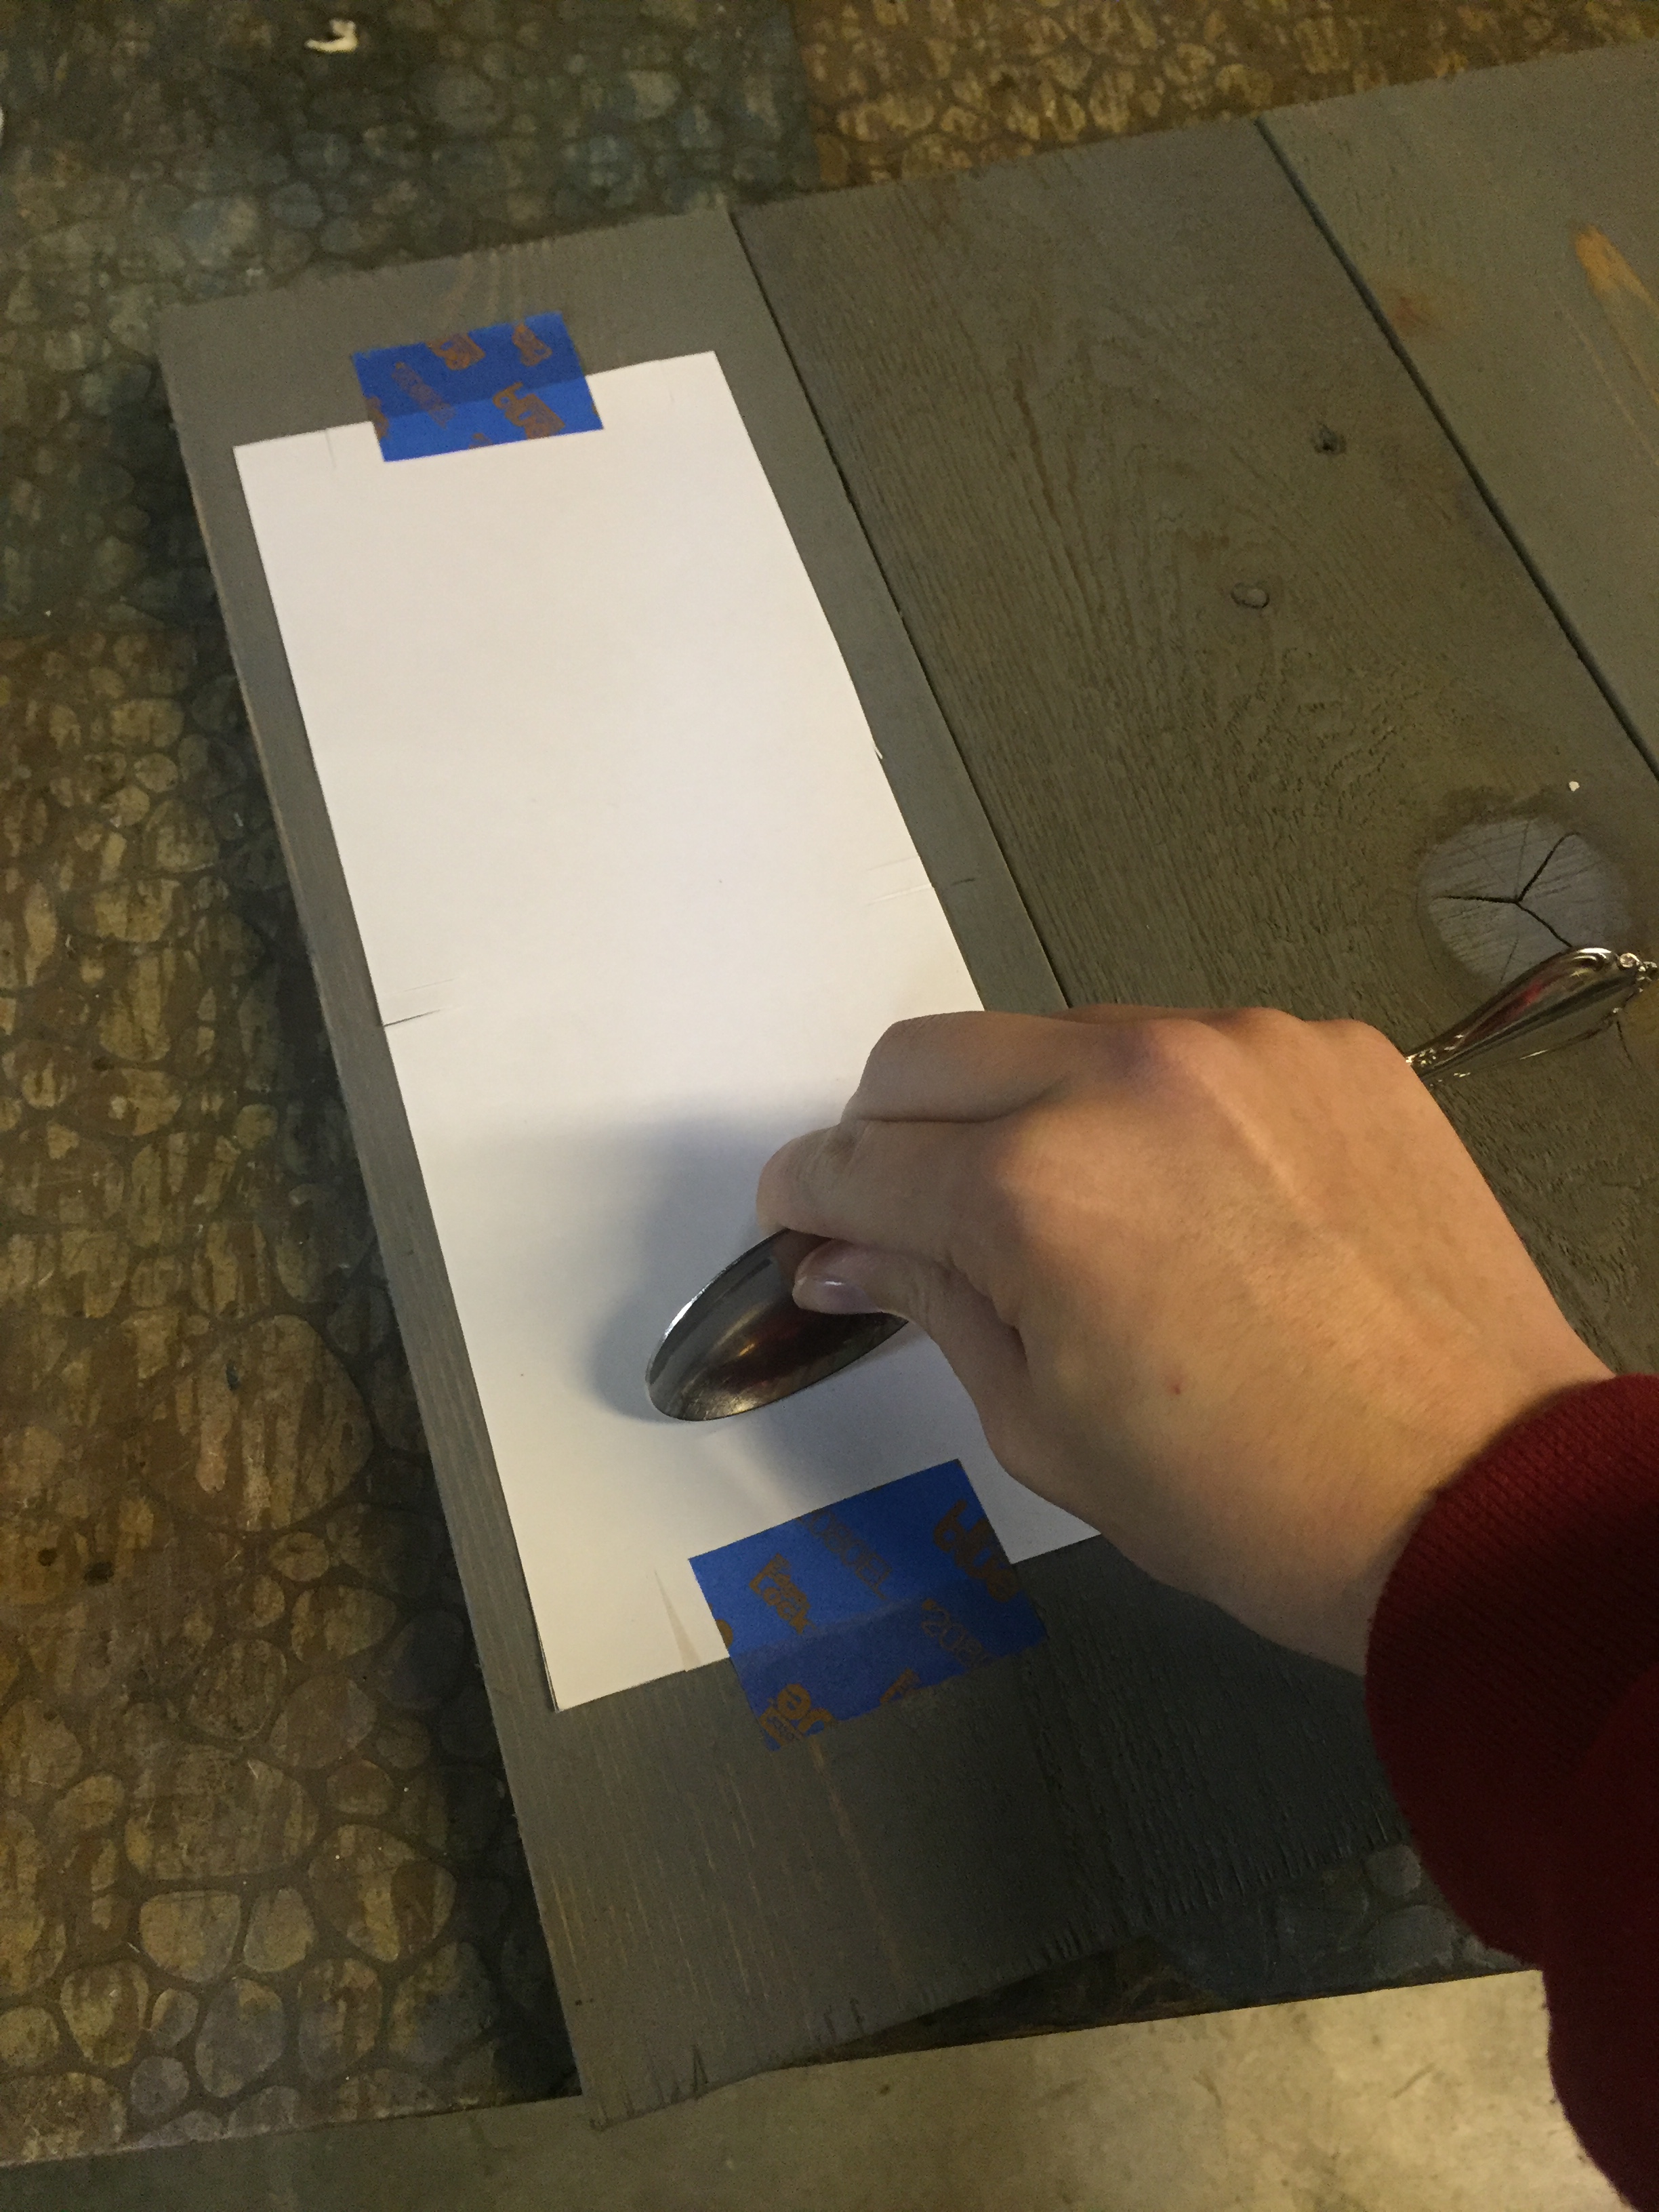
Once you’ve printed your words as a flipped image, tape them into place. Make sure to do this carefully because the ink will smear! Then use the edge of a spoon to rub the ink onto the wood. You’ll need to apply a lot of pressure when you rub. After, it should look like the picture on the right.
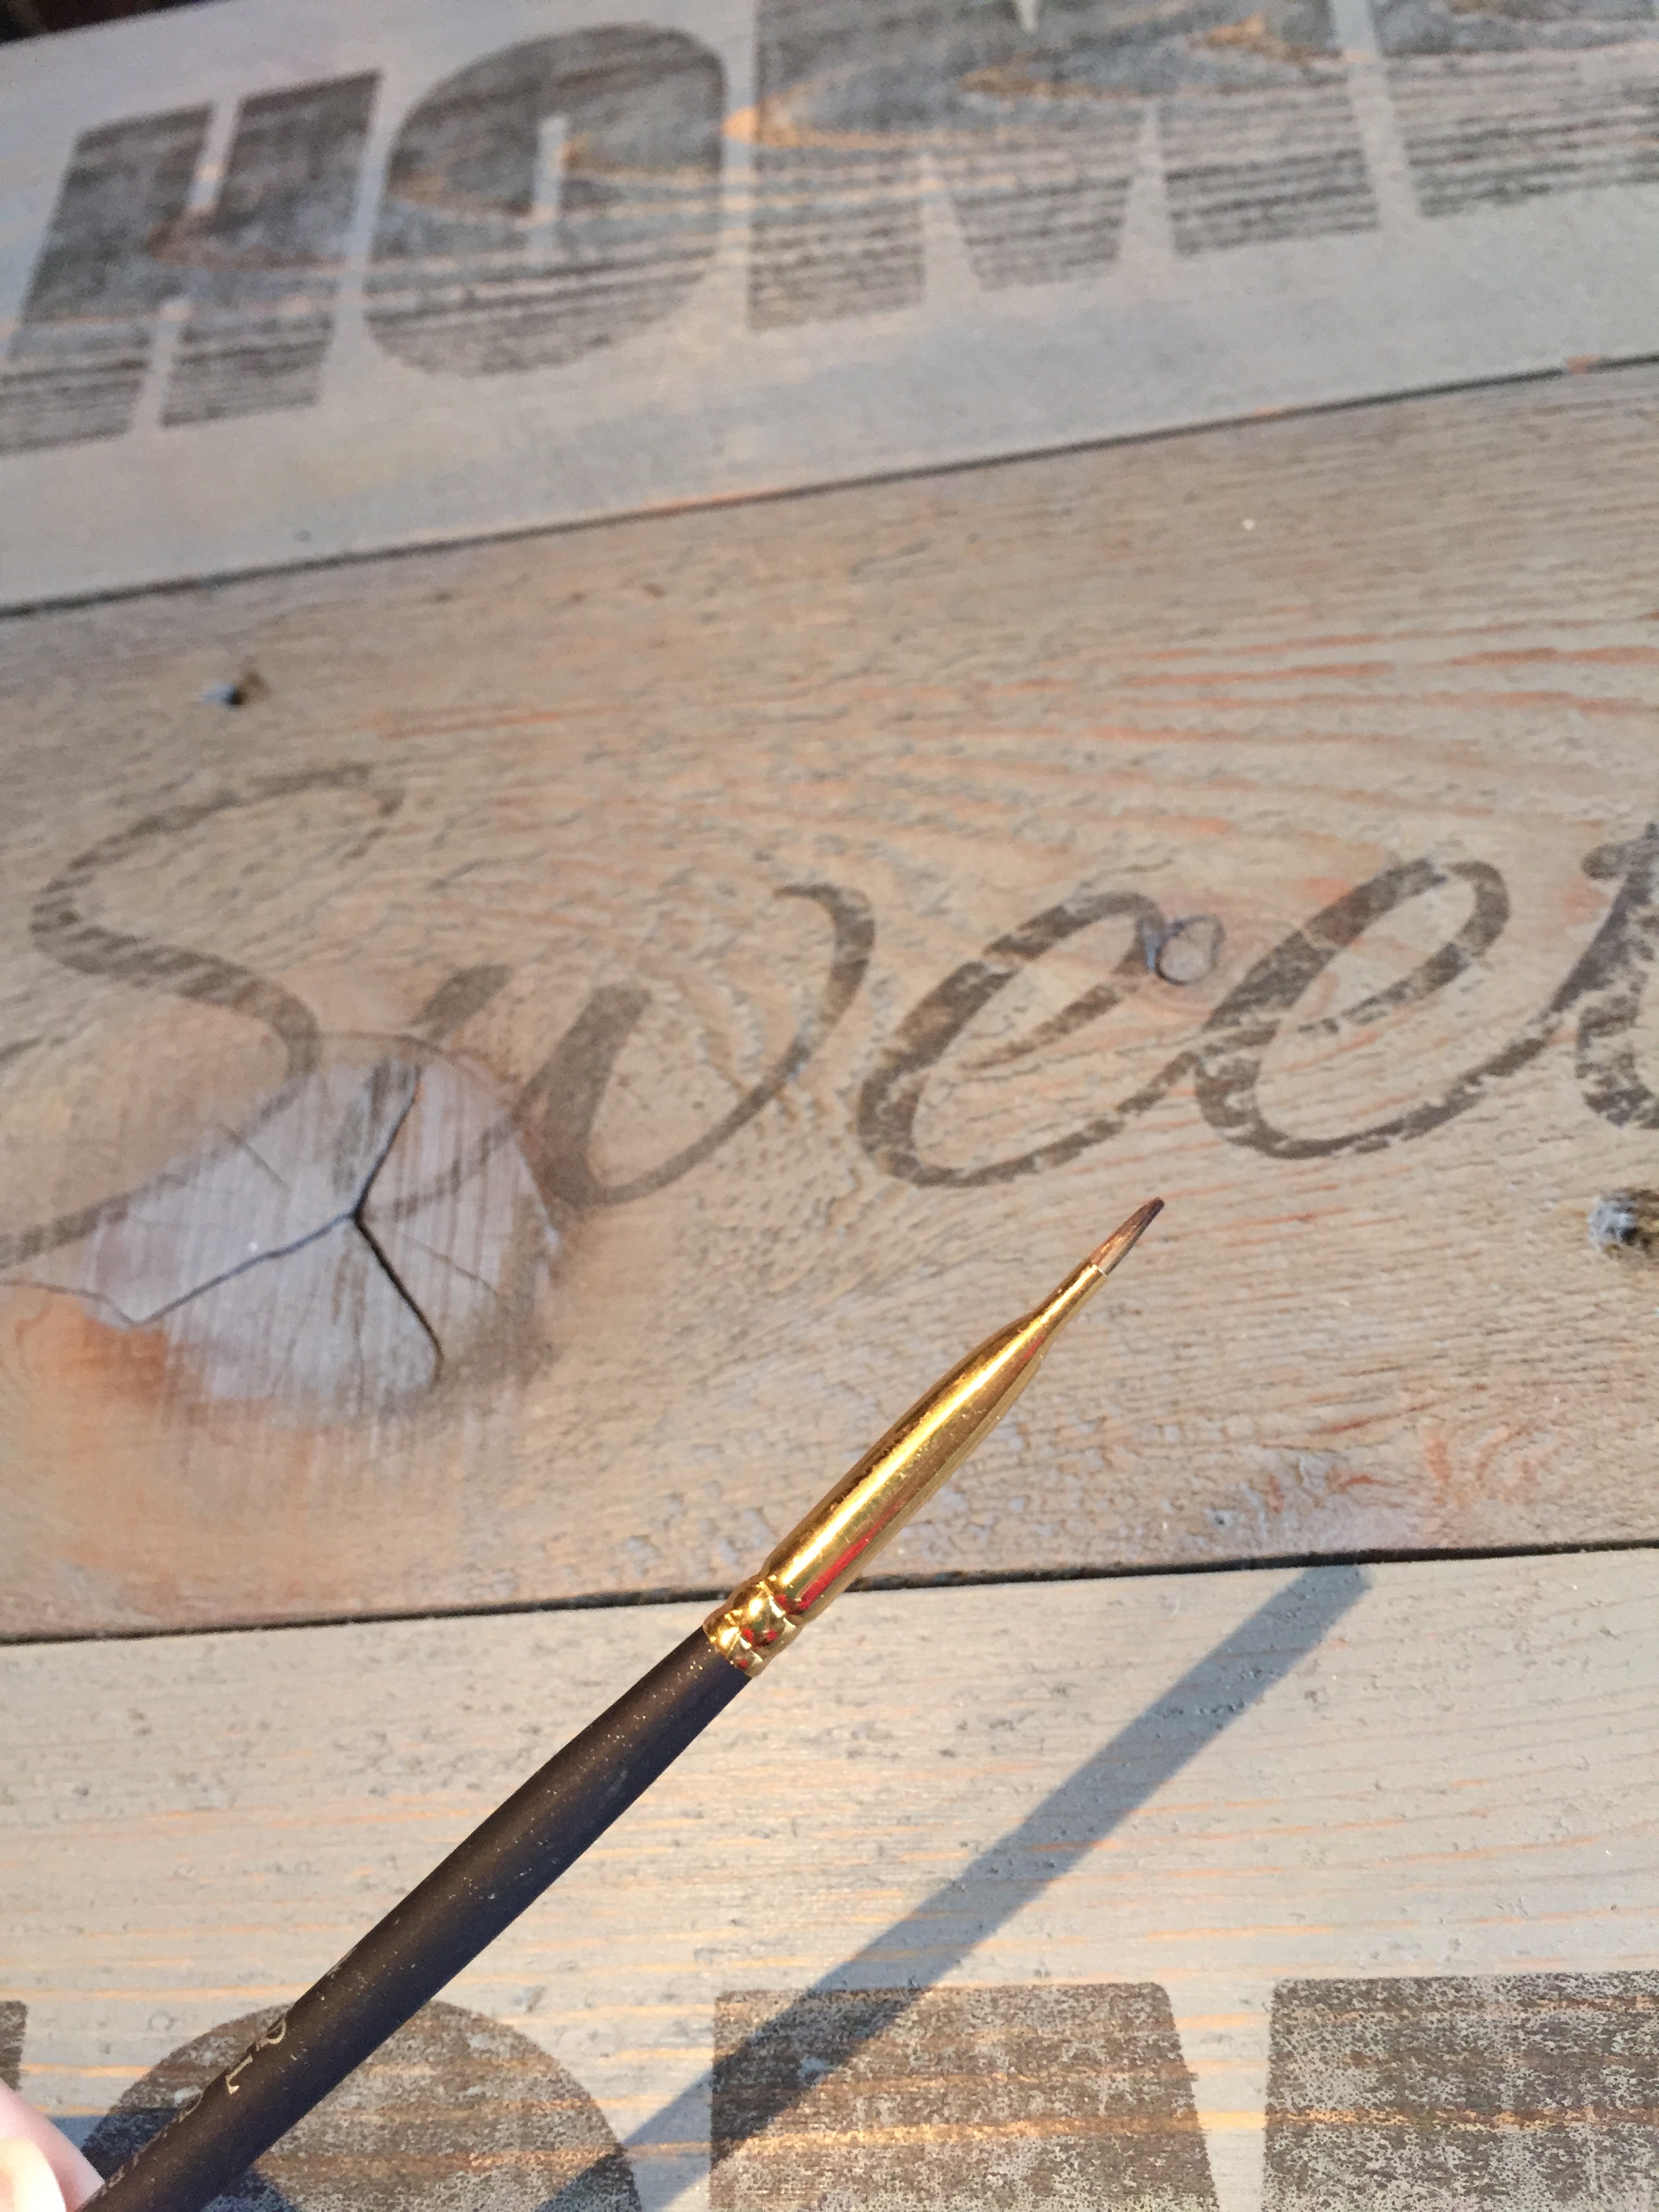
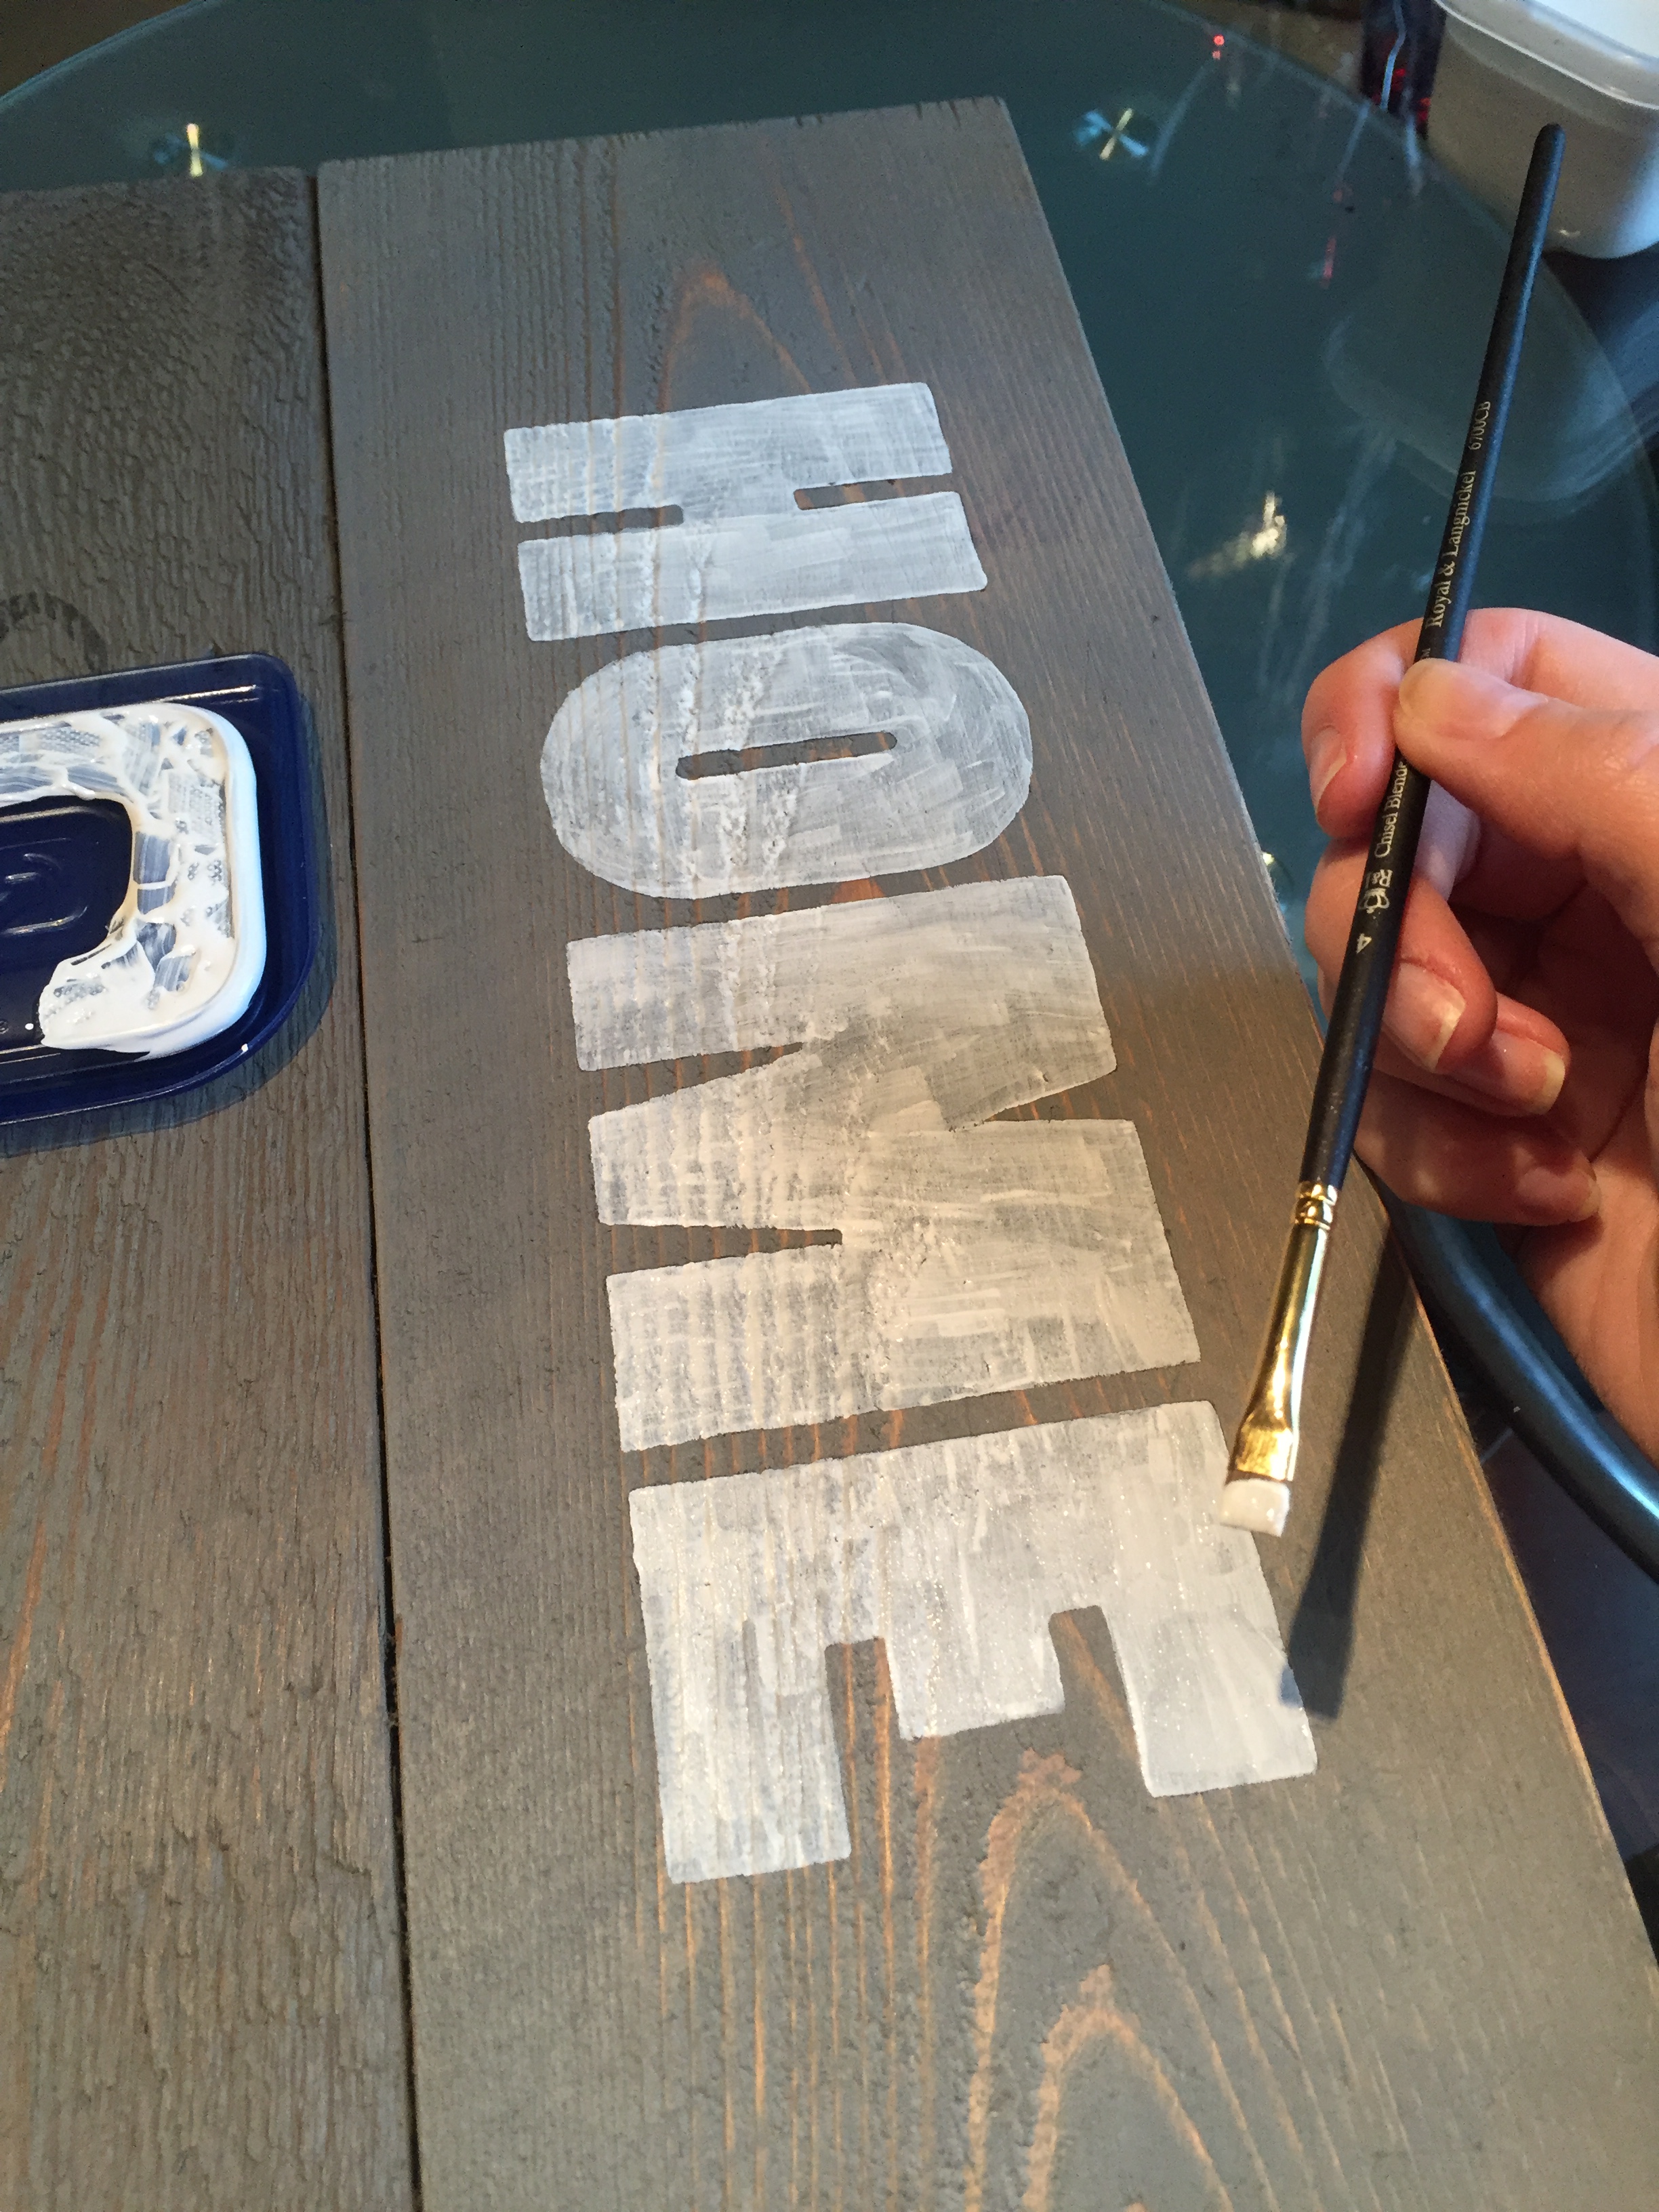
Once the ink has dried, its time to paint! Use the smallest brush that you can find, and start painting. Think back to coloring and staying in the lines. For this, I used left over white paint from my parents remodel, and I applied two coats.
Once the paint has dried for 24 hours, you can sand it down again for a more distressed look.
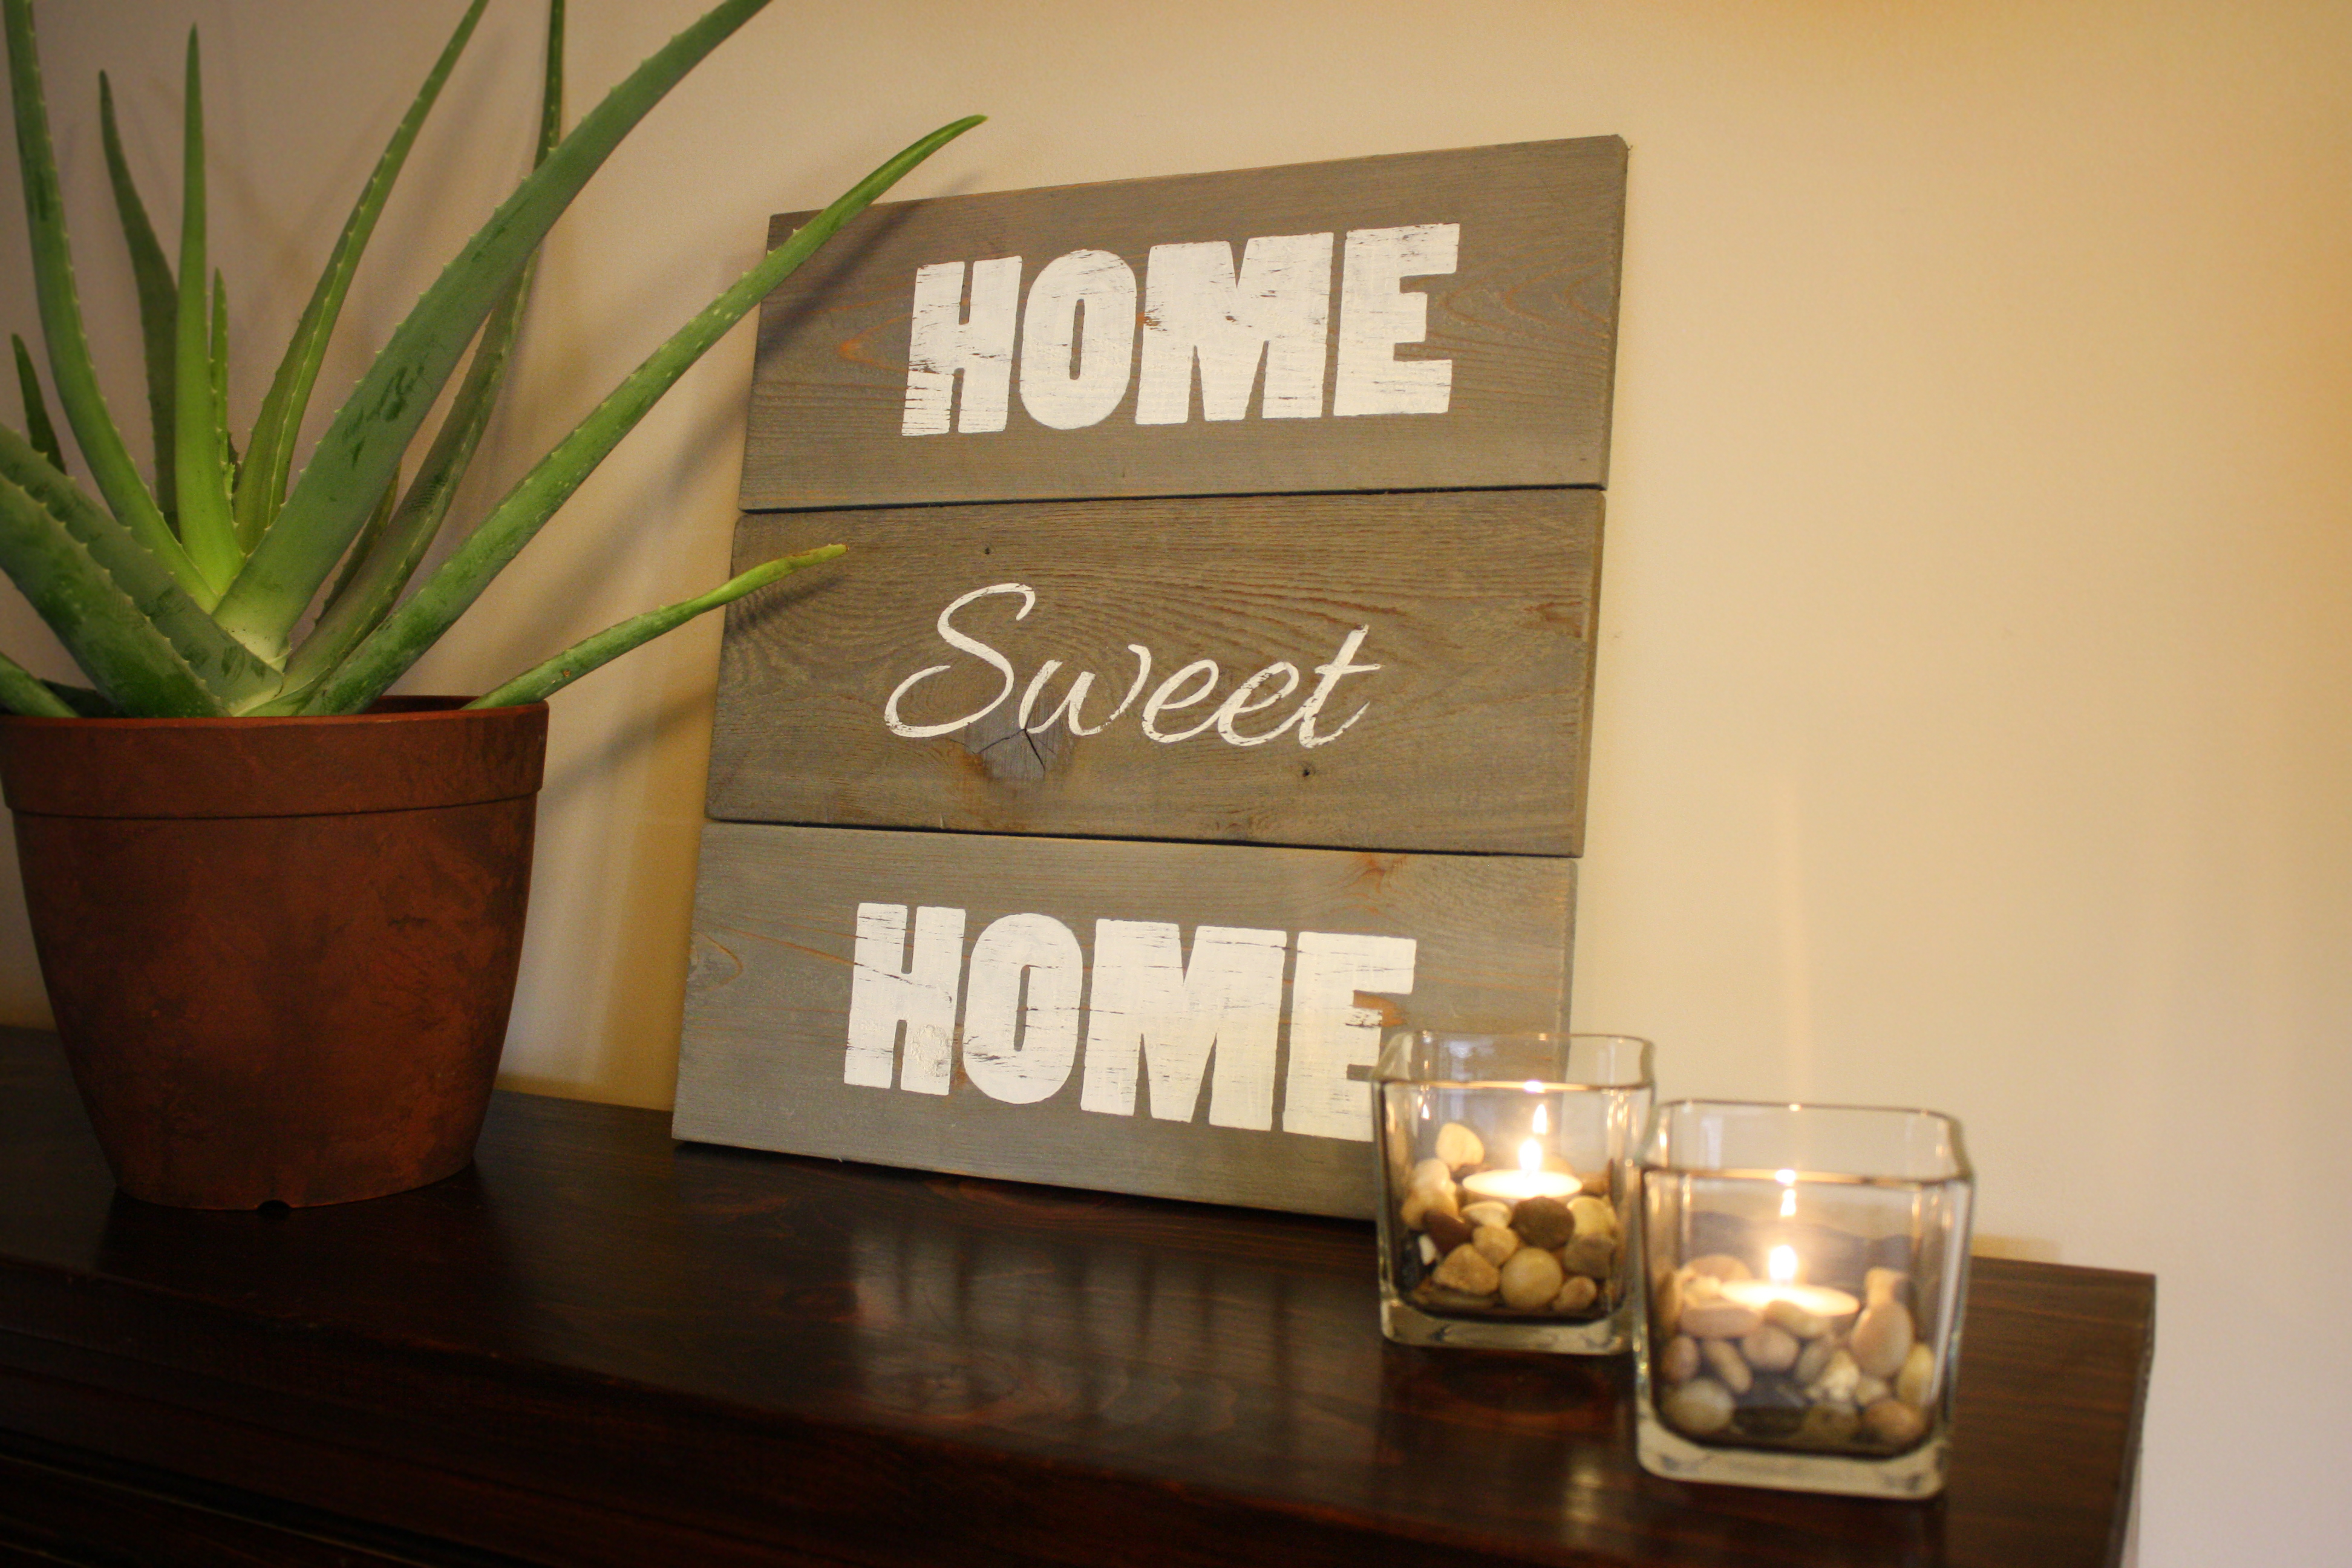
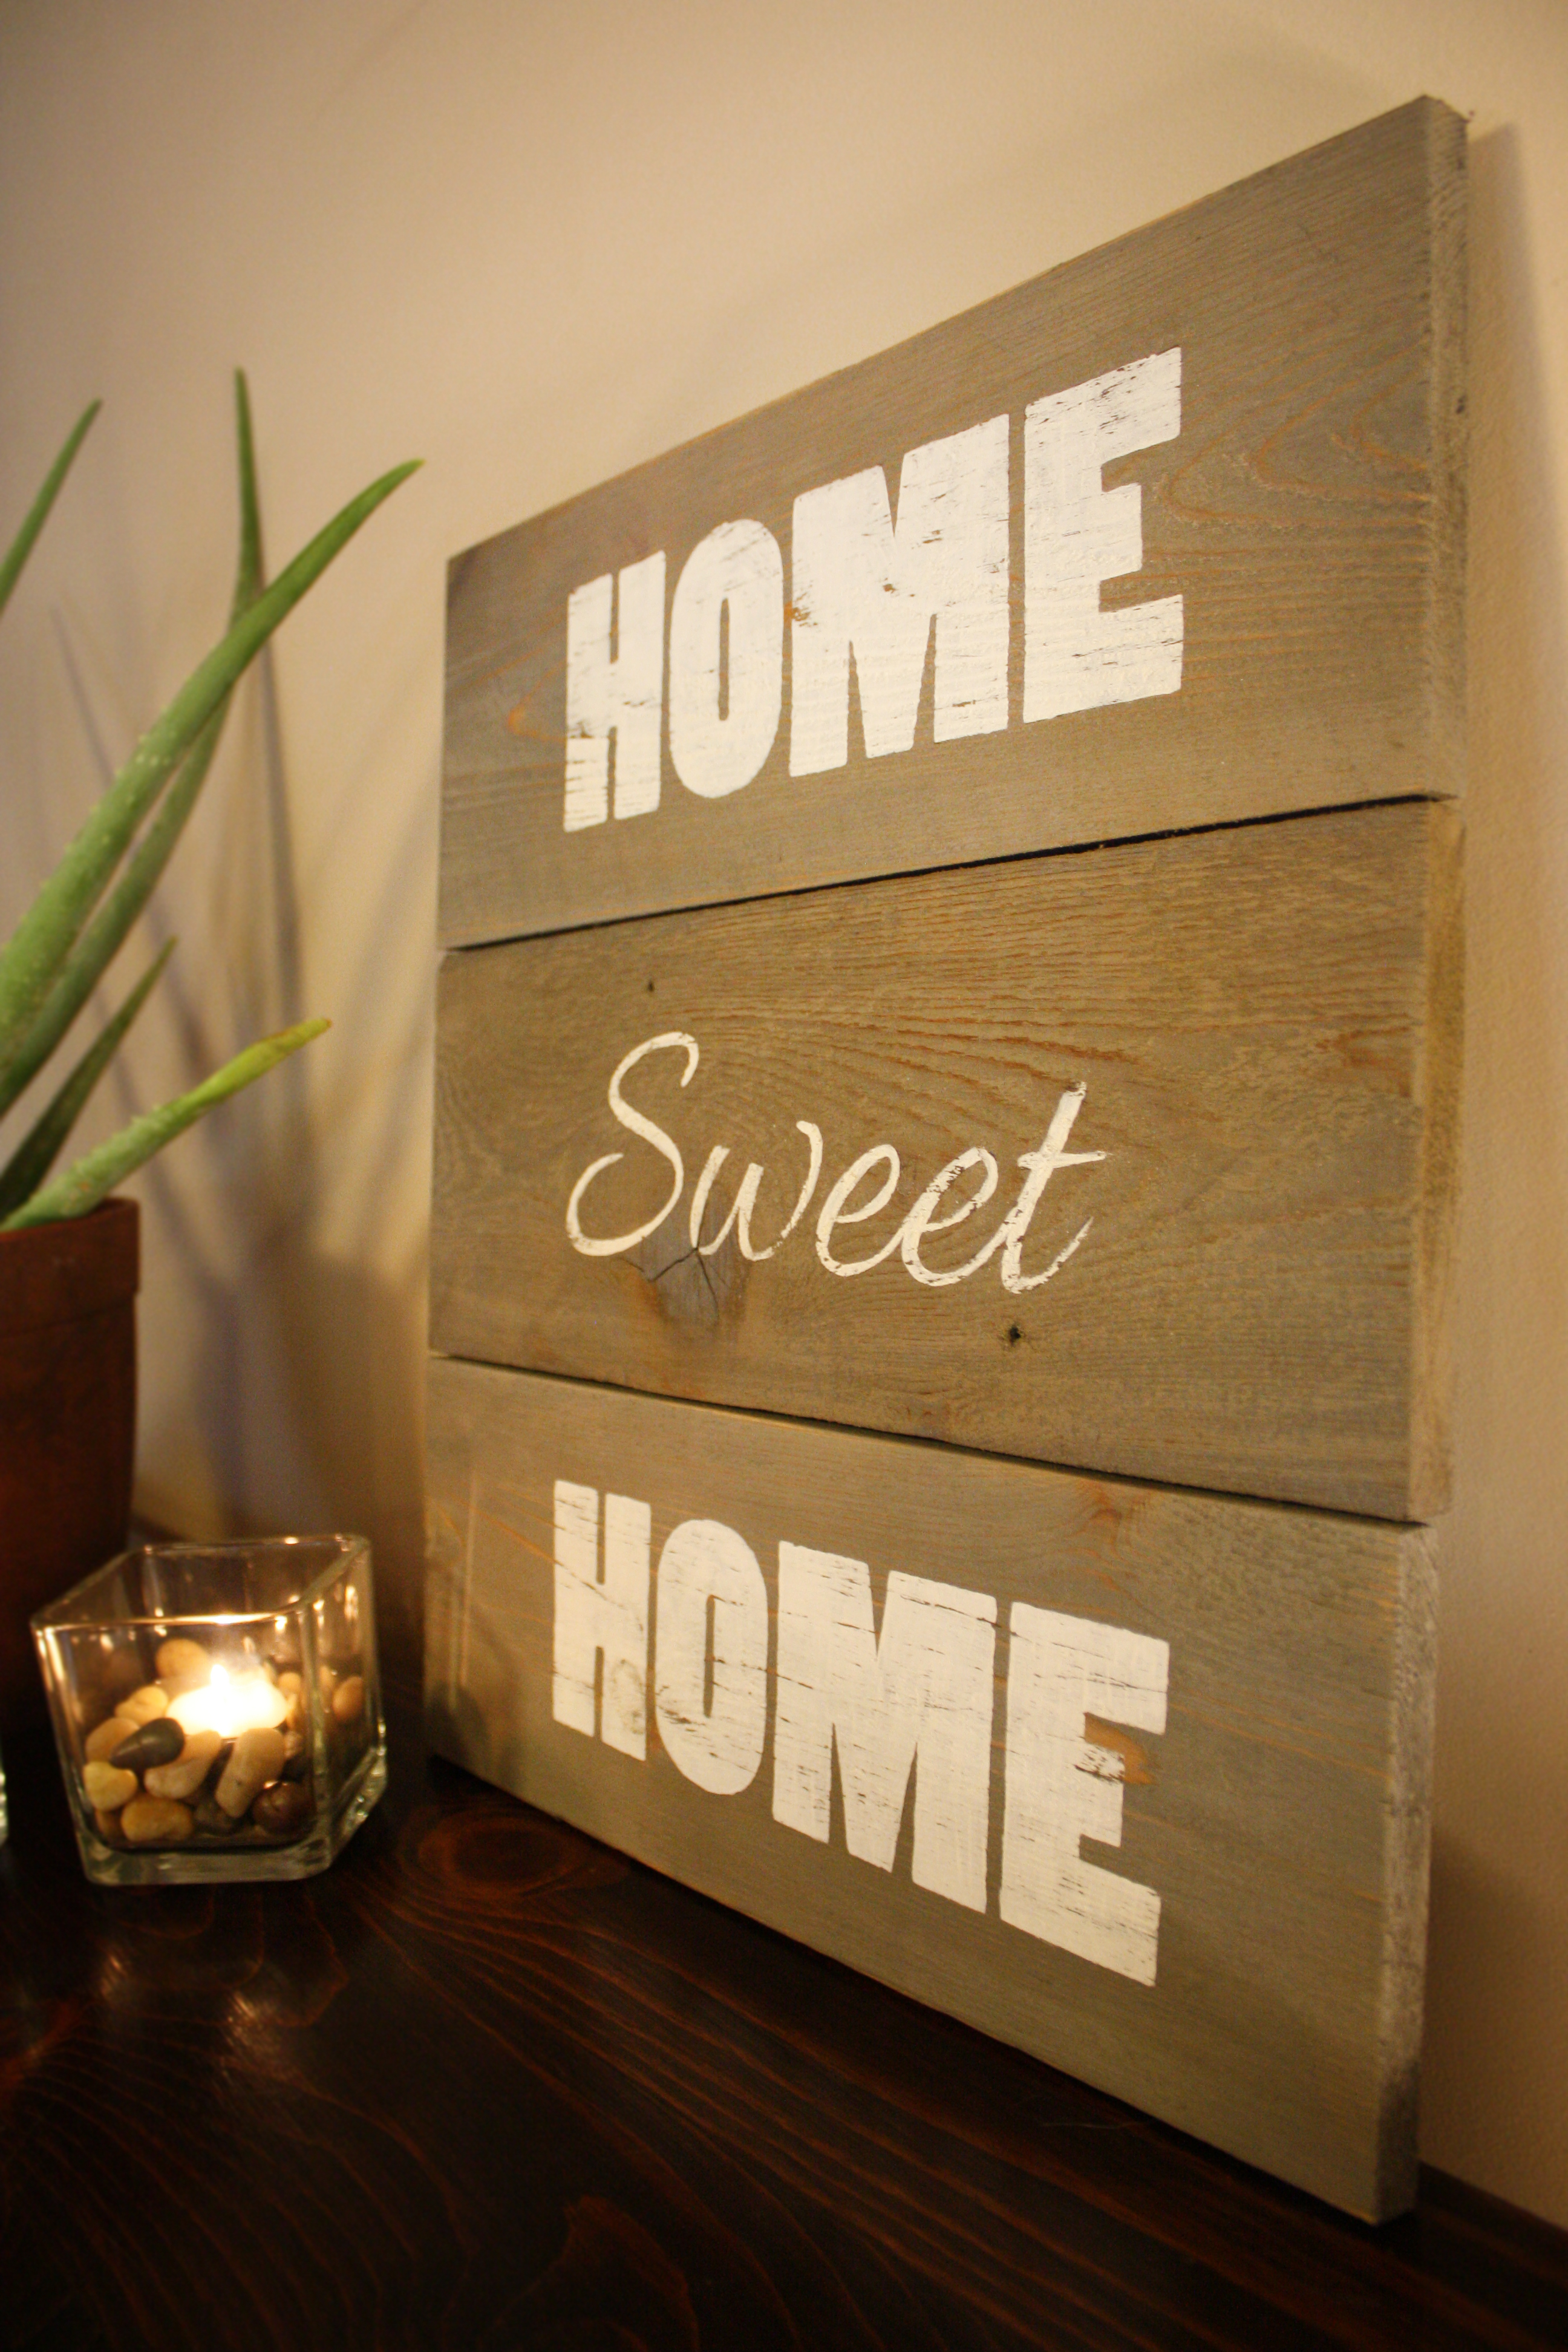
And there you have it! A beautiful wood sign without having to make a stencil! Let me know if you try this project out for yourself. Leave me a comment below! And of course, hit subscribe and follow us on FACEBOOK!
TOTAL COST: $8 for the stain I previously bought.
Items SALVAGED from the Inevitable Seattle Trash Day:
- Fence Wood
- Wall Trim
- Paint
- Stain
