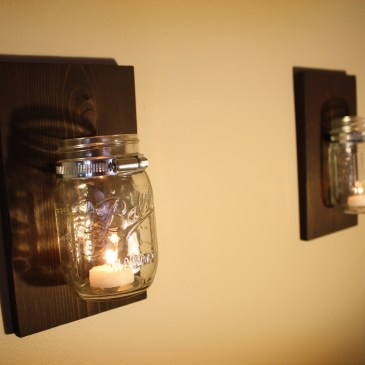
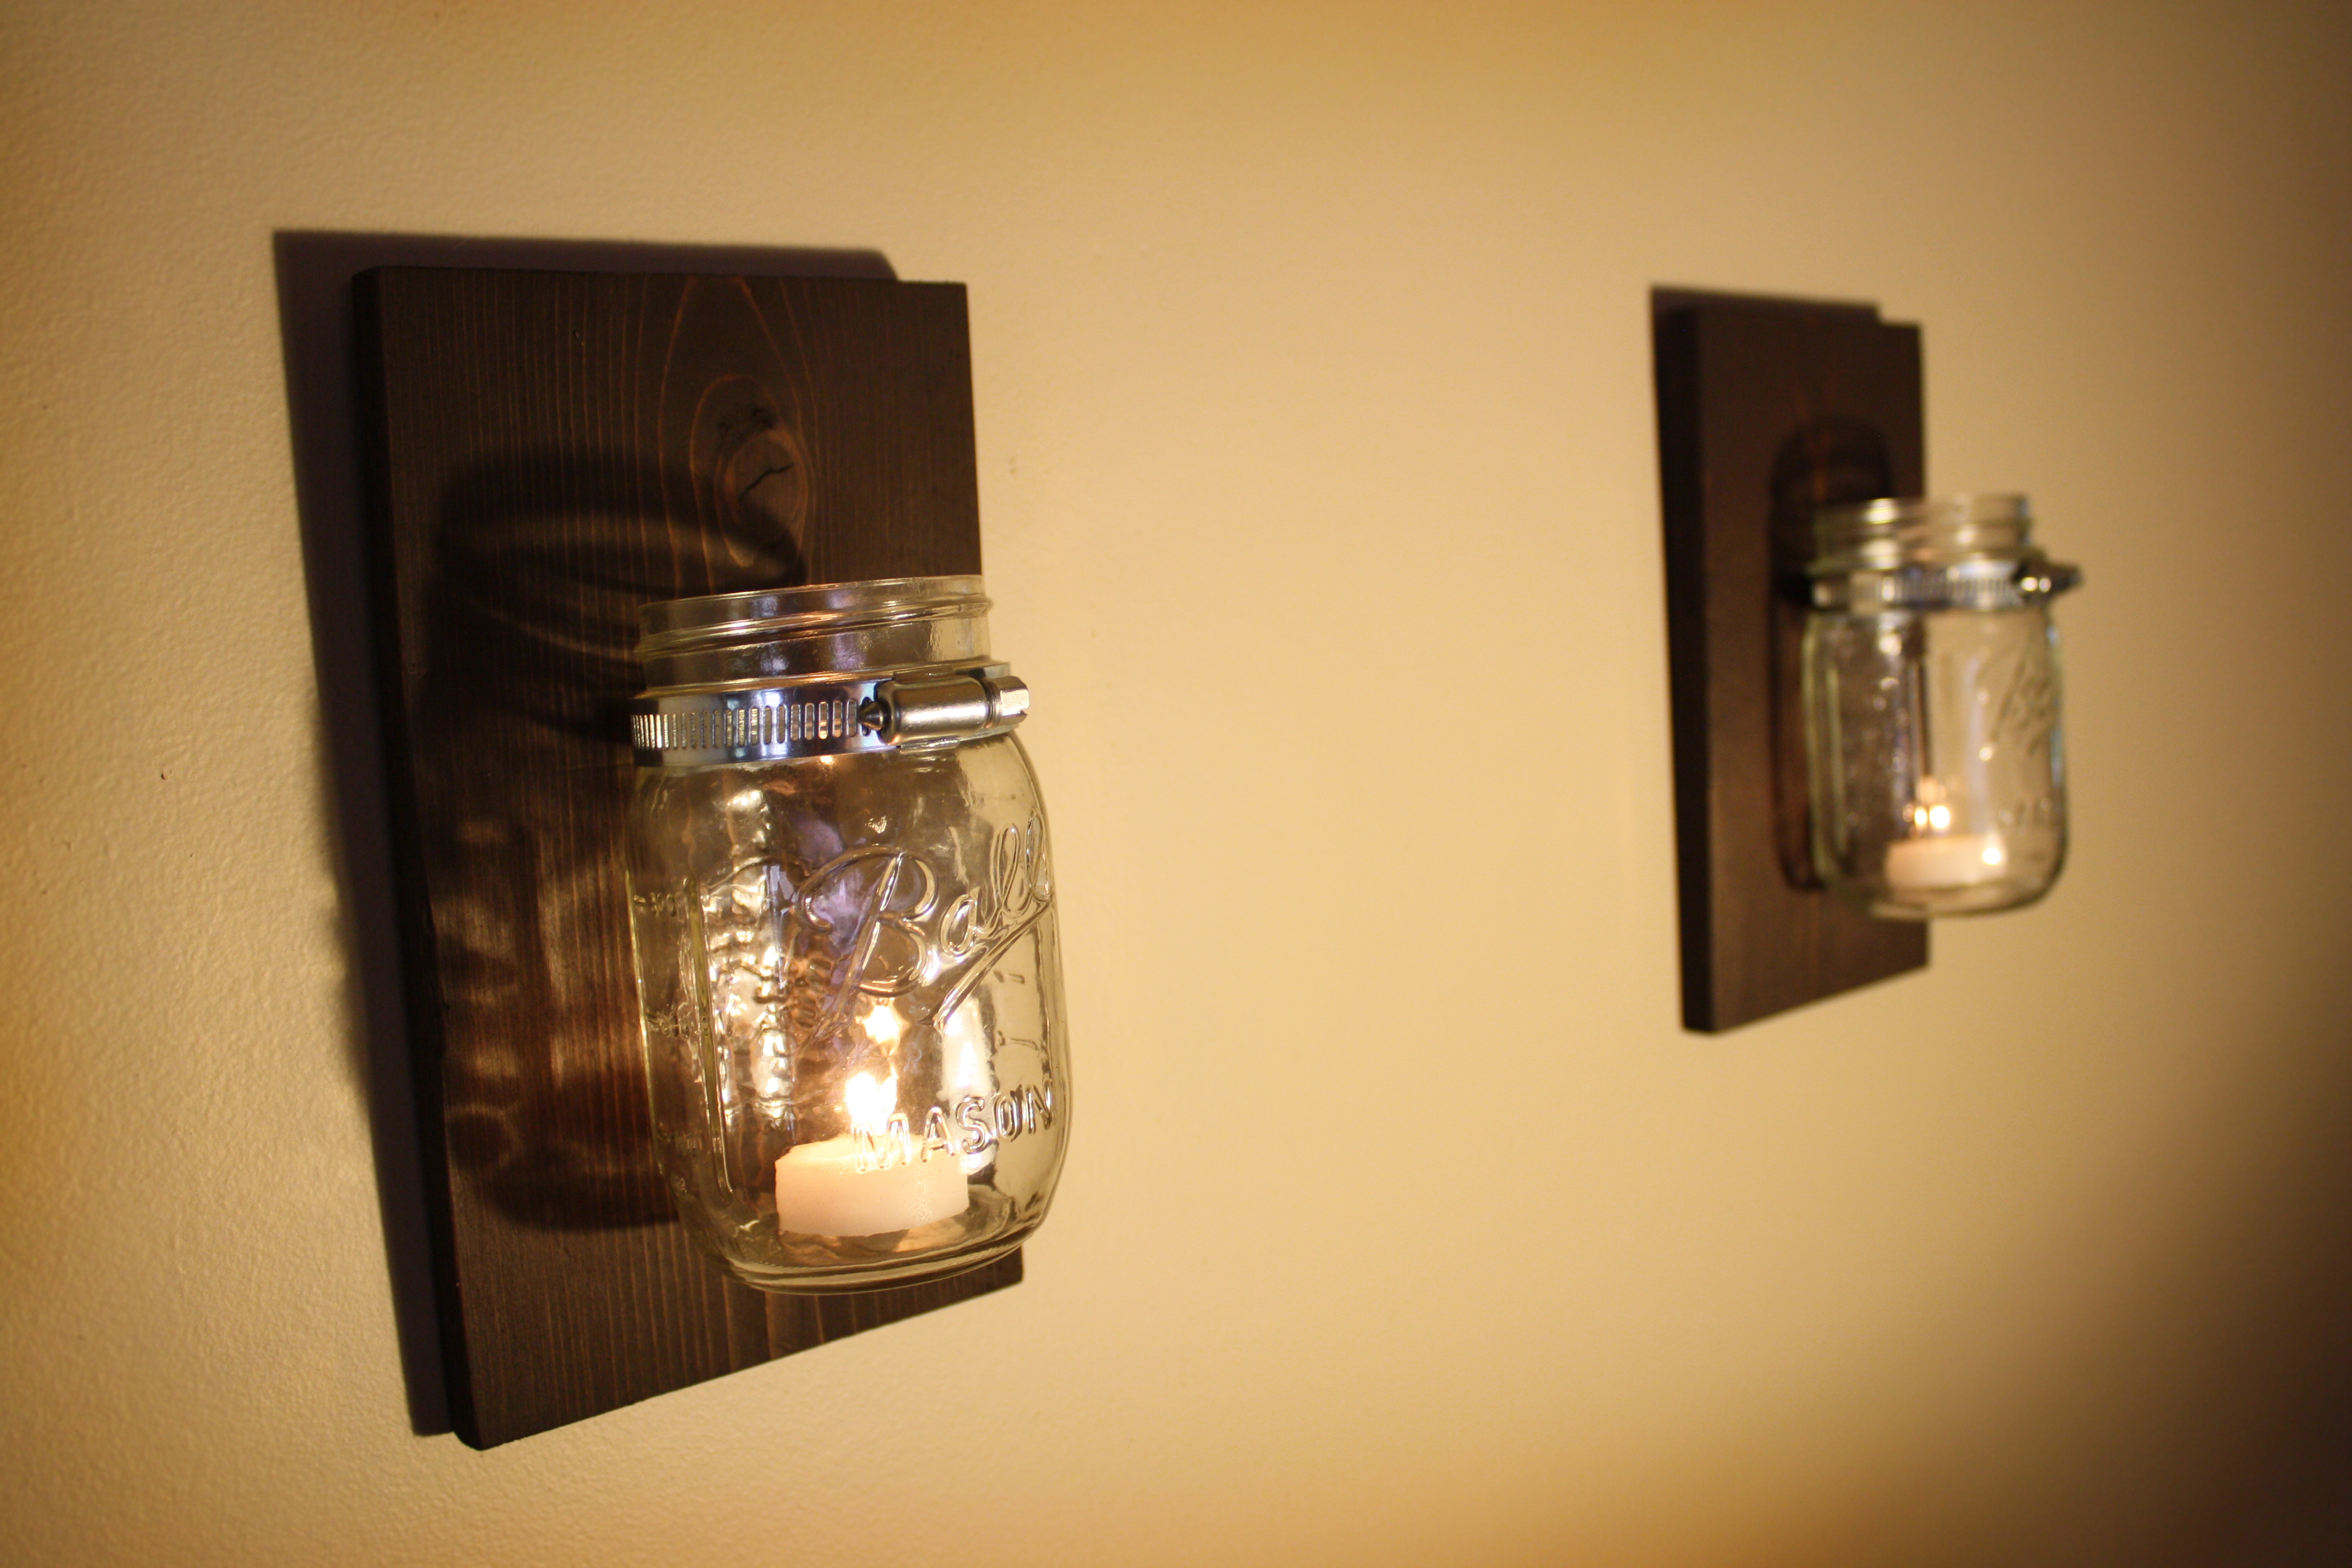

What a beautiful outcome using second-hand mason jars and reclaimed fence wood! What I love most about old wood, is that even if you’re not going for a weathered look, you can sand it down and it will look brand new again. Such a wonderful concept that is near and dear to my heart. Why throw away the old wood…when it’s perfect on the inside? All you have to do is peel back a layer to get a glimpse of the beauty within. Nothing worth anything is easy.
With that said, let’s get this simple DIY project started!

I found these classic mason jars at goodwill for 20 cents each. Of course, they didn’t have any rings or lids, but I didn’t think that was completely necessary for this project. So, I went ahead and got them anyway, and gave them a good scrub.
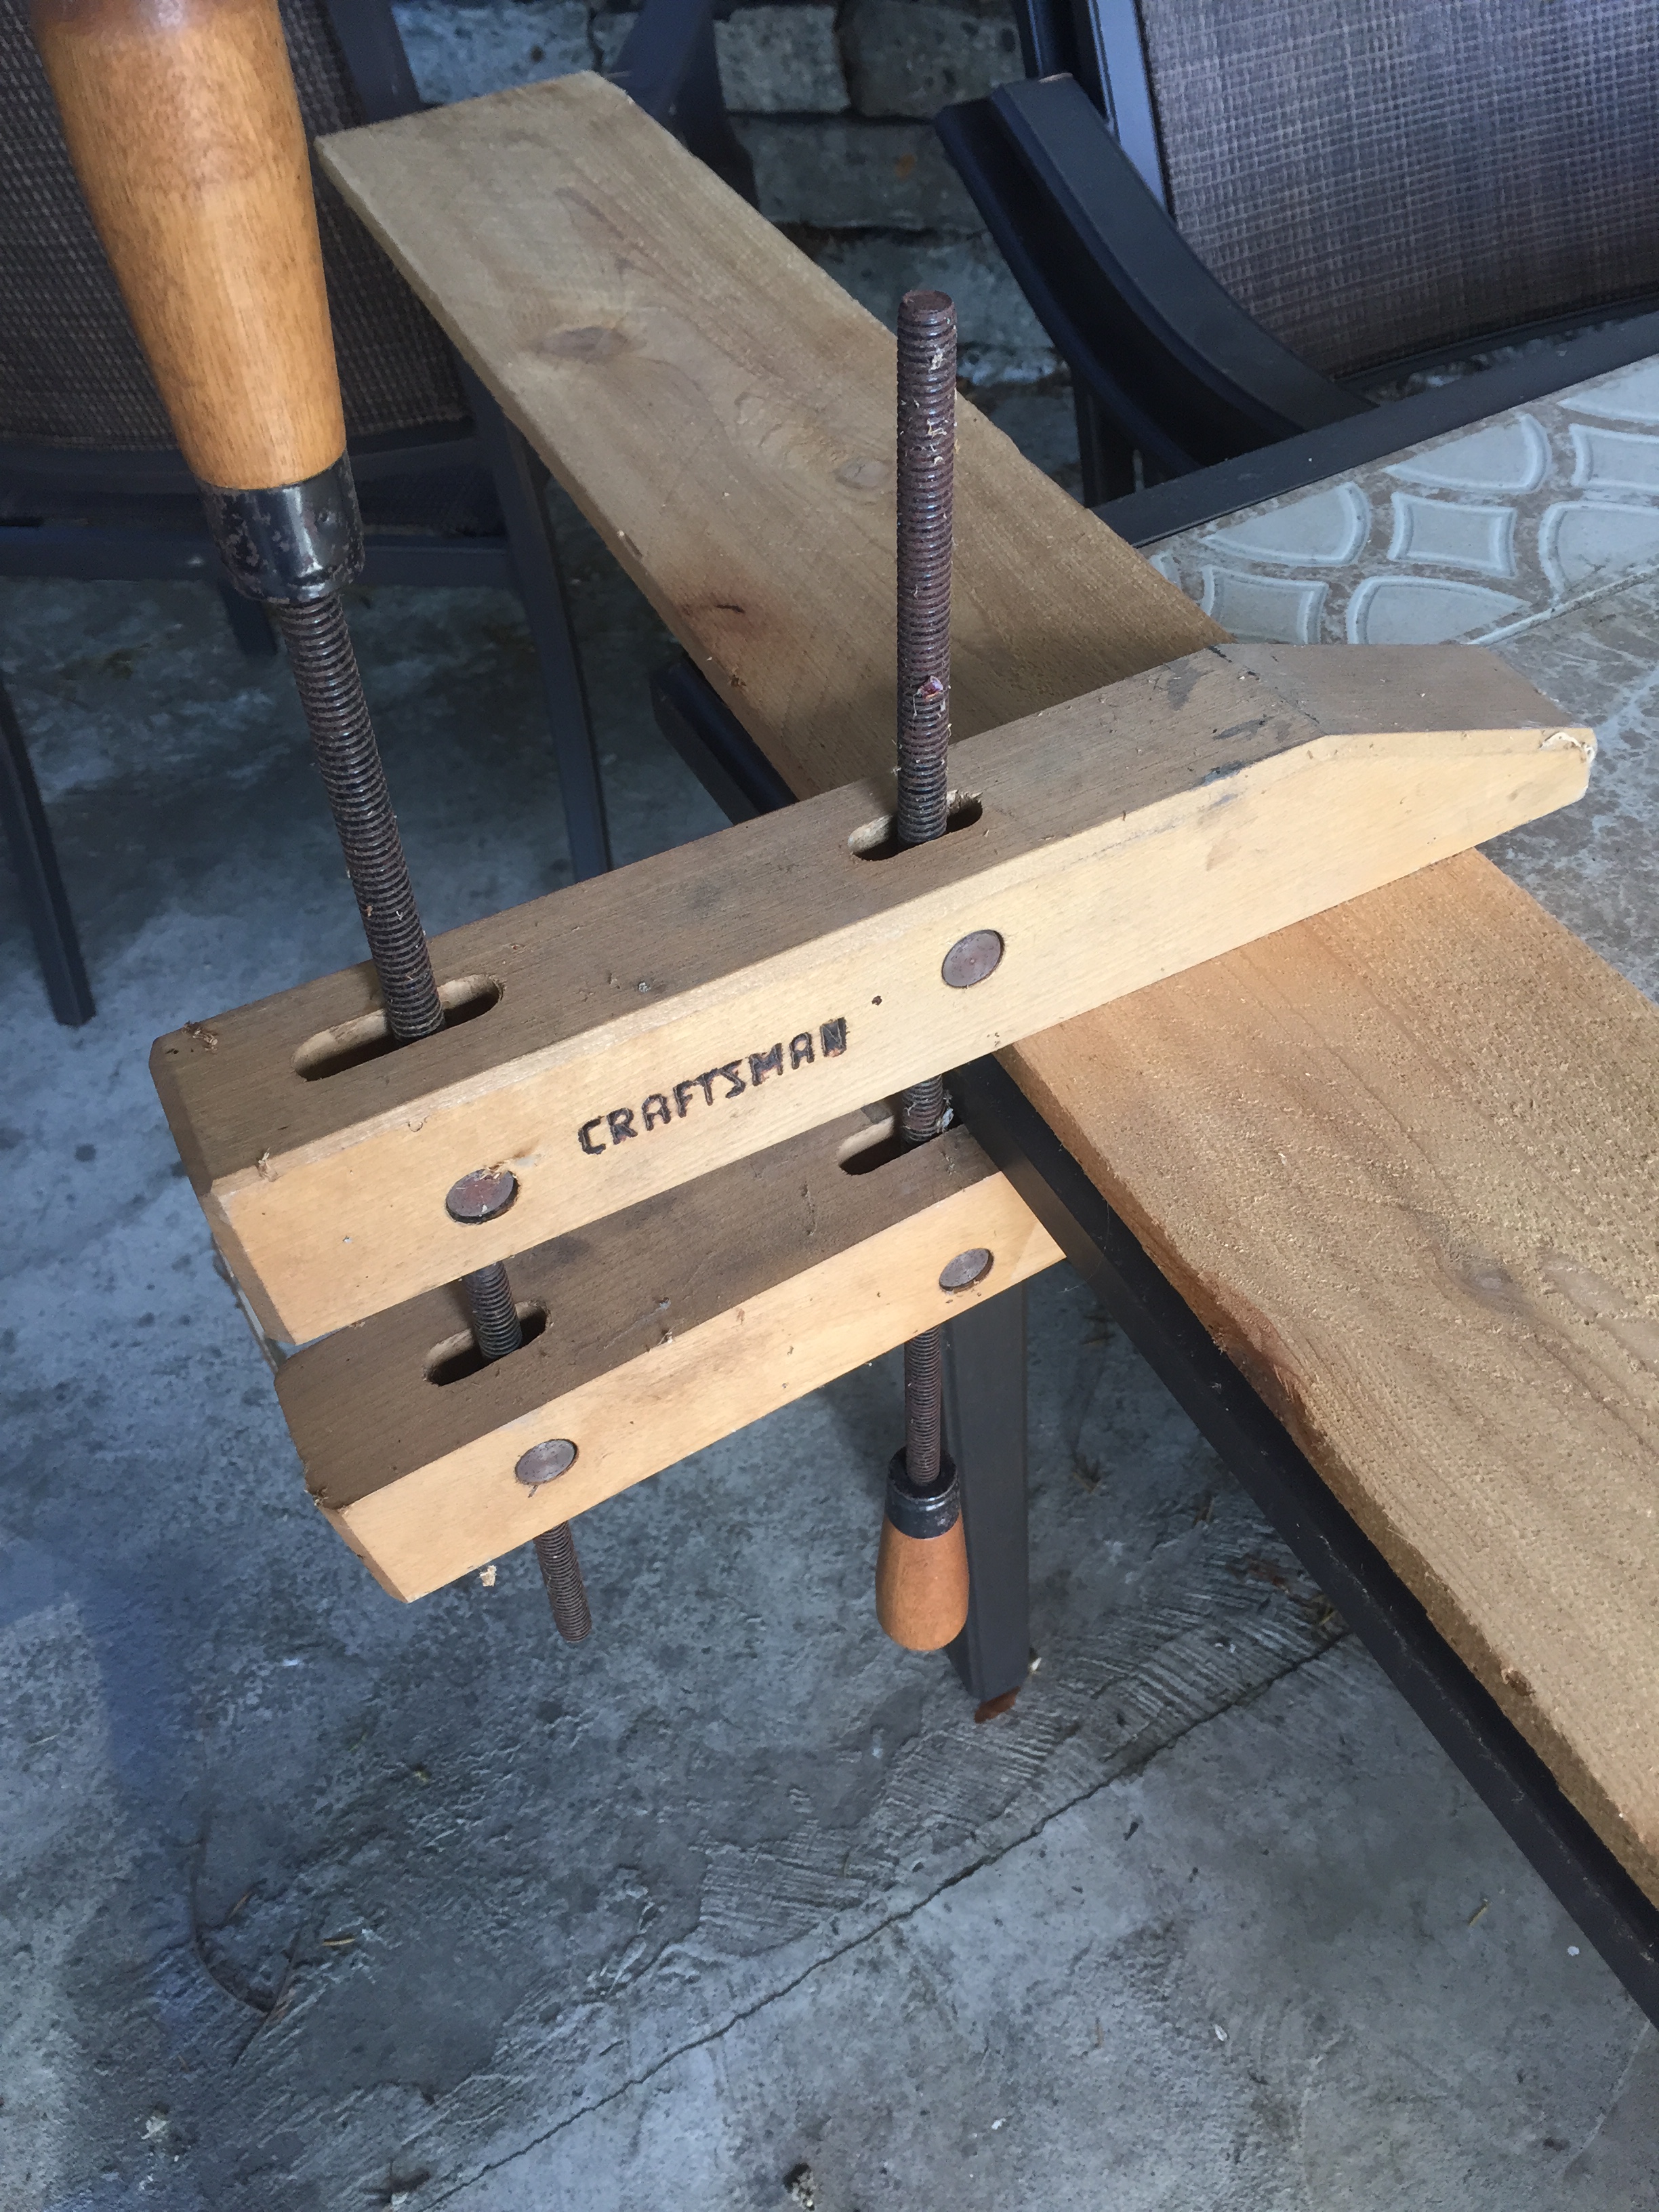
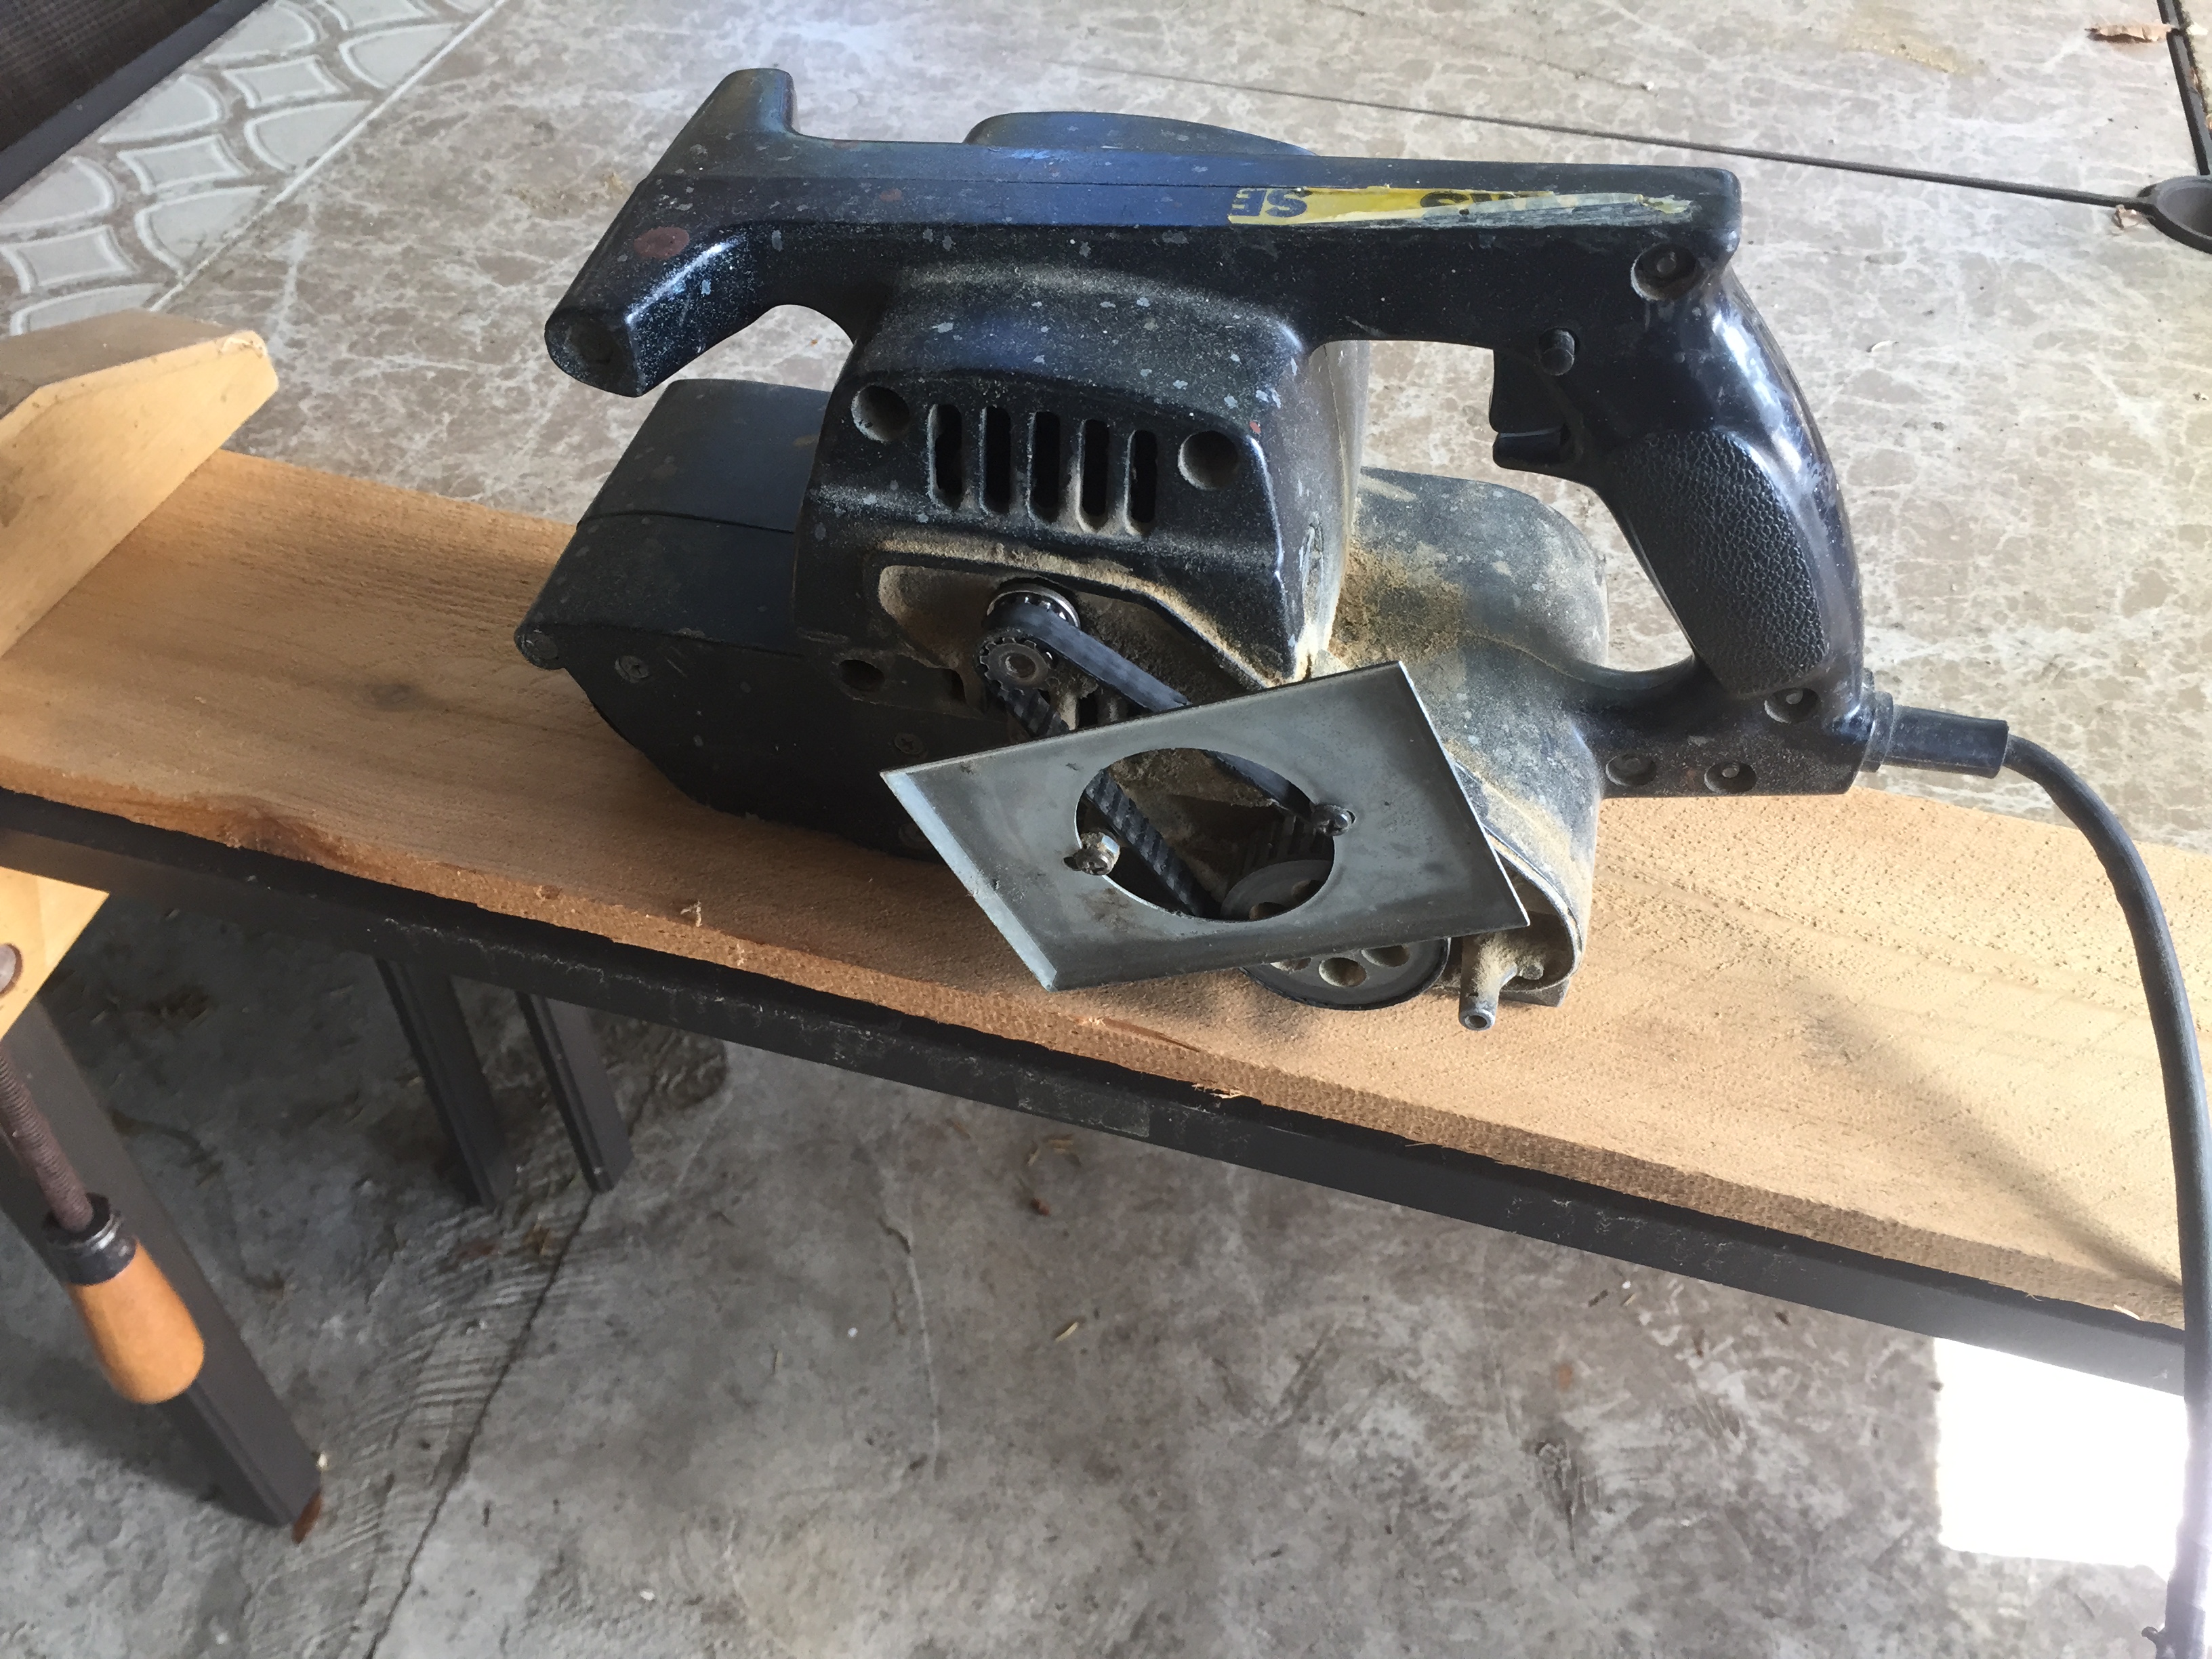
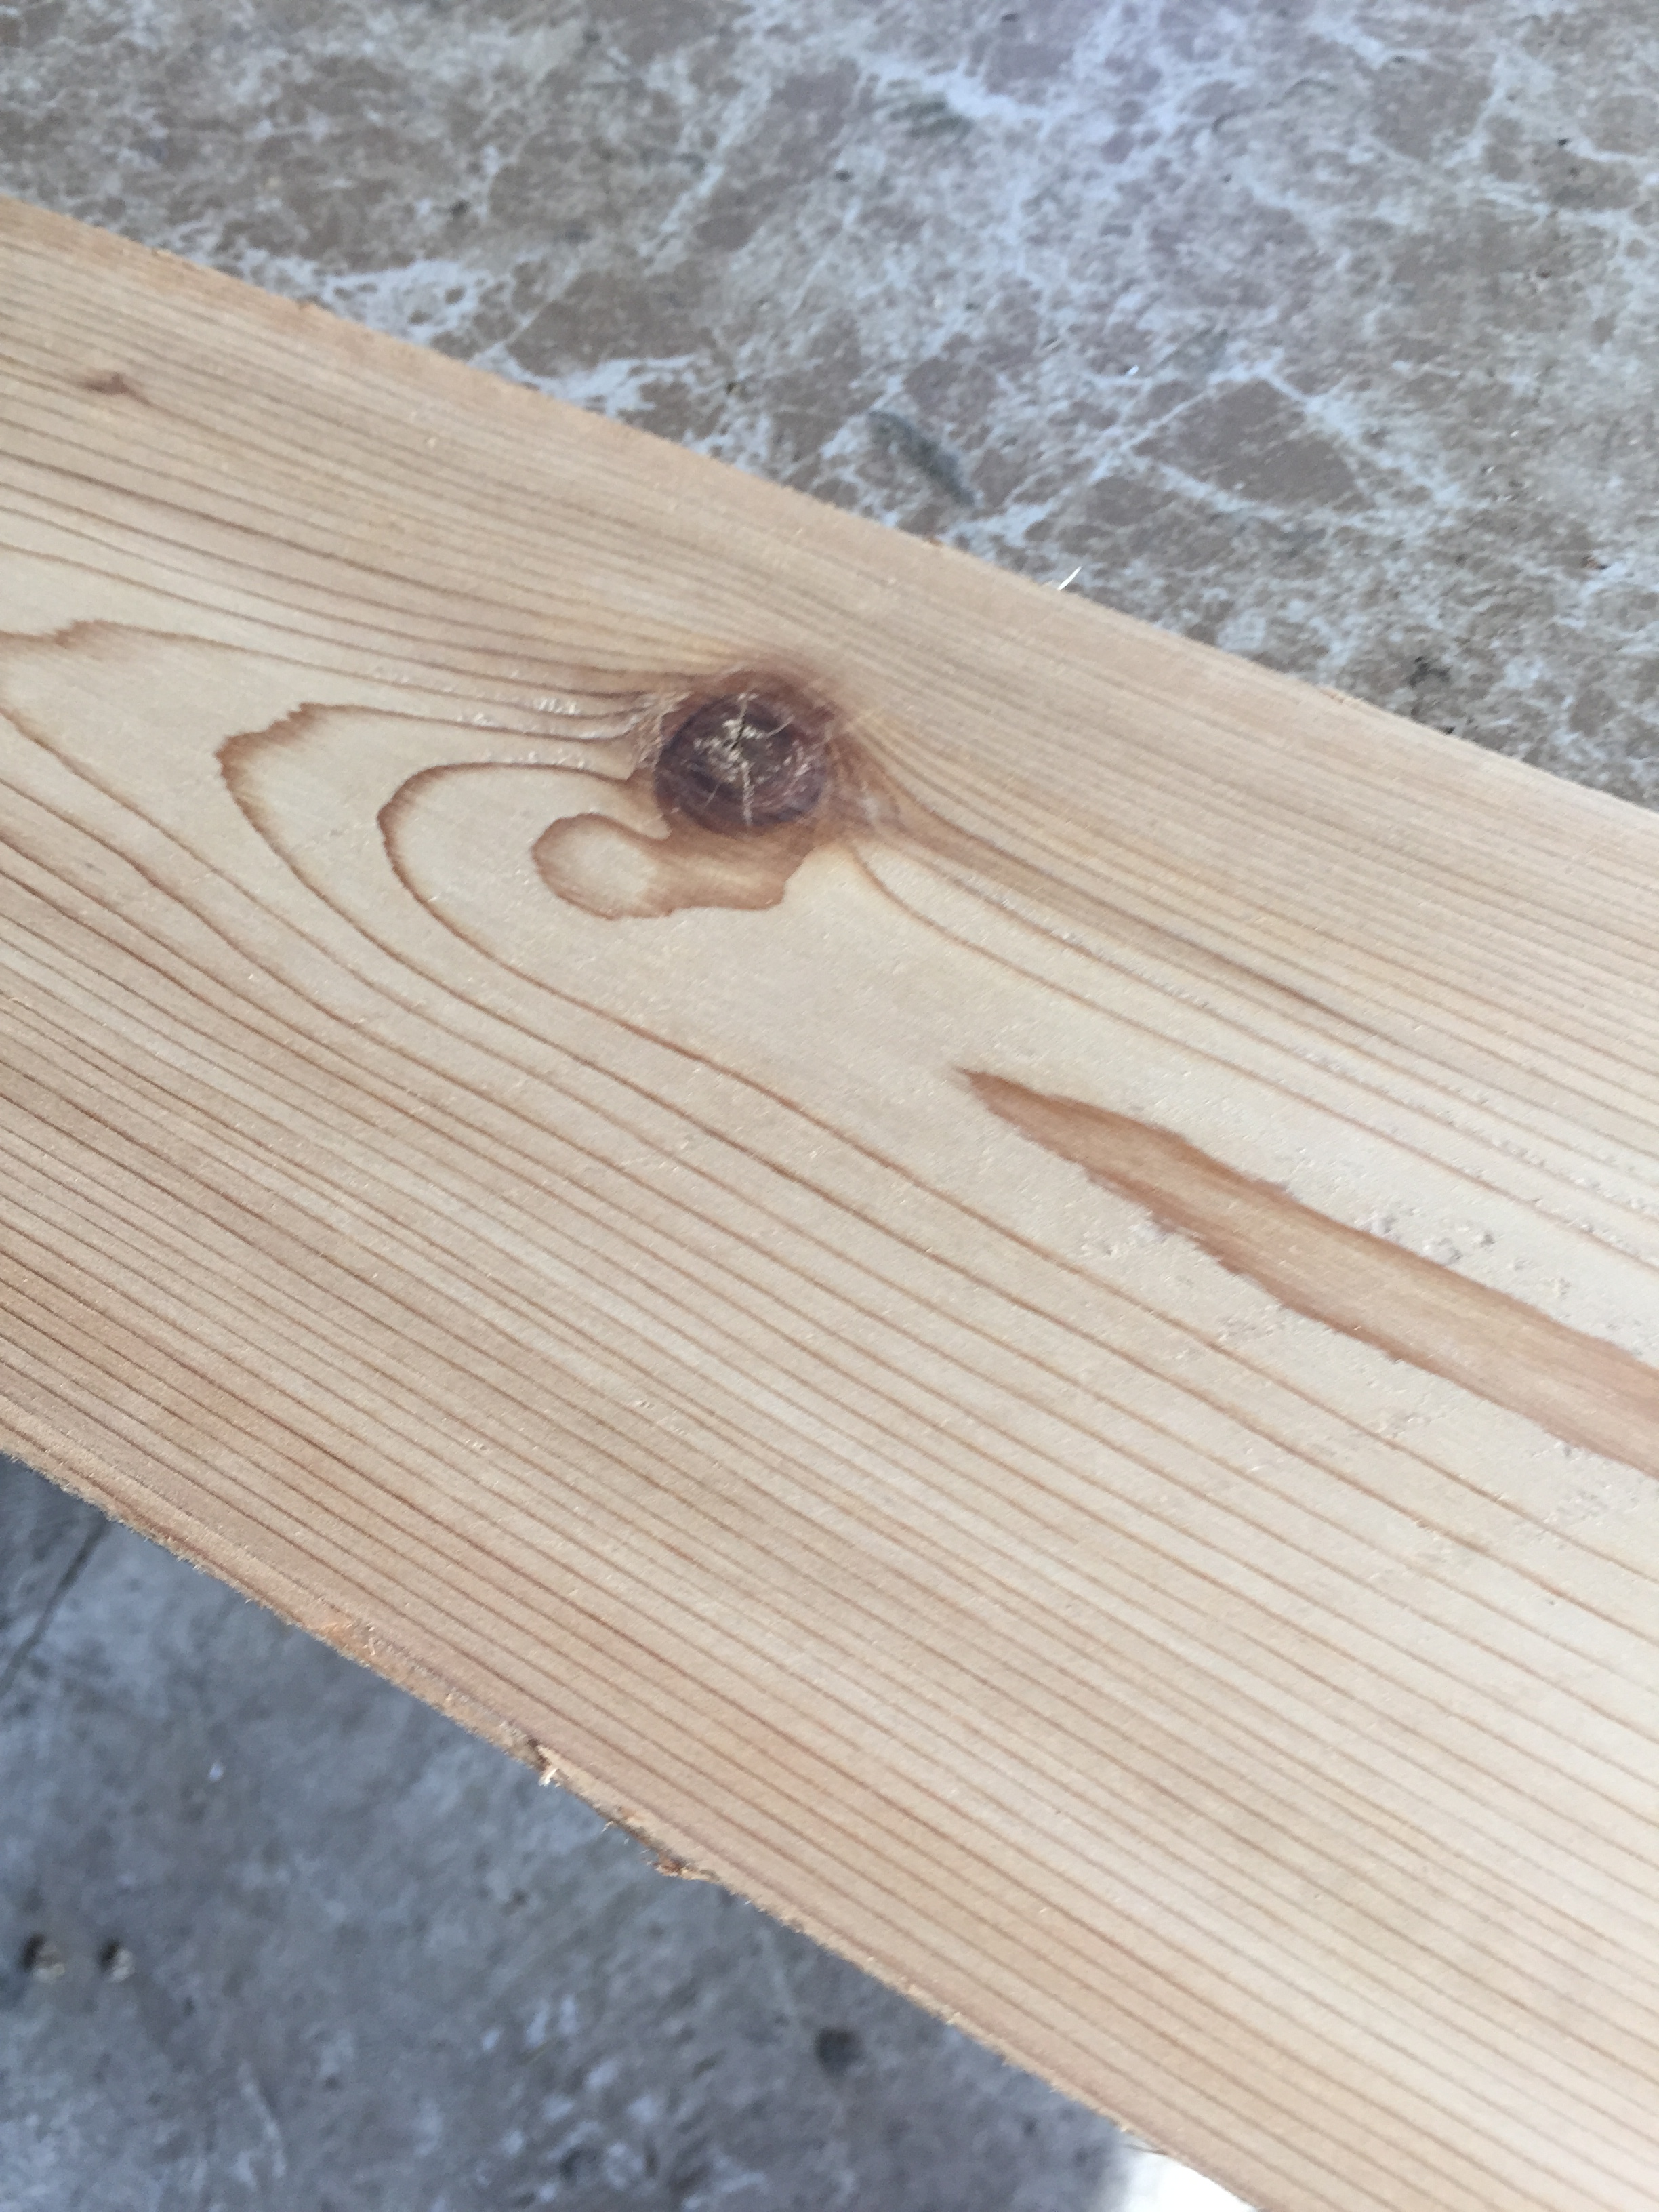
The wood I used for this project is the same fence boards that I used for the side table project which I found in my dad’s wood pile. The first thing I needed to do was give it a nice sanding. The fastest way to do this is with a belt sander. Make sure to clamp the wood down to a table or work bench. This will save you a lot of hassle! I only sanded half the board because I knew I didn’t need that much of it. Once it’s completely smooth or the texture you desire, it’s time to cut!
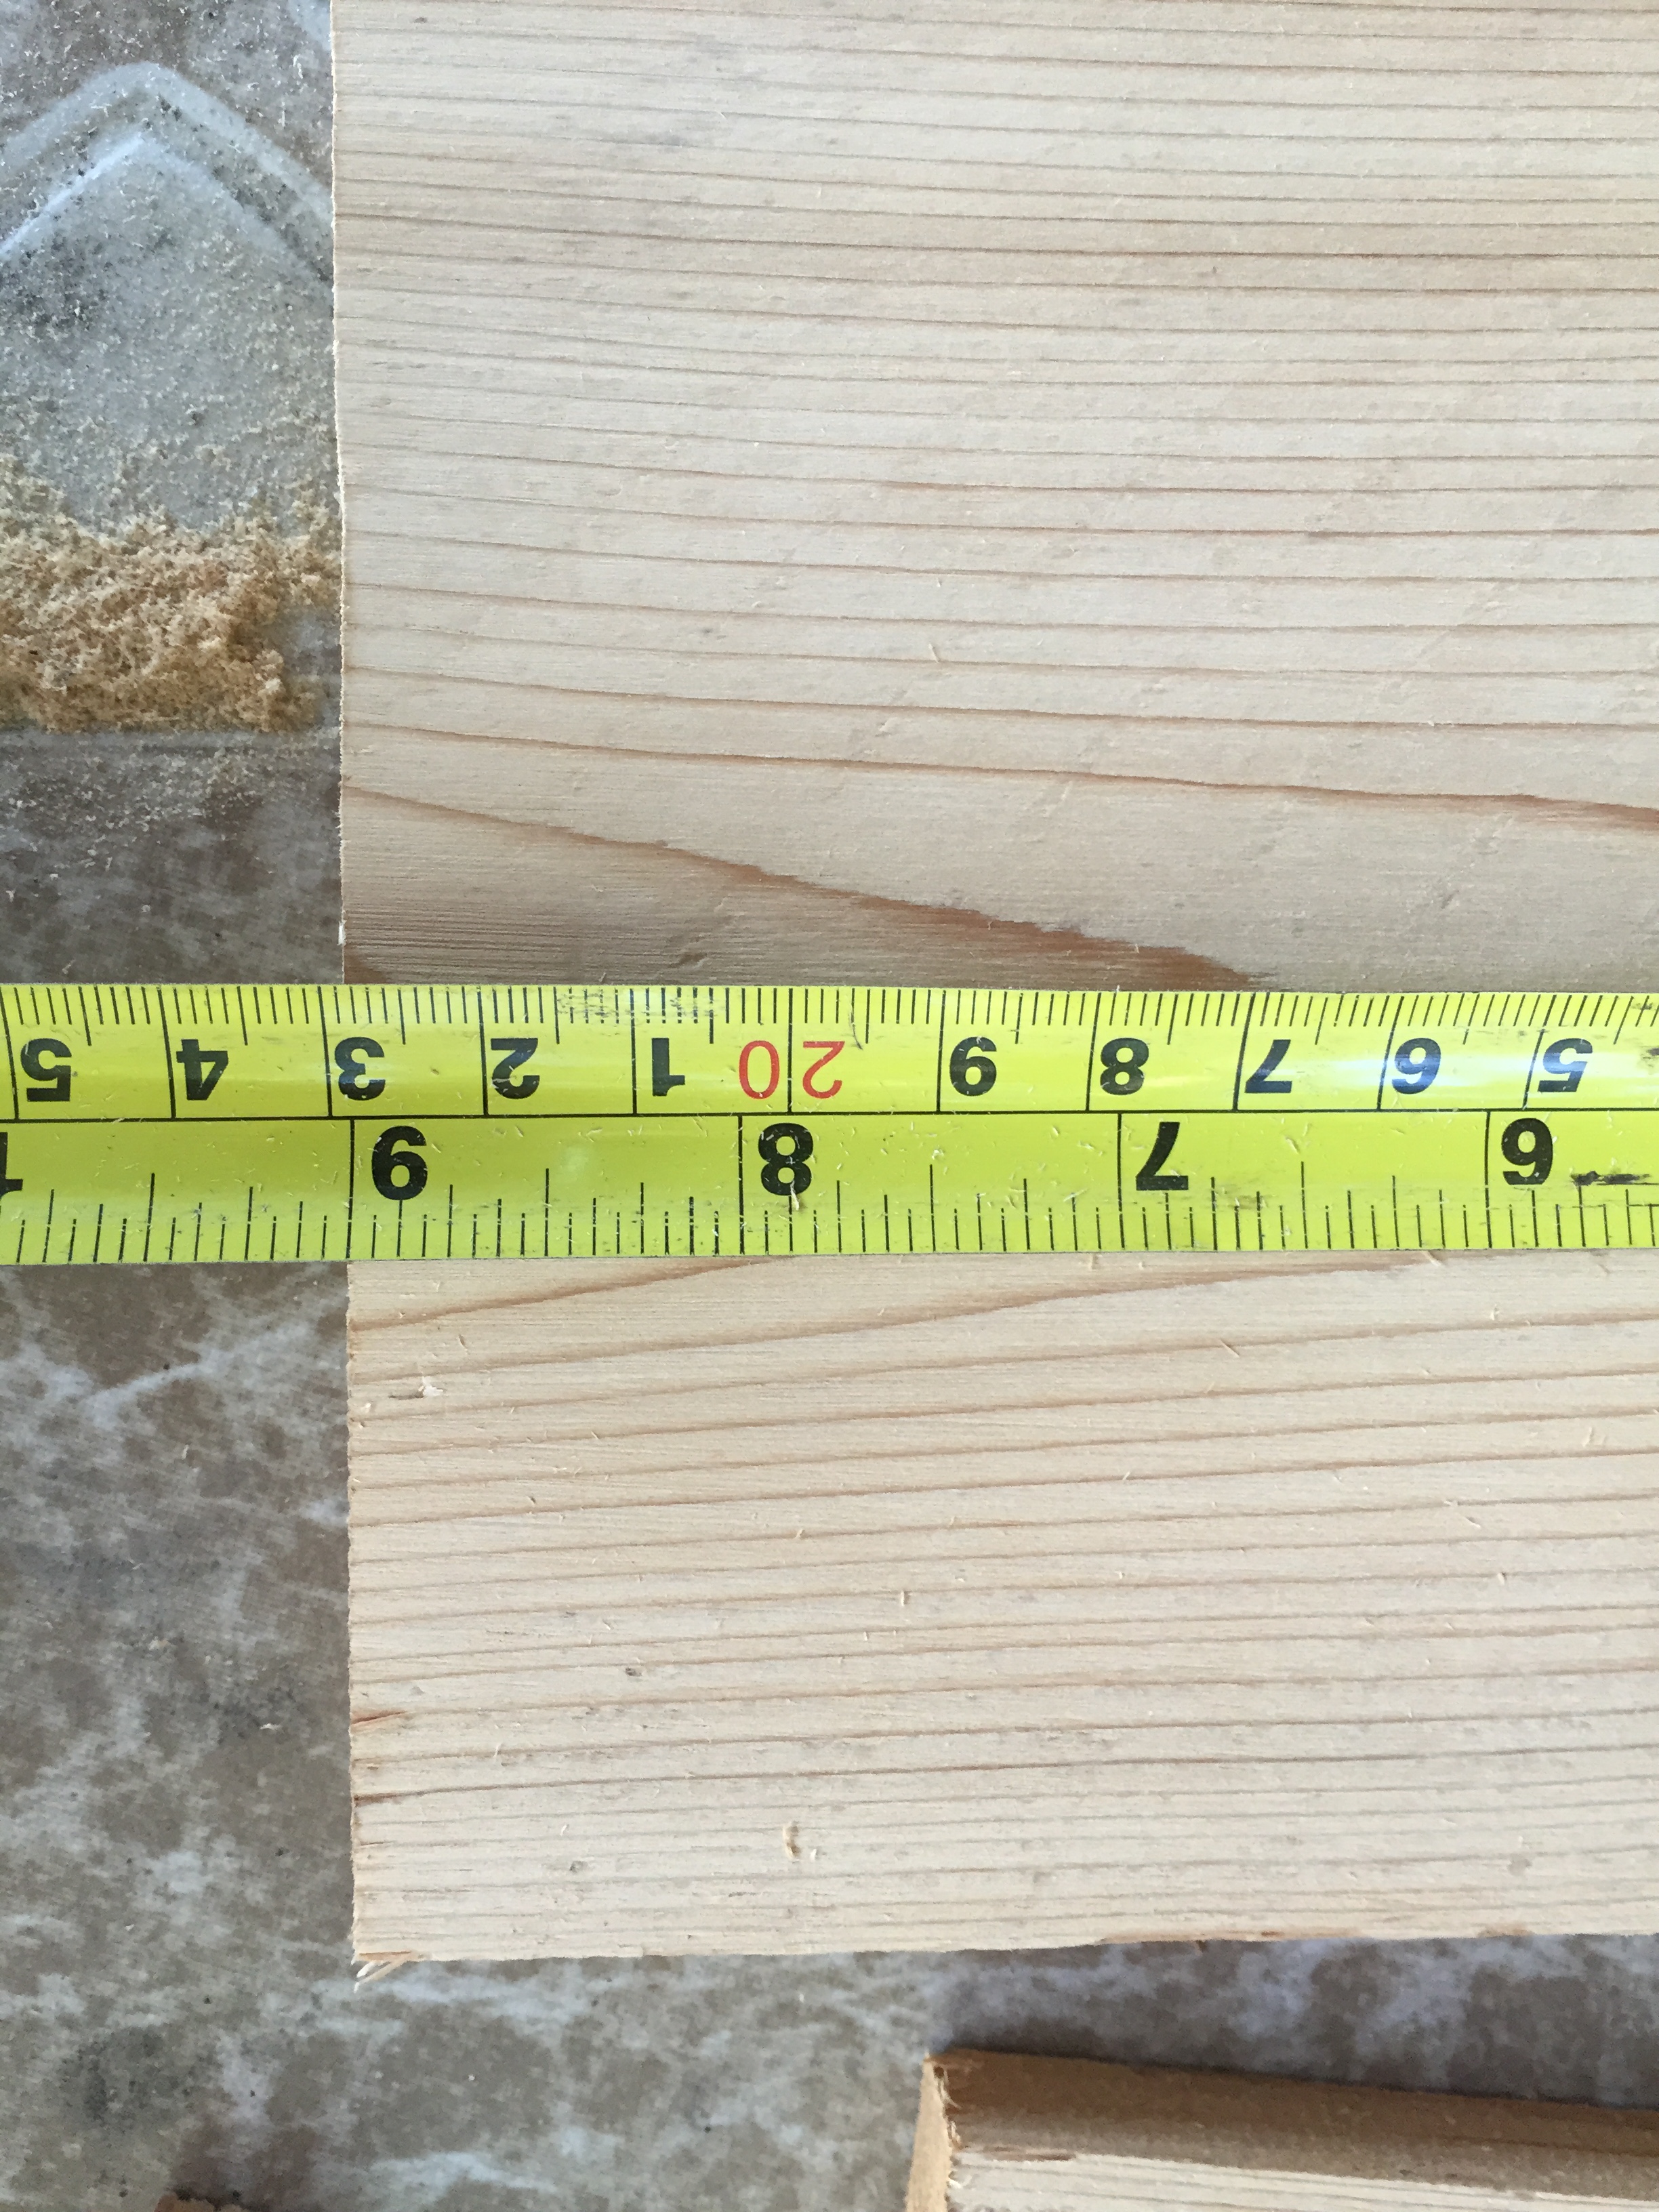
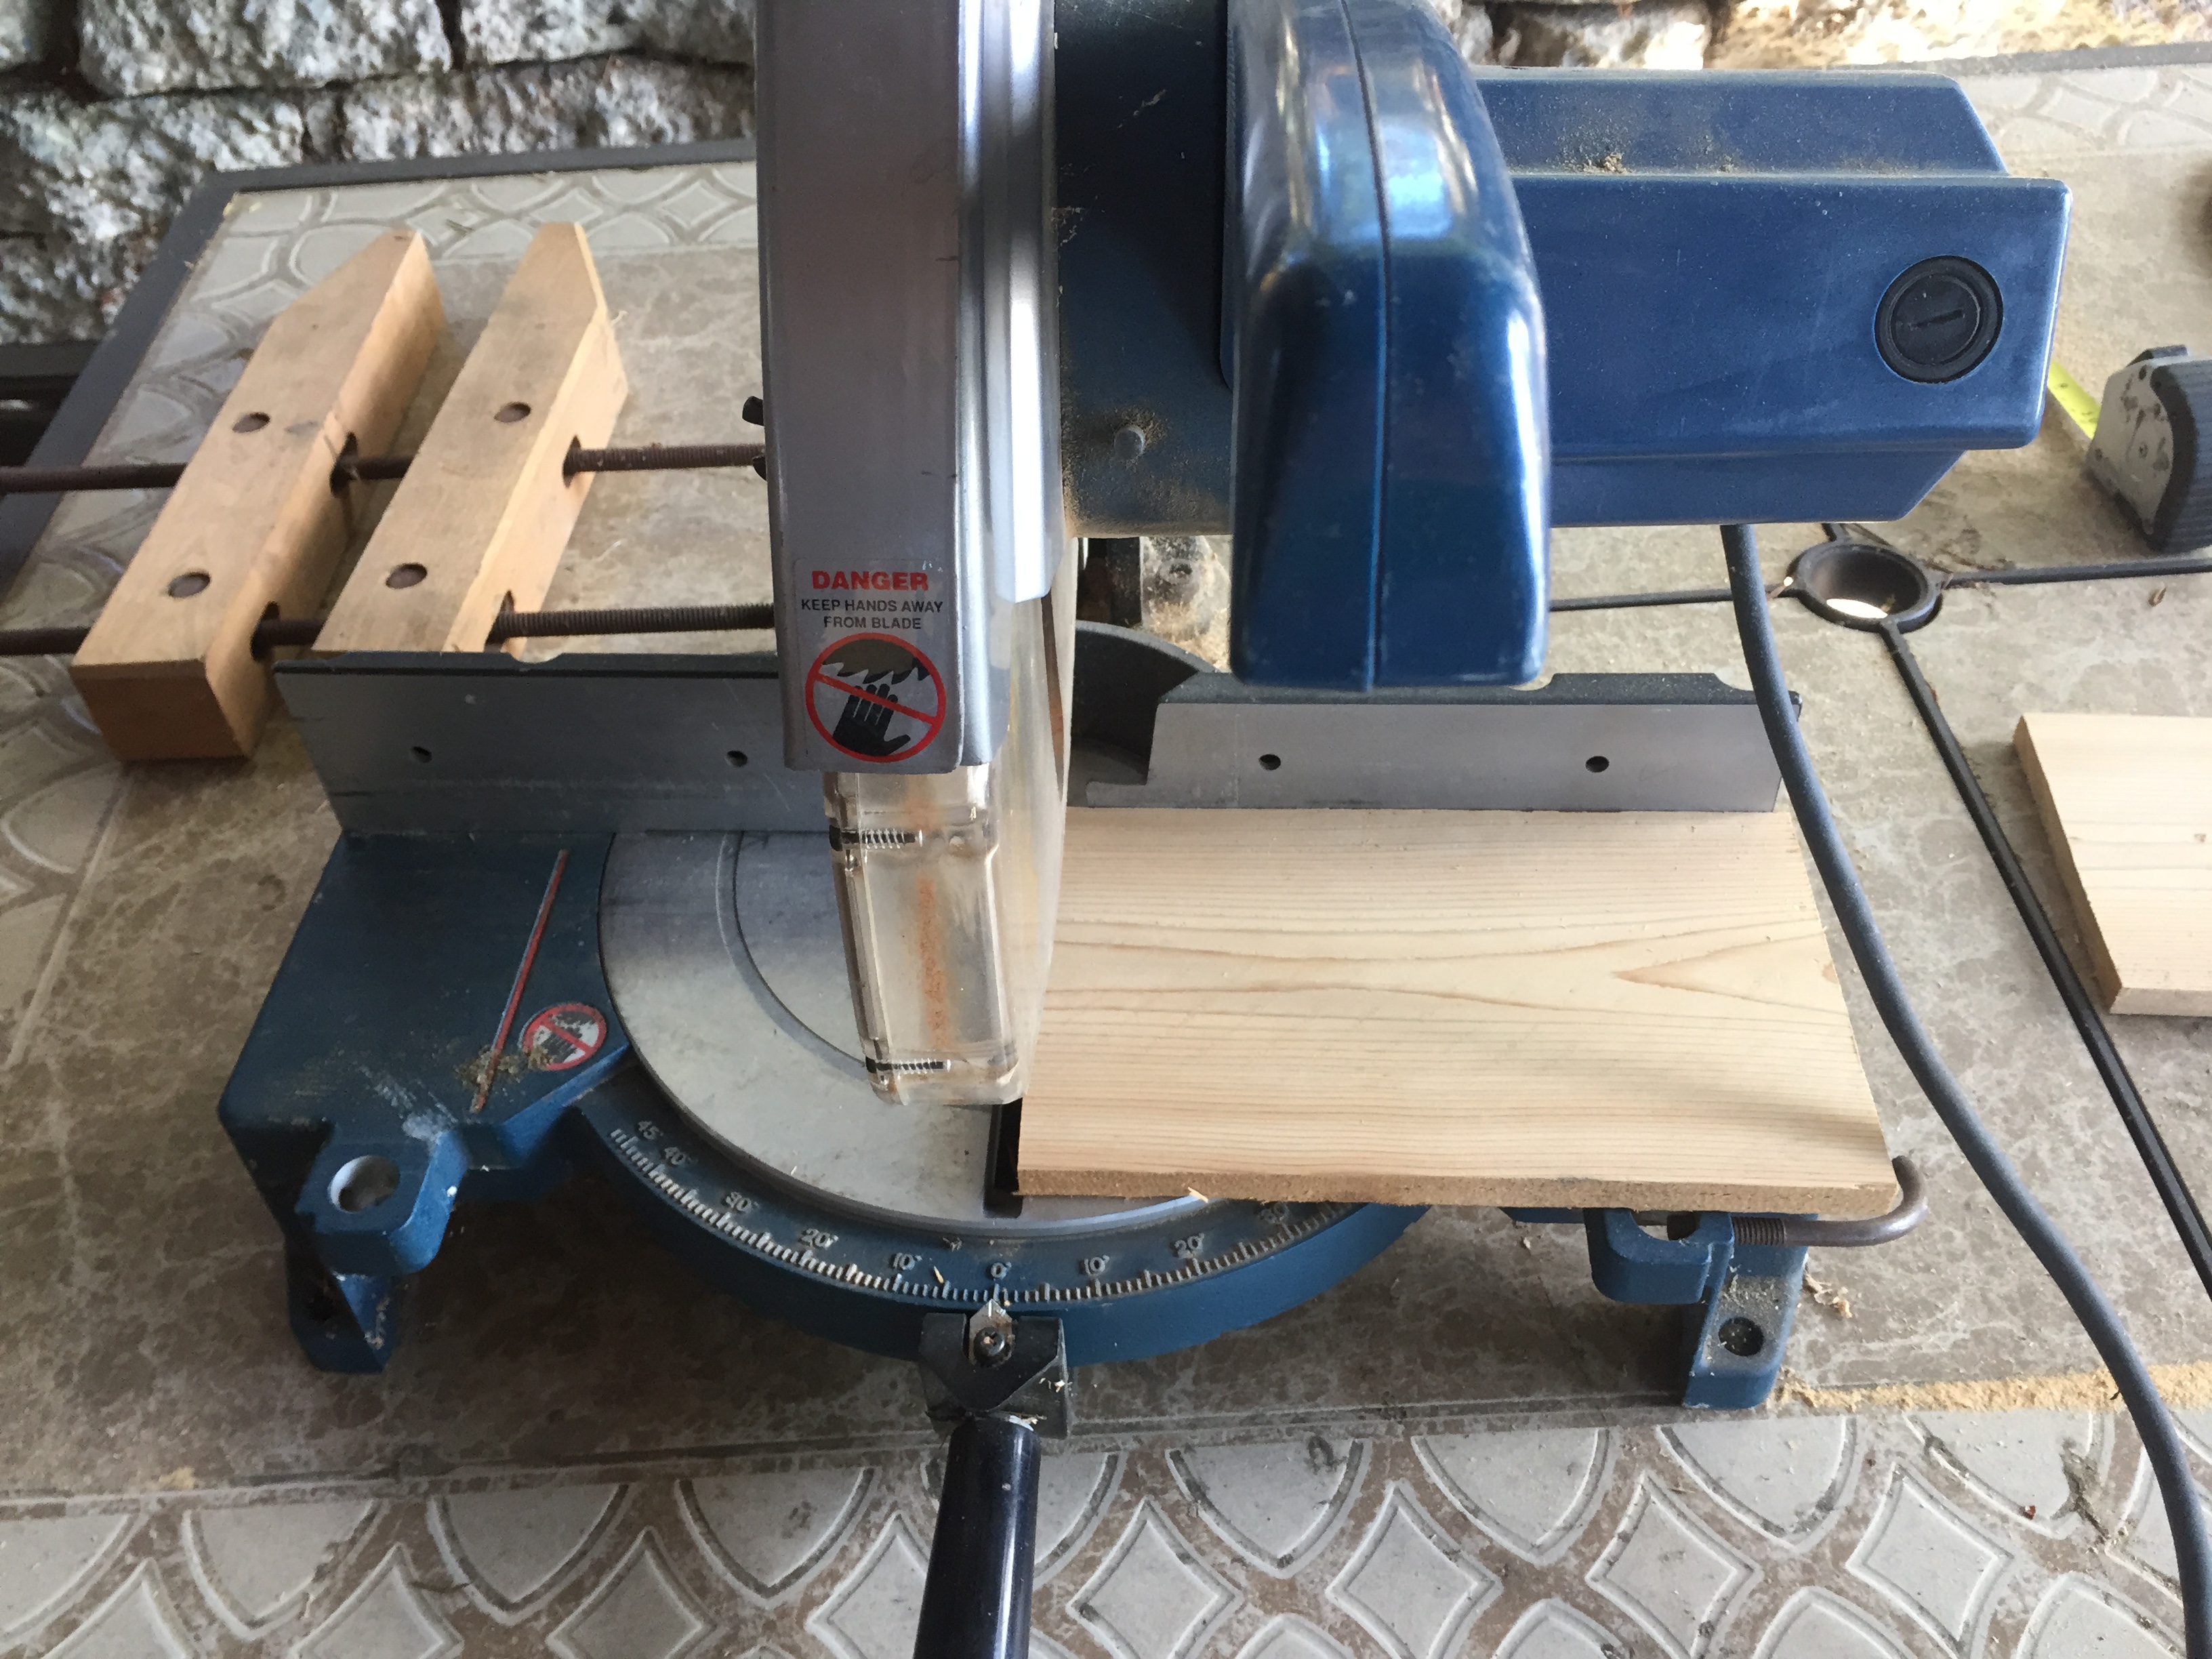
Once you’ve decided how large you want your backdrop to be, its time to cut them. Since I made more than one, I had to make sure they were exactly the same size. This is when you’ll need your handy-dandy tape measure! I decided 9 inches long would be a sufficient length. Make your marks on the board for the first piece, cut slowly, and then measure and mark the second piece for cutting.
NOTE: If you don’t know how to use a saw, please seek help from someone who does!
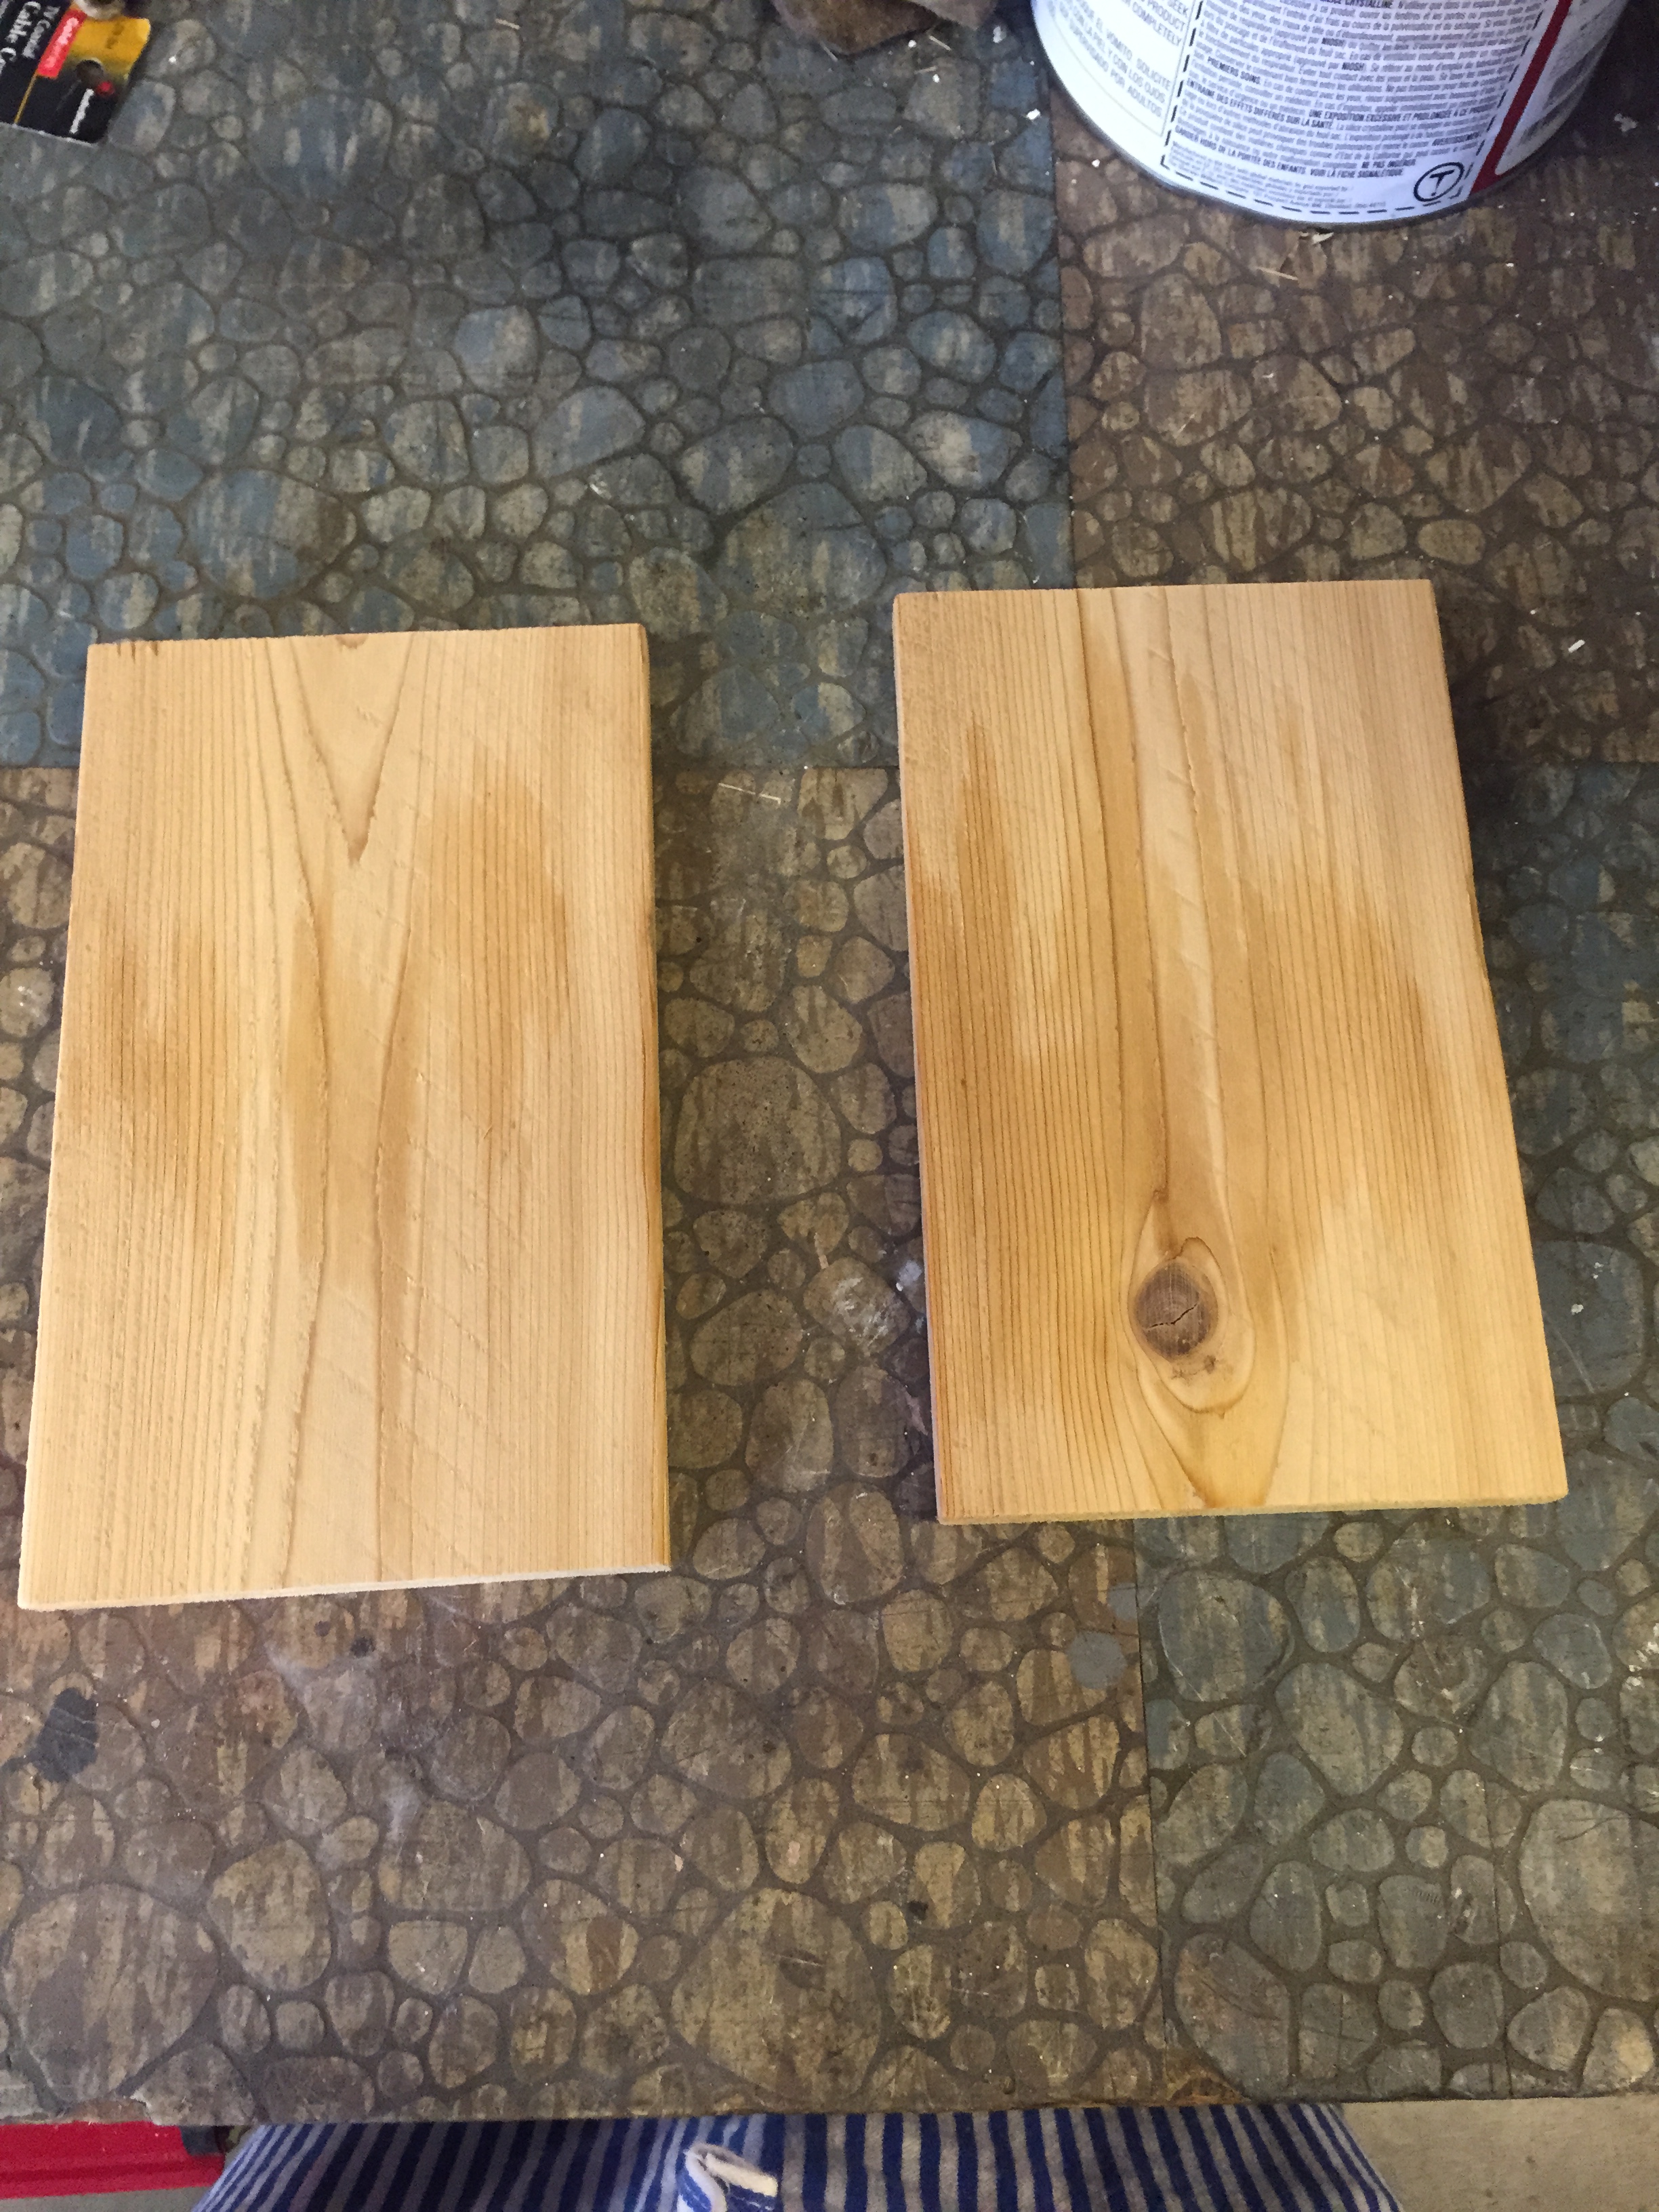

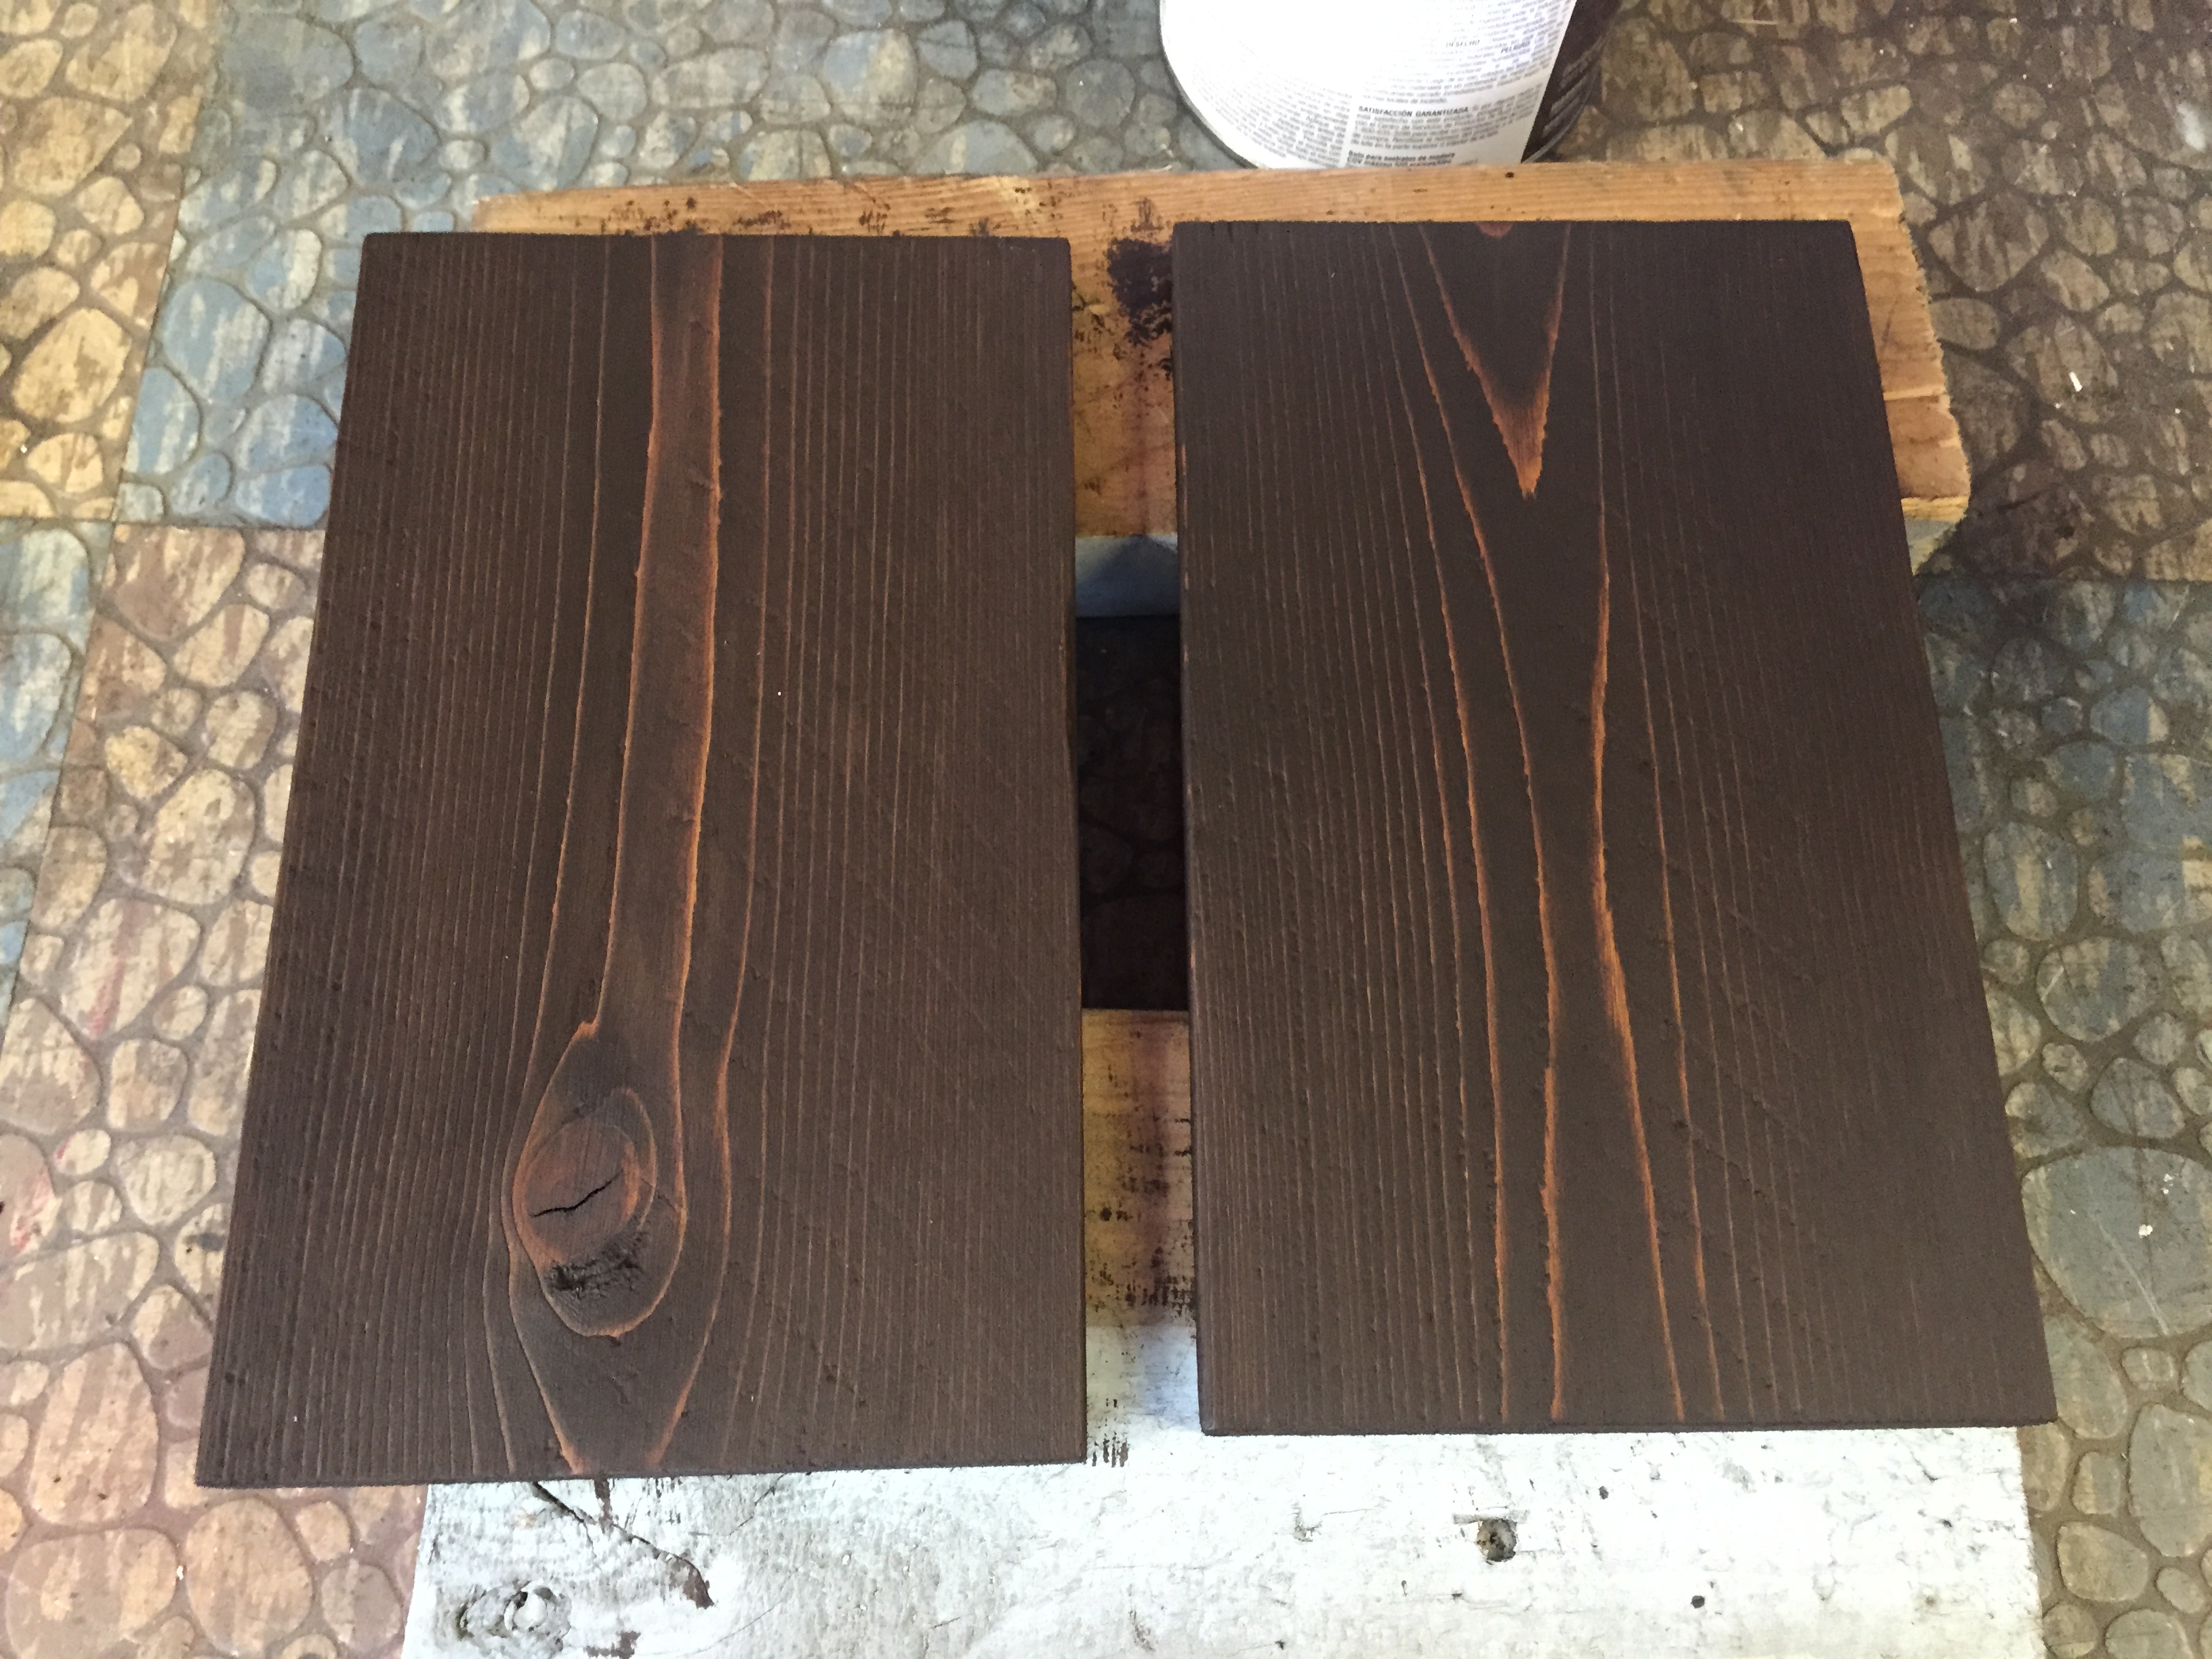
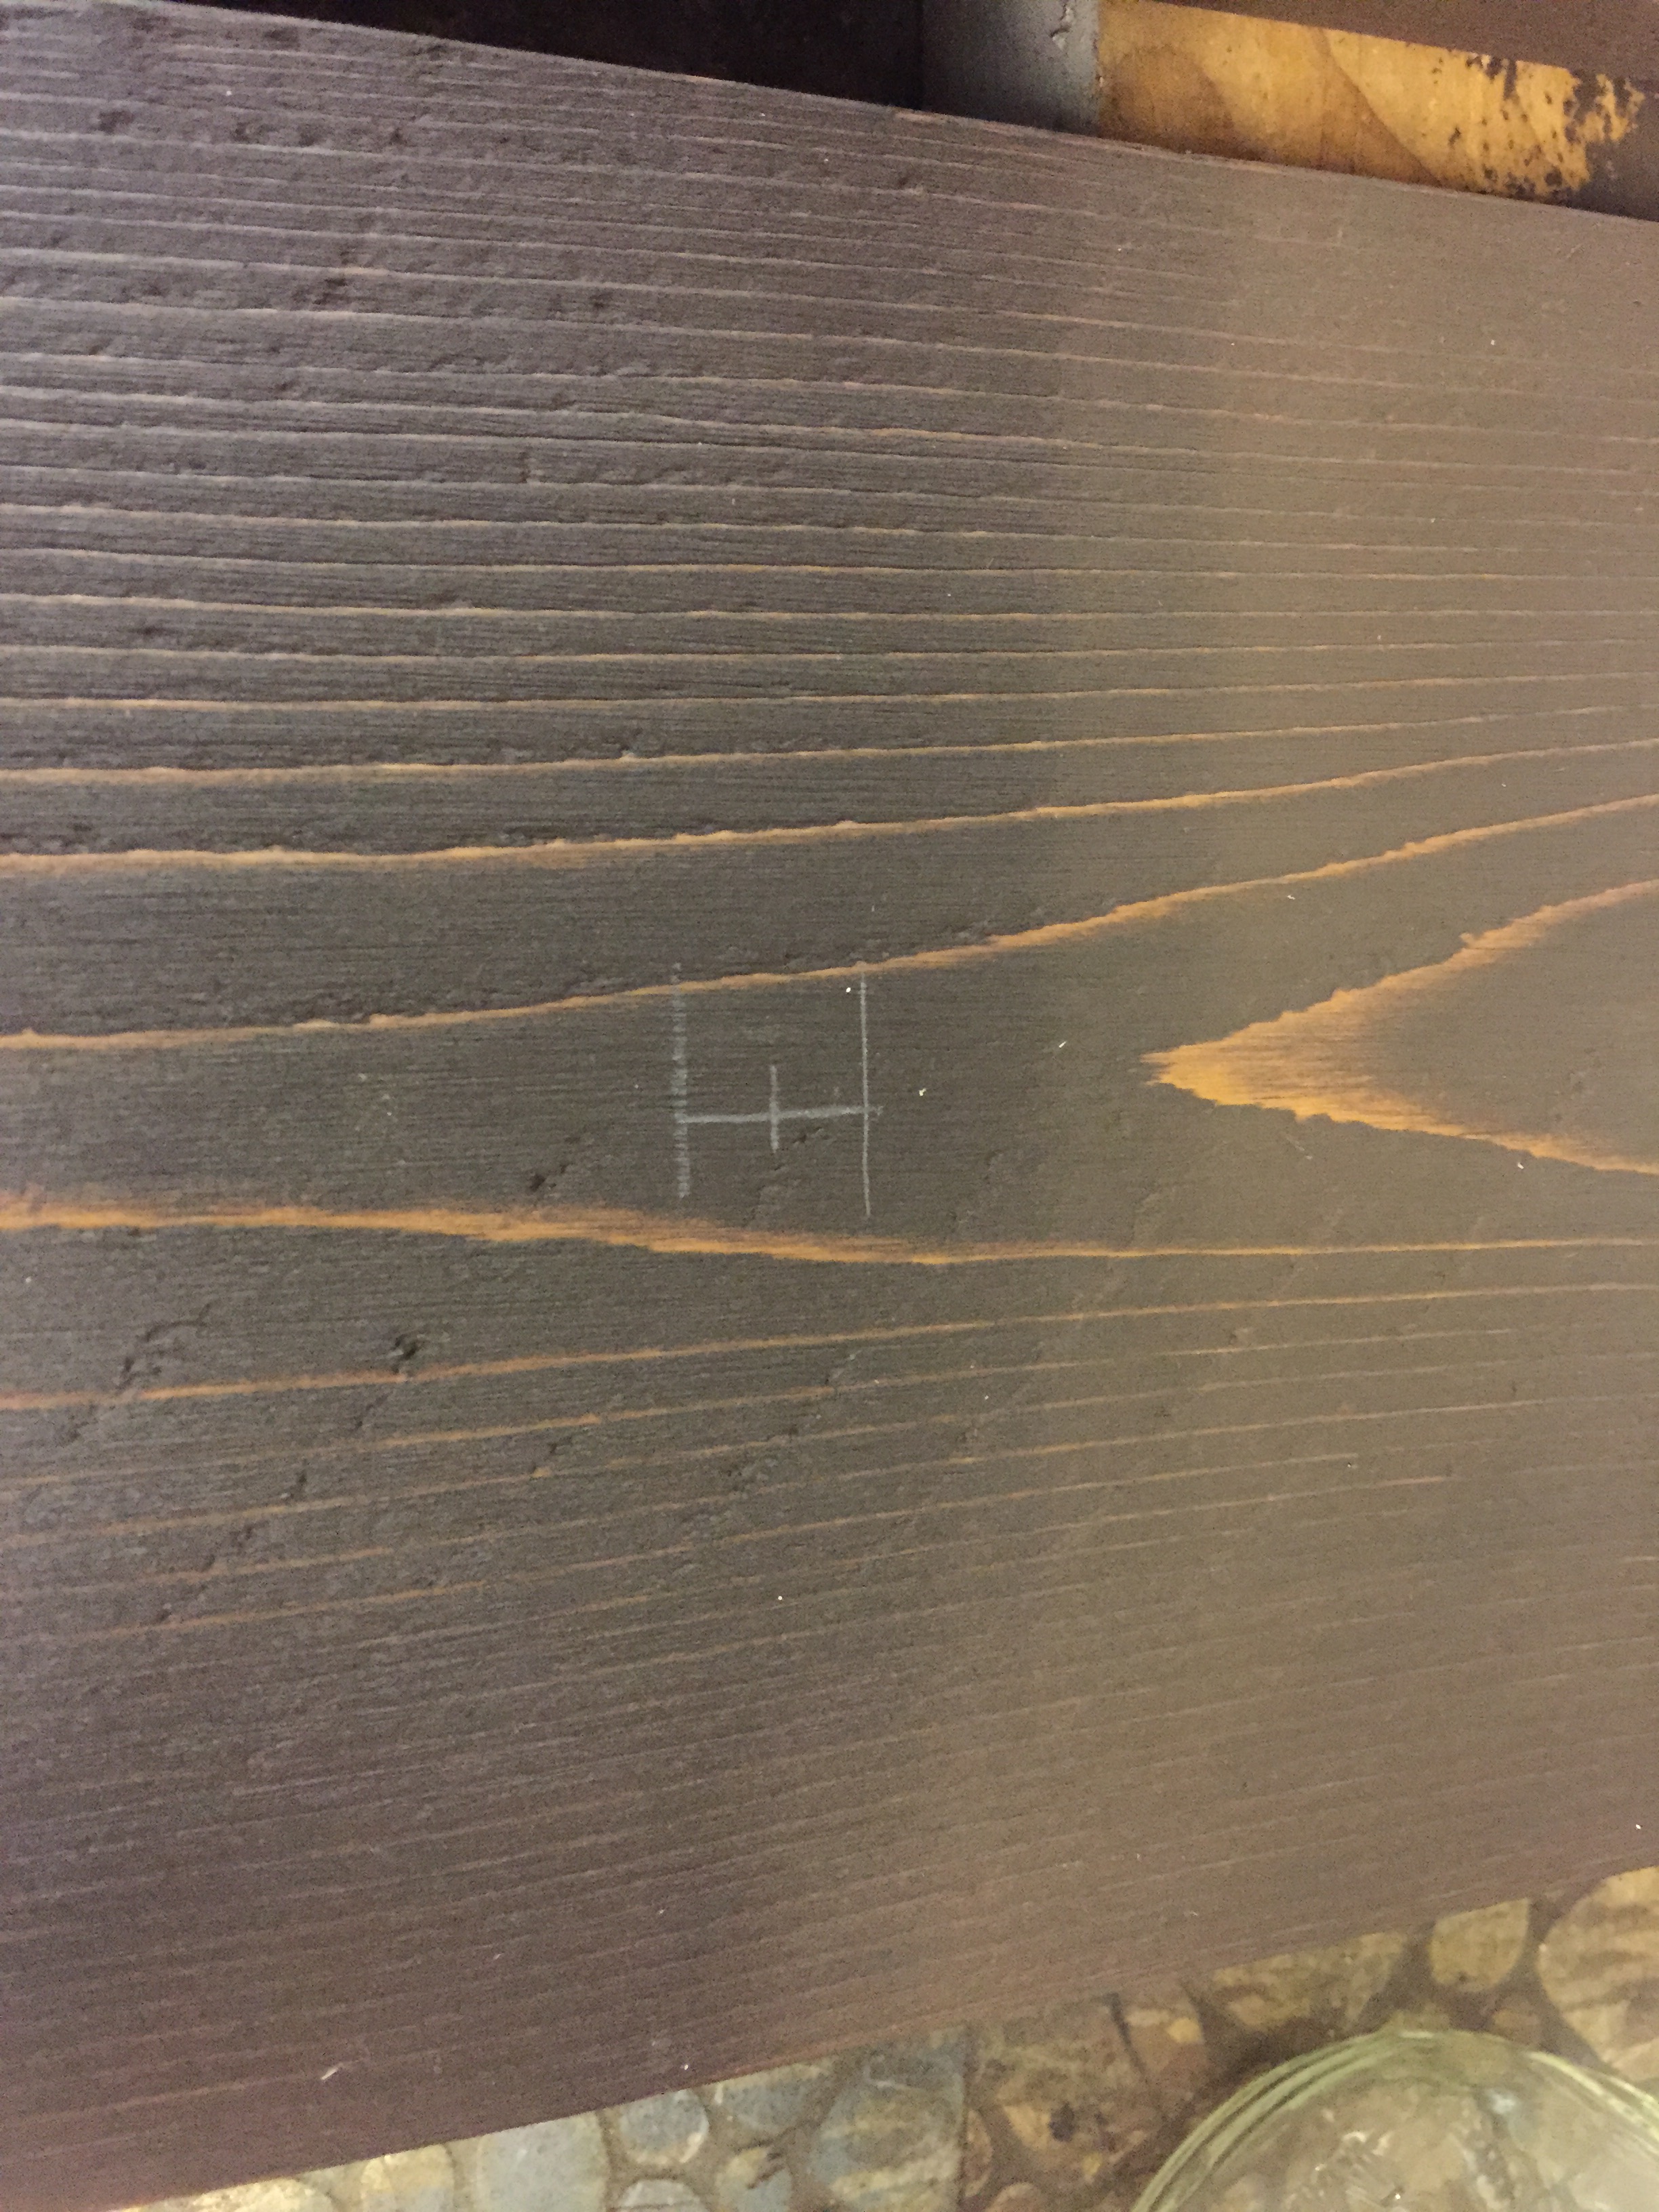
Once your pieces of wood have been sanded and cut to the right size, give them a wipe down with a damp clean cloth to remove any and all dust. When they’re dry, it’s time to pick out a stain. I went with this dark stain found in the deep abyss that is my dad’s garage. Using an old CLEAN rag, rub the stain on the wood in the direction of the grain. AKA: the stripes. Then immediately wipe the wood again with another dry CLEAN rag to remove the excess stain. Rub extra in places that you want to be lighter. If you decide you want it to be darker, you can add another layer of stain.
NOTE: You can always add more stain….but you can’t undo it. So go easy. Oh! And if you decide not to wear rubber gloves, you’ll regret it. I promise.

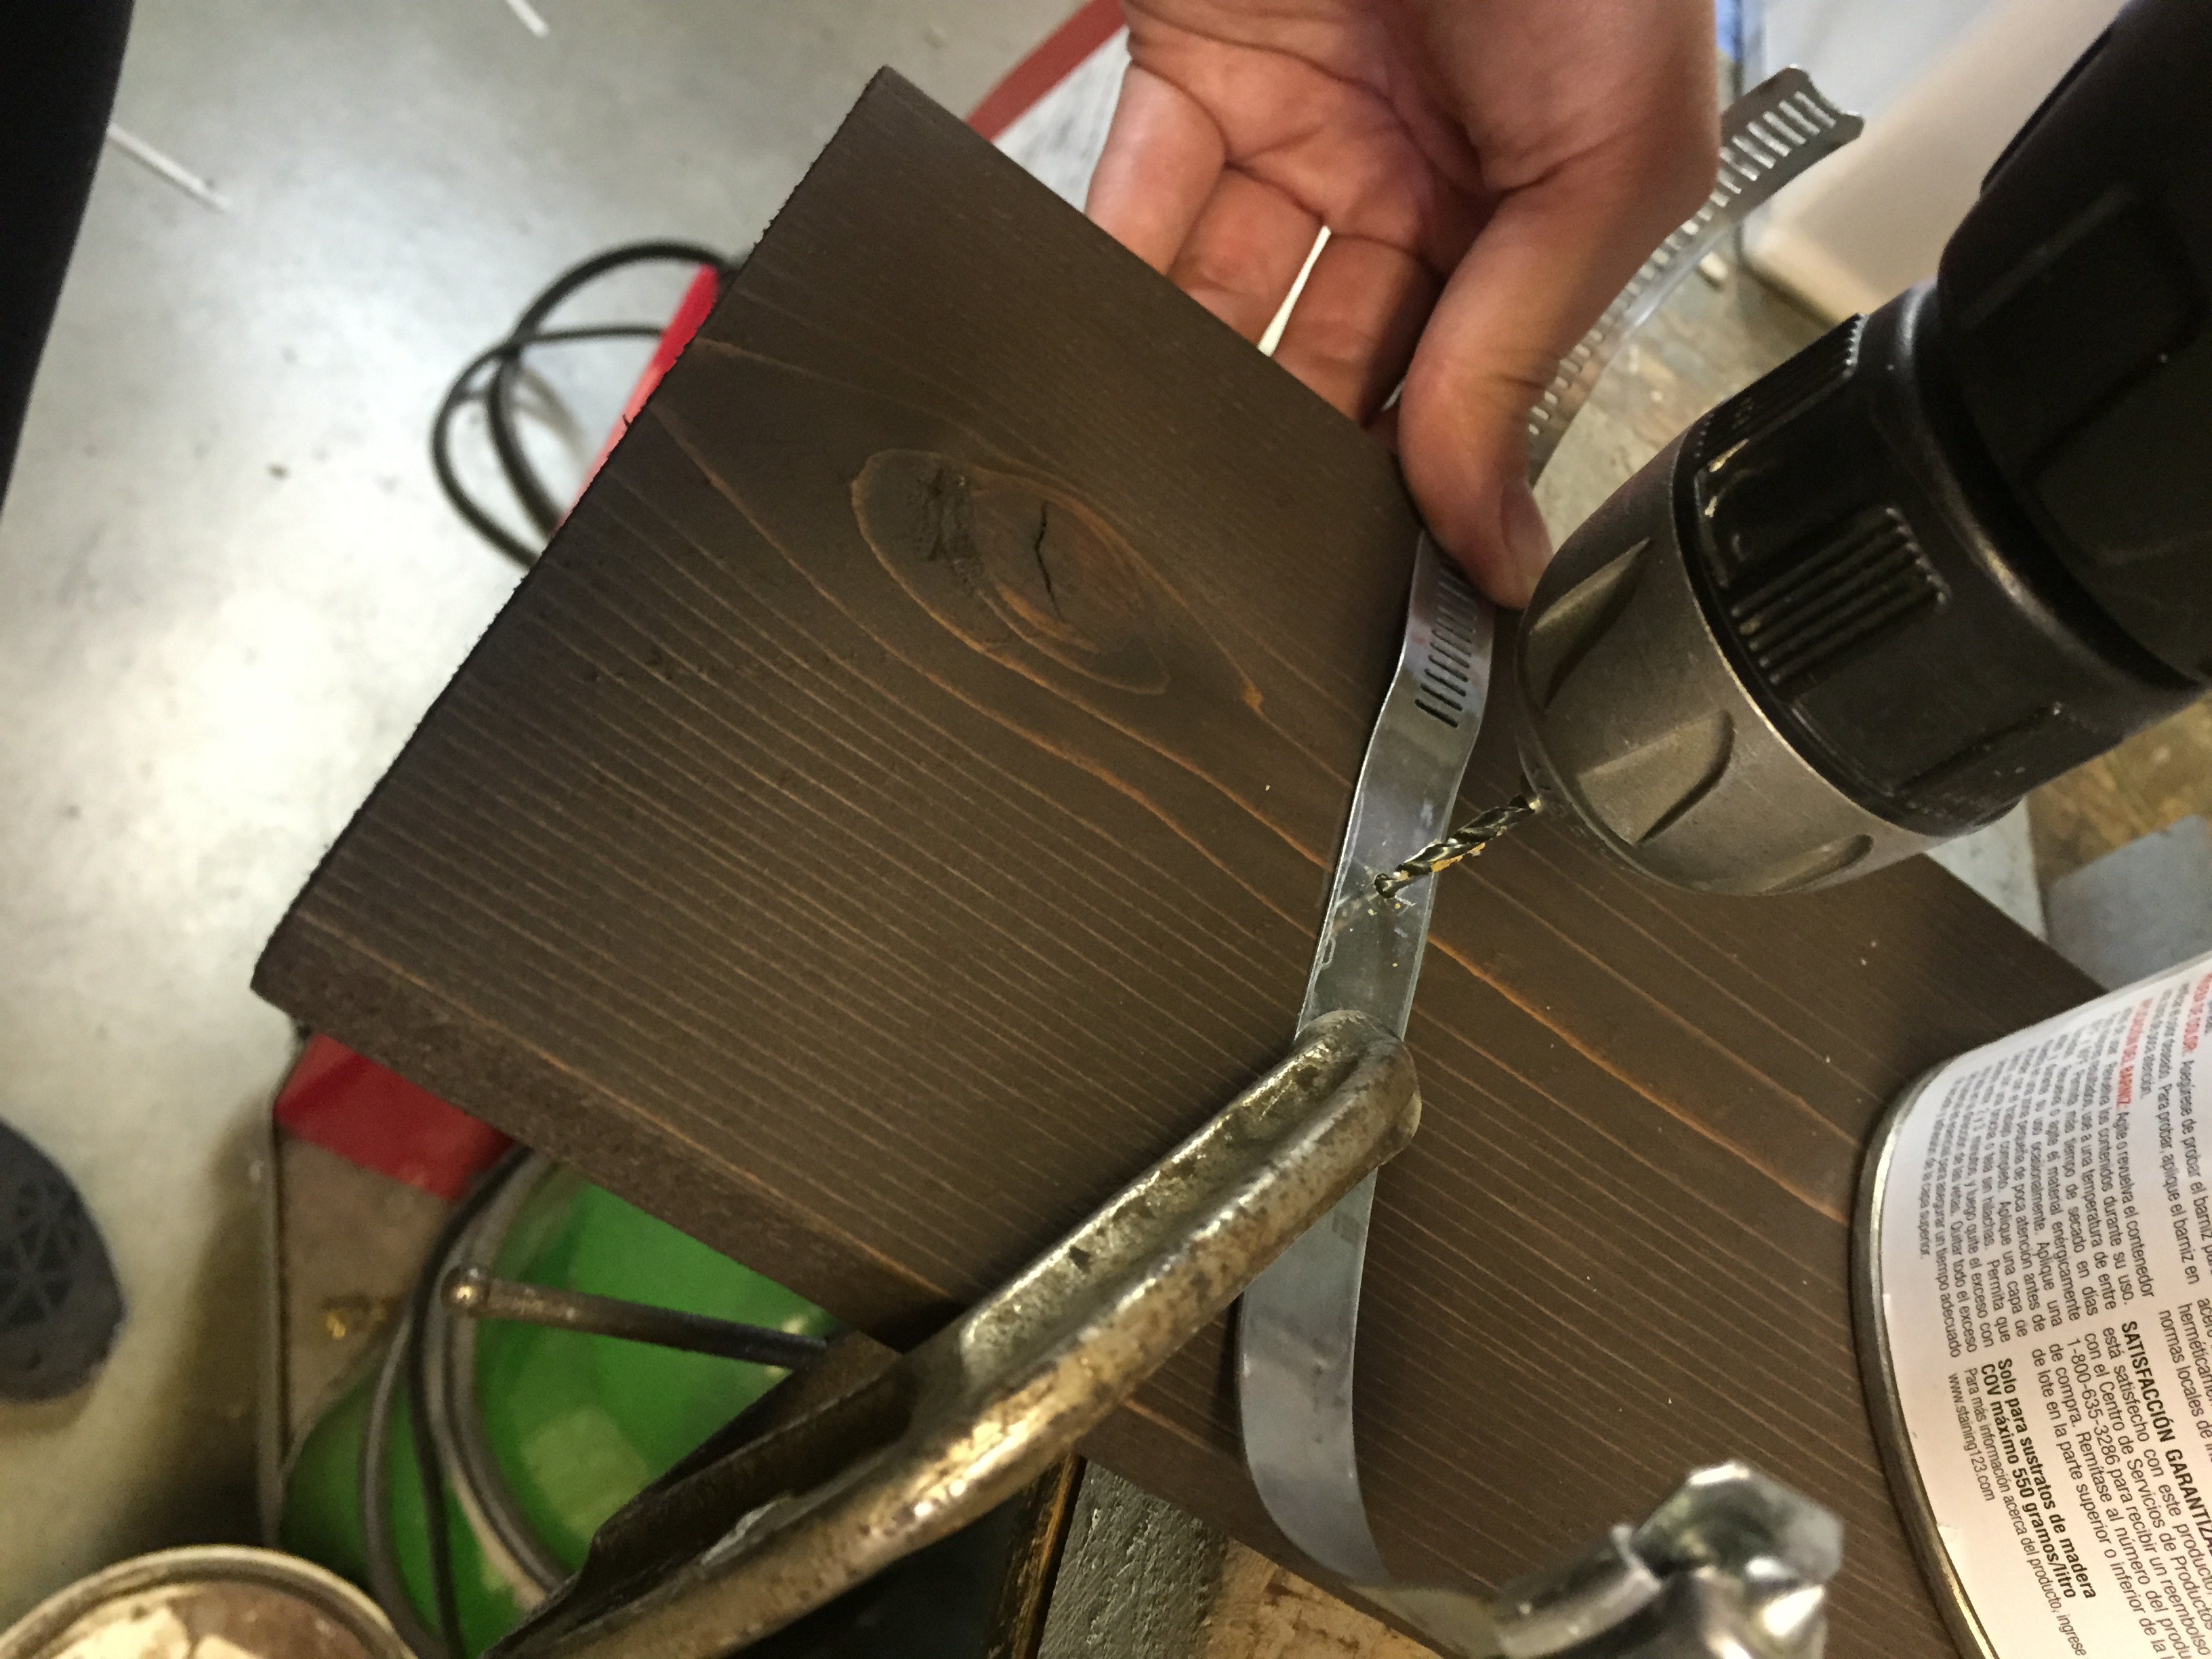
Your next step is to drill a hole to connect the Hose Clamp to the wood. This is what will be holding your mason jars in place. So make sure to measure for the center and the height you want the jars to be hanging from. Then use a drill bit the same size as the screws you are using. You can see the ones I used on the next step. Use a clamp or vice grip to make sure the metal hose clamp stays exactly where you want it to stay. Then drill through the metal and wood at one time.
NOTE: For this size mason jar, I used a 3 inch hose clamp on each backdrop. And you can find these are hardware stores. They are used for pluming and I guess some car stuff.

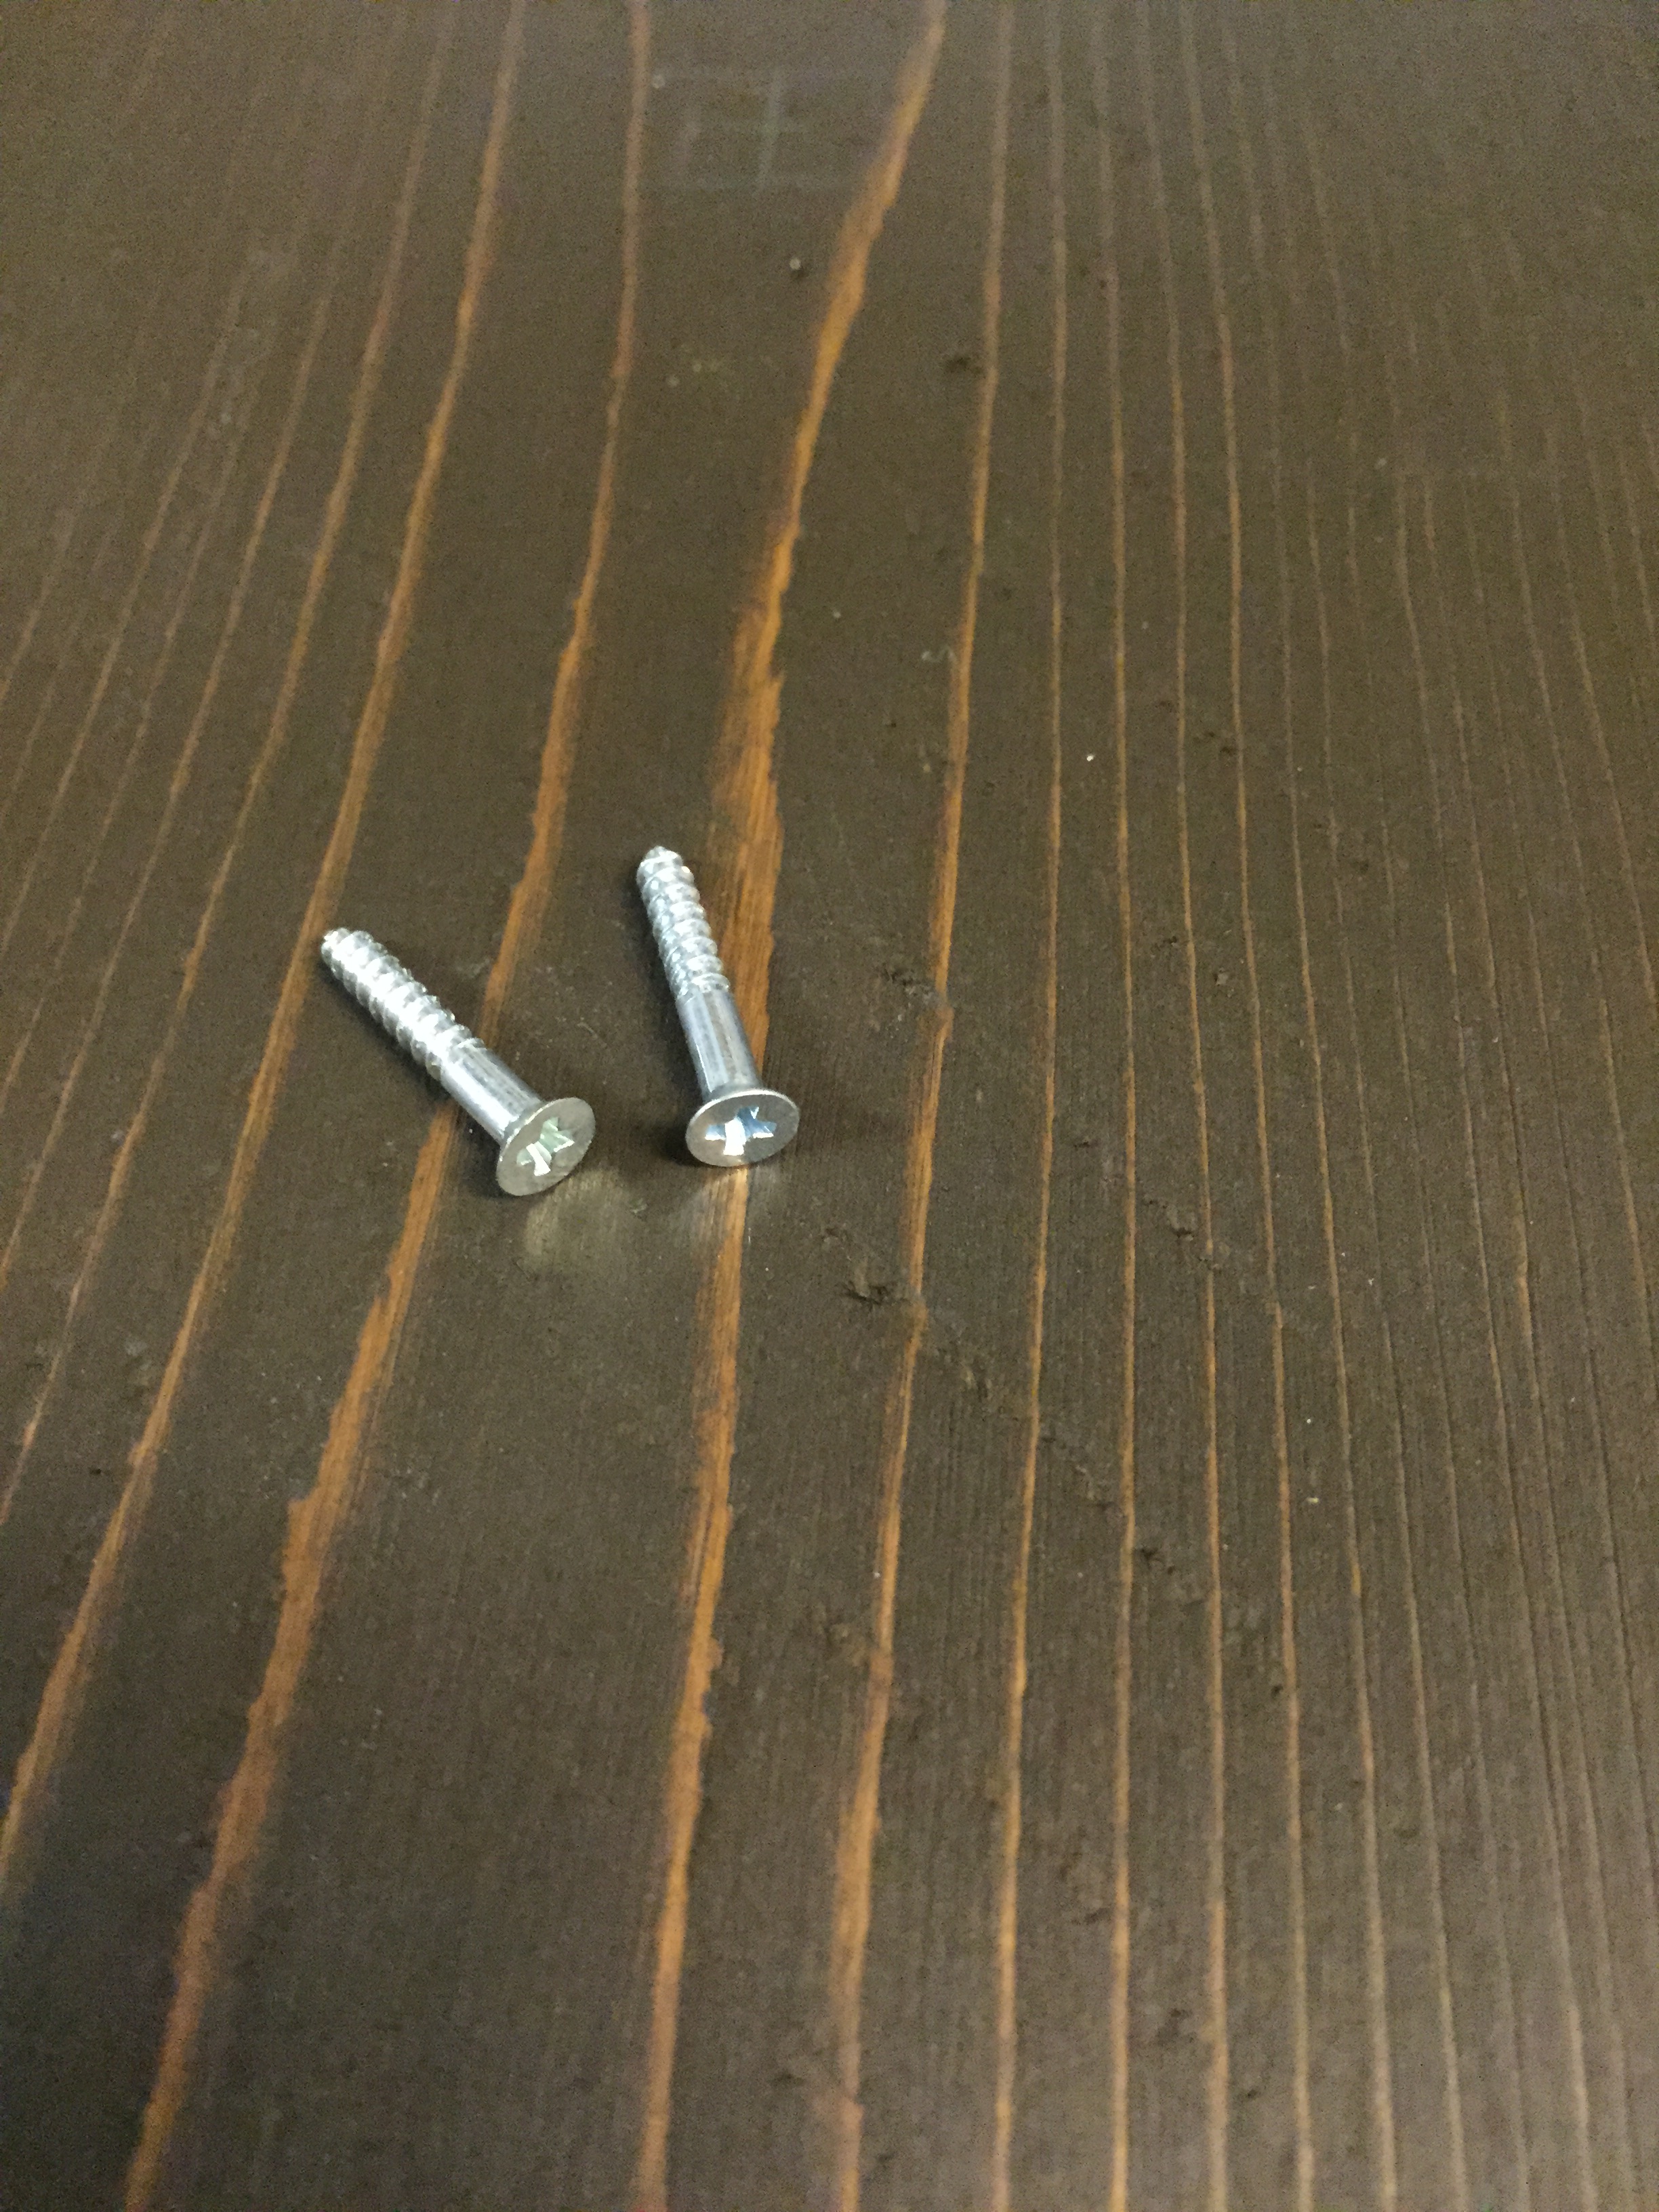
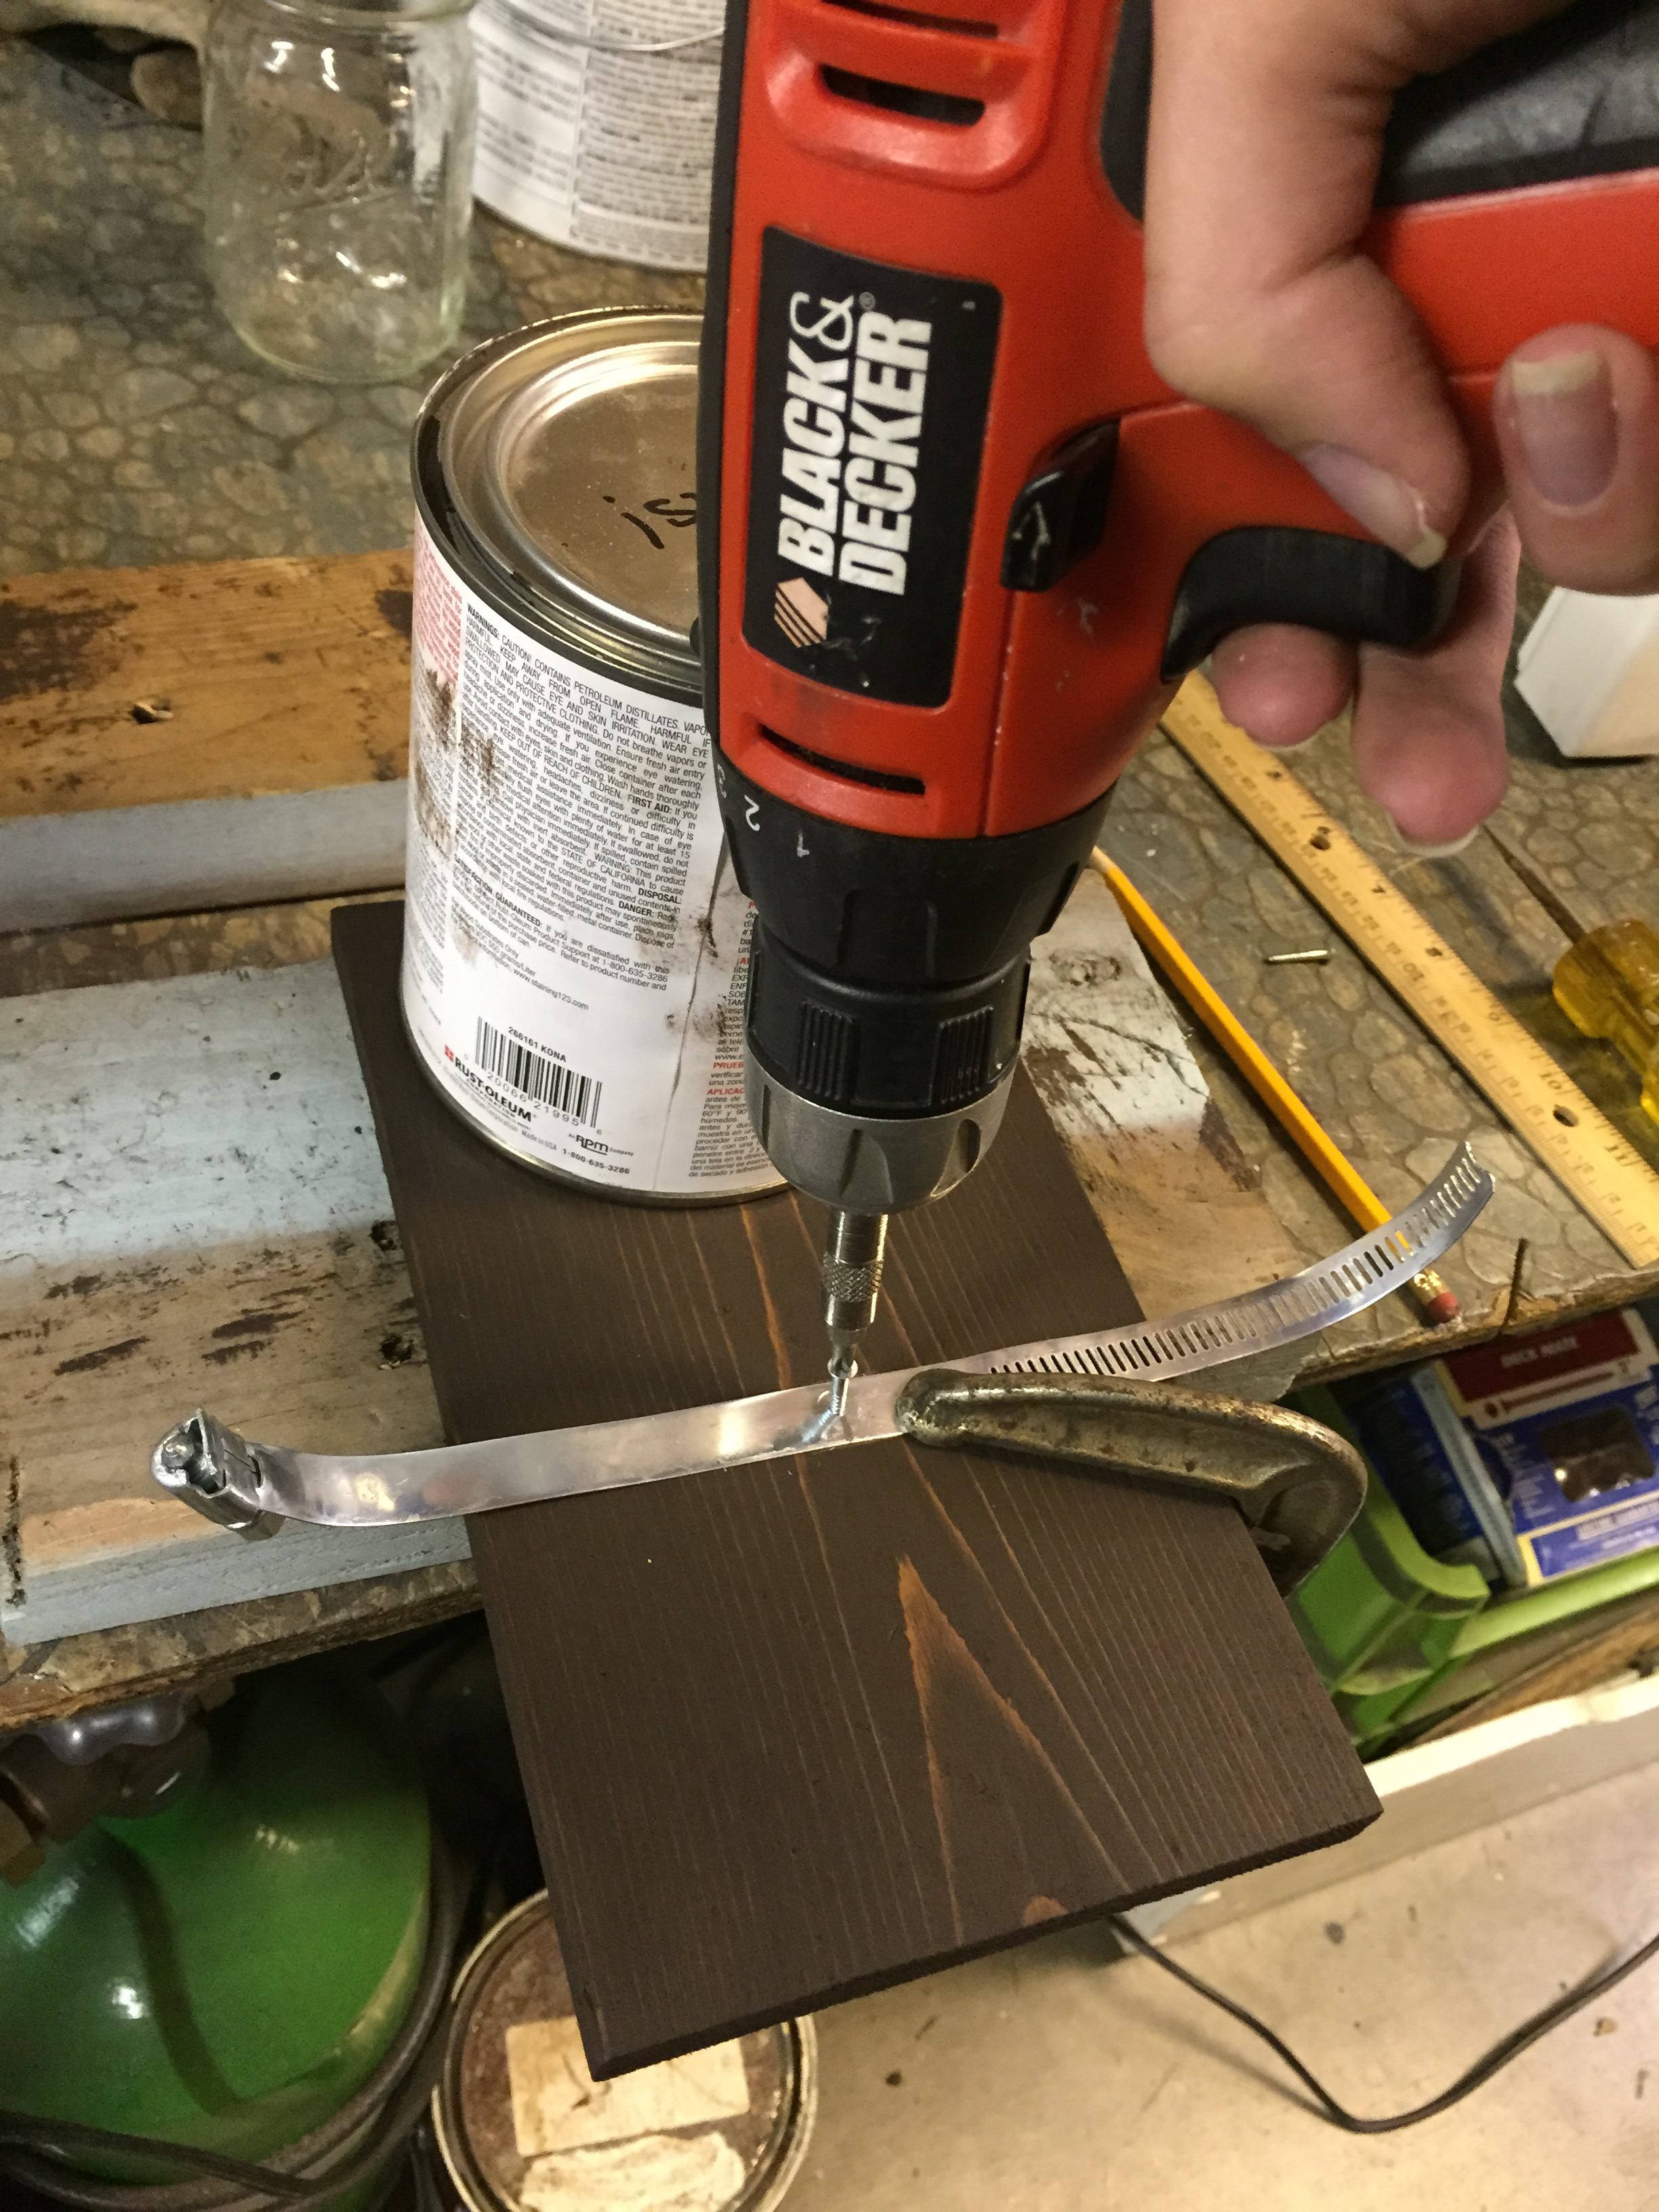
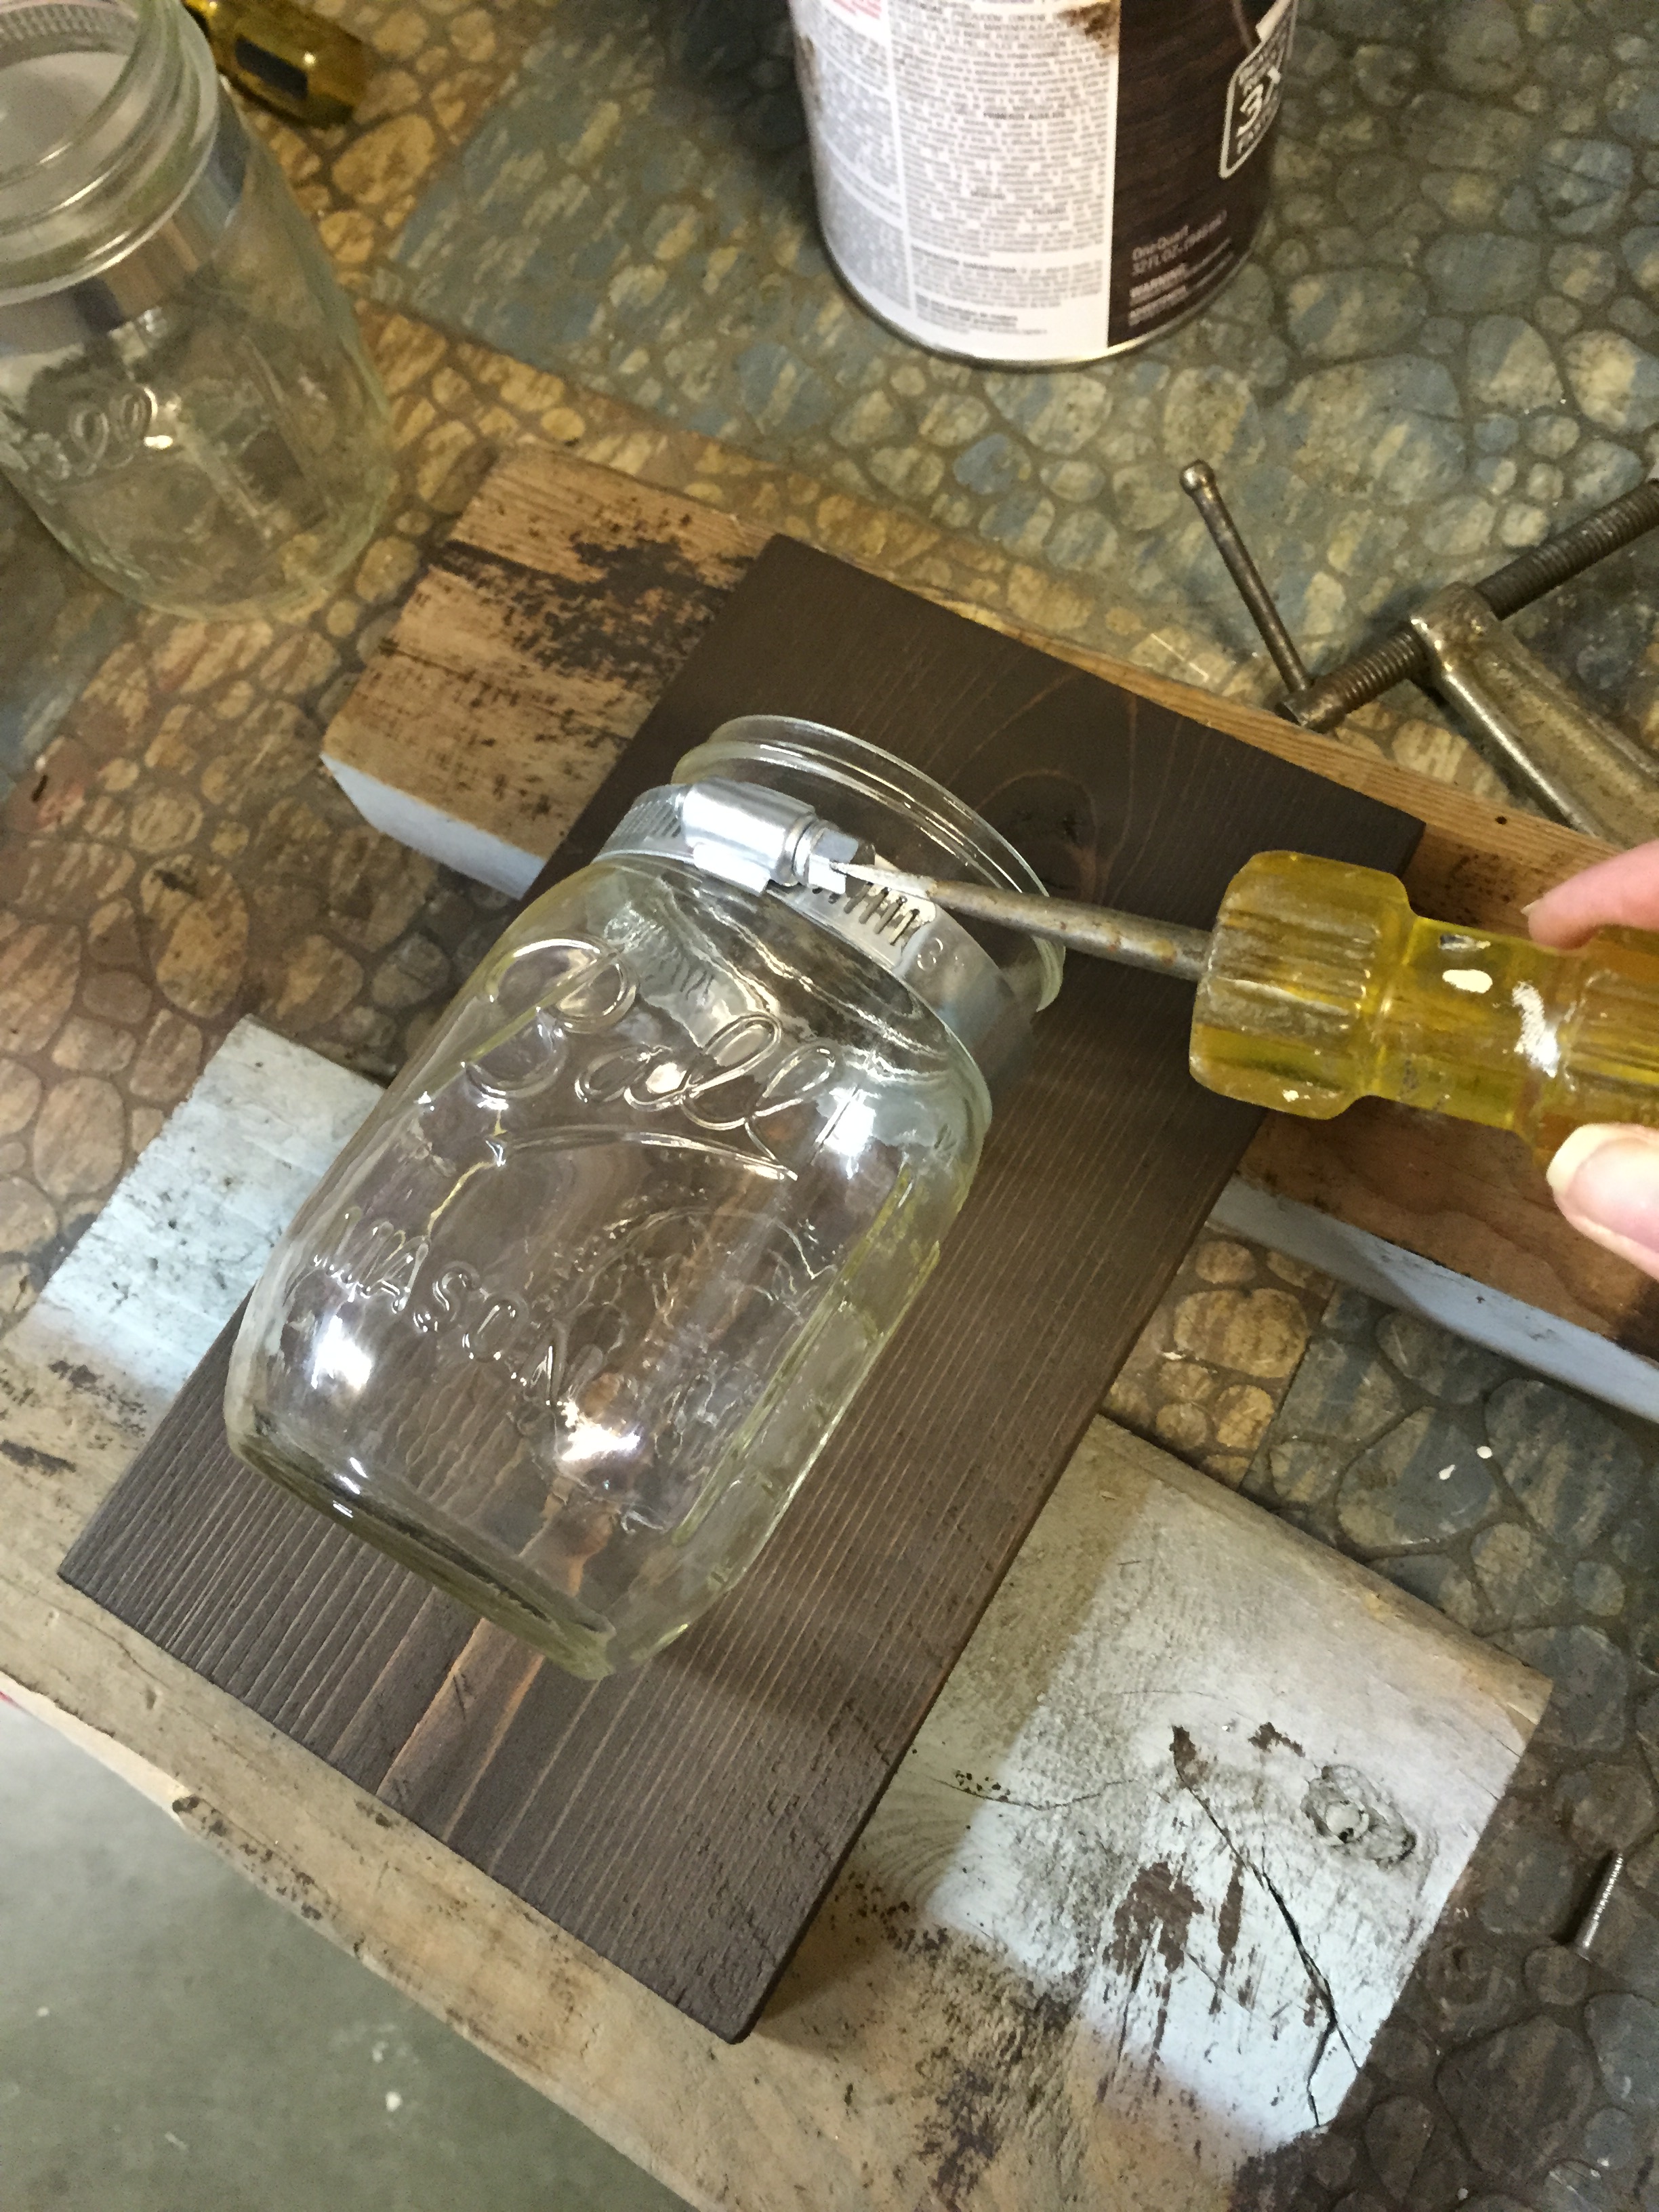
After your holes are drilled, your next step is to screw the hose clamps into place. The screws I found in my dad’s drawer of a million types of screws, is seen above. Make sure you chose a screw with a flat surface. This way it won’t get in the way of the hose clamp’s job. Which is to securely hold the jars in place. Once they’re nice and snug, bend the clamp around the neck of the jar and use a flat head screwdriver to tighten them. But make sure not to make them too tight… we don’t want to break the jars!
And there you have it! just add some tea lights or a flower, and they are ready to beautify your home! This was a super easy project and cost me almost nothing because my dad had a lot of the supplies I needed already!
TOTAL COST: 40 cents
Items SALVAGED from the Inevitable Seattle Trash Day:
- 2 mason jars
- a fence board
- wood stain
- hose clams
- screws
And as always, hit subscribe and like Salvage Seattle on Facebook for more projects!
