A large part of the house remodel was the guest bathroom. Eventually, I’ll be creating an area on my blog to display a lot of the remodel work I’ve been doing on my parent’s home. I can’t wait to share some before and after photos with you guys!
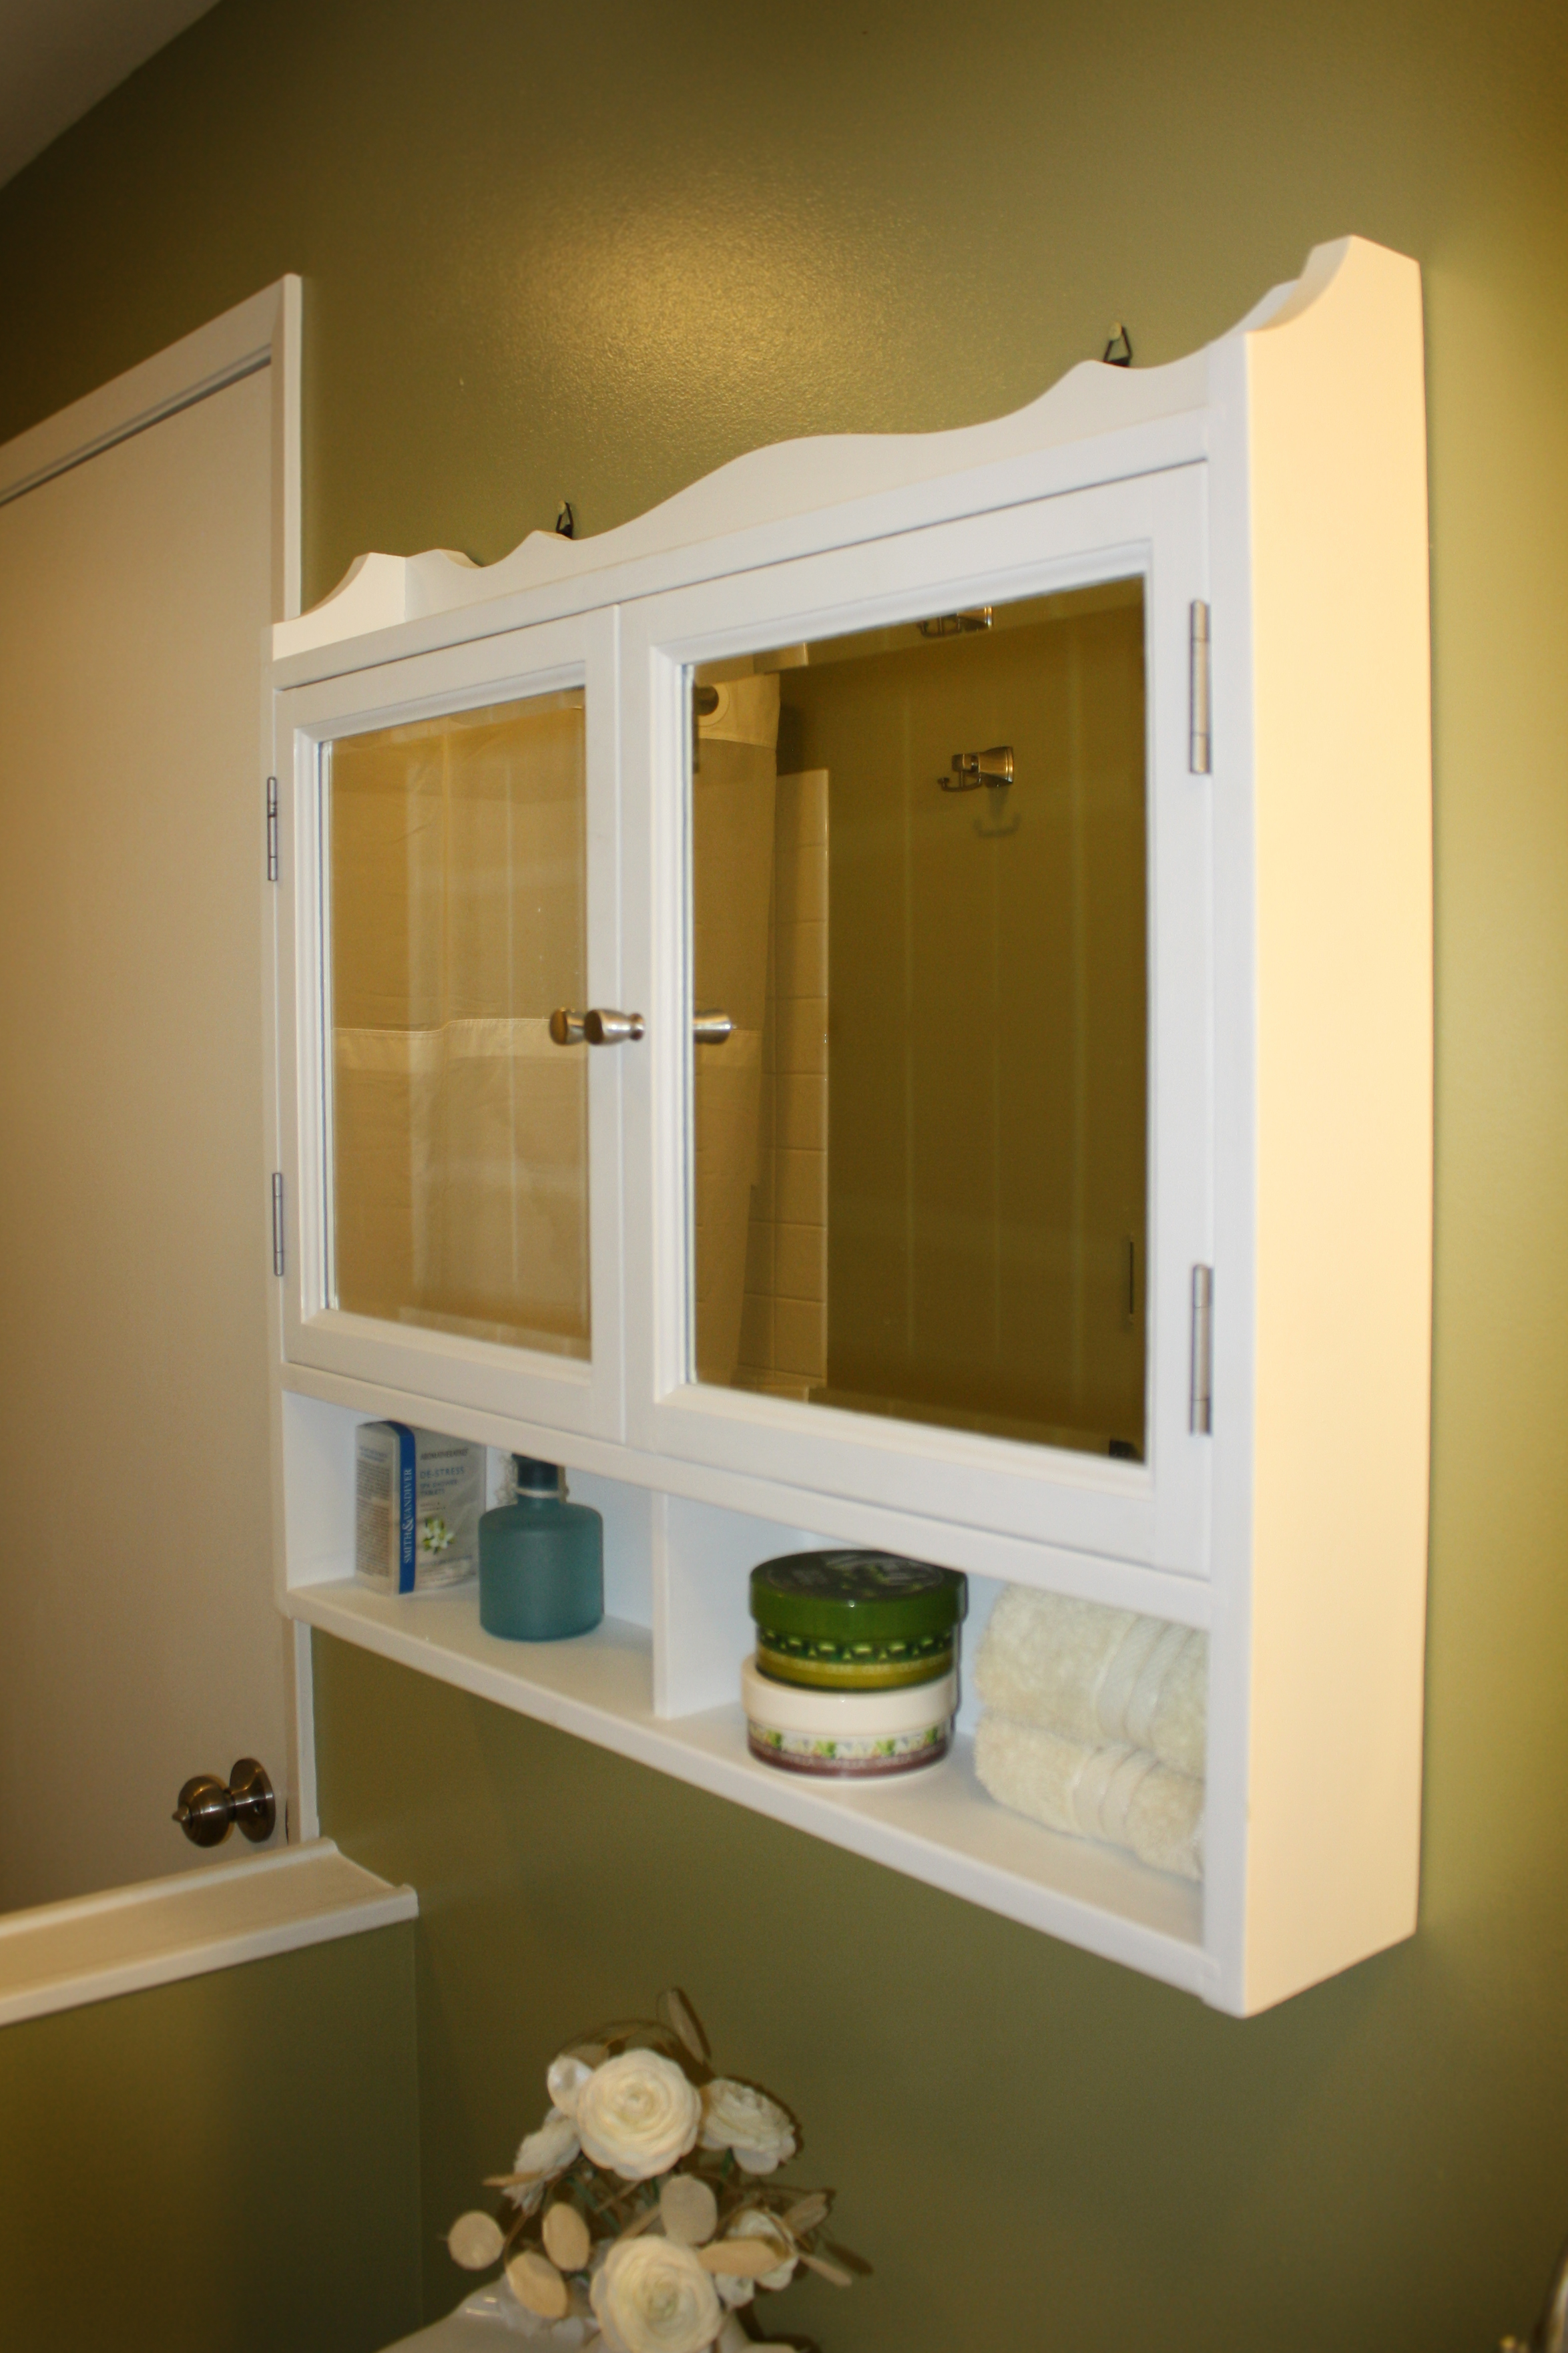
As the finishing touches were being added to the main bathroom, I felt like the medicine cabinet needing some major work. It just really screamed 80’s!! Which of course, did not work with the new crisp green and white theme. And if you’re wondering how outdated this room was, I’ll paint a picture for you….
Think, pale purple and pink, swan shower doors, awful spindle columns, and hanging lights that resembled medieval ball and chains.
But to make a long story short, let’s get this DIY started!
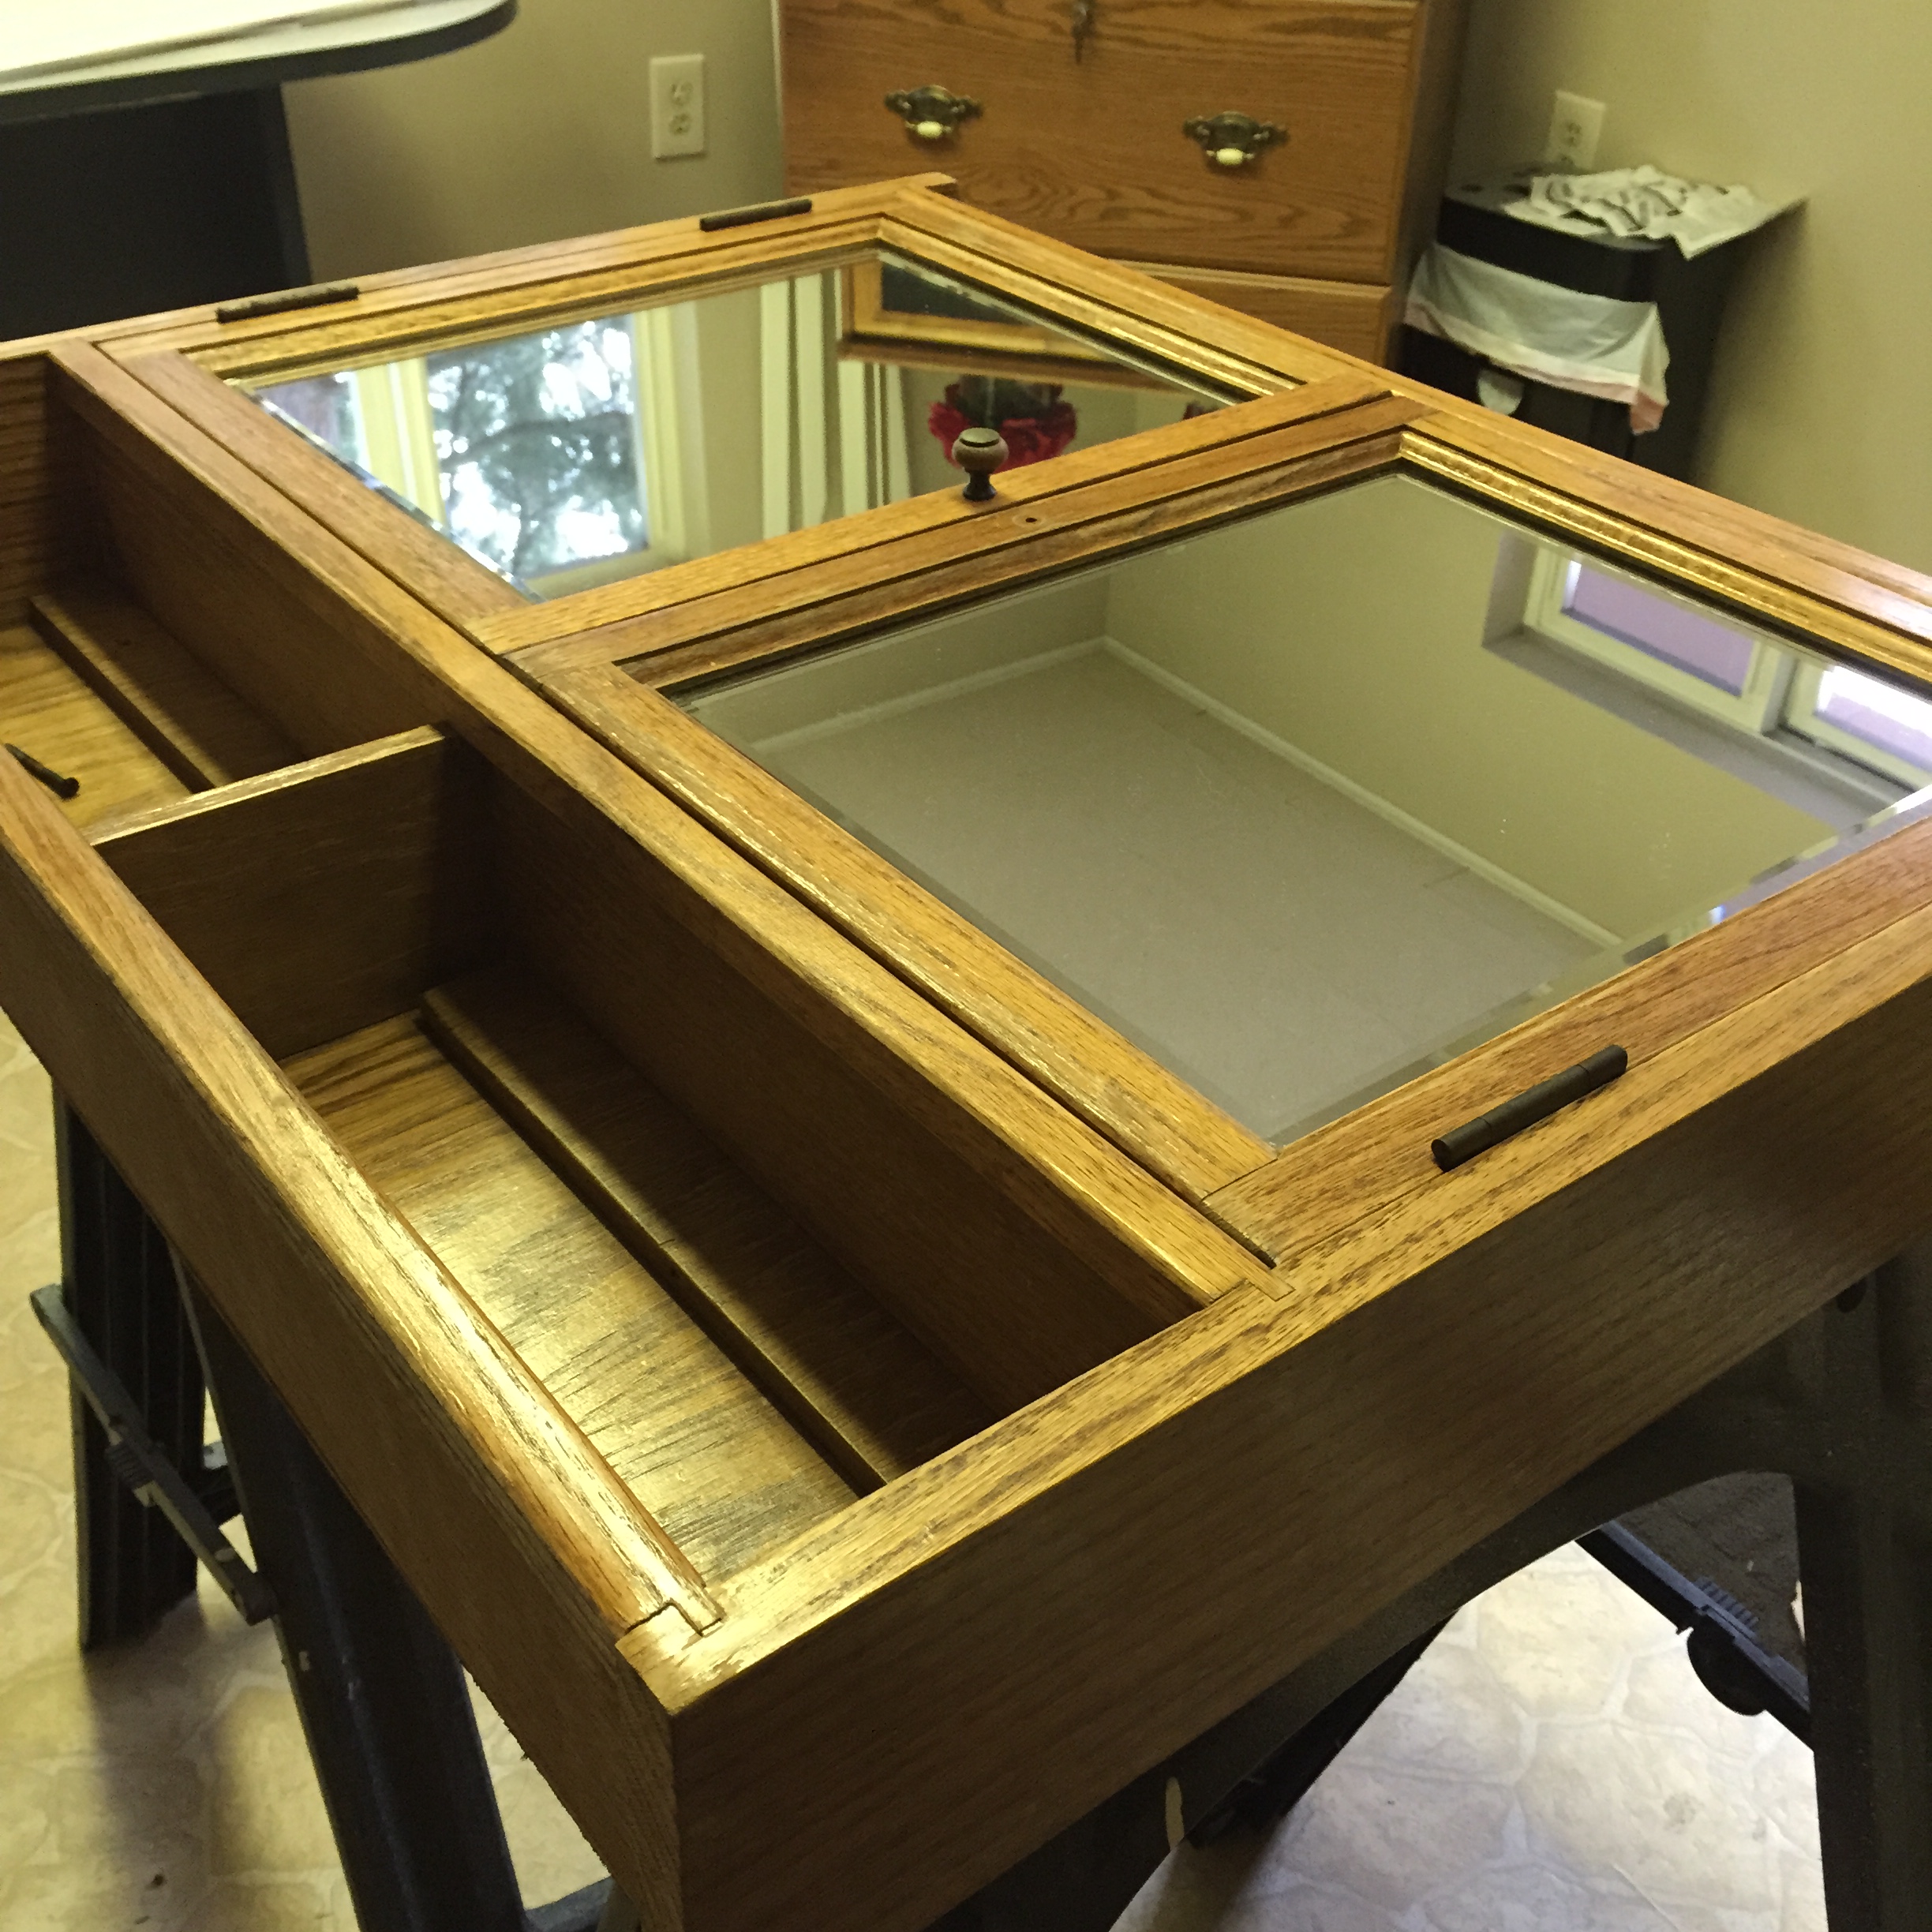
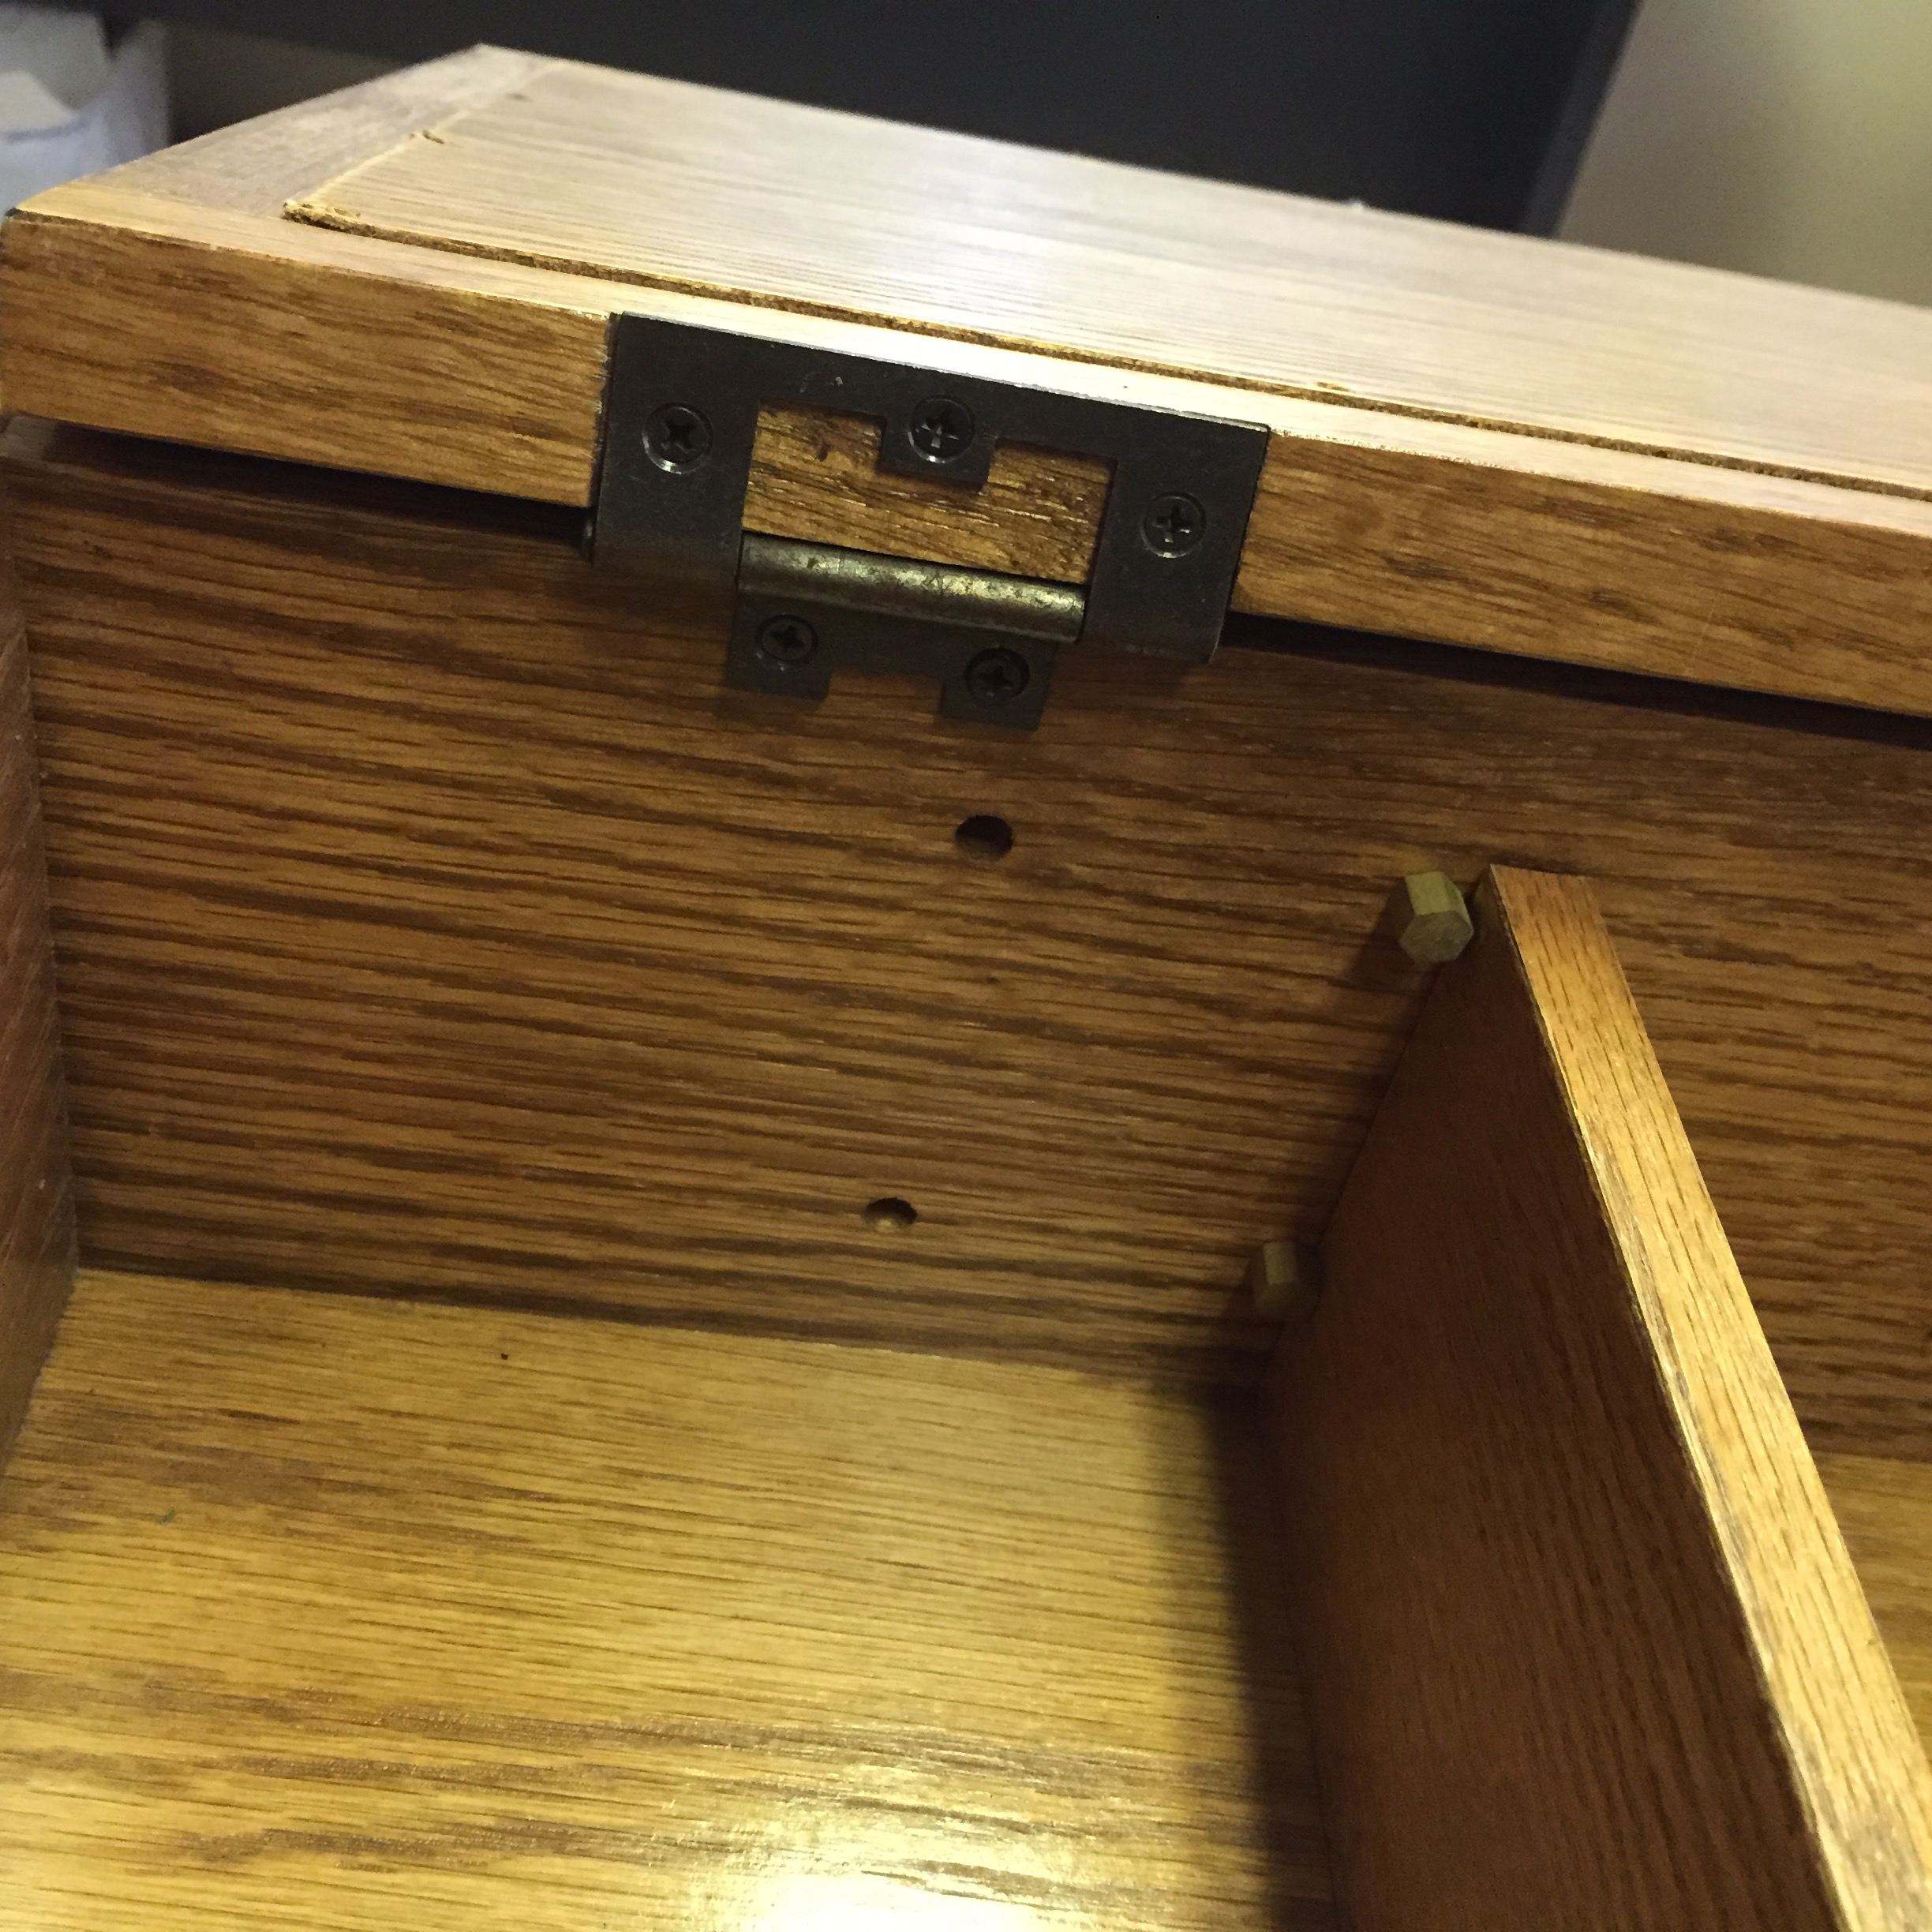
Unfortunately, this is the only before photo that I have. So it will have to do. The first step in this transformation is deconstructing all the removable pieces. IE: doors & hinges, knobs, shelves, and the pegs that hold the shelves.
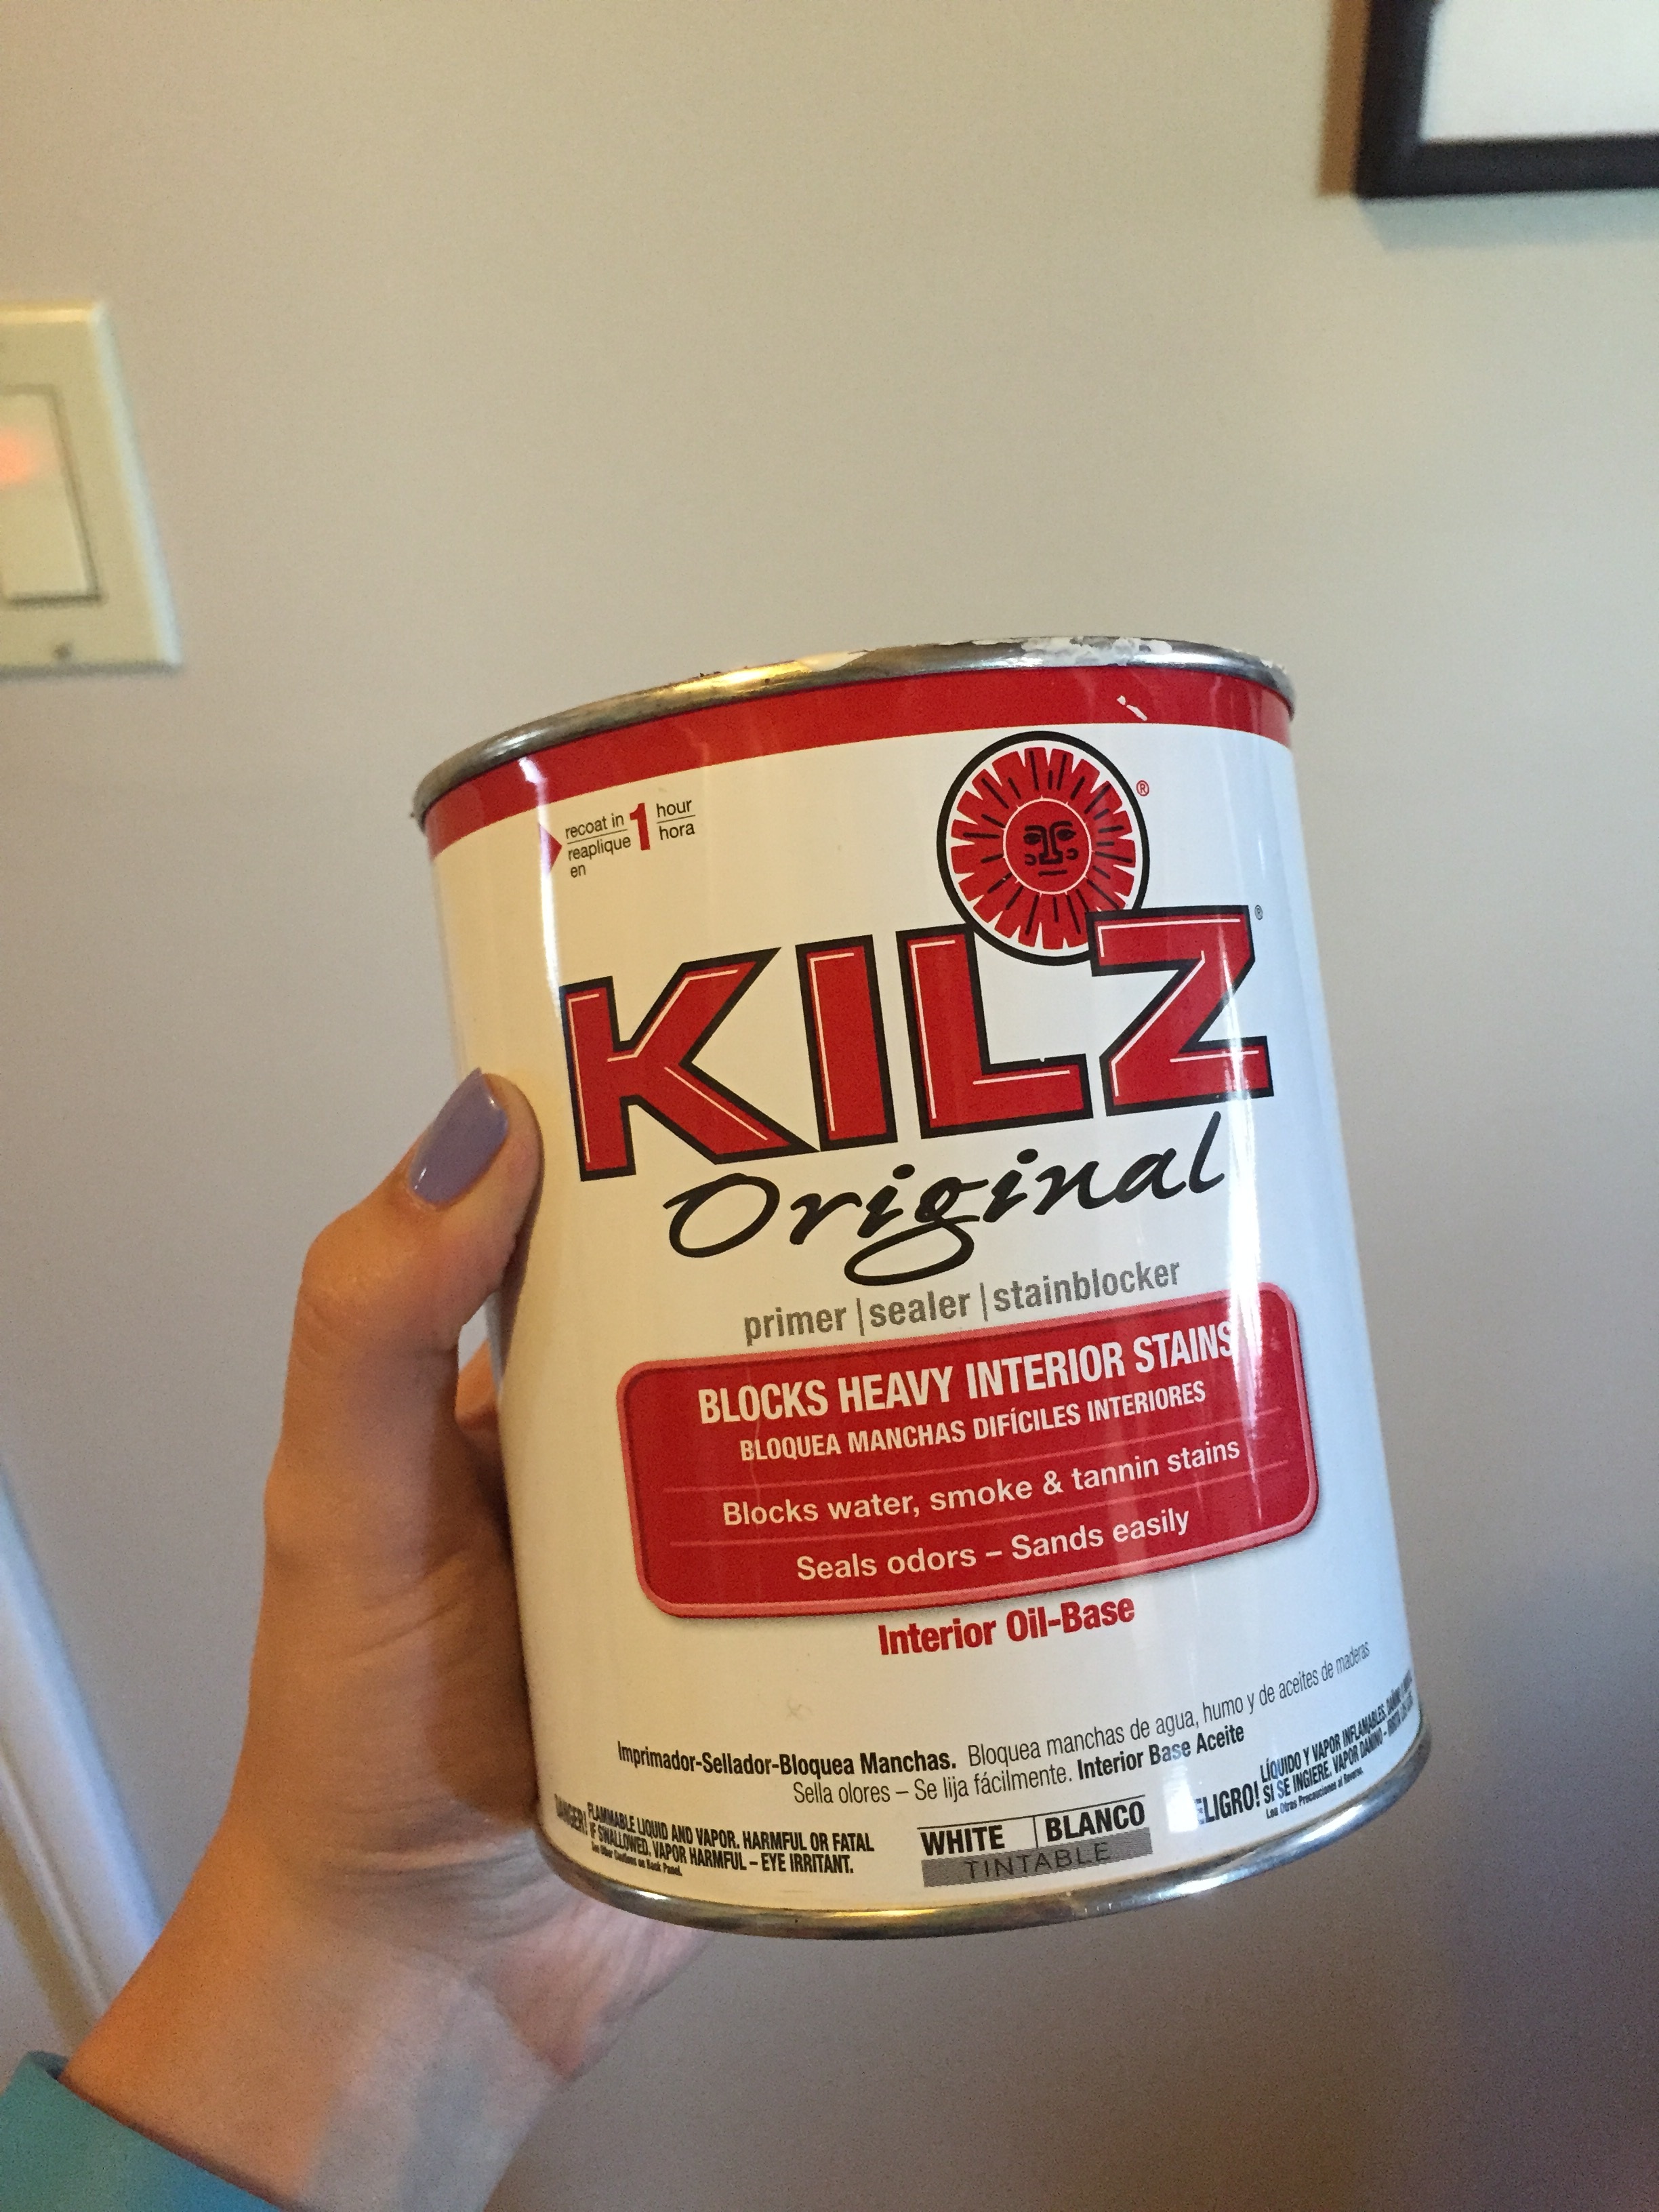
After moving all the hardware and doors, I gave the whole thing a quick sand. Even though the primer I used said that it eliminated the need for sanding. If you do choose to sand your item, make sure you wipe all the fine sawdust away. Then give the entire piece a coat of “Killz Primer” (small can is around $8.) This will prevent any stain that was used on the wood prior, from leaking through the paint. This is absolutely necessary if the item was ever stained. If the stain leaks through your paint, it doesn’t matter how many coats of paint you put over it….You will not beat the stain with layers of paint. I leaned this the hard way on another project. -___-
Once the Killz is dry, go ahead and apply a layer of the paint color you have chosen. Since I was using the same white paint that we used for the trim, I only needed to do one layer after the Killz. If you are using any other color, be prepared for lots of time for each layer of paint to dry.
CAUTION: When using kills, use an old or crappy paint brush. It is nearly impossible to get the product out of the brush. I’ve definitely ruined a few brushes with Killz.
While waiting for layers of paint to dry, I spray painted the hinges of the cabinet “Hammered Silver” ($4 per can) to give it a brushed nickel look. The easiest way to do this is to string them up outside. That way, you can easily paint every side. I also purchased two cabinet knobs in a brushed nickel ($3 for a pair) to match all the hardware and accessories in the remodeled bathroom.
NOTE: If your cabinet has many shelves, you will need a lot of room to paint them. Also, make sure you remove the mirrors from the doors before you start painting.
I hope you guys enjoy this DIY! Please leave any comments or questions that you have!
TOTAL COST: $15
Items SALVAGED from the inevitable Seattle Trash Day:
- Medicine Cabinet
- Paint
